Magic missile WIP

Here’s another update where I experiment with the path and timing of the projectile:

6 Likes

W o a h working on a spline is a really smart idea ( i wish i did something like this for my riot contest entry) the iteration on this has been awesome! I’m really digging the timing of it, the way they lag behind a bit then speed up is cool. it might be cool to see some more lingering energy among the missiles paths but overall it’s looking really sweet!

1 Like

It’s a great way to move all the control over to Unreal instead of using an animation that you will have to bake out or export from some 3rd party software! I’m really glad you like it @Jason_Chisolm! I’ve added some small sparkles being left behind by the energy balls :smiley:

I will have to leave this one for now but I’m feeling quite happy with it.
Here’s the last update for now:

Here’s a breakdown of some of the elements:

Chargeup

Launch

Impact

Impact Smoke

Impact Smoke + Fire

Impact Smoke + Fire + Flash

I use the same smoke material and texture for both the explosion smoke and fire. The flowmap influence is simply different and colors of course.

Here’s the smoke material:

I’m brightening the dark areas of the texture to avoid having black outlines at the outermost edges. Loosing a bit of contrast is fine in this case I think. The alpha is still having full contrast to use the erosion at its fullest.

The Flowmap is simply a normal map texture that I painted in Krita. (There’s a brush for that in Krita so its very easy! You just need to flip Y in the brush tools to match how Unreal reads the channels) Otherwise the flowmap can be treated as any other UV distortion, except that it’s not panning, you simple increase or decrease its strength.

Here’s the smoke and flowmap texture:
flowmap_smoke

For the projectile I’m using two billboards at the front and 3 ribbons tagging along. One thin and long, one medium length which is really dark and one which is short, bright and wide that tapers down.

Here are the splines in the blueprint:

I’m using a timeline inside of the construction script to move the emitters along the splines to finally collide with the sphere at the end.

This was a great experience! I really want to make more spells in the same family as this one but I’m about to get really busy so most likely I won’t have time to make VFX for a bit.

Hopefully this will be useful to some people out there! I’m happy to answear any questions that may pop up!

Until next time! <3

31 Likes

Erosion is likely to be cheap and useful. Thank you for sharing your know-how.

1 Like

I really like how this has turned out! The pause you have added prior to the missiles finding their target has really injected some personality into the effect.

Thanks for taking the time to share your breakdown with us all here! Seeing the individual assets on their own, the impact UV distortion looks a little too strong towards the end (starts to look like a Photoshop filter > distortion> twirl) but honestly, I only picked up on that after seeing the breakdown.

I’m looking forward to seeing other children in this family of effects :slight_smile:

Thanks for breaking this down! when you say “billboard” for the projectile, do you mean a still image?

@slowdive It’s my pleasure! I’ve grown a fond love of erosion. I wouldn’t say it’s my new standard but I wouldn’t want to go without it :slight_smile:

@Snowy I’m happy you liked it!
It always feels like great fun sharing things on this forum because it feels as if it’s actually helping people. There’s a wild mix of veterans and newcomers here and I think the more we share the more newcomers will come and grow!
I can agree on that it gets a little heavy on the twirl / liquify feel!

I’ll be sure to post more of them in the future when I unlock a little more time! :smiley:

@pmiller You’re welcome! I’ll be happy to answear any further questions you might have!
You’d call a sprite which is always facing the camera a billboarded sprite, where being billboarded is the technique of having said sprite, or quad, always facing towards the camera. You can in Cascade lock the sprites in different axis but then it wouldn’t count as billboarded any more.

Great work, thank you for sharing! I also love the look and versatility of erosion, could you inform/comment on your preferred method of creating the source texture. I have been playing with using 2.5D in Zbrush but feel like theirs probably a more elegant way to approach.

Great work! Thank you very much for sharing it!
How did you draw that awesome flowmap? You’ve drawn it by hand?

Thank you! I’m happy you liked it :slight_smile:

I used Krita to draw it by hand. It’s not very advanced but I can show you how you can do it in Krita!

Krita website:

I’m using the VFX Paint workspace and you can turn that on here:

Then open a new document and open the Brush Editor and select the Tangent Normal brush engine and change the Tangent Tilt green to -Y. If you don’t, uvs will get pushed the other way in Unreal.

Then fill the background layer with “128, 128, 0” in color and start painting!
I used the “Blur” filter to smooth things out. You can do that in a lot of layers and blending between the layers. Anything that’s colored “128, 128, 0” will mean that the UVs are not moving since that will be set to 0 in value in the Material later when we change the bias or the texture, or import it as a normal map.

Also, if you want to be able to tile your texture you can tile it while drawing inside of Krita like this:
kritatiling
Simply press “W”

I made my texture by simply painting outwards, bluring and fading out edges so the texture stopped distorting at the edges of the texture :slight_smile:

I hope this was helpful!
Good luck and make awesome textures! :smiley:

8 Likes

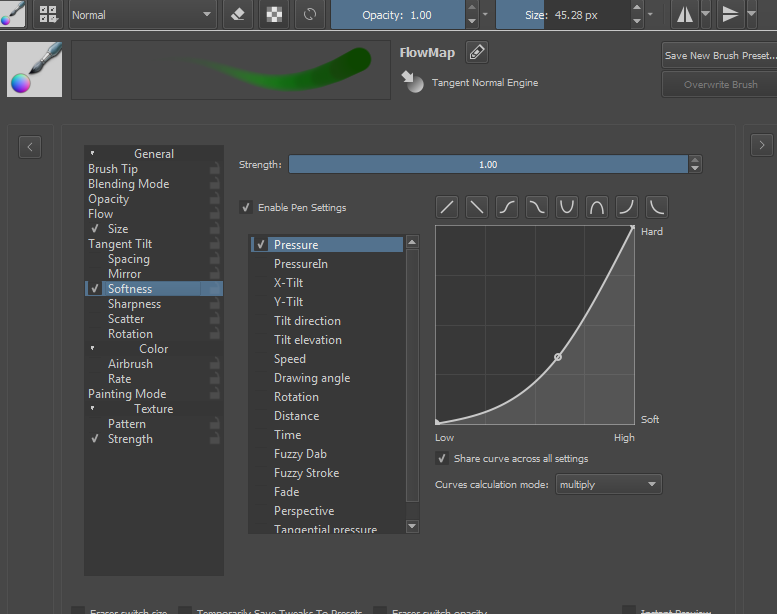
oh yes, i also went through this process recently; recommend adjustments to softness,strength and size graphs with tablet pressure so you can paint soft edges

2 Likes

Very good @Torbach! Thanks for sharing!
It was one of your tutorials that made me use Krita in the first place! :smiley:

Great tutorial, thank you very much!

1 Like

hey @jqarlsson I’m trying to do an effect that uses splines in a similar way that you do here. My question is, How do yo get your smoke effect to spawn at the end of the Spline path?
What I figured I could do was, take the “complete” output on my timeline node, and plug that into my “Spawn emitter at location” But that doesnt seem to do anything. Do you have any thoughts on that?

Hey pmiller!

I just attached the particle emitter to a collision sphere in the blueprint and then I check whenever that sphere collides with my target and spawn an effect from that event! :slight_smile:
You could take spawn from the timeline too but if you want to iterate and change anything you’re creating more work for yourself since you’ll need to tweak more numbers!

1 Like

oh man, i should probably do that. I’m trying something similar and your method sounds infinitely more reasonable haha. Thanks!

1 Like

This is looking very nice!

1 Like

This is really nice. My only suggestion would have been to add a tiny bit of directionality to the launch smoke, so it moves a tiny tiny bit in the opposite direction of the projectiles. It’s a very minor detail and the effect looks great as is! And thank you for the breakdowns, really useful!

1 Like

Thank you @mkalt0235 and @Urgaffel!
If I revisit this effect I’ll try it out! Otherwise its really good feedback that I’ll bring to my future effects :slight_smile: When I get some time off! :smiley: