It’s all good I’ve found my way with location events after all, I just needed a bit of math to get the position right , thanks anyway for all the advice ![]()
hello, Wondering if there is a way to set a warm-up time for one emitter only, not the entire system. thx
Not that I know sadly no… I search for it when I was working on optimisation and culling features, but ended working without it because I couldn’t find a correct way of doing it. ![]()
1 Like
Hello, when using Light Renderer in Niagara, is there a way to make the lights fade out, now it’s just ON/OFF… doesn’t seem to follow the Color Alpha. Thx
I made a post about this here, don’t think this changed since UE5:
Hi guys,
I’m facing some Niagara Parameter Collection issue in UE5. I’ll try to explain it in detail below ![]()
The idea was to create color curve for color remap in VXF materials by using a texture sample like we would do with color LUT, but without using any real imported texture asset.
First try :
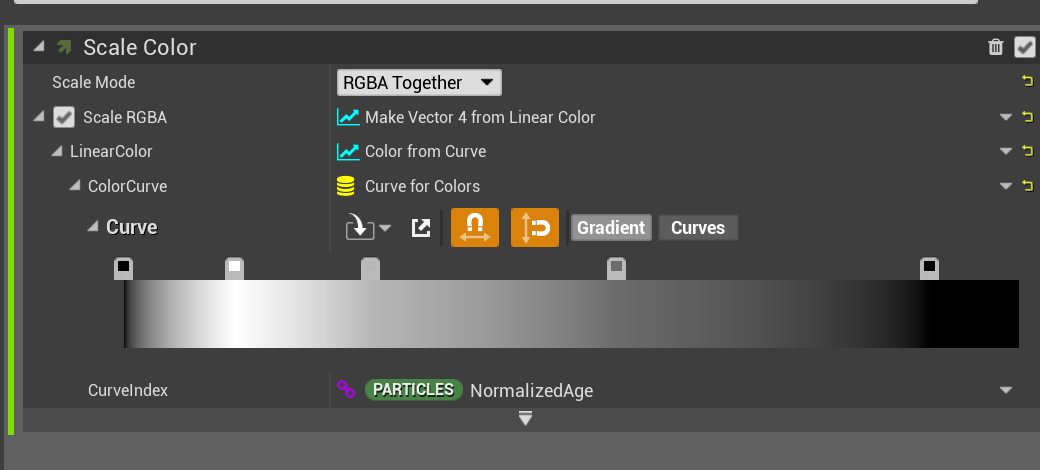
The first way of doing such a thing would be to use curve and curve atlas assets from Unreal.
The curve atlas allow you to gather several curves inside some generated texture for you to sample in your materials. That’s pretty cool actually, but working this way I ended having a lot of curves to cover the all VFX library.
Also, in the Niagara Curve for Colors data interface, you will be able to call those color curve assets and apply in a few clicks.
The bad point of this workflow is that curve asset are not linked to Niagara, you just call them at the instant. It mean that if you use a curve in several effects, and then change the color curve asset in you library, changes WON’T be applied to your VFXs. That’s why I searched for another way.
Second try :
Another aproach would be to set the all thing directly with Niagara as much as possible.
When using the Curve for Color data interface, in the advanced option, you will find a “Expose Curve to Material” bool.
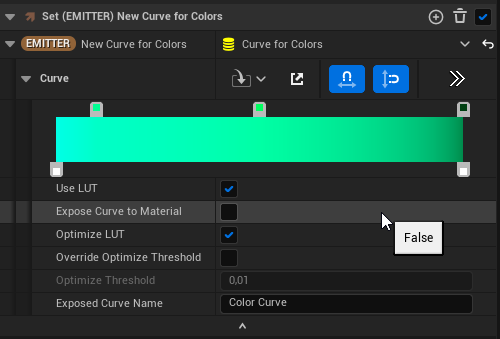
With this little guys checked, if you go all the way down to your sprite renderer module, inside the Material Parameter Binding section, you’ll see this new emitter/system texture variable. You will be able to link this variable to one of the texture sampler parameter inside your material.

I’ve done some test, and it worked pretty nicely. It allowed me to set only one material instance as fully white, instead of creating several different instances for each color presets.
Third try : (and the real issue I want to discuss) :
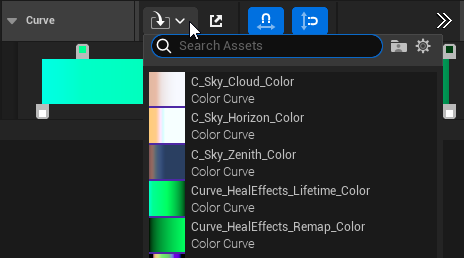
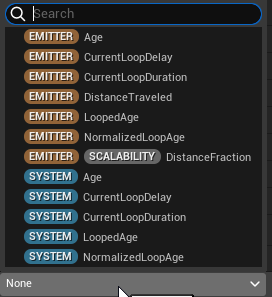
With this all in Niagara workflow for color curves, and with regular Unreal curve assets were not updated in Niagara when changed (as said in first try part). My idea was to create some Niagara Parameter Collections to have organised lasting curve assets. Working this way, I could link the NPC color for curve variable in my Niagara Systems and when I will do some changes, it will be updated in the related VFXs as I want it to.

Inside the detail section of the curves you will find back the Expose Curve to Material bool, but if you check it, apply this NPC curve to your Color for Curve, you will NOT find back the exposed texture variable for your material binding…
This bool seems to be lost somewhere between the Niagara Parameter Collection and the target Niagara System. I don’t know if any of you experienced the same issue or a similar one with collections, but I’d really appreciate some help on this one
Thanks in advance for you ideas ! ![]()
2 Likes
Must be a bug. Could you maybe as a workaround create a Curve for Colors on the fly?
Like could you break your npc parameter curve (similar to a struct), then only use the actual gradient, make a Curve for Colors (but with the boolean ticked), in a scratchpad module?
Very nice idea btw, I like it!
Hello, what is the best way to create a random glitch in the mouvement of the particle?
thanks
Use the Jitter position node in update.
Hey everyone, does anyone know how to use the “Traverse Skeletal Mesh” module in Niagara, it is an experimental module and the only explanation isn’t quite clear to me also I can’t find any documentation on it.
Thanks in advance
1 Like
I had a lot of trouble figuring this one out too! It helps a lot if you double click on the module to see the actual logic behind it. From messing around with it I gathered that you need to set the query vector direction prior to calling the node in your particle update. Set your particle position after calling the traverse node with the position output of the node. After doing that the particles will travel in whatever direction you’ve specified, looking for whatever tris are available in the direction they’re moving. You can also choose the starting tri position prior to calling the traverse node. Just make sure your declared skeletal mesh has cpu access and pre-skin checked. If you don’t, the particles will only travel within one tri. Hope this helps!
1 Like
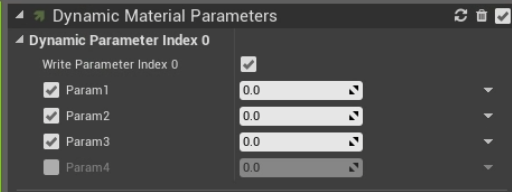
Hello all, I have a question about Dynamic Material Parameter in Niagara.
Dynamic Material Parameter has 4 floats. Is there any way to pick three of them and make them a vector in Niagara?
Thanks,
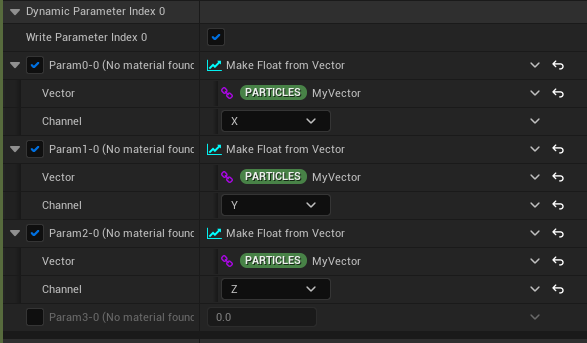
You could use “Float from vector” three times selecting the X, Y, and Z components of your vector as the input for each of the three dynamic parameters, like this:
1 Like
Thanks Filo, yes this is what I was looking for ![]()
1 Like
I need help with making Vertical objects fall flat on the ground.
If I add “Update Mesh Orientation” to the “Particle Update” stack, then the vertical geometry becomes horizontal before even it reaches the ground.
I want this mesh to fall vertically from a height, but I then want to mesh to fall flat on the ground, when it reaches the ground.
Can someone guide me? ( I am new to Real-time VFX and Unreal Niagara and I am using UE 5. )
I’m not sure I understand exactly what’s the setup you’re talking about, can you share a couple of screenshots?
Sure, I can definitely do that.
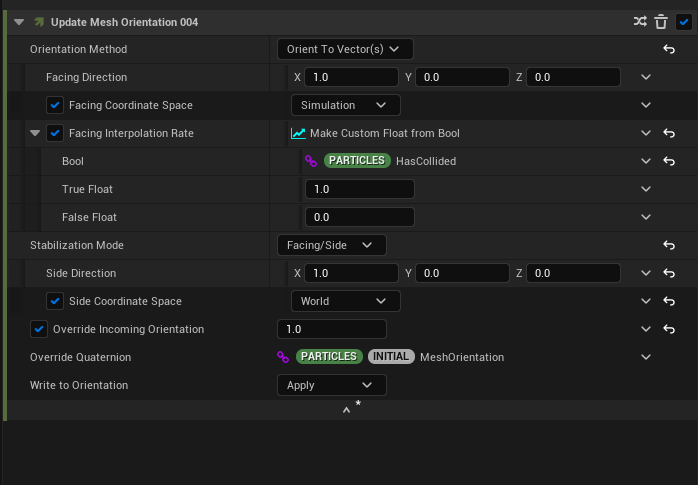
When they collide with the ground, I want them to lay flat on the ground rather than stumped. But I want them to travel/fall vertically before shifting to the horizontal position.
Set the orientation using the “Collided” bool to either the existing orientation or to the orientation you want it to have when on the ground. (you might need to shift it a bit as well, since the collision could be quite wide)