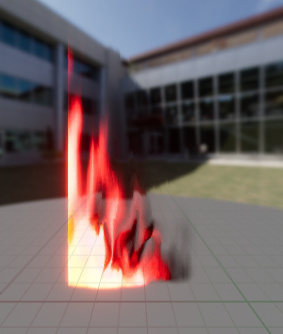
I’m using Niagara to create blade trails I only know how to create line-based blade trails like this.
I works fine when doing effects for weapons like swords.
And recently when I’m watching the videos of God of War I just noticed that the blade trails of Blades of Chaos come from the whole weapon including the chain part, and that looks so good.
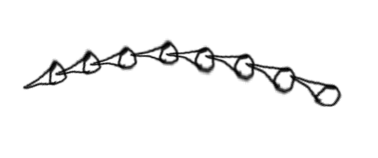
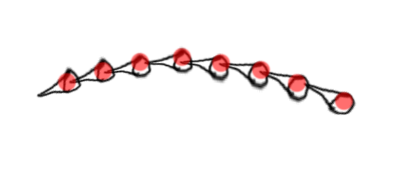
You might be able to do this with a Ribbon, if you have some more ‘advanced’ Niagara knowledge. So, instead of doing it the usual way, you would lay out the Ribbon sideways. I’m just throwing ideas around, not tested at all, all theoretical. It would look something like this:
Rig your weapon with enough bones it in (it probably is anyway)
Sample the weapon as Skelmesh and spawn from bones. Spawn one particle for each bone, preferably equally spaced out.
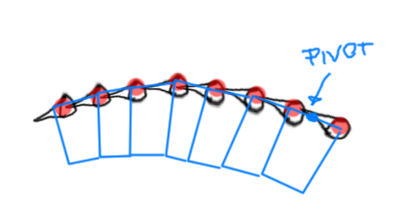
Add Ribbon Renderer and shift the pivot, so the Ribbon ‘grows’ from the bone locations outwards.
Scale the Ribbon on only one axis (the one that defines the ‘trail-length’) via the Velocity (that you can sample from the Skelmesh). Your Ribbon should then grow longer with higher Velocity.
Rotate your texture UVs by 90 degrees, from how they would normally be, so you get a nice trail.
You might get some mesh overlaps at the end of the trail. Not sure how this could be prevented. Maybe by somehow moving the trail-end-vertices via WorldPositionOffset.
I would expect this uses a custom vertex shader on a mesh which looks similar to the picture of Tobias (the one which has the word “pivot” next to it). The vertex shader stores last frame chain (or probably even a lower intervall) position and blends using vertex color or similar between this past-chain position and current-chain position.