Frost Grenade

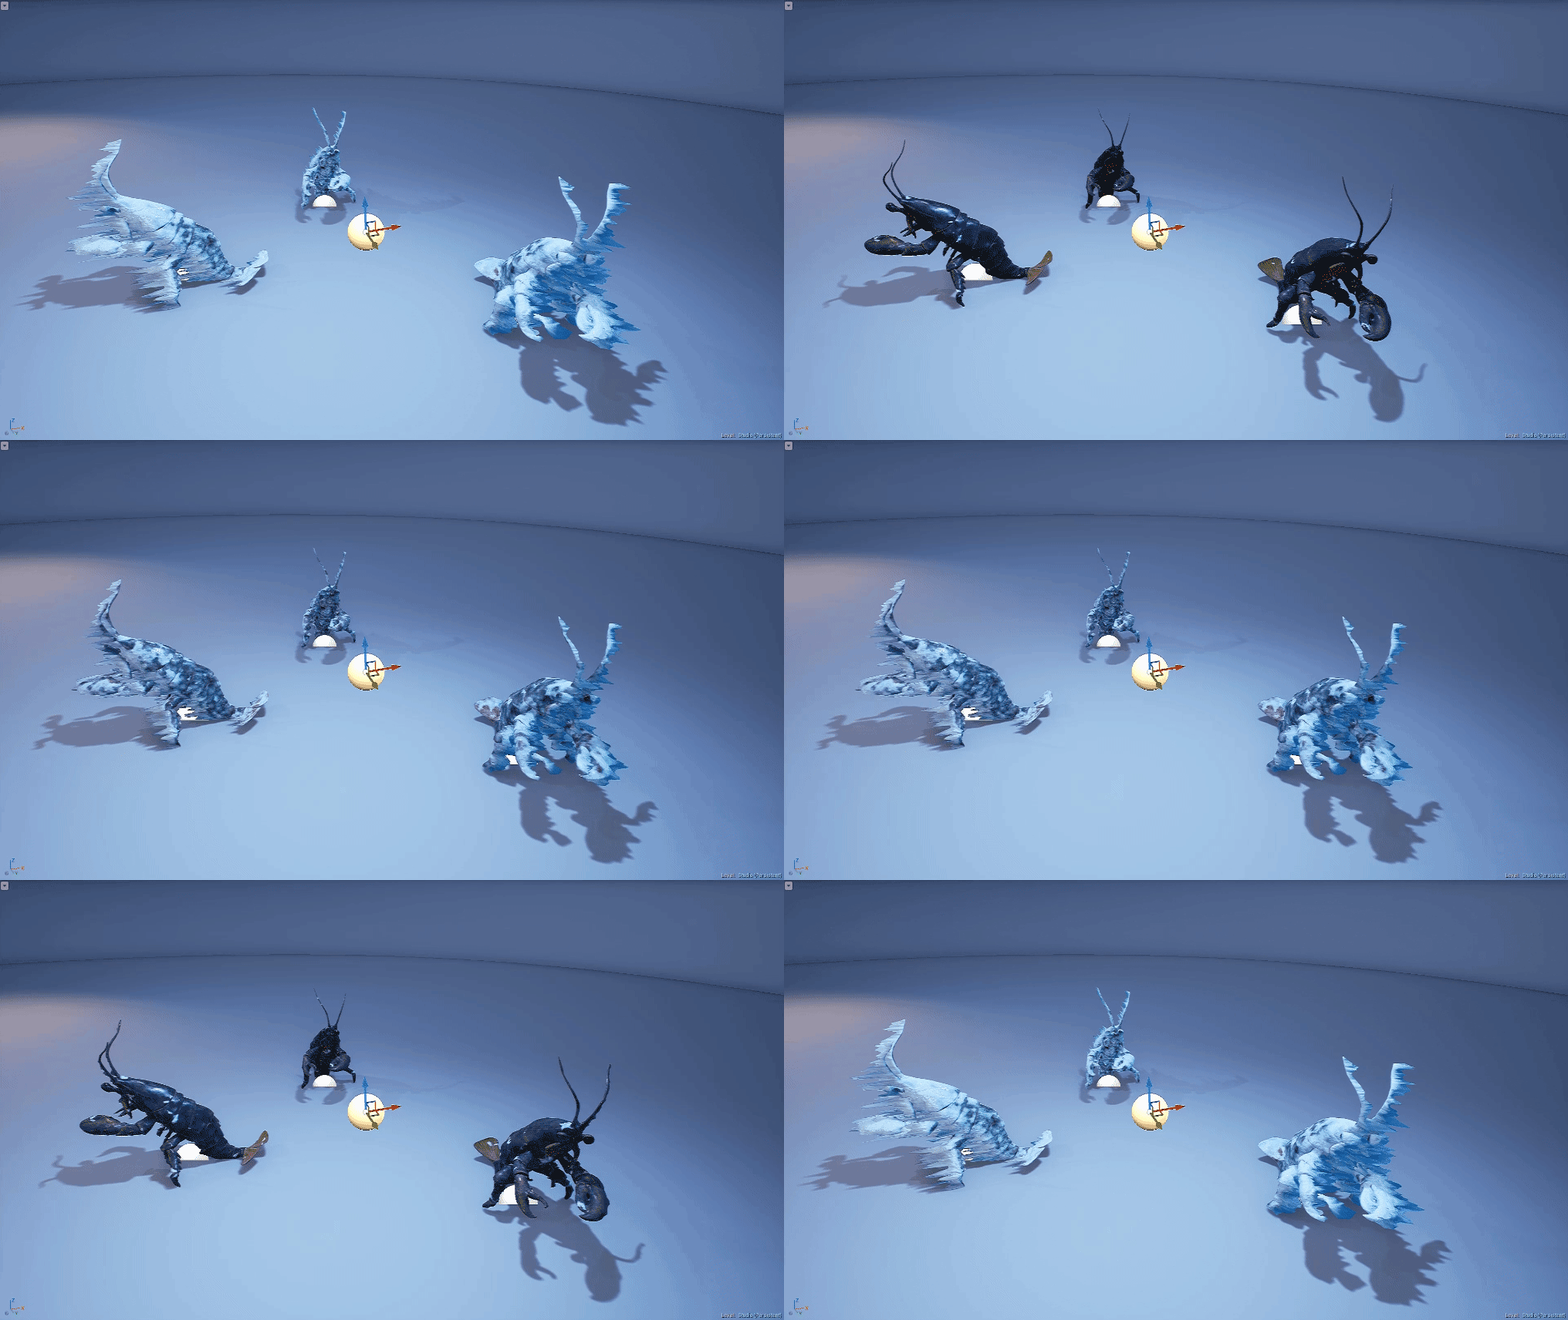
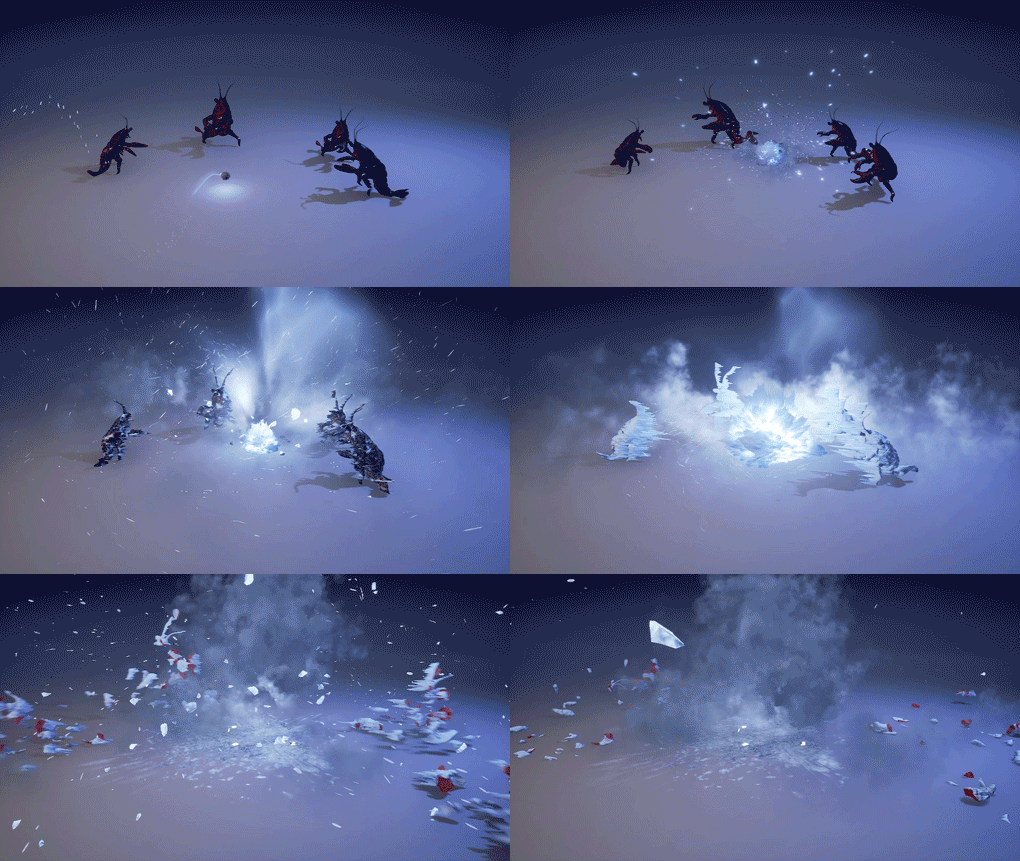
Hi! I am finishing up this frost attack grenade thingy. Just throw it on a couple of enemies, watch them freeze and subsequently explode into lots of pieces. I wanted to get a deeper understanding of Blueprints and improve my ability to implement my own effects into functioning attacks.
I should also credit my friend Jona Marklund for the character: https://www.artstation.com/jona
RTVF_Cover

As I said, finishing up… However I wouldn’t want to call it completely done before consulting the community about it so feedback is very welcome! I’ll post a breakdown soon here aswell should anyone be interested :slight_smile:

Breakdown:

The freeze material:

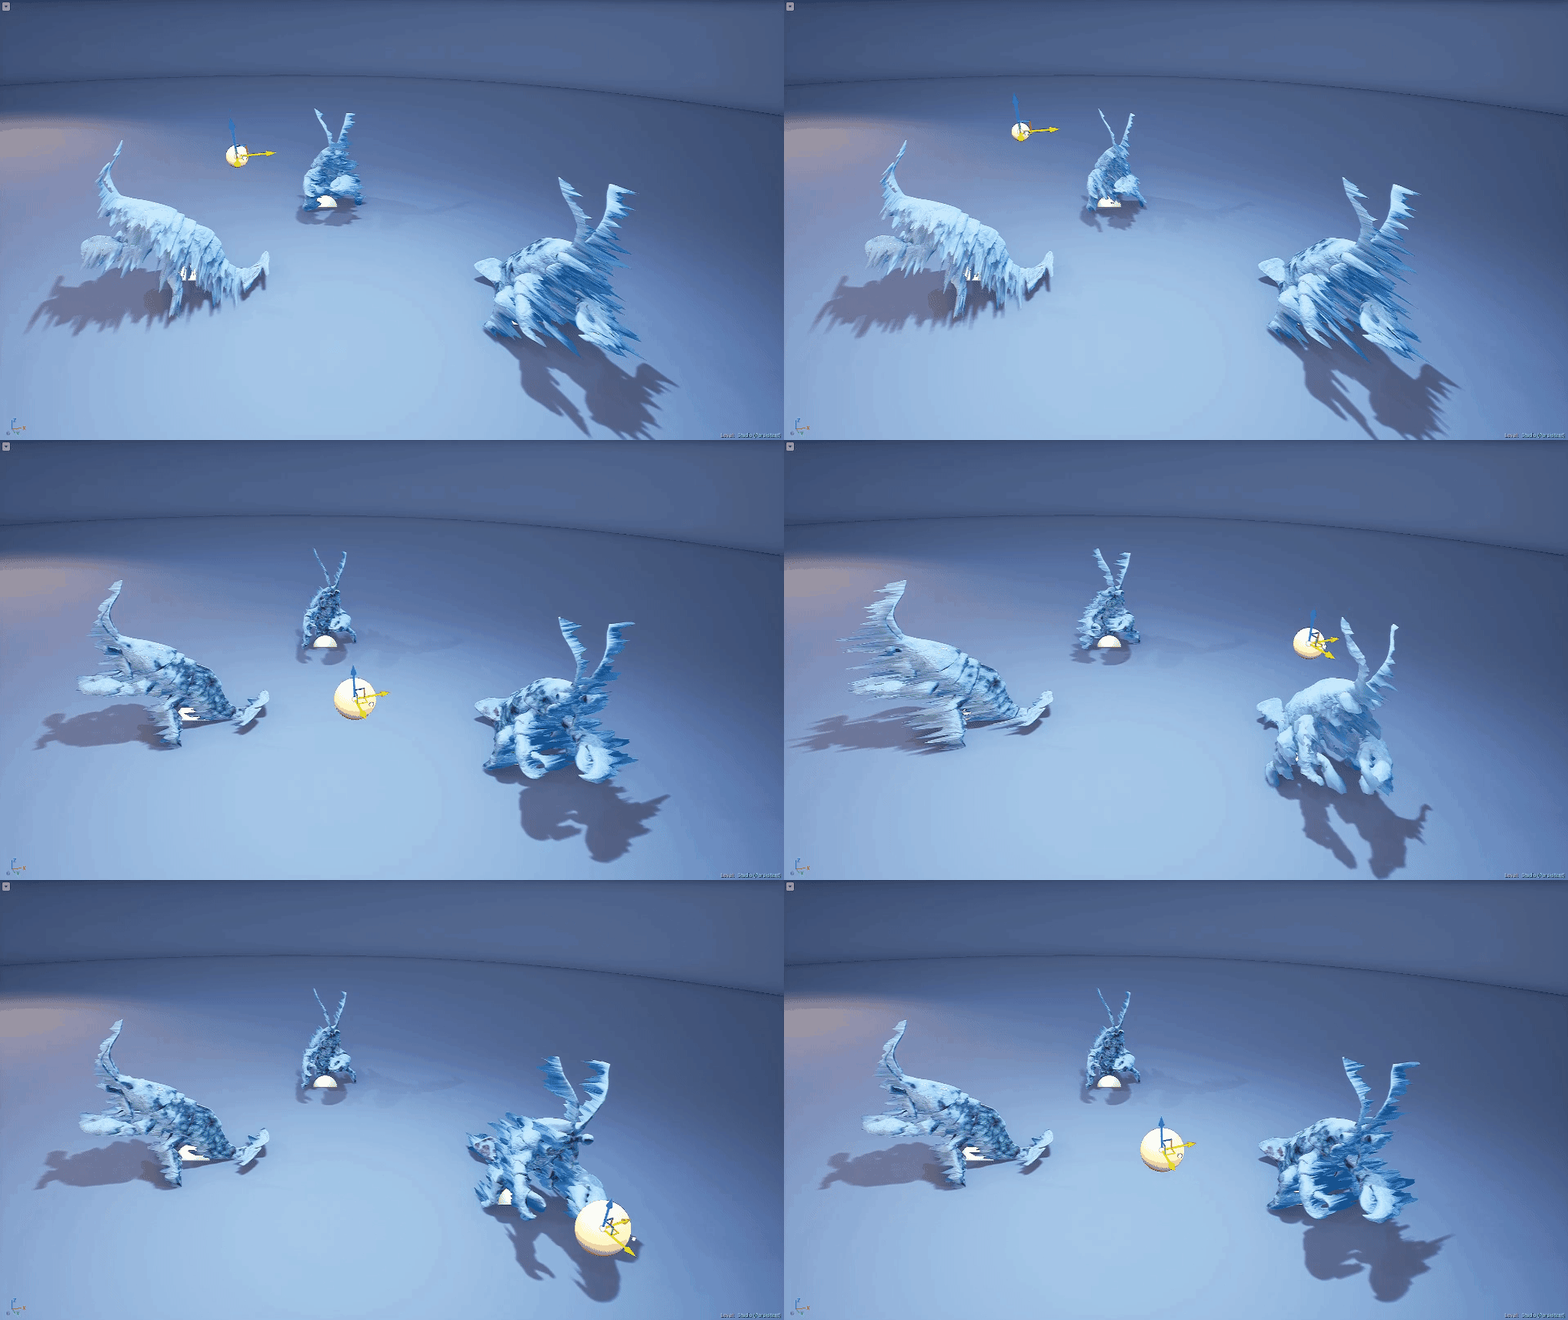
Starting off, the material takes in a vector3 representing the position in WS of the grenade when it explodes. This location is subtracted with the position of the pixels of the mesh to get a vector from the lobster to the explosion. This vector is then dotted with the vertex normals to get which side of the mesh is facing away from the blast. This is now the alpha used for most parts of the material.

The “icicles” on the back of the mesh is made by multiplying a noise with the directional mask we just made, pushing the vertices outwards. The downside to this is that the extruded ice lacks angle corrected normals, but when everything explodes, it’s hard to notice.

The material is too big to fit in an image, so here’s a render: FreezeMaterial posted by anonymous | blueprintUE | PasteBin For Unreal Engine
Also, since BlueprintUE usually is for blueprints, it’s pretty lackluster with no colors for the nodes… :slight_smile: You can of course paste the code in Unreal to see it properly.
2018-10-06_10-39-32
Moving the “Grenade” around.

2018-10-06_10-40-24
Scaling the global multiplier up and down. This parameter is usually controlled by a timeline param in the lobster’s blueprint, triggering when it is within the grenade’s hit radius.

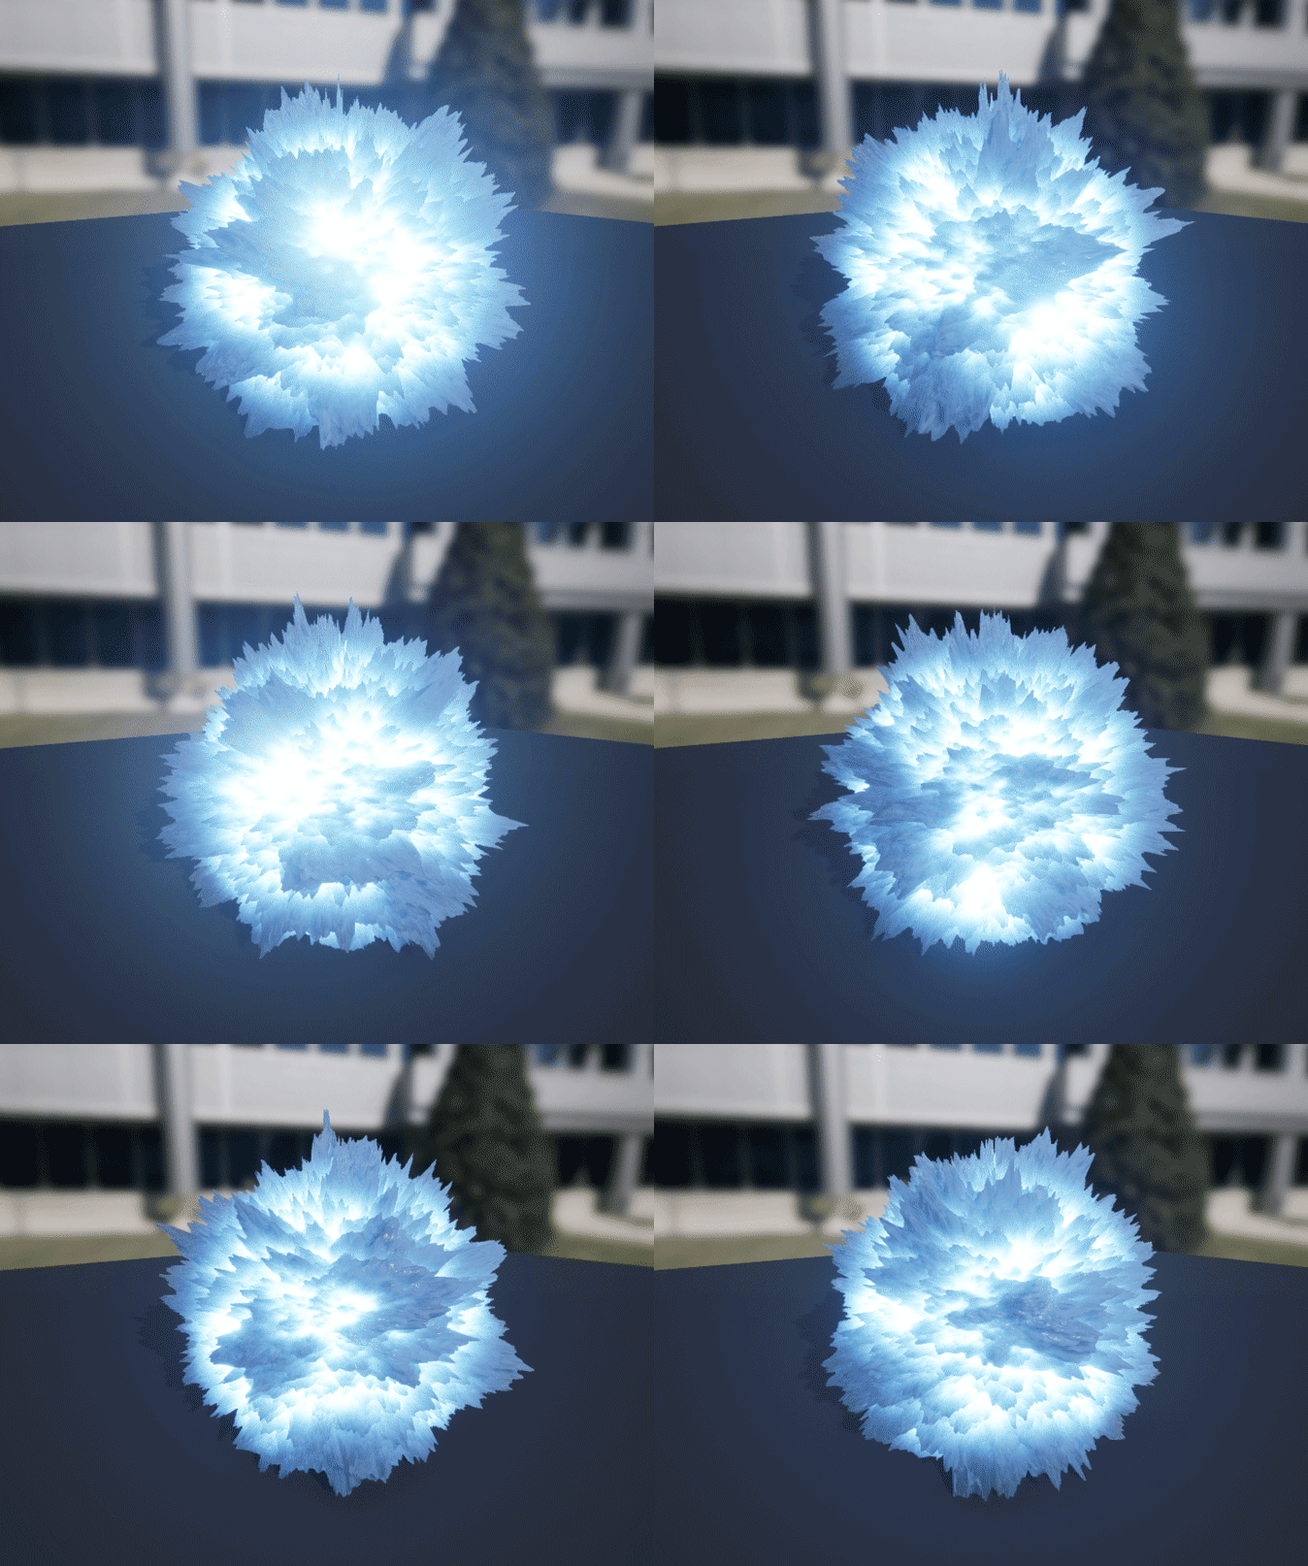
Angry Ice Sphere:
It’s made of two noise textures panning on top of each other in the vertex and emissive channels. It’s size and the amount of vertex offset is controlled by a blueprint containing it and the particle systems.
AngryIceSphere


Throwable blueprint:

The main take away of this blueprint is that it makes a sphere trace from the point of the explosion. If an actor gets hit by the sphere trace, a custom event is cast to the hit actors.

Freezable character blueprint:

  1. Starts the animation at a random fram to avoid synced idle anims.
  2. If it was hit, the aforementioned custom event is called which slows down the anim to a halt and scales up the freeze effect.
  3. Switch to the destructible and apply an impulse at the grenade’s location which makes the pieces go flying.

VFX Blueprint

This blueprint is spawned after the grenade bursts open. It triggers the build up particle effect and the explosion. The unstable ice crystal at the center is also animated here.


Okay so that is pretty much it :slight_smile: Incase anyone would actually go in and look at the blueprints, please point out anything that’s wrong or could be done better, i’m still learning the ropes of blueprint.

123 Likes

Really love that ice effect on the lobsters. Can’t wait for the breakdown!

1 Like

That’s a lovely effect!

The only thing letting it down is the least important bit. The projectile. The trail could use a bit more love as well as the “canister opening”. It doesn’t read super well right now. The only reason I even mention it is because the rest of the effect is so well executed, it’d be a shame for it to stumble on something like that. :slight_smile:

Well done!

1 Like

Very nice! Love the build up to it.

1 Like

Yeah, niiiice. Poor lobsters xD
Can’t wait to see more :smiley:

1 Like

Thanks alot! I should probably rethink the projectile with its canister opening effect. Found it pretty difficult to balance it with the rest; too big and it sort of spends the “surprise” which diminishes the impact from the final blast. Too small and it just feels uninteresting.

Thanks! I use the good old lightmapped smoke technique here with a faked point light at the explosion location. It has proved to be super useful.

Amazing idea :ok_hand:The directional icicles are great touch!

1 Like

Great work, it looks amazing. Thanks for sharing it!

Hehe…lobstar on ice!!!
…I like the sequence of the effect! Alot of beautiful details and dynamics.
Maybe the angry sphere could be more defined, what it should be?

Good job!!! :slight_smile:

Cheers
Emre

1 Like

great result! the directional freeze is super cool

1 Like

Typing in “lightmapped smoke technique” & “lightmapped smoke” brings back far fewer results then I expected. Is the technique you express also known as “6D Lightmaps”? (Which also brings back fewer results then I expected.)

If not, and for the sake of thoroughness; What is the lightmapped smoke technique?

1 Like

I love how you made it grounded in the real world by using the vacuum concept, it makes so much sense

1 Like

Somewhat unclear but I’m referring to this thread: Smoke Lighting and texture re-usability in Skull & Bones

1 Like

This is perfect inspirational content right here! Great job and thanks a lot for sharing!!

1 Like

really really great work. Looks and feels amazing. jqarlsson could not be more right :smiley: perfect inspirational content

1 Like

after watching this half a thousand times, you don’t pre shatter the frozen characters, do you?
At first I thought that would have been the obvious choice, replace the material, do the freeze offset und color lerp, replace mesh with shattered rigid bodies and apply force. But then I looked closer because I thought that would surely mess up the transition somehow, because the shattered pieces could not be in the right pose.
or… you spawn the shattered pieces on the bone positions and the inbetween tiny broken pieces don’t matter that much.

well or you cut up the mesh for real in real time, but that is highly unlikely… or is it?

Hey, sorry for the late reply. Since everything is exploding so fast, you won’t notice that they are prefractured and simply static versions of the animated characters, posed somewhere in the middle of the idle animation and are switched at the time of the explosion. There’s not alot of movement in the idle animation so it works.

In another setup similar setup I’ve worked on, I had to match the positions of the physics body parts with what pose the skeleton would be in at the time of freeze - there I just attached different severed bodyparts on the skeleton.

Another setup would be to alter skin weights in runtime, this is possible in UE4 but can be buggy from my experience. So step one would be to prefracture the character but keeping all skin weights, then switch skinning profile so that each bodypart is skinned 100% to each bone when the skeleton is released and go limp.

2 Likes