Hello everyone!
As I add a bit of spare time, I wanted to showcase a use case demonstration I did at PopcornFX for SIGGRAPH in partnership with Xsens. The goal was to set a scene for previsualization, with a character made of particles, capturing the animation from the XSens motion tracking suit. The project was set to render at 60fps, and was using an Ipad as a camera, which was capturing your movement and position thanks to the Virtual Camera plugin provided by Unreal.
The environment itself isn’t that much of a deal, but the interesting part is the way we constructed the character itself.
We wanted to go for “blobby” look, as if it was made out of some kind of mercury. As the effect couldn’t be heavy due to the fact that it had to run on a laptop, with various softwares running in background, dooing it with a metaball was not possible. So we came up with a pretty sweet technique, which is based on a matcap.
First, in PopcornFX we sample various positions on the mesh to create various sphere. We also spray some other mesh when a certain velocity cap is reached, in order for the character to be able to spray its liquid everywhere. Finally, they creates decals on the ground. Pretty light, and it works fine.
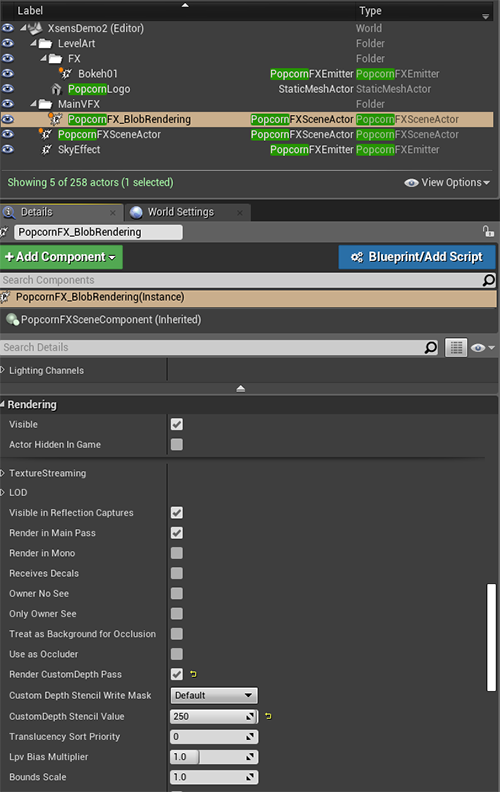
Then in unreal, the goal is to have render this VFX on its own. The cool thing is, with Popcorn, you can have multiple PopcornFXSceneActor, that will allow you to render them in different passes, without having them batched all together. Thanks to that, I’m able to render this VFX allow, and to render it in a stencil.
Once this is done, I can create my post FX creating that blobby look. The overall Idea is to blur the normal pass of you’re render. That way, you obtain a smooth surface, which is pretty convenient when you’re looking for a fluid look. These normals can then be converted to the view space, and be used as UV for you’re matcap. Then, after playing around a bit with color, fresnel, and everything to try to make it the best looking possible, you can use you’re stencil to mask out the part you want.
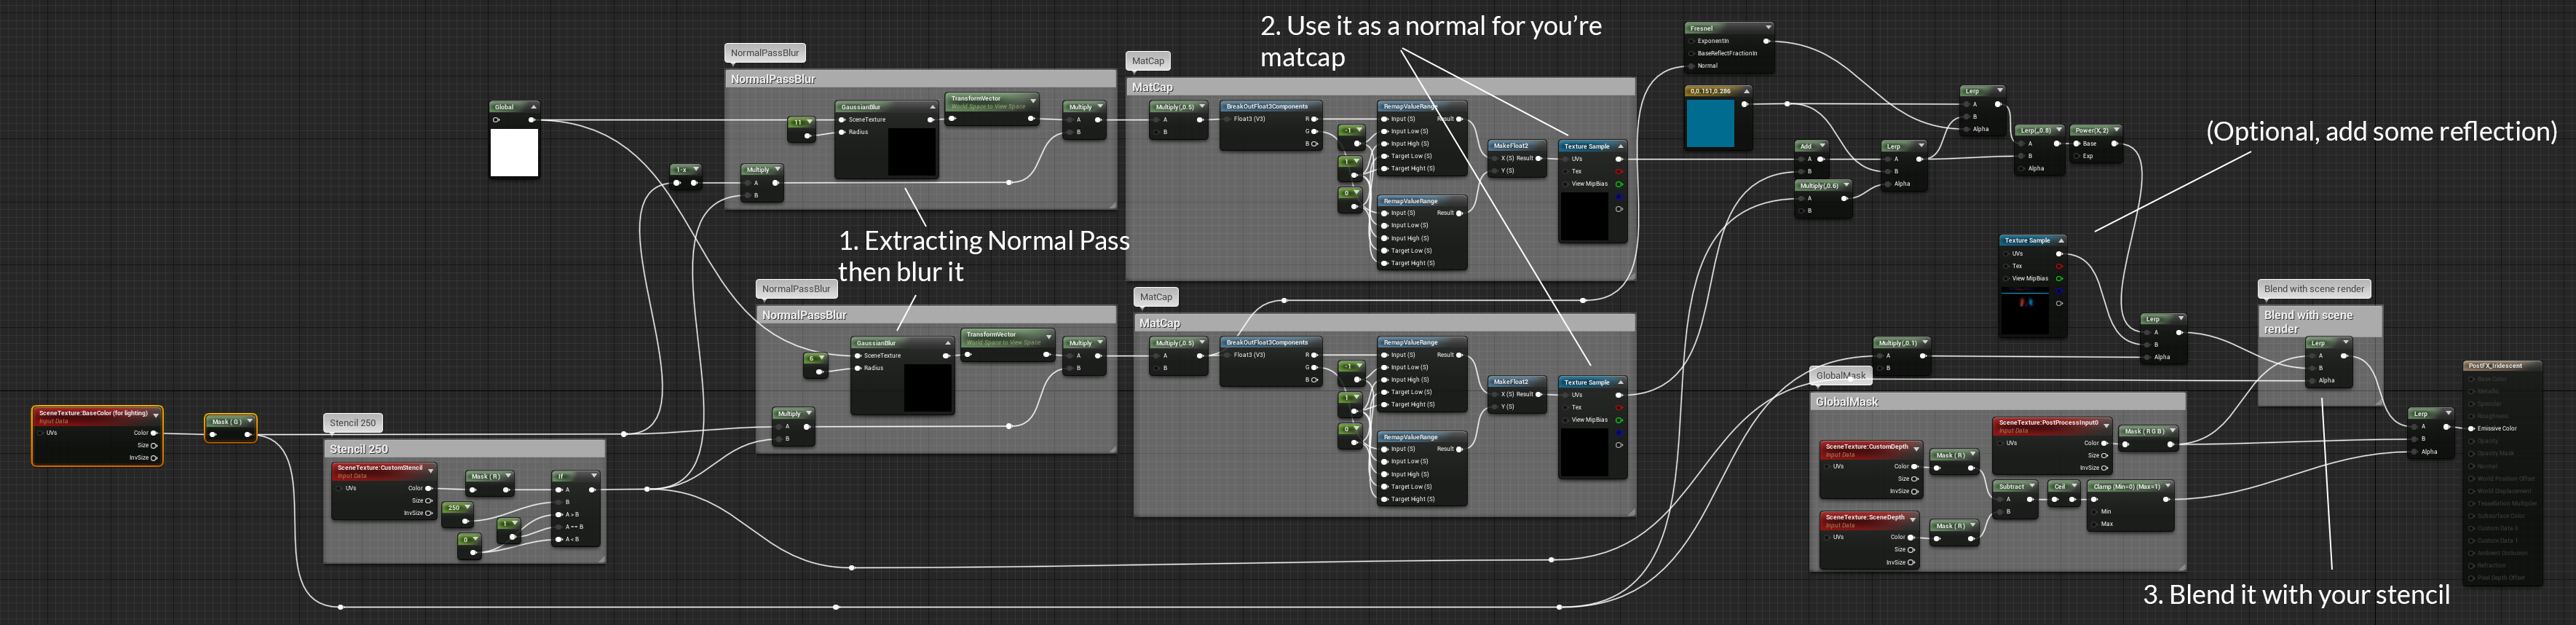
Finally, a not so small detailed, I do my blur pass & matcap pass two time. The reason for that is in order to have a nice transition between the foot and the puddles. otherwise, it would blend the normal between these two, and it would look very weird.

So here it is, it was a very nice project to work on, and I was more then glad to showcase it at SIGGRAPH. On the technique used, there’s lots of things that can be adjusted to make it run smoother (such as changing the blur depending on the distance…). But for this demo, it was more important to have constant FPS rather then overall good performances. The project has been done in a month, and for a previsualization pipeline, I’m pretty happy with the result.
Hope you liked this little breakdown ![]()