Uber Shader: How do you handle your layers/textures? (blending, amount, distortion, ...)

Thumbnail:
image

Hi lovely people,

I wonder many layers you have available in your generic uber shaders, how you blend the layers (additive, multiply or a mixture?) and what control you have besides UV scrolling. I’m often unsure what a good setup would be and end up with several different shaders or many many many switches in my uber shader.

For a bit context, here are approaches from other games:


— Diablo3 —

From the great d3 vfx talk we know, that they blend at least:

  • RGB: 2 Layers, multiply
  • ALPHA: 4 Layers, multiply (3x tileable texture, 1x mask for soft edges)

image


— X:Rebirth —

In a space sim I worked a while, we had a different approach:

  • RGB: 2 Layers, additive
  • ALPHA: 3 Layers, multiply (2x tileable texture, 1x mask for soft edges)


— My Approach —

Right now, my shaders often use :

  • ALPHA: 4 gray scale layers (3x tileable texture, 1x mask for soft edges)
  • RGB: 1 LUT-Gradient (which colorizes the 4 layers used for the alpha, this is used as RGB)
  • Distortion: A grayscale- or normalmap which distorts everything except the 1 mask for soft edges
  • Sometimes I add switches for different UV sets e.g. special UVs for trails, radial UVs or flipped UVs.

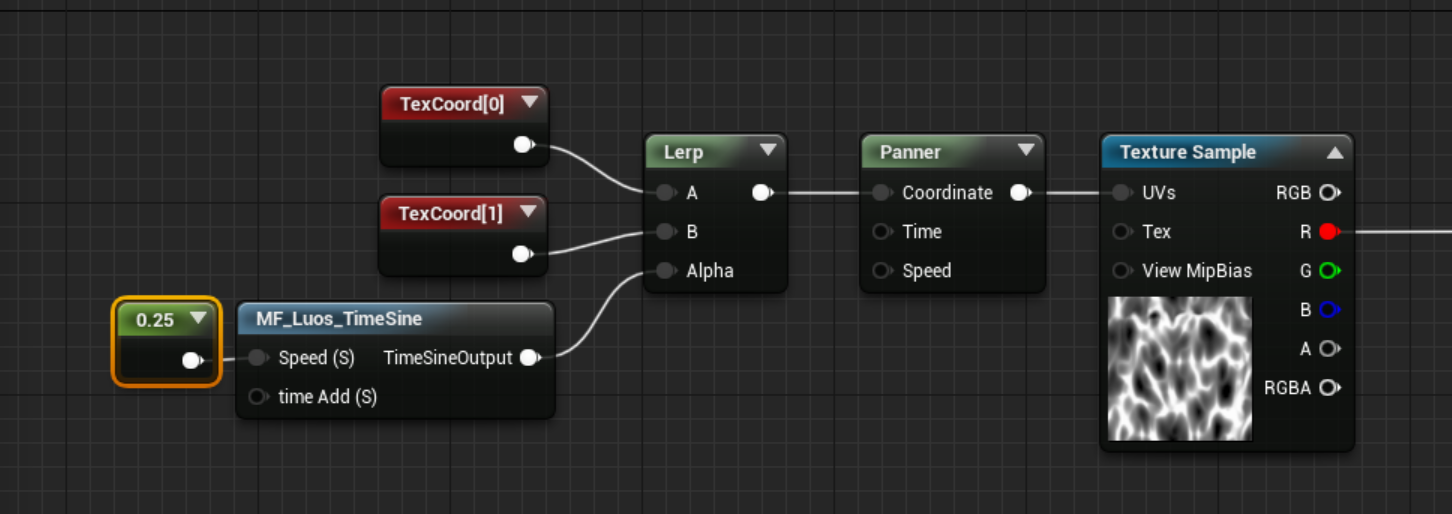
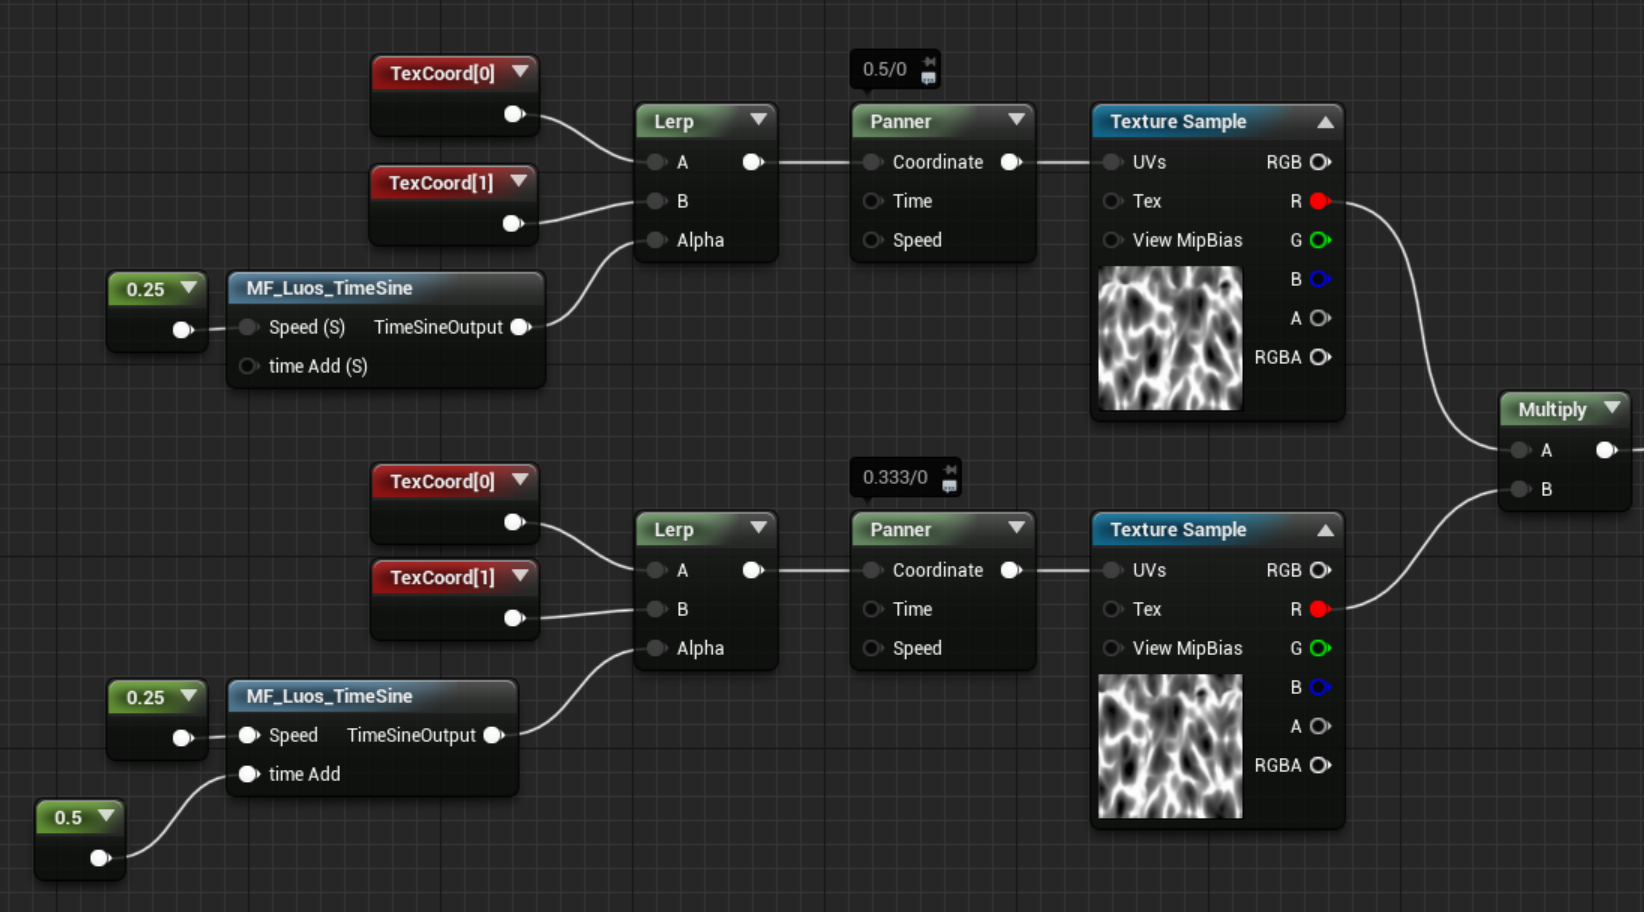
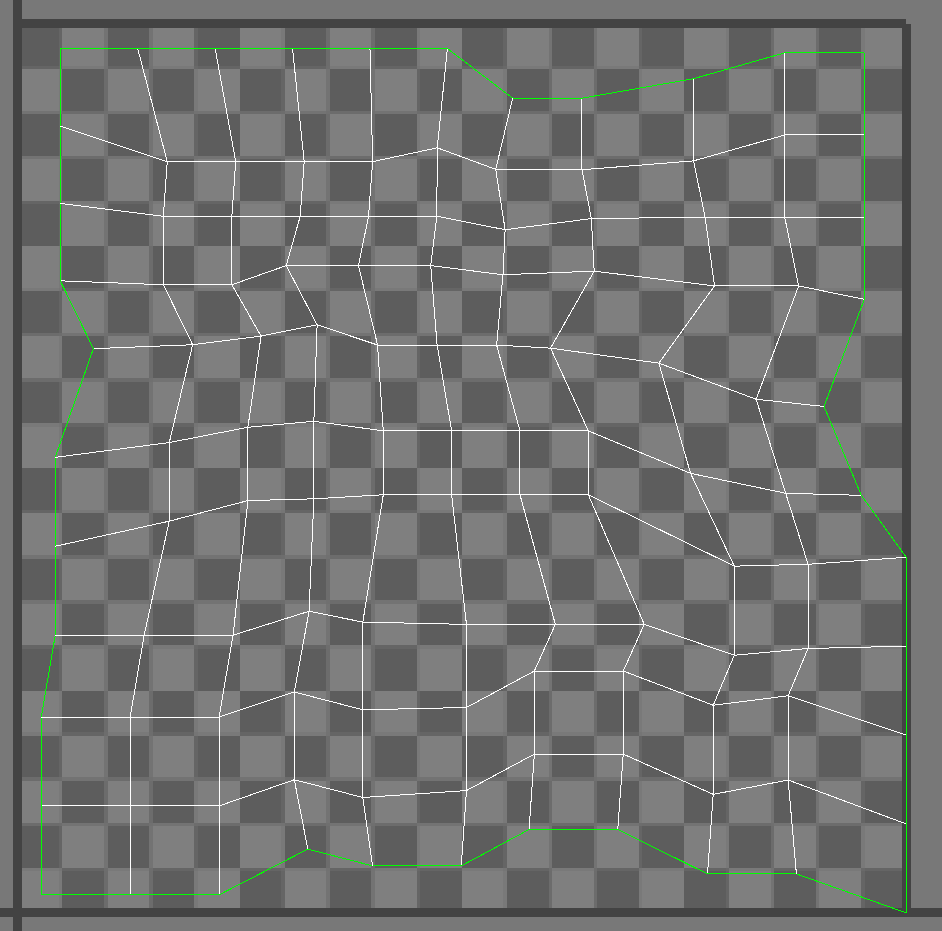
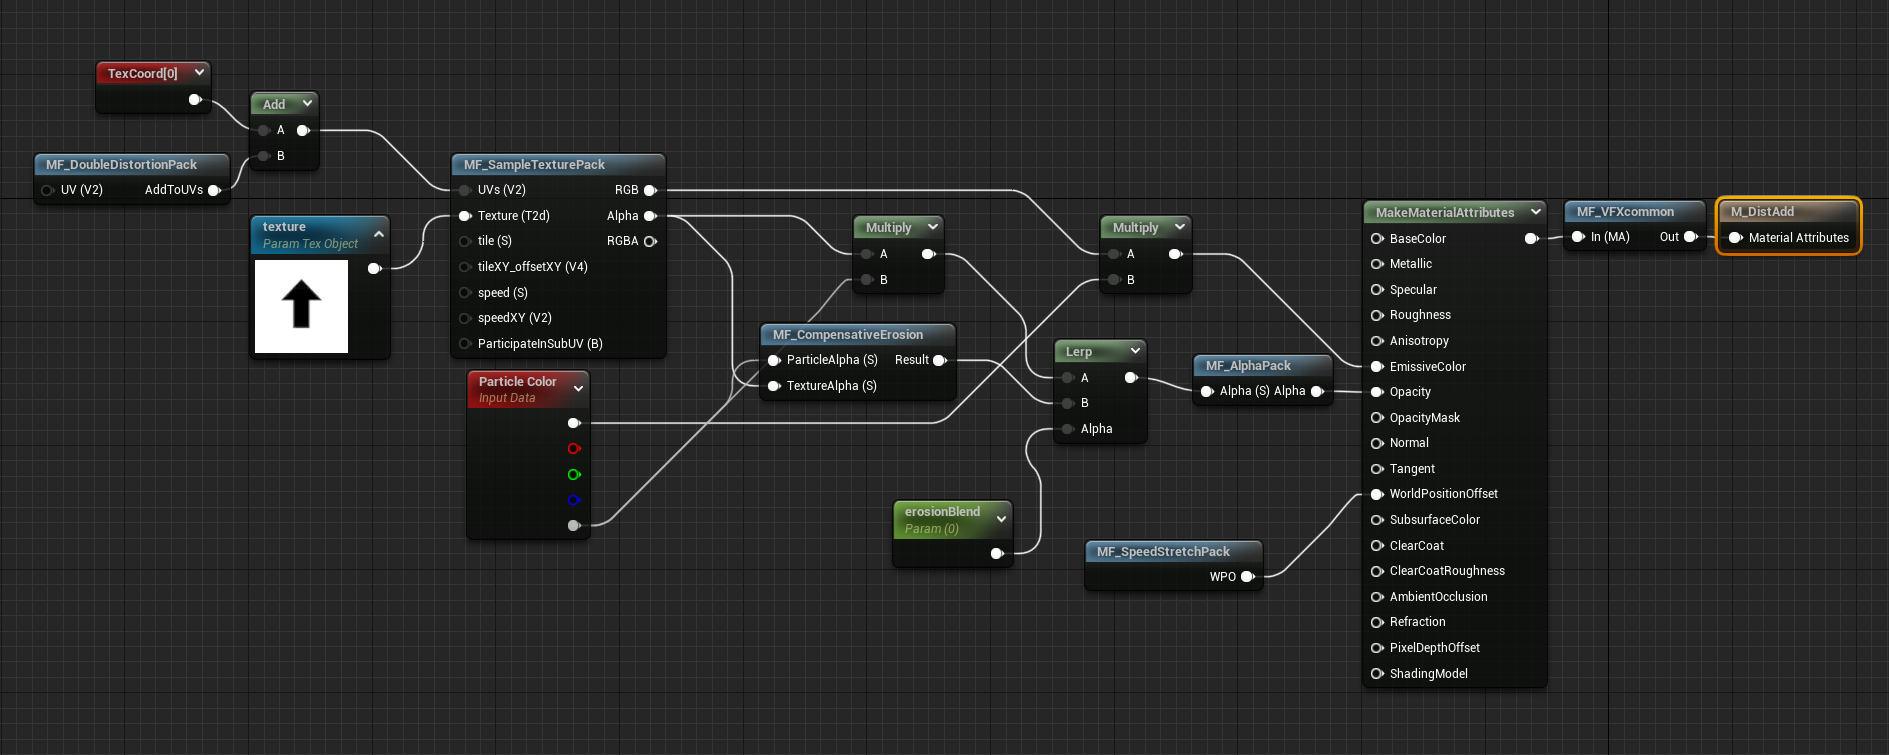
Sometimes I blend the layers additive, sometimes by multiply or sometimes via screen blend. In any case I often need some extra controls to push the intensity of the layers. Here for example is my Unreal version of the diablo talk but it does not work as well as in their example - the shapes are not strong enough I think.

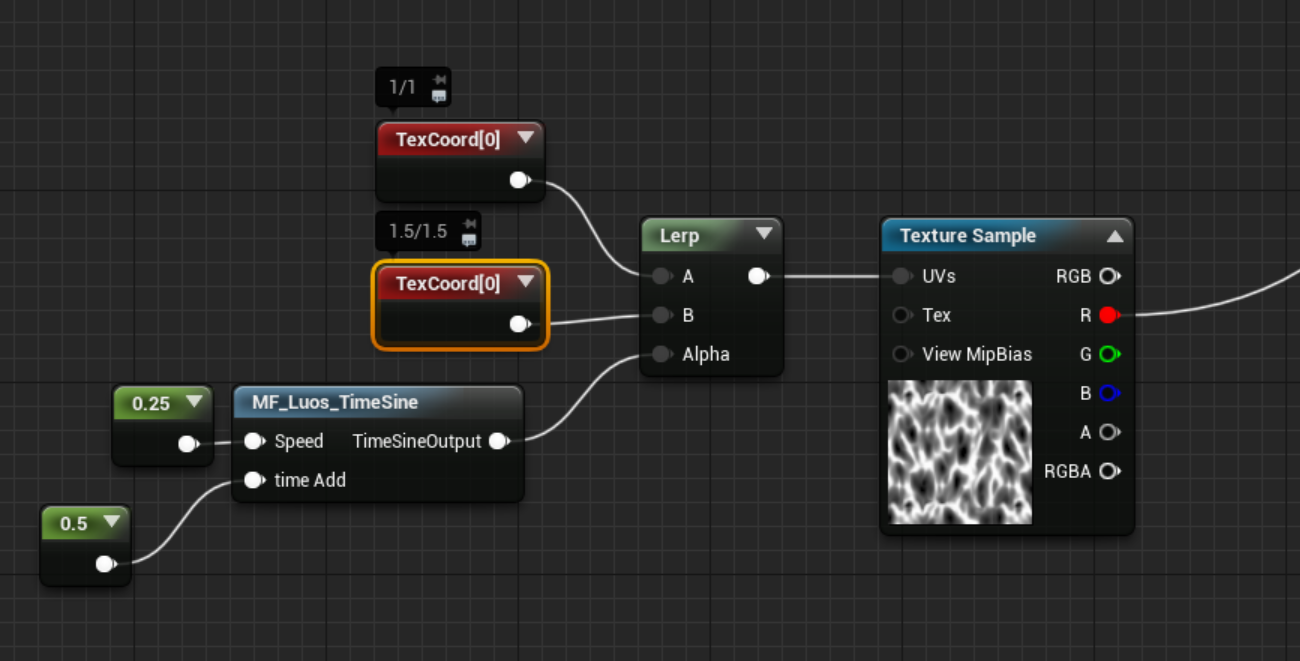
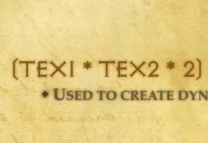
That’s why I often provide a multiplier to boost everything. Here I used *4.0 (instead of *2.0):

I wonder how you guys doing this.

  • Are you using “real” RGB textures or are you doing it like me by blending grayscale textures and colorizing via LUT?
  • Do you also provide multipliers to push (all or only certain) layers?
  • Are you using UV distortion and if so, do you distort via grayscale or normal map?
  • Do you use switches to enable different blending between layers or did you set for one option (multiply, additive, screen, …?)
  • How many layers do you offer to be used?
  • How do you blend between the layer?
  • Do you offer different switches for different UV sets?

I’m looking forward for your answers!

Have a very nice day,
Simon

5 Likes

Besides workflow, in the end it does not matter if you have one material with a lot of switches (which, if you let artists/inexperienced people handle them, can cause instance bloating. Protip: use ue4’s material analyzer to find duplicates)

So I generally make simple setups, with the minimal amount of variables needed, and replace textures/vars in the few instances that are created. Instead of relying on a lot of switches, I’ll make a new material when I need totally different results.

I blend grayscale textures (compressed to alpha, as it gives a much crisper result, to the point where I can lower their resolution without much loss in detail) and either multiply with color, or use luts.

I use multiplies, subtracts, Exp’s, and a few blend functions either for certain layers, or to adjust the end result, it really depends on the end result I need/am going for.

I rely more on uv-distortion than blending nowadays, unless the effect is up close and lasts a long time.
If an effect is short, snappy and/or small the player generally wont notice all the details anyways and then I am more concerned about the shape and animation.
If its up close and/or lasts longer I might blend in an additional texture to add some nice details to it, if its worth it. I’ll add quality/feature level switches so the additional/secondary texture can be disabled on low end hardware/older shading models.

layer-wise, generally I am the solo-vfx artist but two, three tops is generally enough. but since I tend to make materials more custom for each effect (and mainly rely on reusing for secondary and tertiary parts of the effect) it really depends on the effect if I need more layers.

how I blend, I already mentioned before.

You can use switches to change between different uv sets, but sometimes I just lerp between them as well. (can give really cool results over time if you did the uv’s of your mesh properly) this results in needing less unique materials under the hood and that one additional instruction wont be a problem.

My tip: dont rely too much on static switches, if you can save more than a few dozen instructions it might be worth it, else it might actually be cheaper to just lerp between different branches of the material.

I also heavily rely on vertex colors, and using that to control blending/uv channels/what branches are being used in the material.

5 Likes

Derailing thread a little:

Random example for the lerping between Uv’s btw:
uv0:

uv1 (also rotated 90 degrees):

the material:

The result:

Now if you go a little more in-depth:

gives a nice whispy effect.

But even if you only have one UV channel (and some warped verts in the uv-map)
You can get nice results:
(something I tend to use lakes/quiet bodies of water, and of course, other vfx where it fits)

and if you use verts more like this:

Then lerp between the same uv’s with a different scale + pan:
you basically get a near-free uv-distortion:

10 Likes

I’ve come up with a different aproach.
Instead of having a single ubershader for all my particles - i opt to pack common techniques, like uv distortion, alpha erosion e.t.c. into small material functions and then build as many shaders as i need from them.
This way i can put together whatever shader i need very fast, and i’m not losing my mind trying to pack everything i could ever need into a single graph

3 Likes