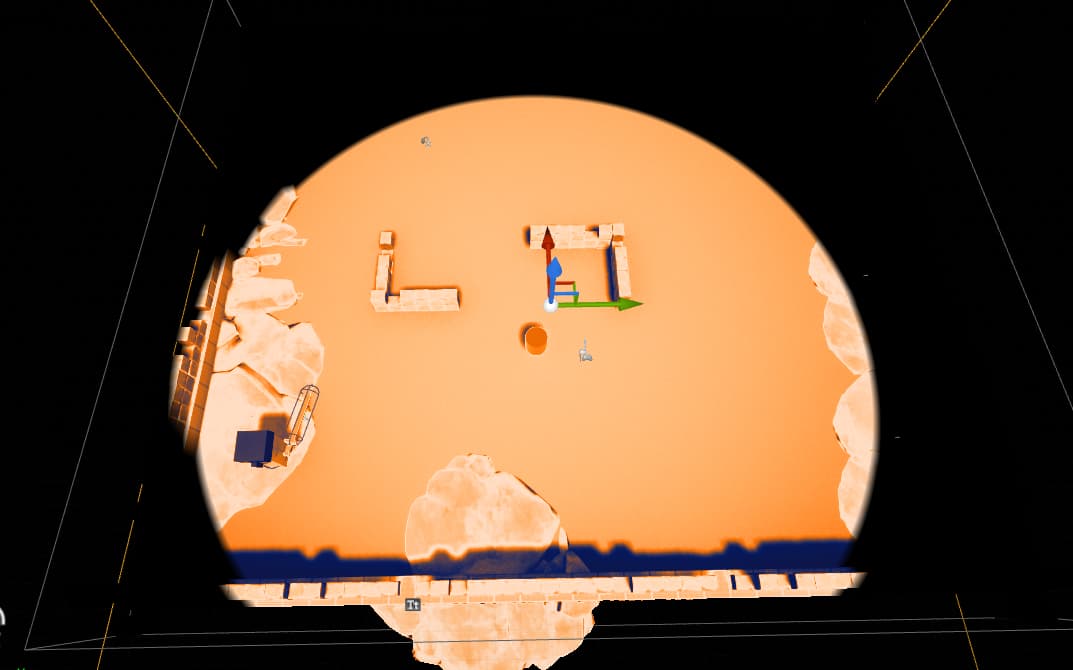
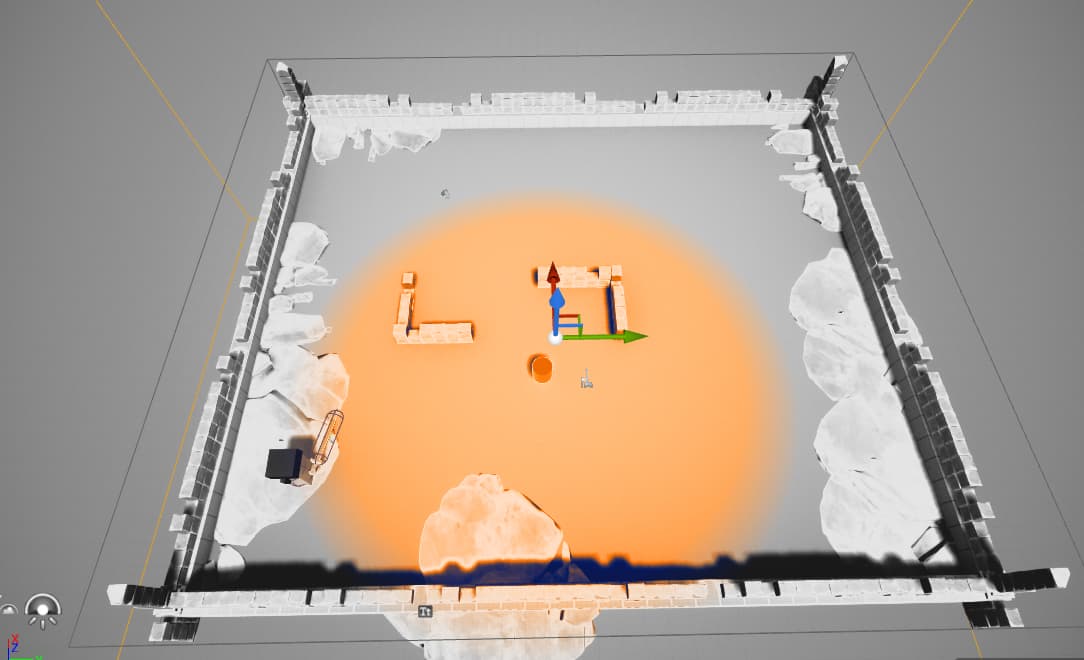
Hey. I was testing an idea I had where you switch LUT only in the area the sphere mask is while keeping the rest of the world/level without the LUT applied.
I’m still trying to find a way to do it. Would appreciate any help. I’m using a 1d LUT btw.
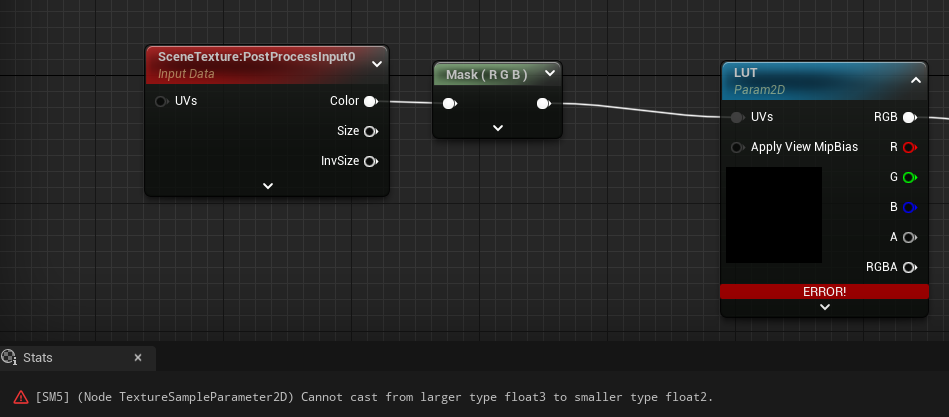
And what append if you make the scene texture a float2 ? If it doesn’t work you can still try using a lerp and using the scene texture as alpha but you will have less control and possibility.
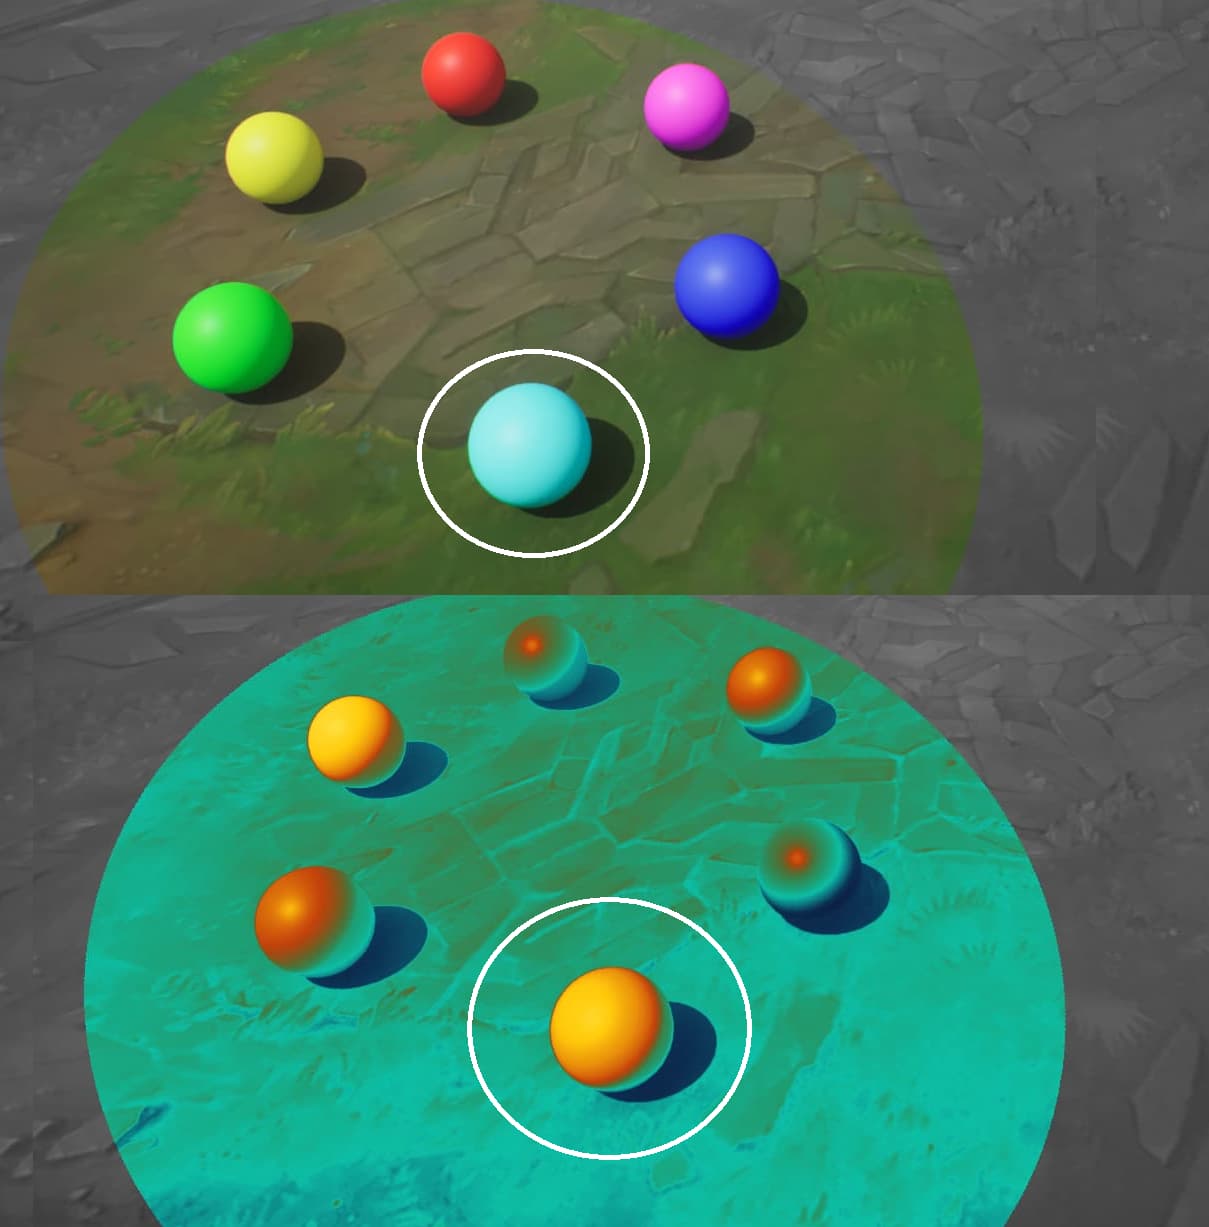
If you make it a float2 you lose the color information from the excluded channel. For example, if we make it RG everything that is blue in the scene would be excluded from the LUT and looks weird.
Also, I can’t use the scene texture as alpha without getting some bugs as the scene texture is an RGBA texture, and I can use the lerp alpha with only one of the R, G, and B values from the scene texture, effectively losing data again.
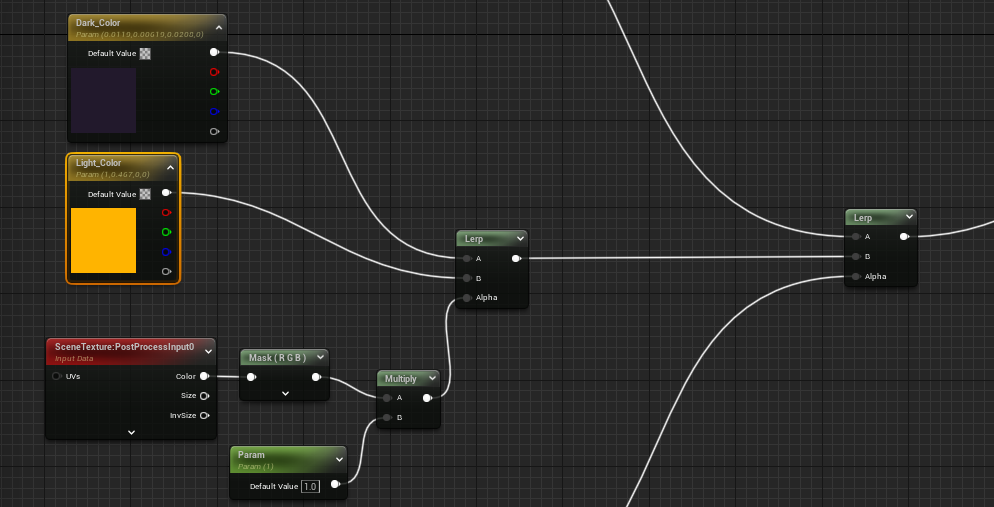
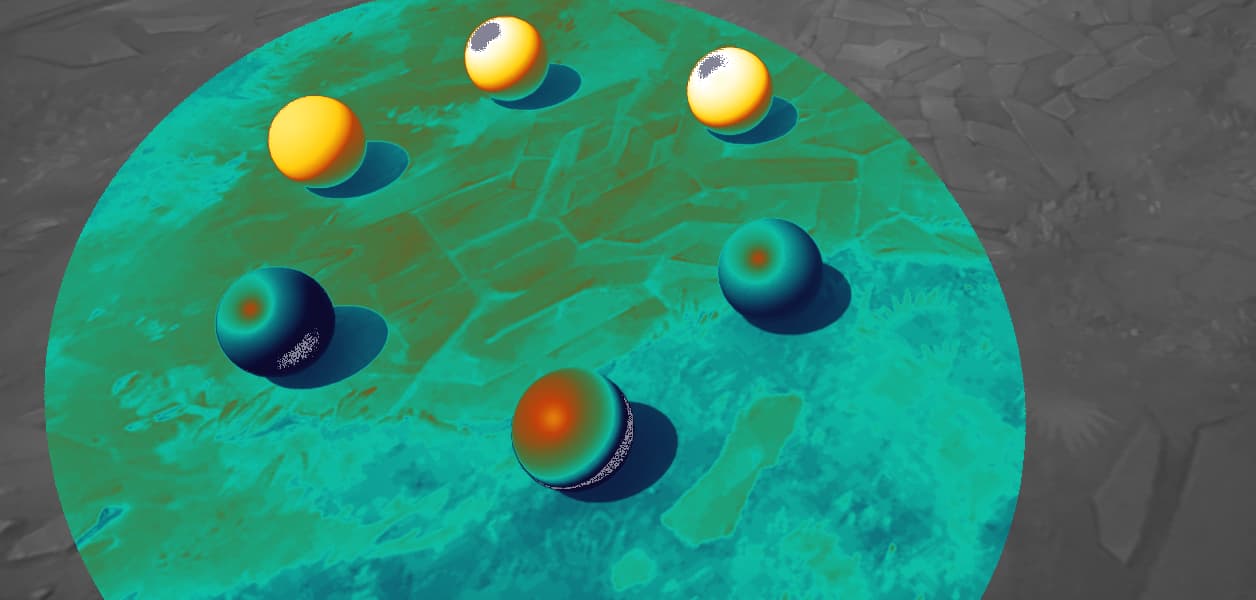
My current iteration looks like this and it’s ok for now. But it still lacks the full controller.
I know there are also some issues with LUT as they don’t work the same on HDR-enabled screens so maybe this current iteration will do fine as it shouldn’t have any issues with HDR.
I would still like to know if there is a way to get the LUT method working thou
I did try a similar approach. Instead of just using desaturate I divided the RGB by 3 to get grayscale values and then I added the channels together to get 1 grayscale value, but it didn’t work as the values weren’t correct.
I think the final result you got on the test still isn’t correct. You still exclude the information from the blue channel.
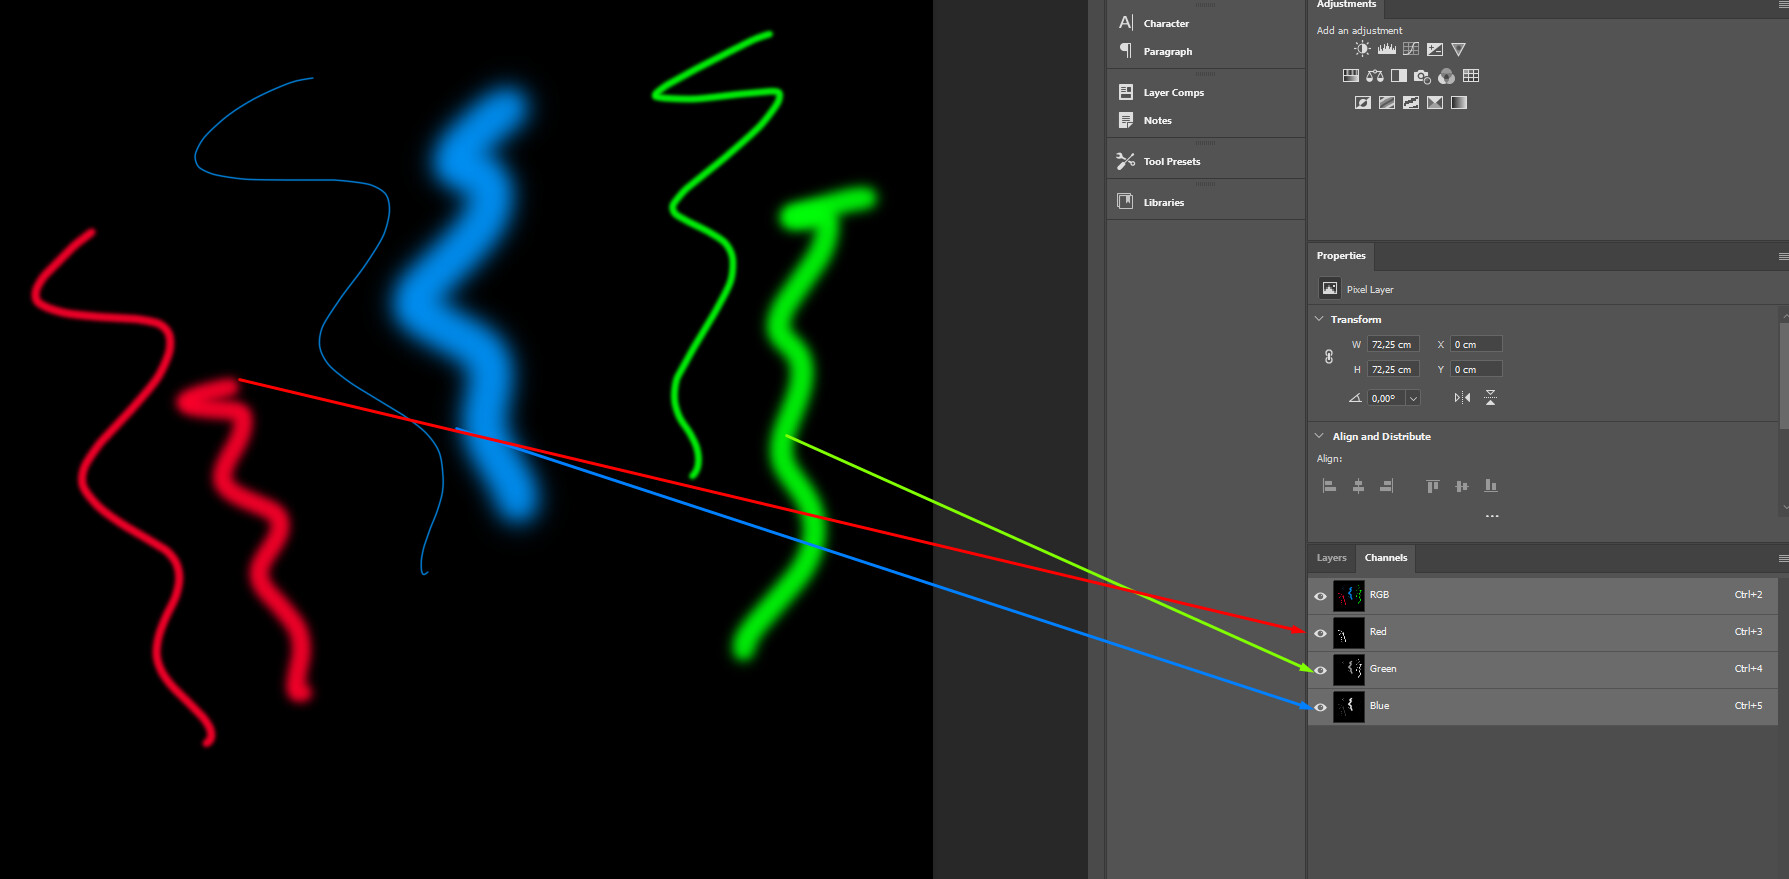
If my reasoning is correct then the red channel is a grayscale channel in itself that represents all the red color information of my scene, the same is true for the green and blue channels. So by excluding the blue channel I remove the blue information from the world as it’s stored as grayscale values in the texture in the first place. It’s the same thing when you look at such a texture in photoshop
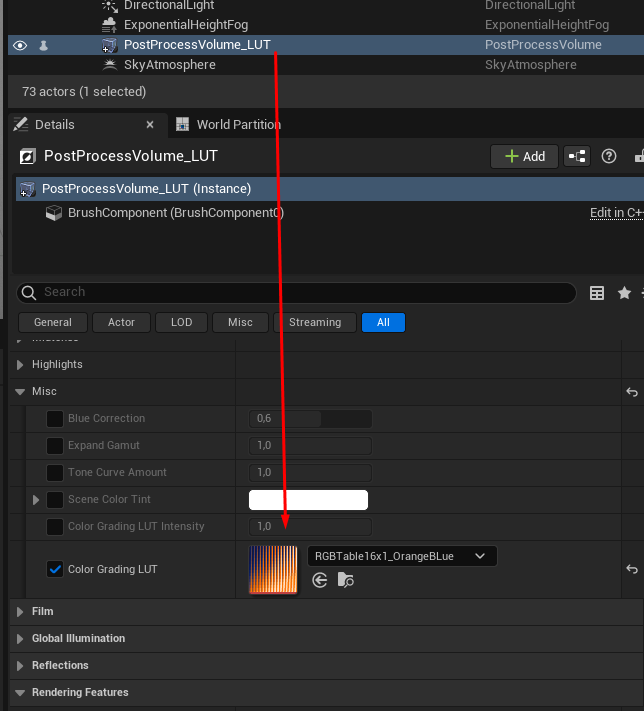
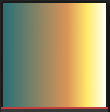
Here is what the LUT looks like for a better understanding
Dividing by 3 and adding all the channels is close to what Desaturation node do but won’t be accurate since the node use Luminance Factors.
More specifically, the Desaturation node calculates the grayscale value of each pixel using the following formula: Grayscale Value = 0.3 * Red + 0.59 * Green + 0.11 * Blue .
Oh wow. I apologize. I didn’t notice that the blue ones still looked ok.
TBH I’m a bit confused now as to what the individual channels hold. How come the blue channel was preserved even with just the RG masked?
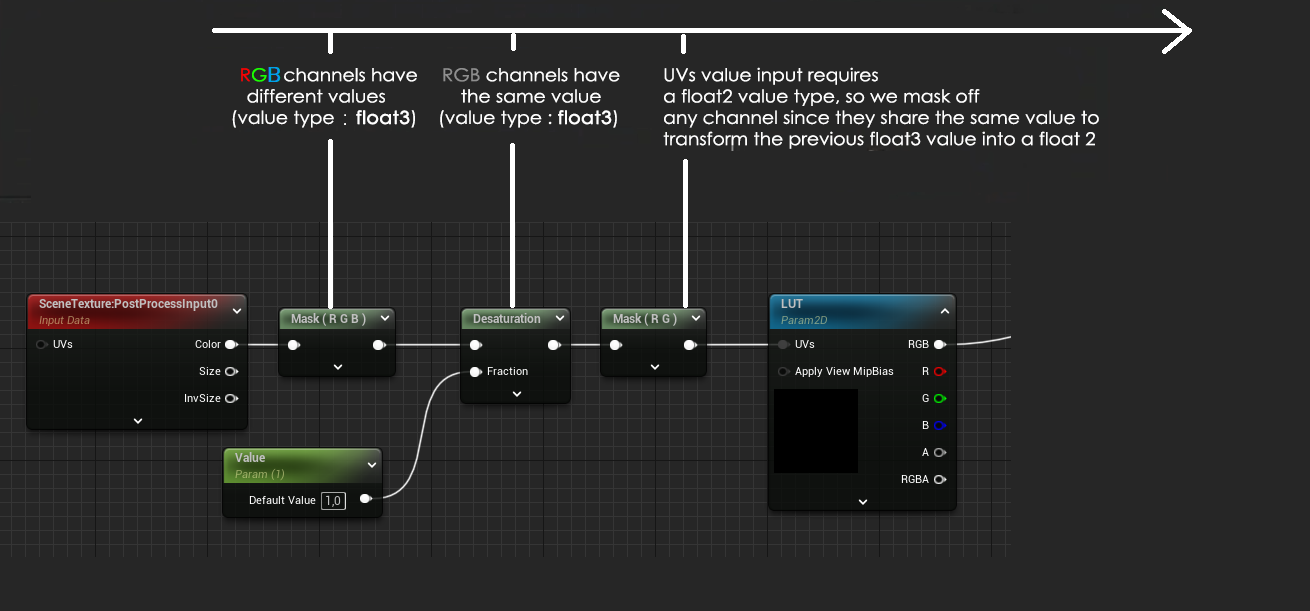
This is possible because we mask the blue channel only after the desaturation.
The desaturation convert the Red Green and Blue into grey.
Now all of the channels (Red Green and Blue) contain the same value.
In our case this is a float(3) so we mask one of the channel to obtain a float(2) to be used in UVs (could be any of them because once again, they are the same)
re: desaturation converting all the channels into the same grey scale value, I also didn’t know this, great information in this thread, thanks @Borniol