The Renderer Visibility Tag is a really handy attribute especially when you want 2 particles to move the exact same way. This reminds me that back in Unity, I would write a script to generate a random int value and assign the variable to the emitter seed of different particle systems for the similar effect. However in UE Niagara, the emitter random seed is not scriptable, so it’s kinda like a constant parameter? Perhaps it’s just that they have different design philosophies.
I answered in the youtube video, but I had more issues with this since a coworker needed to tweak a material I was modifying from sequencer so I tried another half-baked solution.
What I did was to create a Blueprint where I set the material instances to the meshes and each time I wanted to modify the materials I would pause the sequencer and hit the “Reset Instance Changes to Blueprint Default” option of the actor so it would grab the original materials again.
This is still far from ideal, just another workaround for the same problem, let’s hope someone finds a better way or Epic implements an alternative approach, like animating the Custom Primitive Data directly form Sequencer. I didn’t try all the solutions suggested in the comment section of your video though.
Update: Iteration on Dragon Breath
preview:
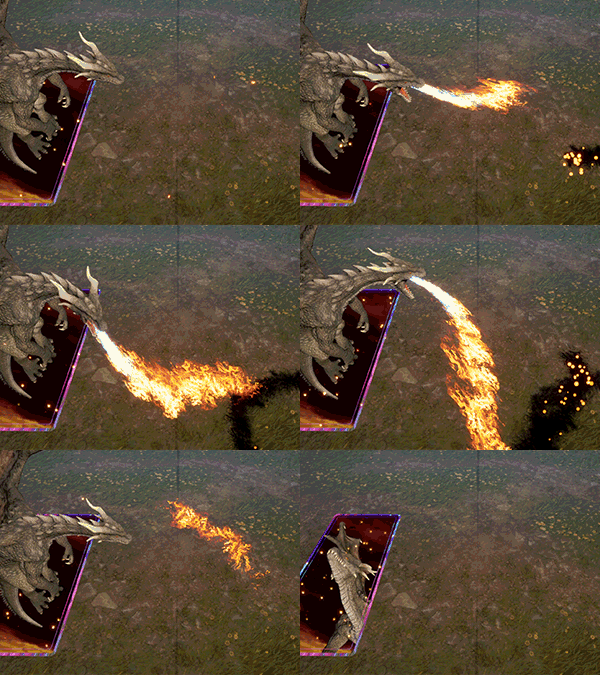
Update:
- Improved Dragon Breah
- Added Impact + Burned Ground “Decal”
Preview:
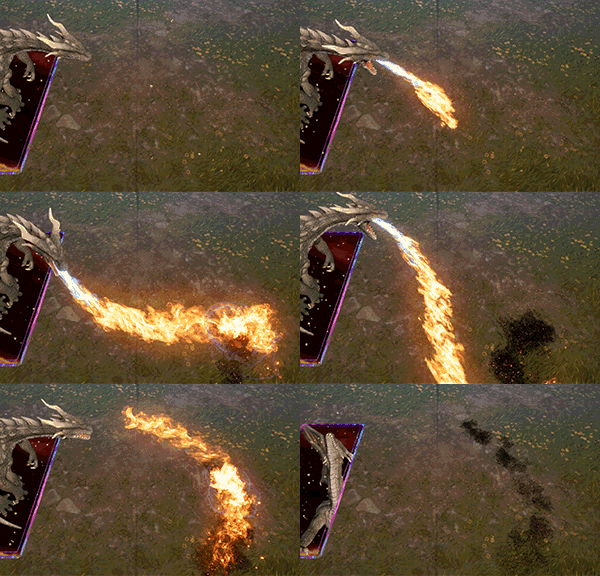
ToDo:
clean shaderFire Material Examplefix impact directionadd swoosh when card flips second timerework sparklescard impact on groundpop-out vfx when dragon leaves card- add trails coming out of card
- improve turn swoosh
- improve swoosh-trails (better material, add elements like sparkles)
- improve card environment
- bigger fire breath impact
- “light source”-particle to impact
- add cam shake when spitting fire
- add sparkles to glowing border
- clean project
Update:
Fx when dragon pops out of
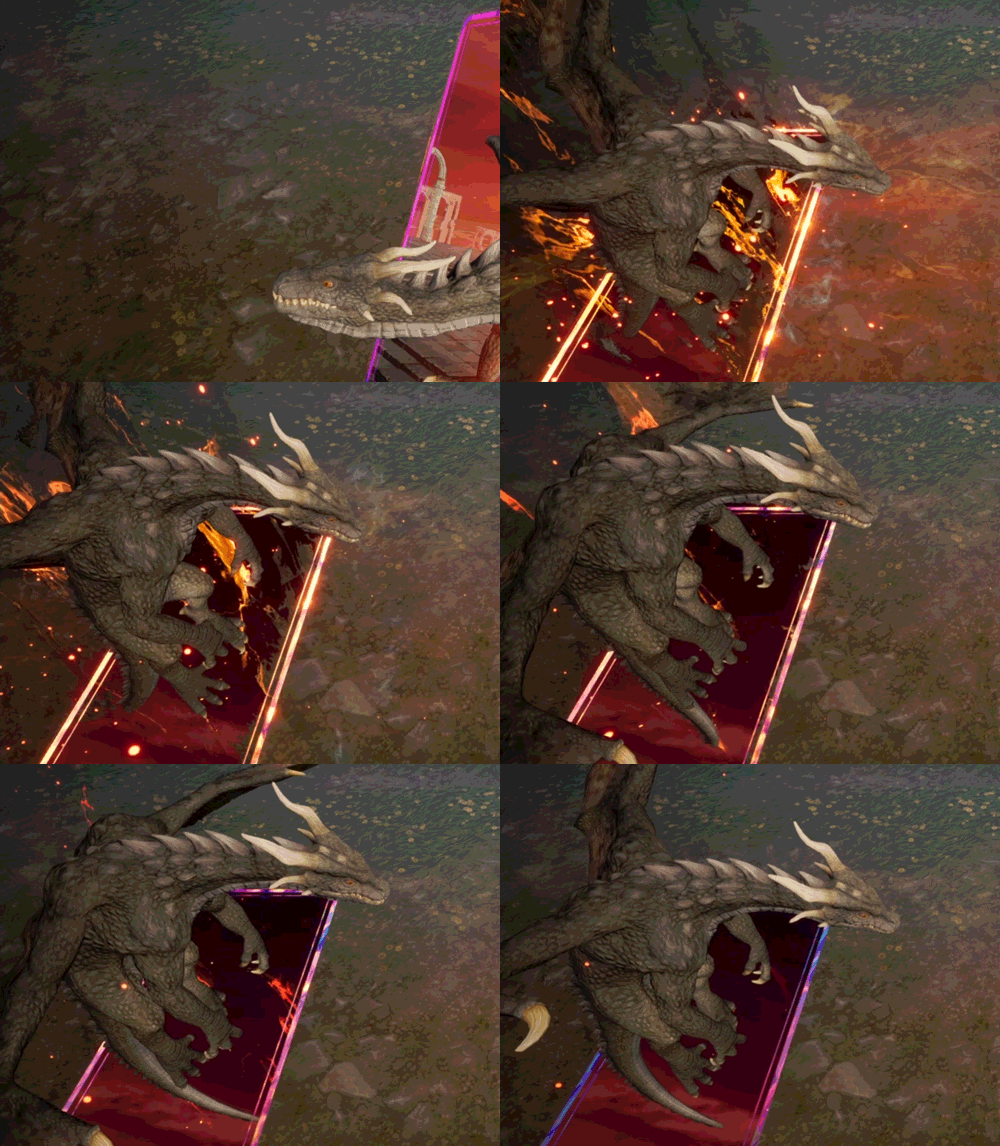
Fx when card drops down
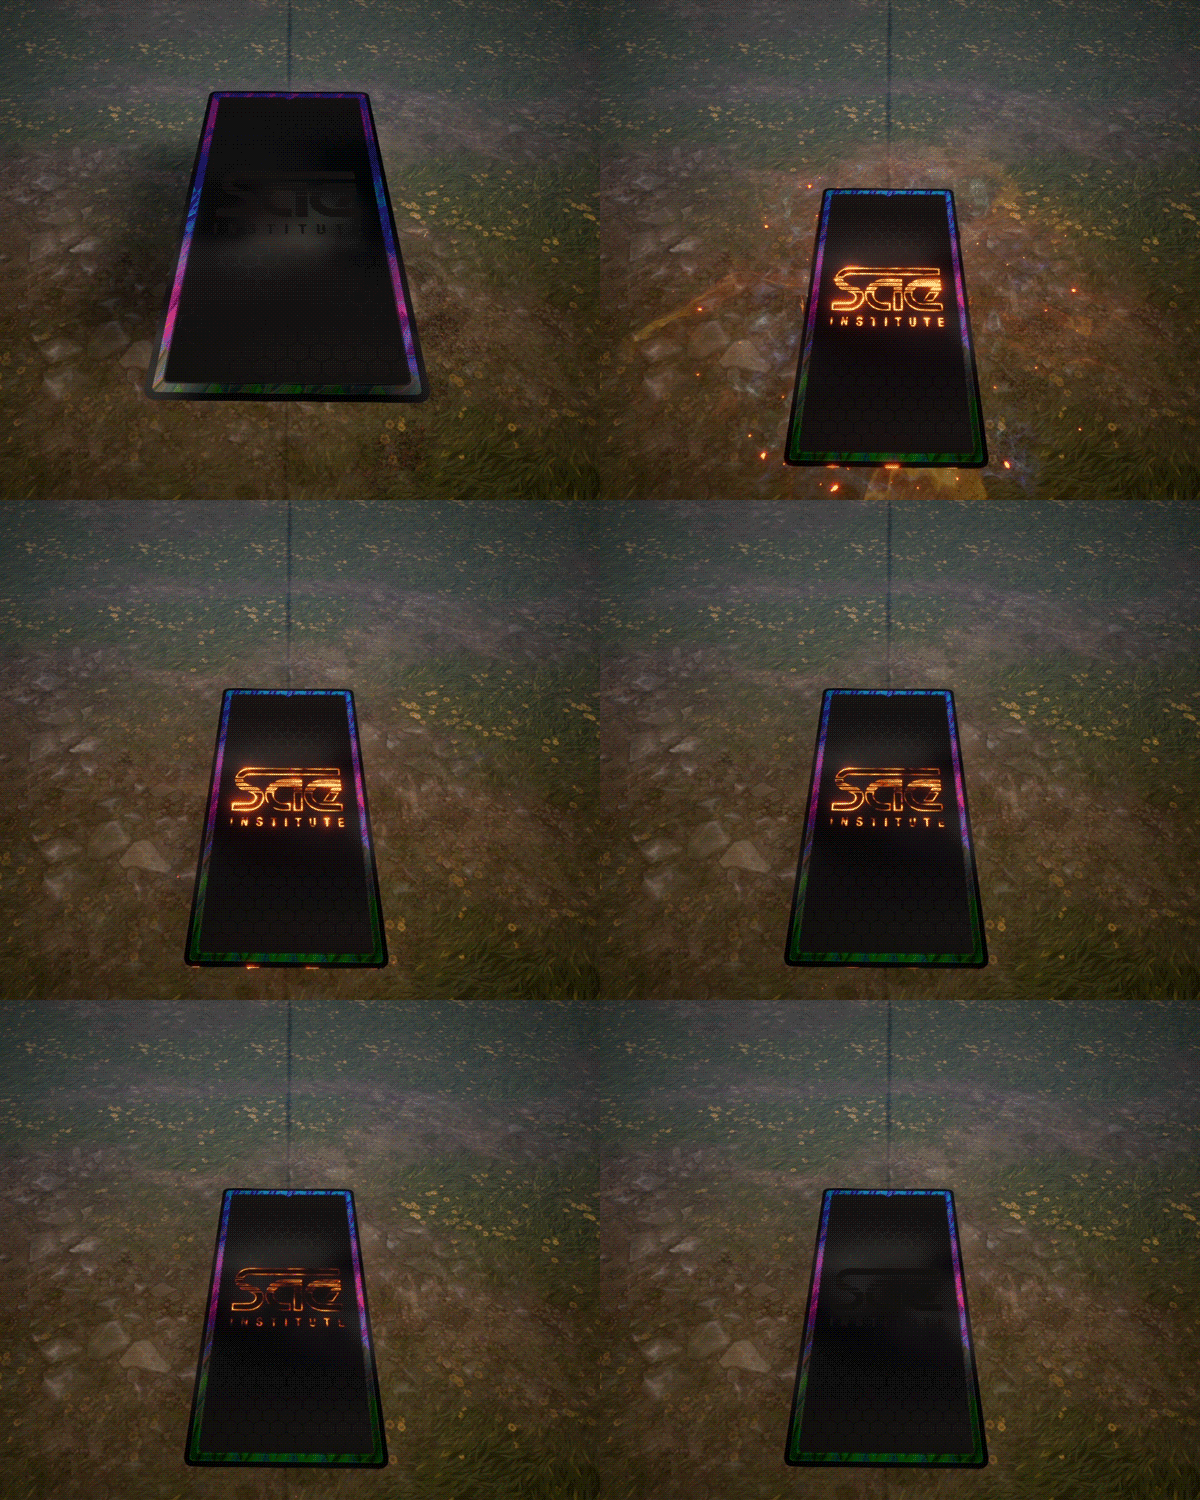
Burning fire on ground:
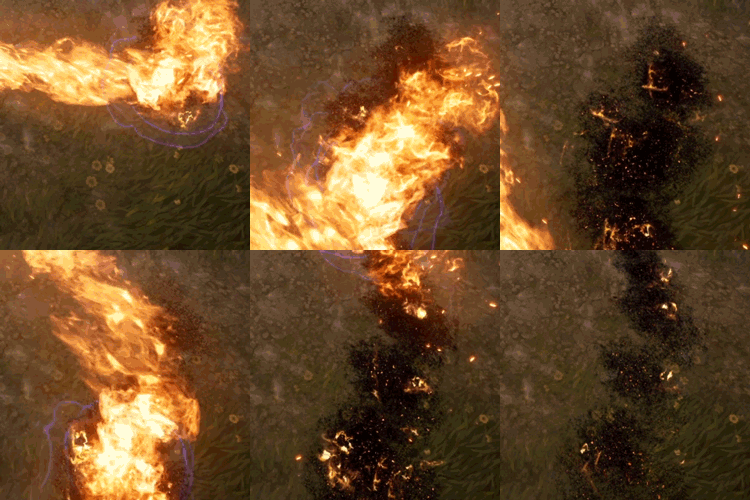
Complete:
I like this fire on earth and the fiery stream. Сool job Simon.
I gave the class and it went very well. Total length was 2.5h. Approx. half of it was a breakdown of the project (looking at the setup of the project and how everything was animated) and a look on how to use the super duper shader to create different materials very quickly.
The other half was used to actually build an example shader. This resulted in a nice little flame-vfx without the need of flipbooks but more importantly: It thaught the main techniques of the super duper shader and will help that people can open the super duper shader and actually understand whats going on in there.
Update:
- Test with some magic trails coming out of the card
preview:
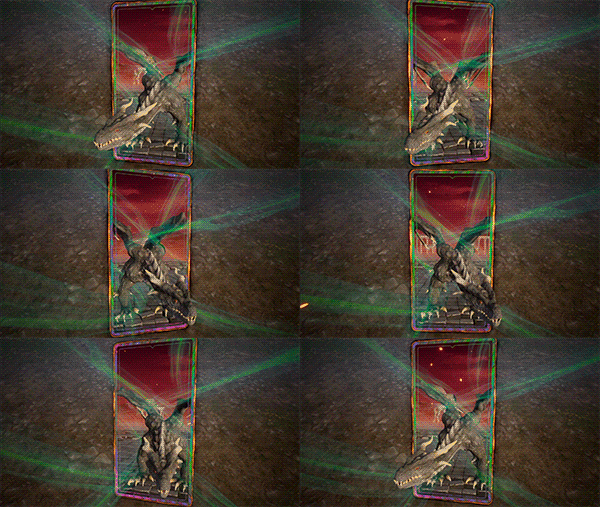
Update:
- improved particles which come out of the card after it slammed on the ground and the dragon comes out
- added nova & sparkles when card turns to reveal the dragon
- added/tweaked trails coming out of the card
- bigger impact with longer sparkle lifetime when card goes down at the end
preview:
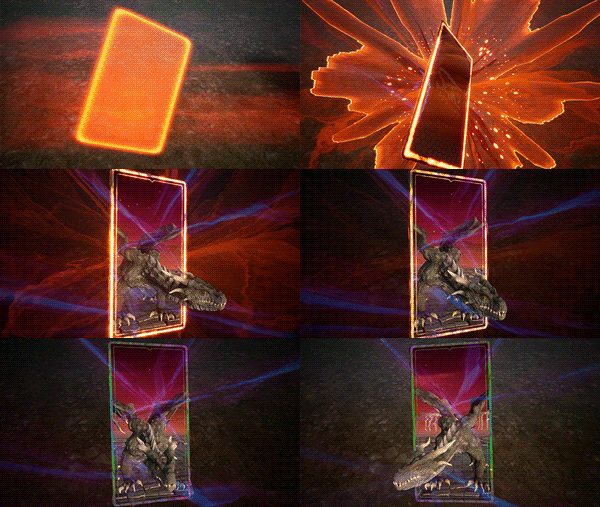
Todo:
add trails coming out of card- improve turn swoosh
- improve swoosh-trails (better material, add elements like sparkles)
- improve card environment
- bigger fire breath impact
- “light source”-particle to impact
- add cam shake when spitting fire
- clean project
This looks so amazing! Great job!
I’m really new to vfx and still cannot wrap my head around the kind of meshes you would use to achieve all the different effects.
Would it be possible to see some wireframe shots if you have the time for it?
@Derabo Thank you! I’ll prepare a breakdown when I post it on artstation and then you will also be able to download the whole project.
Update:
- longer sparkles (and blue sparkles) when card turns around
- bigger card drop impact / nova added
- new material to card trail while moving
- tweaked fire breath impact
preview:
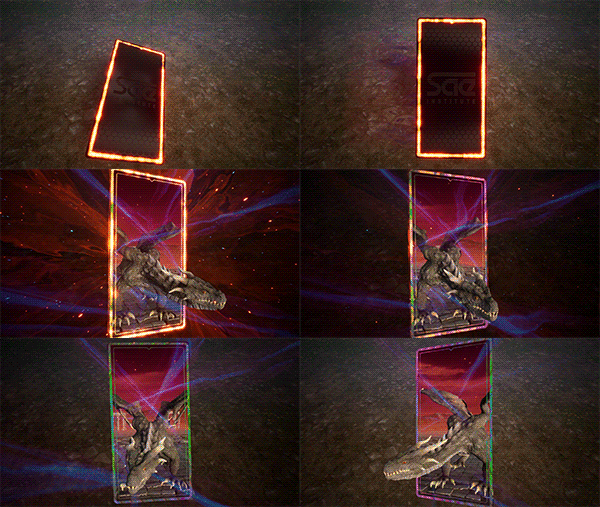
Todo:
- improve turn swoosh
improve swoosh-trails (better material, add elements like sparkles)thin trails to wide swoosh trail- improve card environment
- bigger fire breath impact
- “light source”-particle to impact
- clean project
Update:
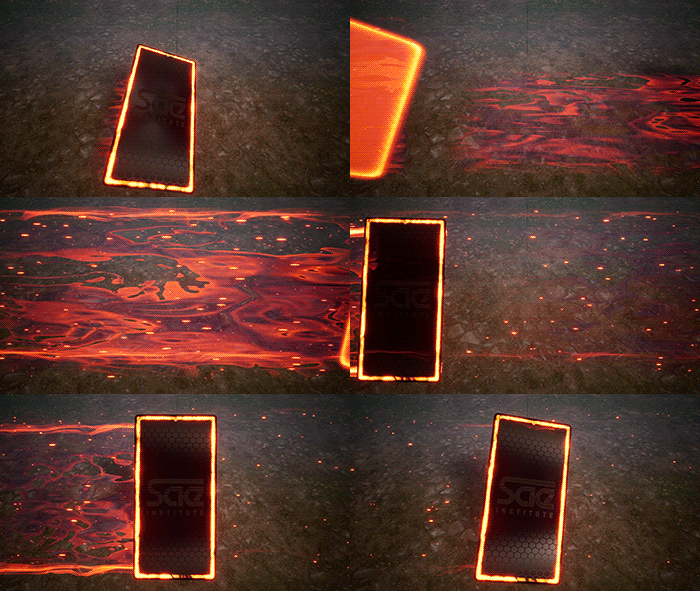
- added thinner trails + sparkles to swoosh trail (behind moving card)
Preview:
Todo:
- improve turn swoosh
- improve card environment
- bigger fire breath impact
- “light source”-particle to impact
- clean project
Detail Updates:
- added lightsource so that dragon gets lit while spitting spire
- added fake AO under card
- smaller but faster swoosh-trail-sparkles
Update:
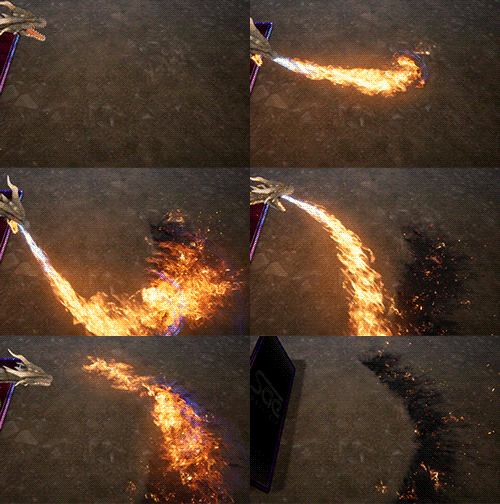
- Improved impact
- burned ground has new texture and is now aligned with impact direction
- added blue/orange fire waves crawling into impact direction over the ground
- impact fire doesn’t go up immediatelly
- improved sparkles movement
preview:
I’m really impressed how far you take the polishing. I’m always struggling so hard to focus on details during last stages of effect
Thank you! ![]() The trick is to show the effect to people which give you a lot of feedback. Streaming while working on it also helps because from time to time people watch you working and share their thoughts.
The trick is to show the effect to people which give you a lot of feedback. Streaming while working on it also helps because from time to time people watch you working and share their thoughts.
Wise. Will try posting for feedback more with this Unreal Challenge then. Will see how it works for me ![]()
I am not following very well how you are defining the front part of the dragon?
Is the card translucent?
And just to confirm, the dragon is never actually masked/clipped, it’s just the ground that is rendered on top. For that I suppose that you’re disabling the depth test so that you draw it always on top no matter what, is that correct?
Yes, that’s correct! The ground ignores depth and with that is always rendered on top. For the dragon: There is a second (invisible) dragon mesh with a mask so that it is only visible in front of the card which does NOT render into main pass but into a stencil buffer. It’s a bit weird but I had to do it that way. I’ll show details in the breakdown.
This is stunning ![]()
![]()
![]()
Awesome work Simon, I really love it! ![]()