Hi there,
Decided to try and participate in the current sketch, I have an idea of what I want to achieve so we’ll see how that goes
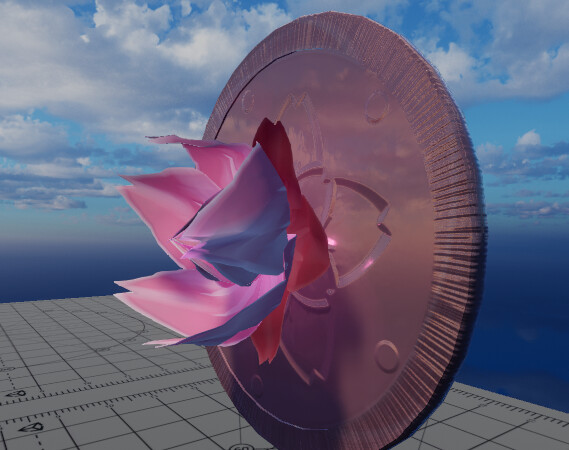
I didn’t have much time to work on that yet, so here is a quick sketch to get it started.
And here are the separate elements:
Flower is made using polar uv’s and a simple texture with a color gradient, some scrolling noise. I think I want it to be an actual model, and have a more rigid base. I’d like to have it open up at the start.
Anyway, suggestions welcome, or any ideas how to make the flower? I don’t really want to rig it and animate it that way so I’d probably do something with vertex anim in the shader, but we’ll see
I think its a great start, currently i would suggest a third element in a medium size ratio, Right now there is one big element and every other element is made up of small or tiny Noise. To me it therefore feels a bit unbalanced.
I also think that the distortion on the inside glow noise is fighting the very clean feeling glow lines a bit. ( •̀ ω •́ ).
Have a nice day, very good job despite my complaints
Thanks for feedback @Ganishka ! You are right, I’ll have to clean it up a little and add that one mid element. As I metioned in the first post I’m planning to have a some kind of disk-ish thingie behind the flower so that might be enough? Will see!
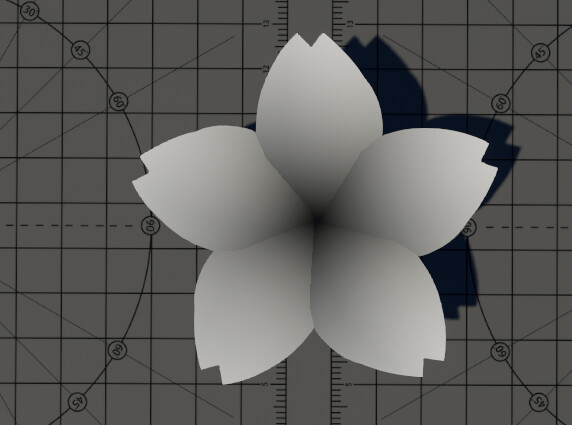
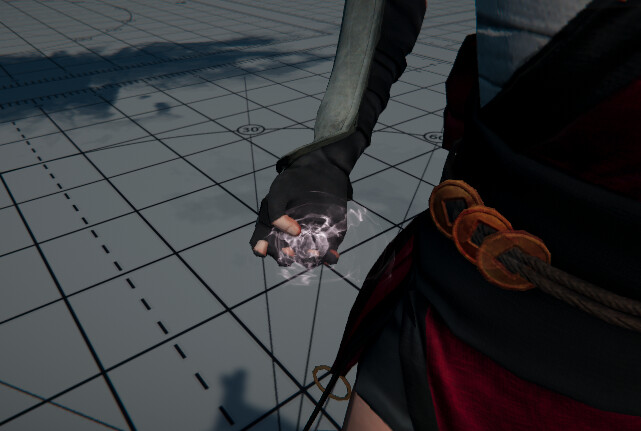
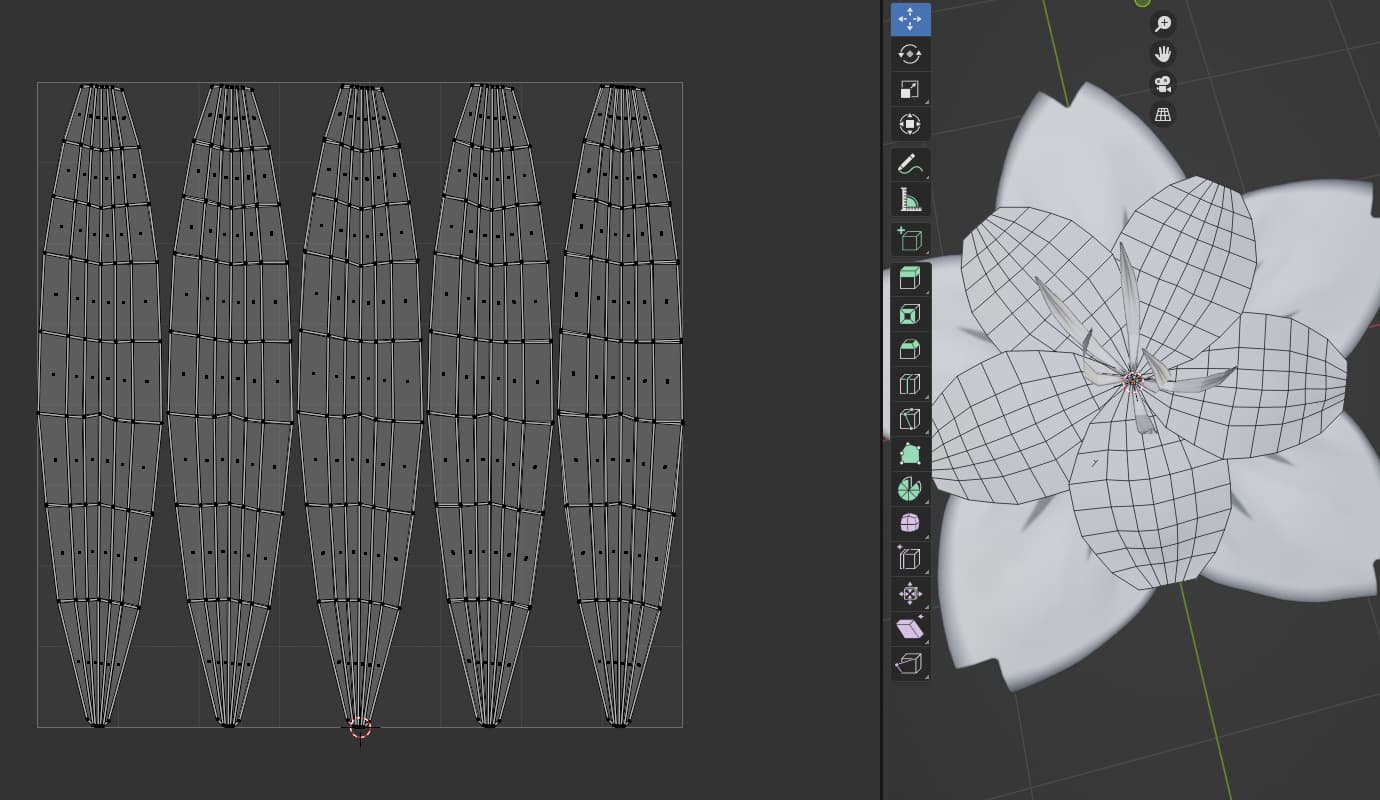
Today I’ve been trying to get the flower movement. Instead of using the polar mapping I just made the flower in blender, probably gonna change it few more times, but this gave me something to test movement with.
After few tries I think I got something that looks alright? The movement is exaggerated, and the flowers wouldn’t move this way irl, but I wanted it so here we are. I still have to figure out a nice way to ‘open it’ or something.
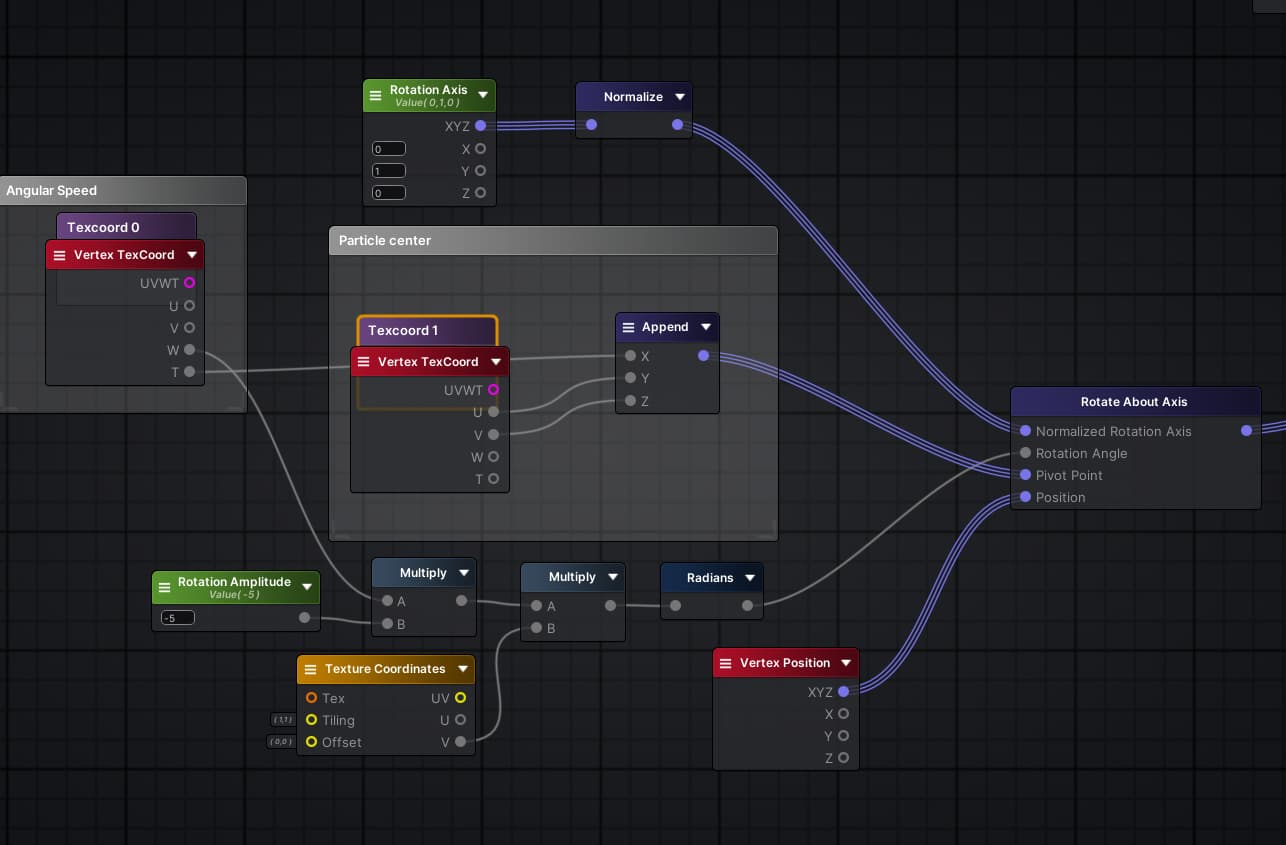
It’s a shader that displaces the vertices around the flower’s centre. Uses this gradient (which is just uv.y) to have the ends move the most.
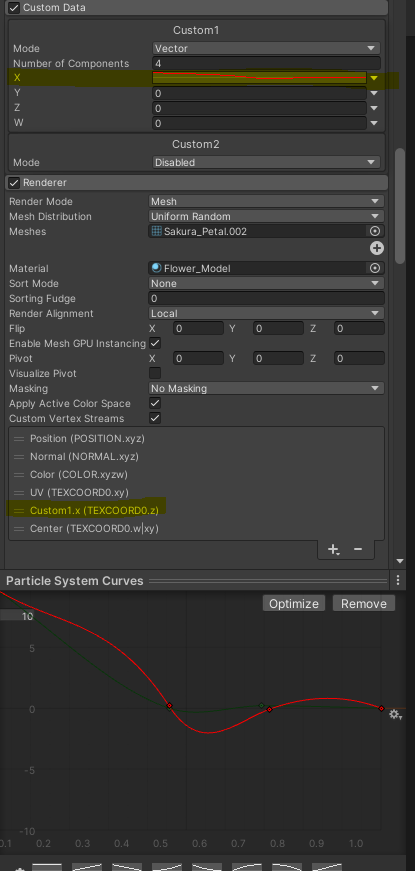
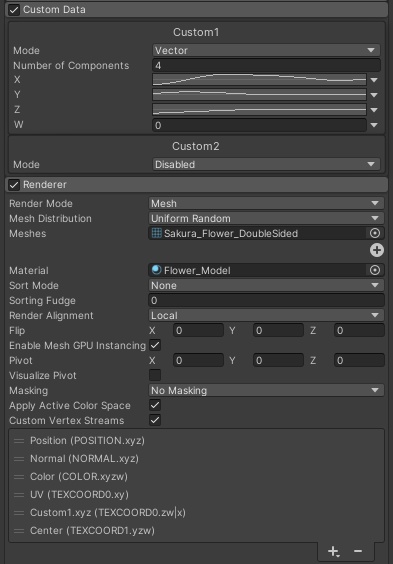
At the beginning I calculated angular velocity myself, but I wanted some more control with curves, and well, to actually use it with the particle system. Then, instead of sending the straight Rotation Speed from Shuriken, I’m sending custom data over life, this way I can add that offset thingie at the end. It fakes the ‘physics’ of the petals so the rotation end doesn’t feel linear.
Got a dirty way of making it bloom. I’ll update this post with a breakdown when I clean it a bit. I’m not hating how it looks actually
Changed the model a bit to add some depth and updated the animation thingie so now it looks way better
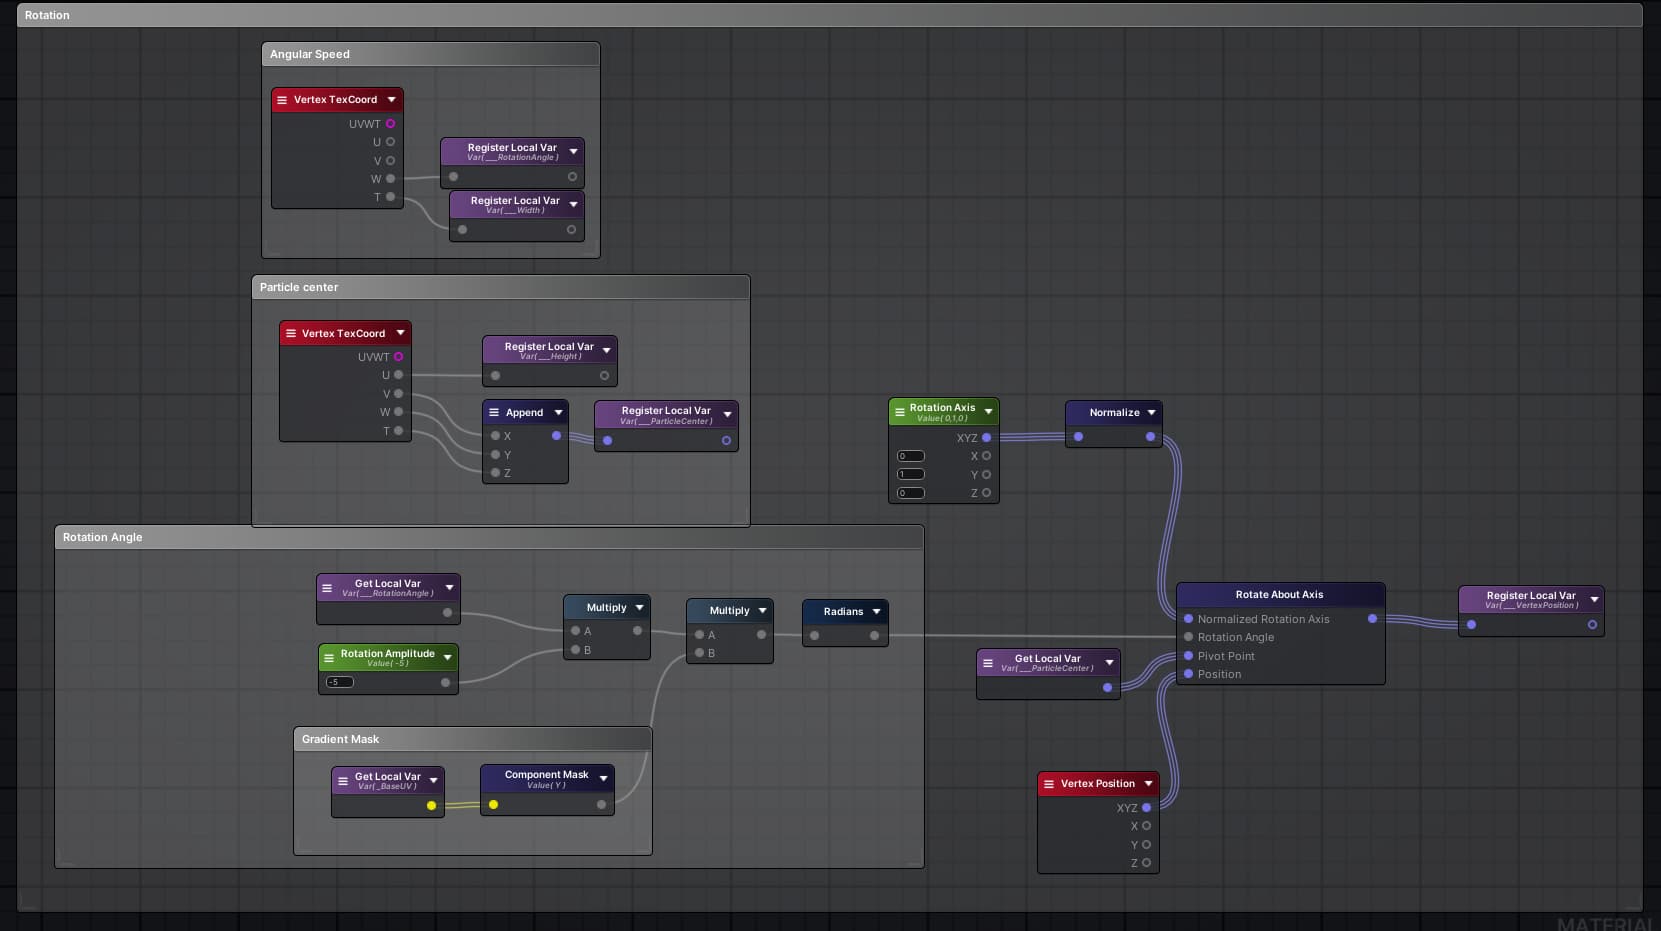
The rotation part got slightly updated as well, becase I wanted some more custom data it got moves around a bit in the Tex Coords 0, but it works the same way as before
The bloom part isn’t super complex either. First I calculate the direction from each vertex towards a point, mask it with the UV.y, then use the Width/Height curves from the particle system to animate it. All of that is applied after the rotation part.
Progress update →
Decided to move the flower from the particle system and do the animation with a custom controller, which worked quite well!
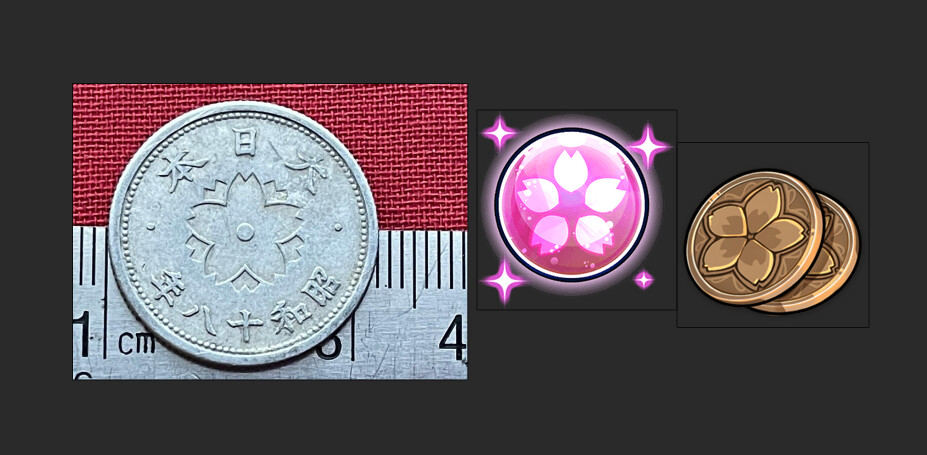
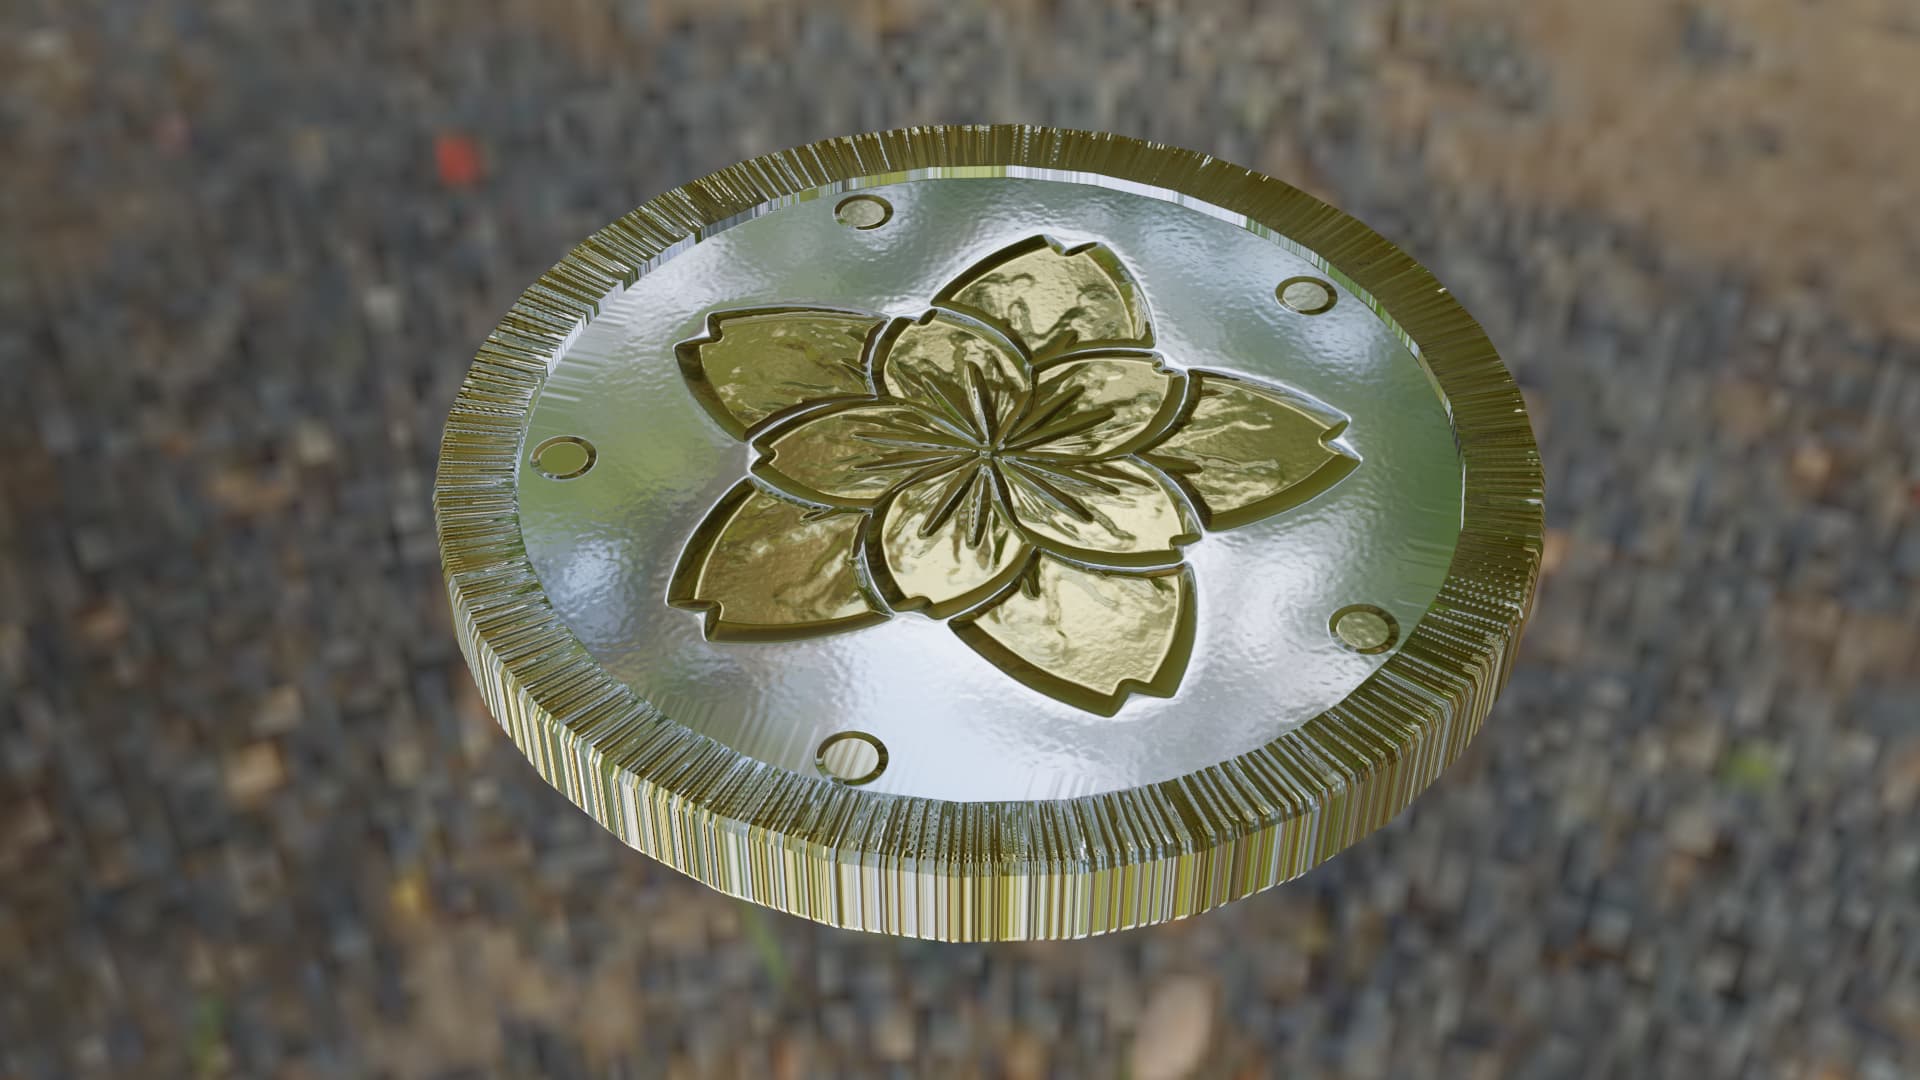
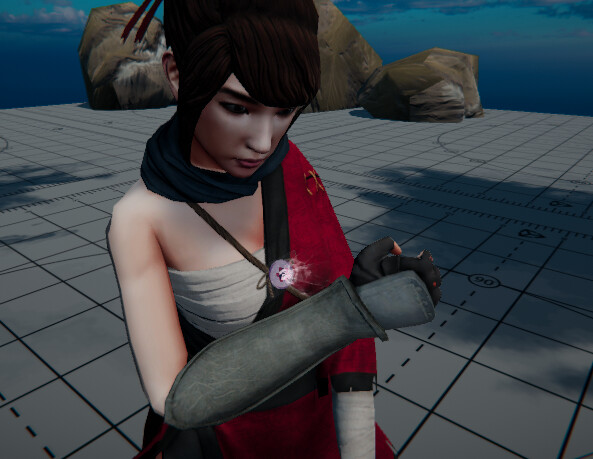
Added lighting, made normals and albedo texture for the shield, I’ve used those references for it:
I added some more ambient movement to the flower as well, and updated the mesh. Here is the activation animation and hit anim. I should start working on the vfx part I guess haha
I really love the colors.
As for the latest gif, I’d make sure that the small and big flower are offset in timing a bit to create some nice secondary motion
I didn’t have much free time today so I only did some small bits, it’s all going as planned so I’m happy. Just need to make it proper pretty and well… finish everything else haha
Thanks! Yeah the timing needs some work indeed! It also seems quite slow cuz of the <30fps gif so I’ll try to adjust it before it’s done and get a video instead~
Okay so I’ve uploaded the new version. I added a bunch of stuff that I planned, and it looks like I wanted. The process was really interesting. Obviously there is a lot to improve, but I need to rest now!
I’ve used a the character from Mixamo with the animation, and some textures from Luos’ pack.
Here are some of the small things I added recently:
I thought about separating all petals, but I don’t think thats the best way to solve this, so I just made a new UV map and separated them like this
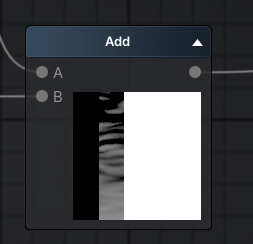
Then in the shader the dissolve mask ends up looking like this:
This is for the second petal, first one is already gone so I keep it black, second is being dissolve so there is some gradiented noise going on, and the rest is white because they are still fine.
From code it only requires the petal index and current petal dissolve amount to be set on the material.
but yeah it was really fun, took a bit too long for my taste, but I had this idea since I saw the post so I really wanted to make it happen. If anyone has any questions obv just hit me up and I’ll explain everything
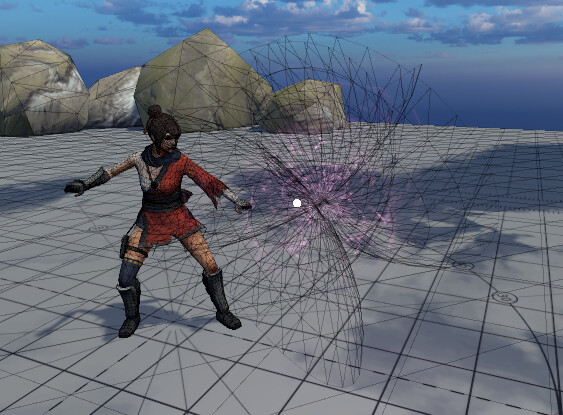
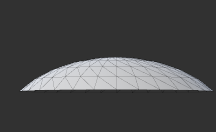
Thanks! Yeah it’s the same mesh, same material, spawned 5 times with different orientations
The mesh is a flat dome-ish thingie. With flat quad you will see sharper edges when moving your camera around and it will look more flat
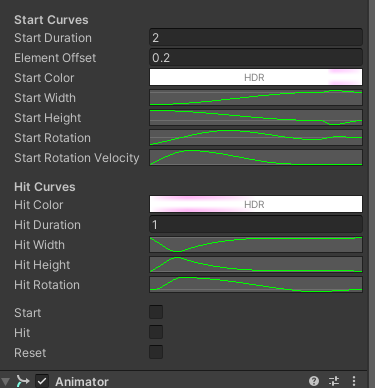
And about the flower animation. It’s animated with the shader, kind of. The displacement is done in the shader (I described how I do this before) but I control the width, height and rotation with some animation curves. It’s just setting a value on the material over time
I scanned all comments and didn’t understand how it was made - did someone ask already? >.<’
I really wish to know - I already plan on making something like that on my Slash
Ohh I saw that explanation, but didn’t think it referred to that part of the effect.
Yeah, I would have used quads in different orientations, would never have thought of using meshes like this one for this particular case. How did you come up with that?