Glad you liked it.
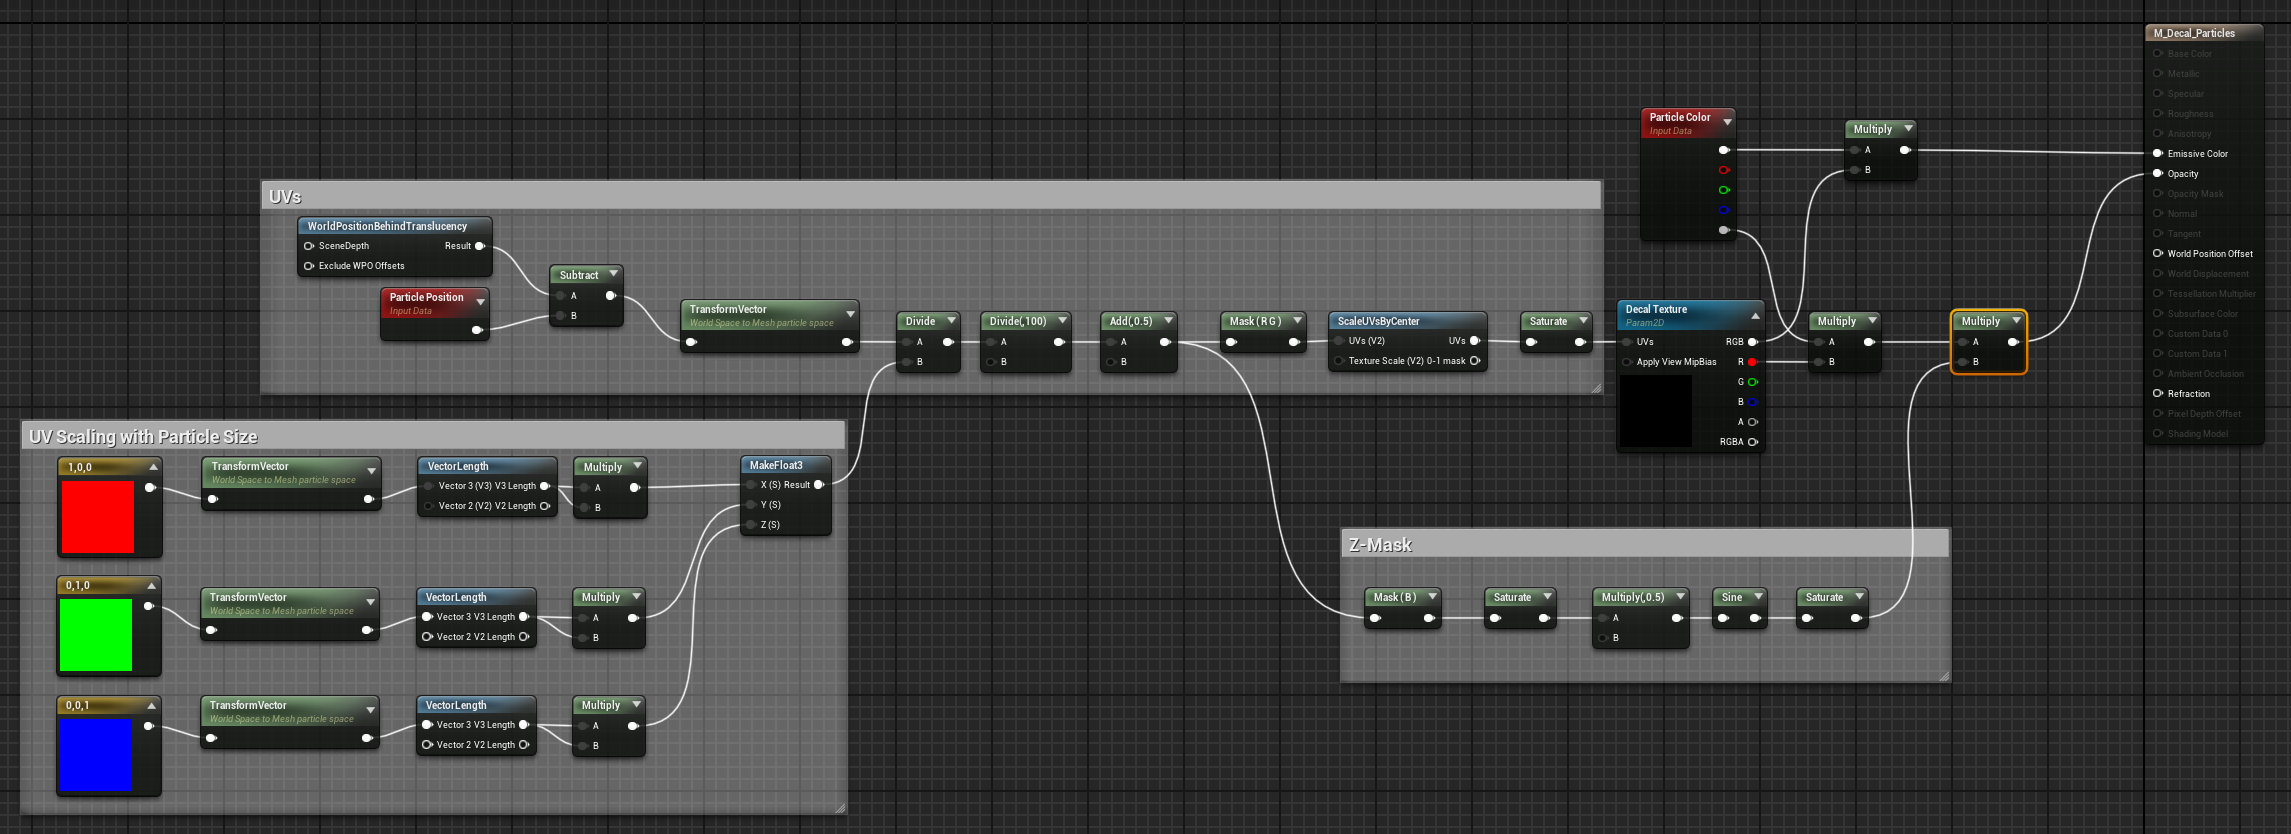
The decals are unlit, so using a normal map won’t do anything unless you also calculate lighting. In such a case, you can get the reference normal and tangent using the scenetexture node, and binormal from the crossproduct of those.
To get the normal you want to use for lighting, Just apply your normalmap to the reference normals.
The bumpoffset node should work as intended if you want it to be offset in the direction of projection.
I figured, but I just wanted to double check in case there was a work around. Guess I’ll try cranking up the Opacity and see if that gets close enough. Thanks for posting all of this for everyone
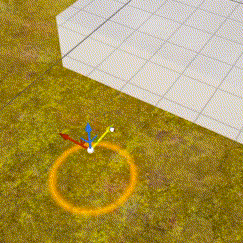
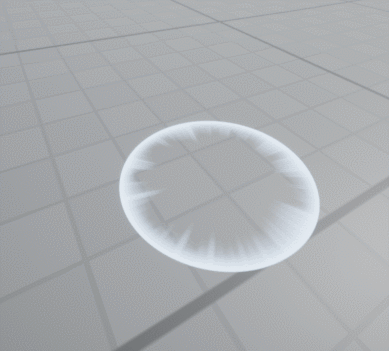
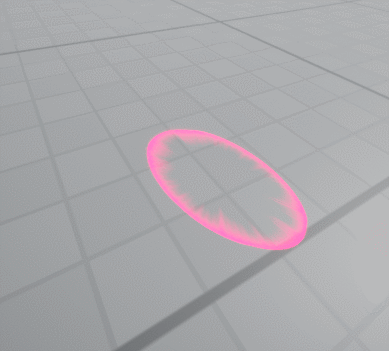
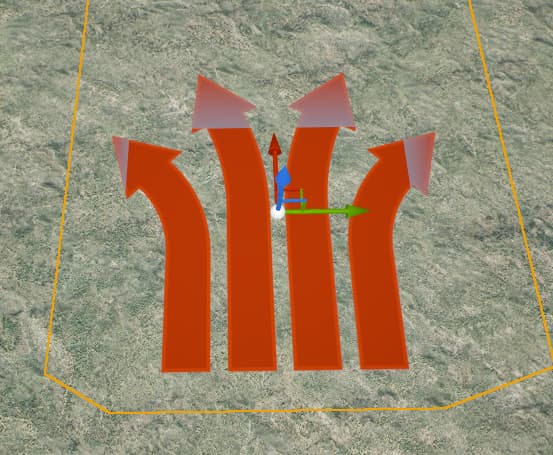
Hi, I was looking for this kind of effect that can follow the surface of a terrain and objects, then found out the terms is decals and I found your amazing tutorial, I follow through everything but end up in this result. I use UE5. Is there anything I miss from your tutorial?
It’s hard to tell from just a video.
It looks like you’re perhaps using the normals of the shape as the projection direction, which causes the result to change if you look at different faces of that shape.
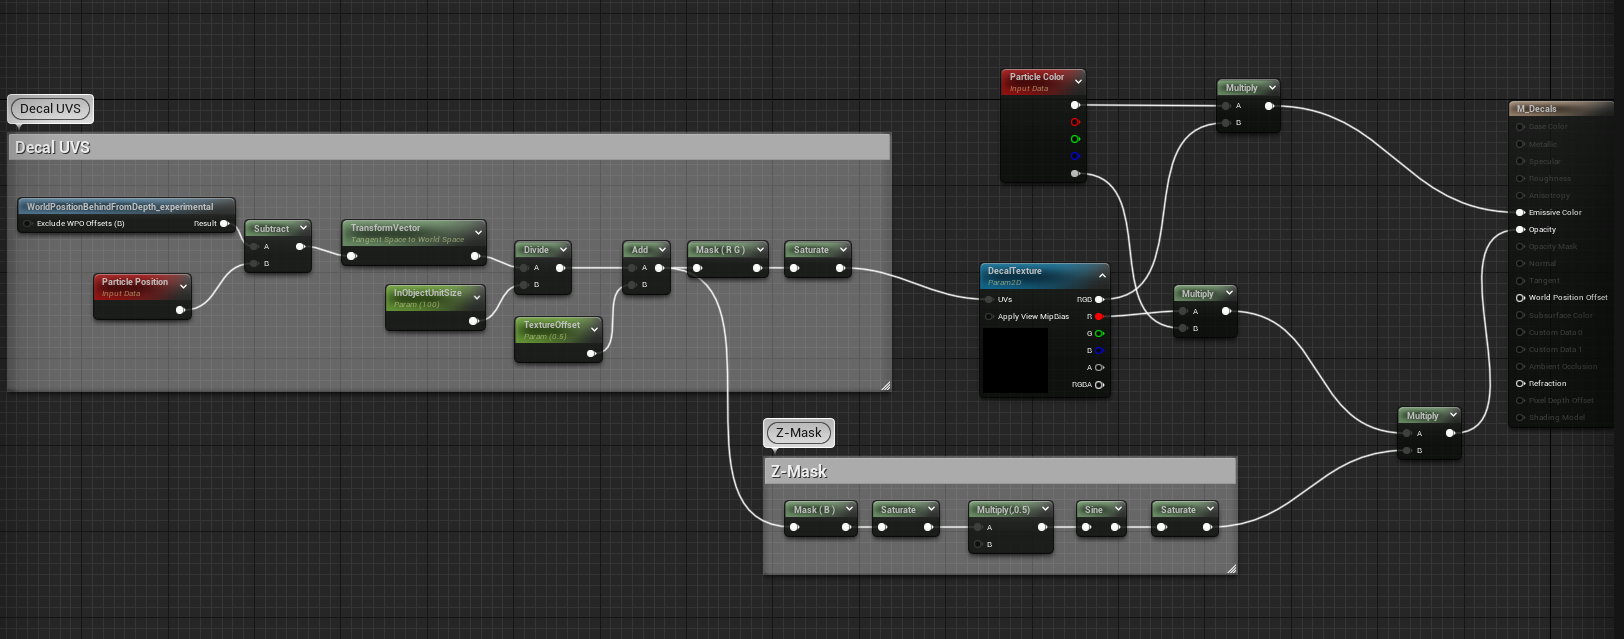
Perhaps the transform node is still set to transform to tangent space instead of MeshParticle Space
Where can I find the transform node to set into the tangent space? sorry for my lack of understanding, still in the process of learning the terms and technical things in shaders/material/3D stuffs
TransformVector is currently set to transform between TangentSpace and WorldSpace.
If you click on it, in the details you should be able to select source and target spaces.
The source should be world space, and the target should be particle mesh space. (Or Particle/Instance space in ue5 I believe)
This makes it so we can work with data that is being scaled and rotated with the particle.
Another follow up.
I don’t know if I’m doing something wrong or if this is a Cascade problem vs Niagara, but if I’m scaling the particle mesh in one direction only ( making it a rectangle) and try to rotate it, it gives me some funky results. I will try to handle the rotation directly in the material with some dynamic parameters I think.