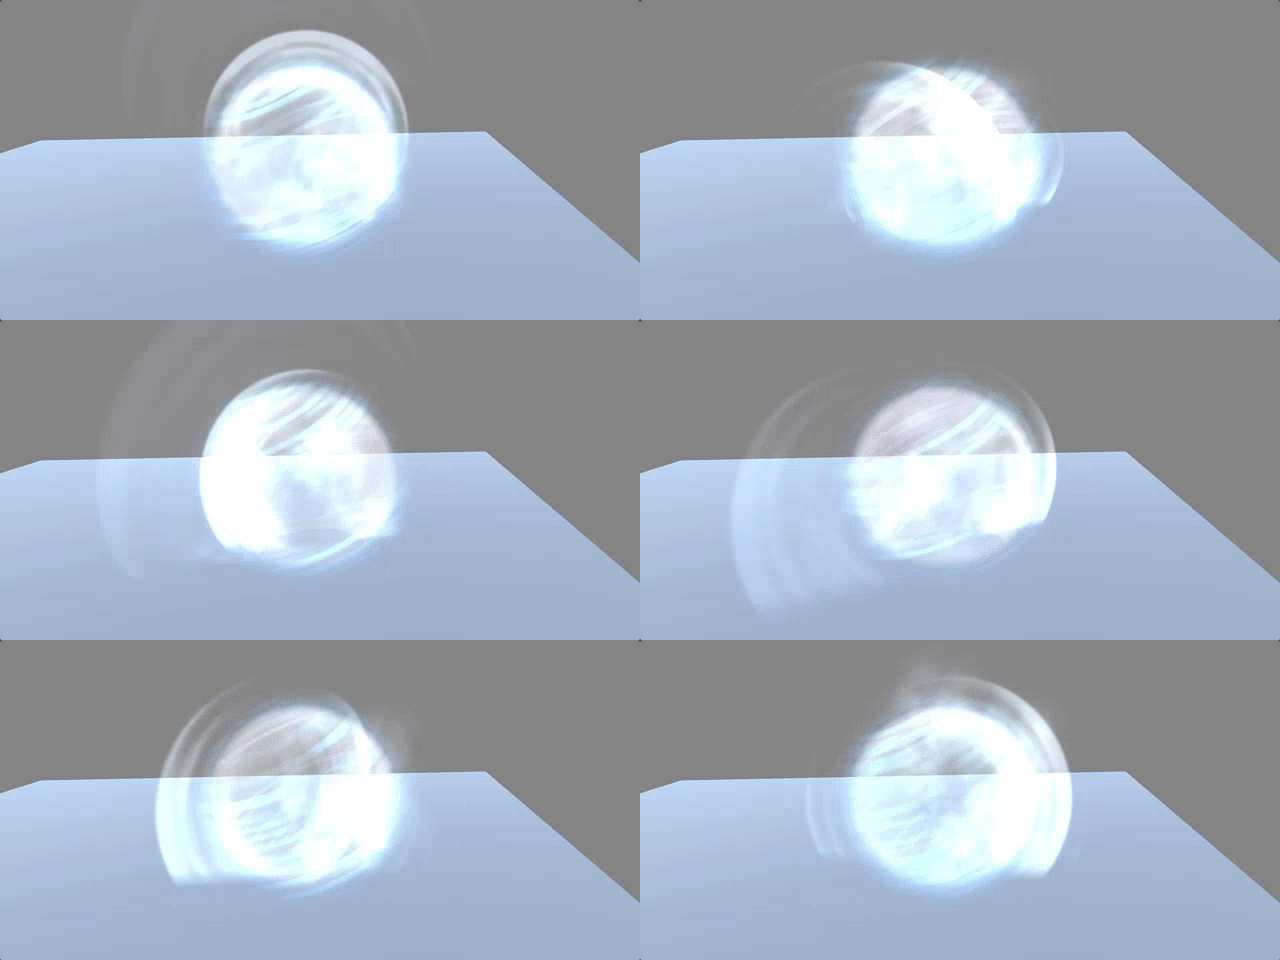
Things to try.
Scale the power of your fresnel between a couple values using another texture.
Scale the offset of the fresnel with another texture.
Flat out multiply some noise against your opacity, but add back a portion of it.
I think your close actually. As William suggested try power; is that better for your falloff? (maybe 2 or 3 instead of 4)
just mult in your other texture with the other falloff and it should be fine
Thanks for all of your help! I really appreciate it! I tried out all your suggestions and I think I about have it:
And for those who are curious:
It occurs to me that you might want to create a layering effect with this so that the back part of the sphere is broader and darker, and the front part is thinner and lighter. Your sphere is flattening out because everything is the same value no matter what direction it’s going or what distance it is. I think your challenge here is to create foreground/background relationships.
Are you actually using a sphere in the final effect or will it be a sprite?
I can see what you mean. I am planning on using a sphere for the final effect. Do you have any suggestions on how I could improve the foreground/background relationships? Or how I could incorporate the broader/darker back and thinner/lighter front to the sphere? Or would using sprites be a better?
If you can use a sphere, that’s probably ideal. That will allow you to have the sphere look more like it’s surrounding your target, no?
You should be able to use the negative normals to help split the background from the foreground. Making the bkg dimmer and more blurry is probably a good idea.
Remember, warm colors approach, cool colors recede. So an ever so slight saturation might help you. Subtlety!
Also, consider letting the foreground swipes cover the character up just a little to sell the near face of the sphere.
I wound up lerping two colors using a Face Sign node. I wasn’t sure on how to blur the backfaces, so this is what I’ve got so far:
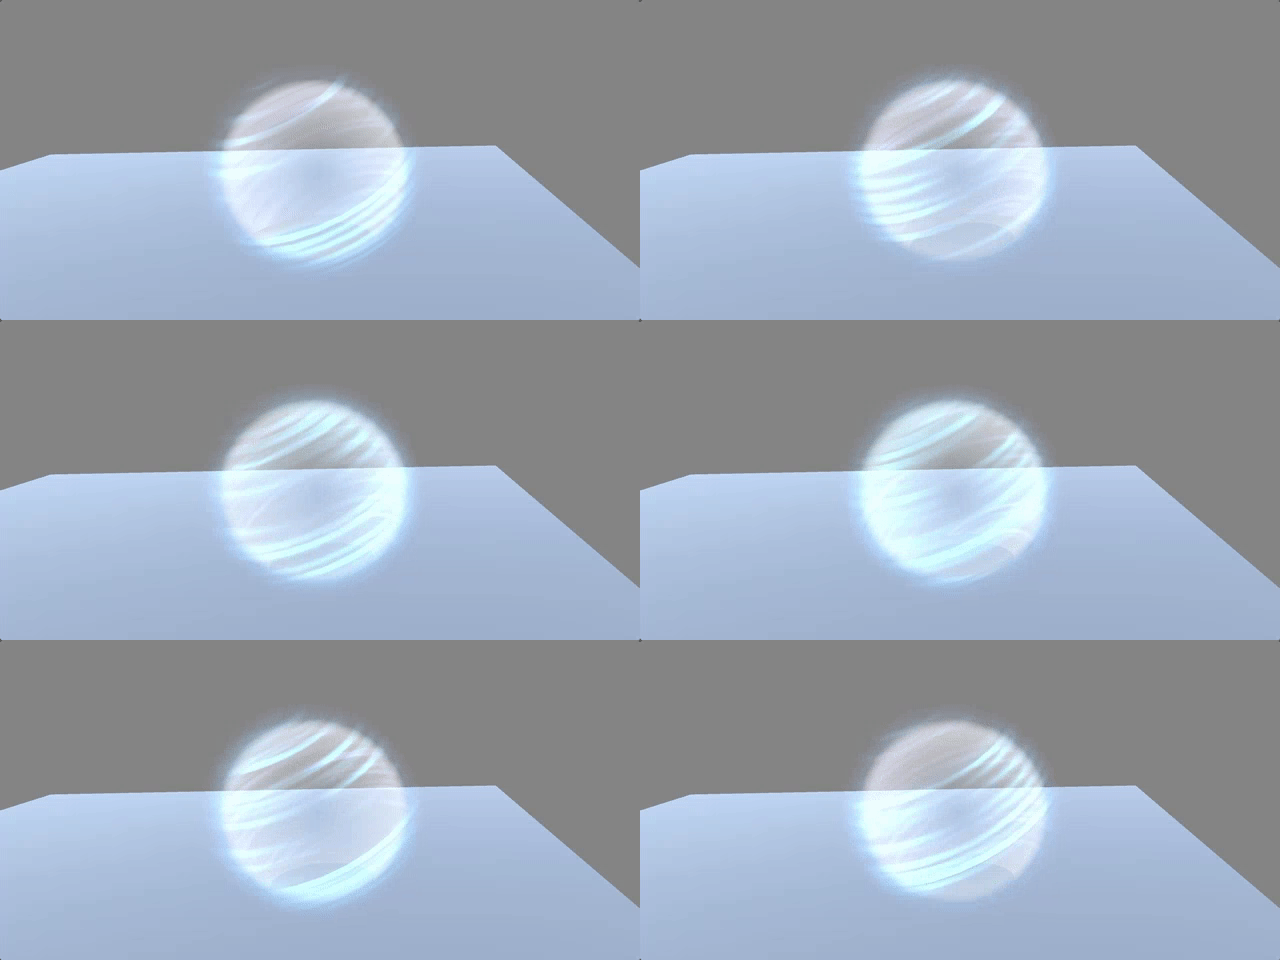
One other option, if you need to make more of a unique fresnel effect is to make a small horizontal gradient texture defining the opacity you want, then take that initial fresnel value and use that as the X coordinate when reading that texture. After that, it’s easy to make a small collection of fresnel gradients that can share this one shader (even all within one texture to save memory).
[quote=“Essaila, post:10, topic:1693”]
blur the backfaces
[/quote]the geometry tab lets you set the cull; what do you mean?
Right, and I set the face culling to double sided. I can use the face sign node to assign a color based on whether the geometry is front facing (facing outward) or back facing (facing inward). @William_Mauritzen suggested making the background (in this case the back faces) of the sphere more blurry, but I’m not sure on how to do that via shader. I’m still very new to making shaders (and working with 3D objects as well), so I apologize if I’m not using terms correctly.
Could you explain this a bit more? Sorry, I’m still super new to shaders and I’m not sure how to apply that!
[quote=“Essaila, post:13, topic:1693”]
double sided
[/quote]yep
would need someone to show how to set that up. essentially the back faces get a cool tint RGB, perhaps //[min (-xR, -xG, +xB),0]
A fresnel LUT! What a good idea, I never thought about this!
I haven’t used Filterforge for a couple years now. I don’t remember how to get the camera reflection or normals. There could be an issue with the back faces thinking that they face the camera and therefore the backface normals are positive as well.
Just be warned that a dot product result is a cosine, so half of a fresnel LUT gets used in the first 15% of the falloff. You can convert to a linear falloff using acos() to get better and more understandable use of the texture, but trig functions are quite expensive and textures are fairly cheap.
Thanks a lot! I’ve been struggled about this problem for making my own material about for a week. Now I solved all about it. Thanks again.
I’m sorry. I was very unclear. If I remember what I was thinking…I thought you could use two sphere. One for normals that face the camera from the outside of the sphere, and one for the inside. Both would be single sided materials. You’ll want to have the edges of the sphere blur out. So as the normal goes to 0. Blend to 0 faster against your fresnel.
The textures used for the inside of the sphere that faces the camera could be blurrier and tinted blue.
I don’t have a strong vision of your environment or character, so it’s hard to tell how well a lot of this will work. But two spheres means twice as much control…but half as performant as one sphere.
I have been looking everywhere for a solution to this. Is anyone able to tell/show me how to recreate the effect in the third image on a material in unreal engine? I have been trying to create a material that’s soft on the edges like that but I couldn’t find any tutorials, explanations, or guides on the topic.
It should be pretty much the same solution I came up with. You create a fresnel node in the material editor, then subtract that from the opacity.
I will try that. Thank you for the help!