Hello everyone, I’ve been recently trying to recreate this line-hatching/smearing post process effect by Pedro Borges (Reference 1, Reference 2).
So far I’ve managed to get the velocity buffer into a render target that stores the directions of each pixel relative to the screen but here’s my problem, how can I transform this direction field into UVs so that I can use it to map a texture that aligns to those directions?
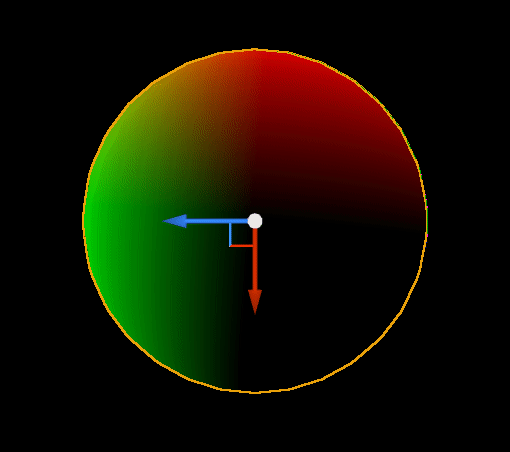
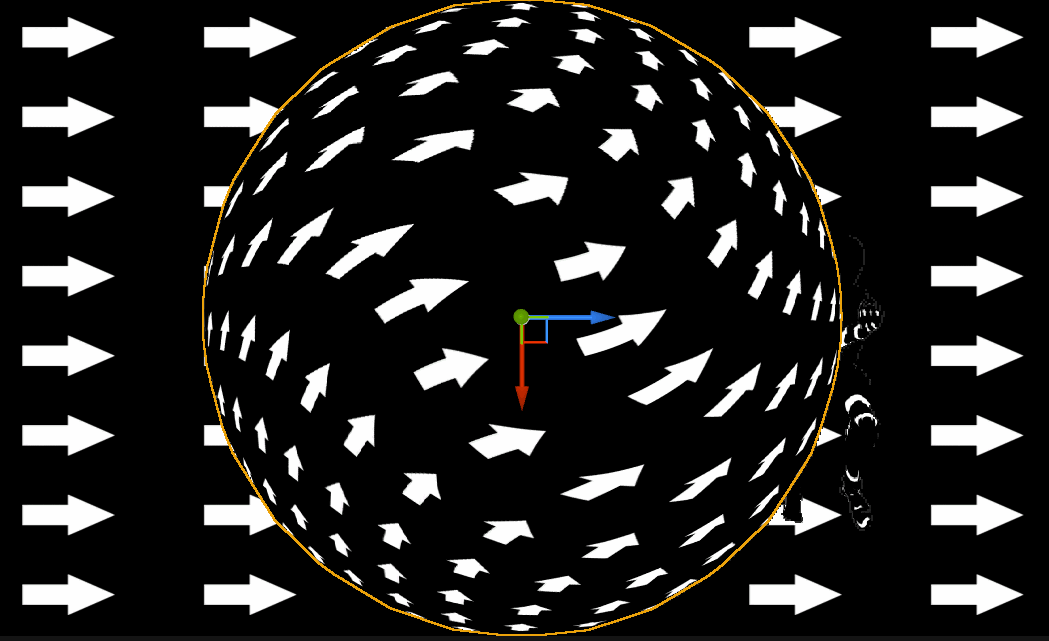
This is how it currently looks in a rotating sphere (the vector field range goes from -1 to 1, red means direction from left to right, green means from botton to top and blue from objects approaching or moving away from the screen)
In this example I’ve used a simple rotating sphere but my intention is to use it on an animation with more complex movements.
I haven’t tried it myself, but the Niagara Grid2D Collection is mostly for reworking the Velocity buffer into a low FPS anime-ish RT. Strictly speaking it’s not really essential. (Edit: It is needed in Borges’ case because character rig animation FPS is reduced for anime stylization, but that also causes zero screen velocity every other frame.)
The post-processing material itself while isn’t shown in its full glory in Pedro Borges’ tweet, I believe structurally it’s very similar to a generic Motion Blur material which has many existing online examples you can reference.
Spoiler alert: for loop.
Personally if I am to make similar effect, I probably wouldn’t employ post-processing (motion blur-ish method) at all.
Thanks for the info! I’ve tried following along this Radial Blur tutorial by Ben Cloward and adapted it so that it uses the velocity buffer vectors instead of the center of the screen for the blur which seems to kind of work, however a blur is not what im looking for.
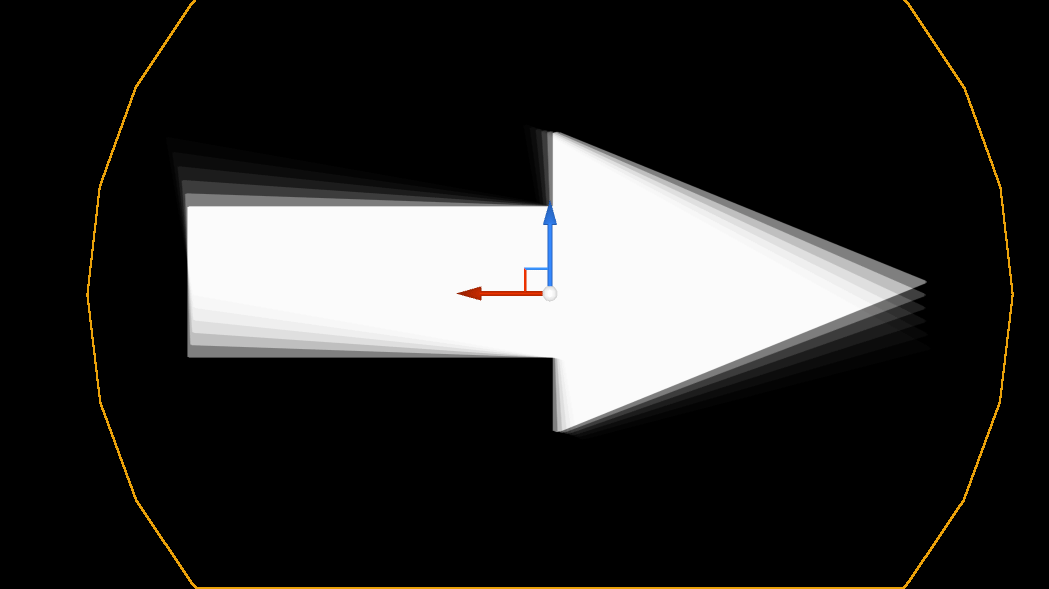
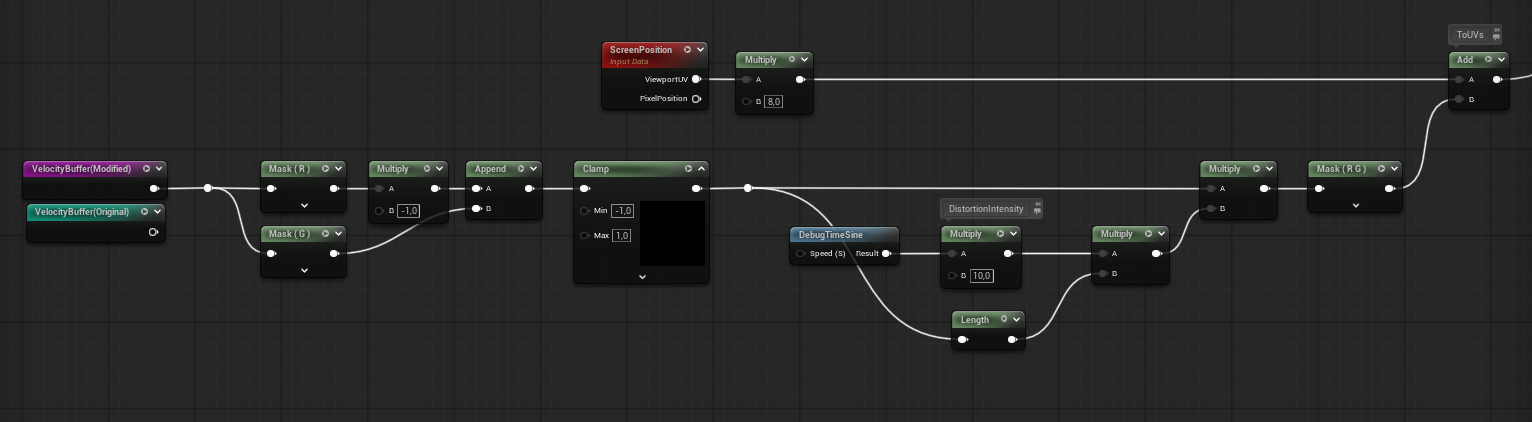
However if instead I just try to deform the texture (using just one sample and a DebugTimeSine node for the intensity of the UV distortion) this happens, which is not the result I expected
Sorry if I’m not explaining myself well enough, I can post the shader nodes for each gif if it helps anyone understand it better
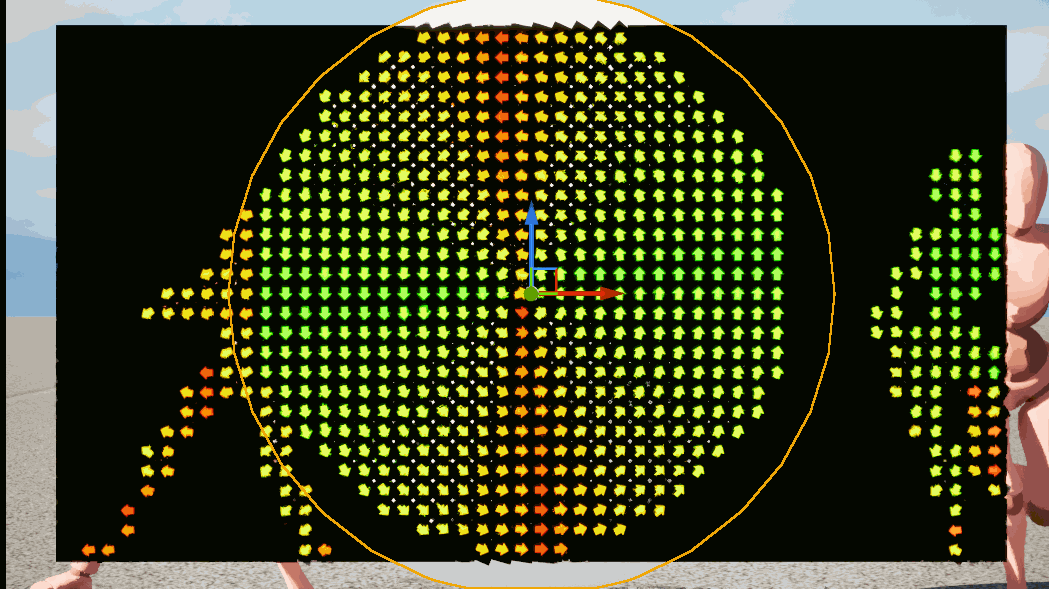
I’ll keep investigating about it, I have also tried approach it from a different angle through Niagara particles which gives me something thats visually closer to what im looking for.
In this case I’ve used niagara’s sprite facing and alignment node to align the sprites along the velocity buffer, this is pretty much what I would like to do inside the post process material, to somehow transform the velocity buffer vectors into UVs that are aligned to them.
So what I think you’re trying to do is that you’re trying to sample a texture with velocity vectors which you kind of showed with the Niagara example. Instead try to just sample a texture with screen coords, and add those velocities to coordinates of sampled texture (probably need to be scaled a bit so they are not distorting too much). One of Pedro twitter posts shows a debug view where there is a fullscreen sampled noise texture and you can clearly see that this exact pattern is ‘distorted’ rather than ‘sampled’ on the character. Maybe there is more to it but I’d start there.
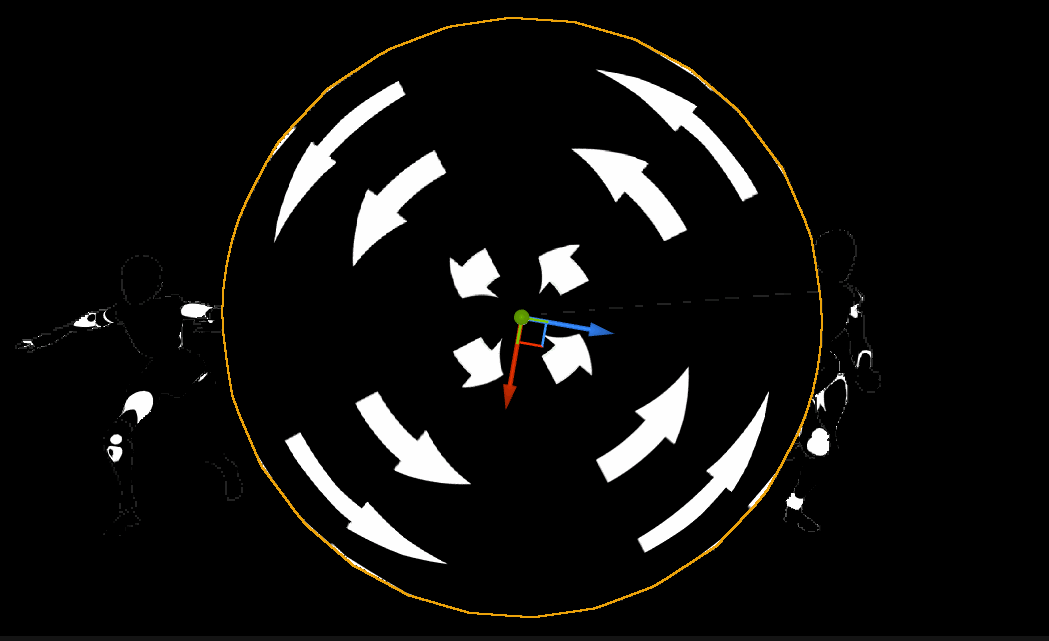
I think I have to find a way to do something like what the VectorToRadial node does where it converts UVs to a circle for when movement is angular while keeping them normal for when movement is linear. Worst case scenario I may just do 2 post process shaders, one for linear and one for angular, and just swap between them to fake it.
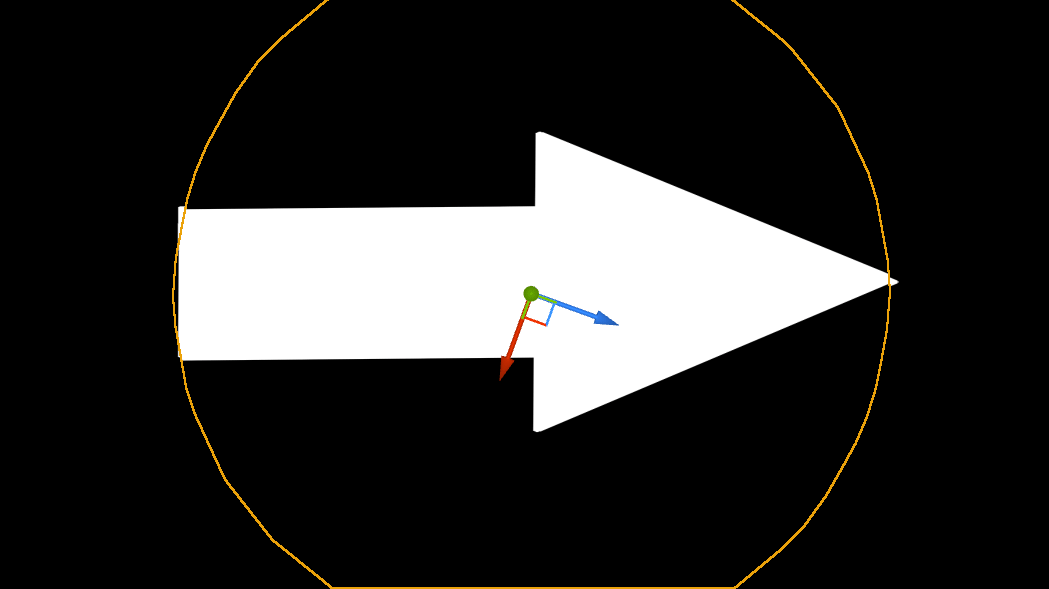
This is how it looks when using the VectorToRadialValue node, this is exactly what I’m looking for however UVs break completeley when movement isn’t angular like when an object moves just from left to right of the screen.