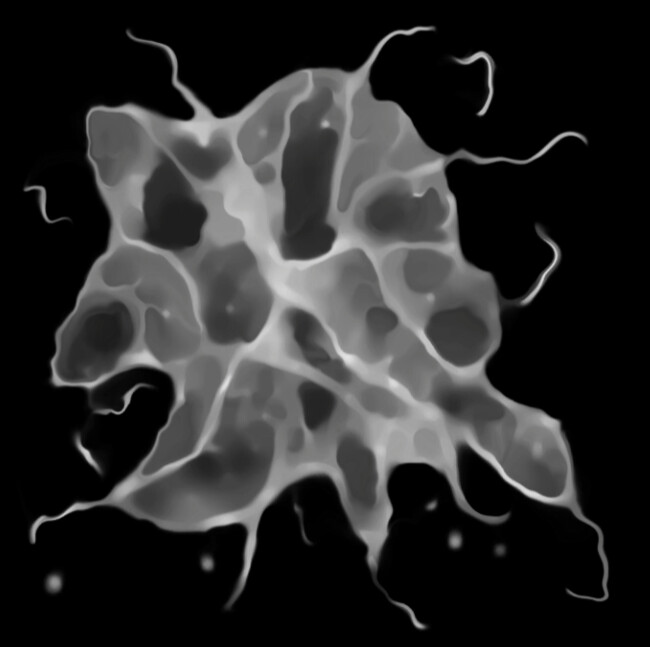
I want to create a texture like in this amazing hand paint tutorial by JangaFX
But I want to make it in Substance Designer because I want to iterate faster and create more variations easily. I tried to draw hard shapes and overlay a inverse voronoi noise but that didn’t look natural. I dunno much about substance designer, appreciate any help!
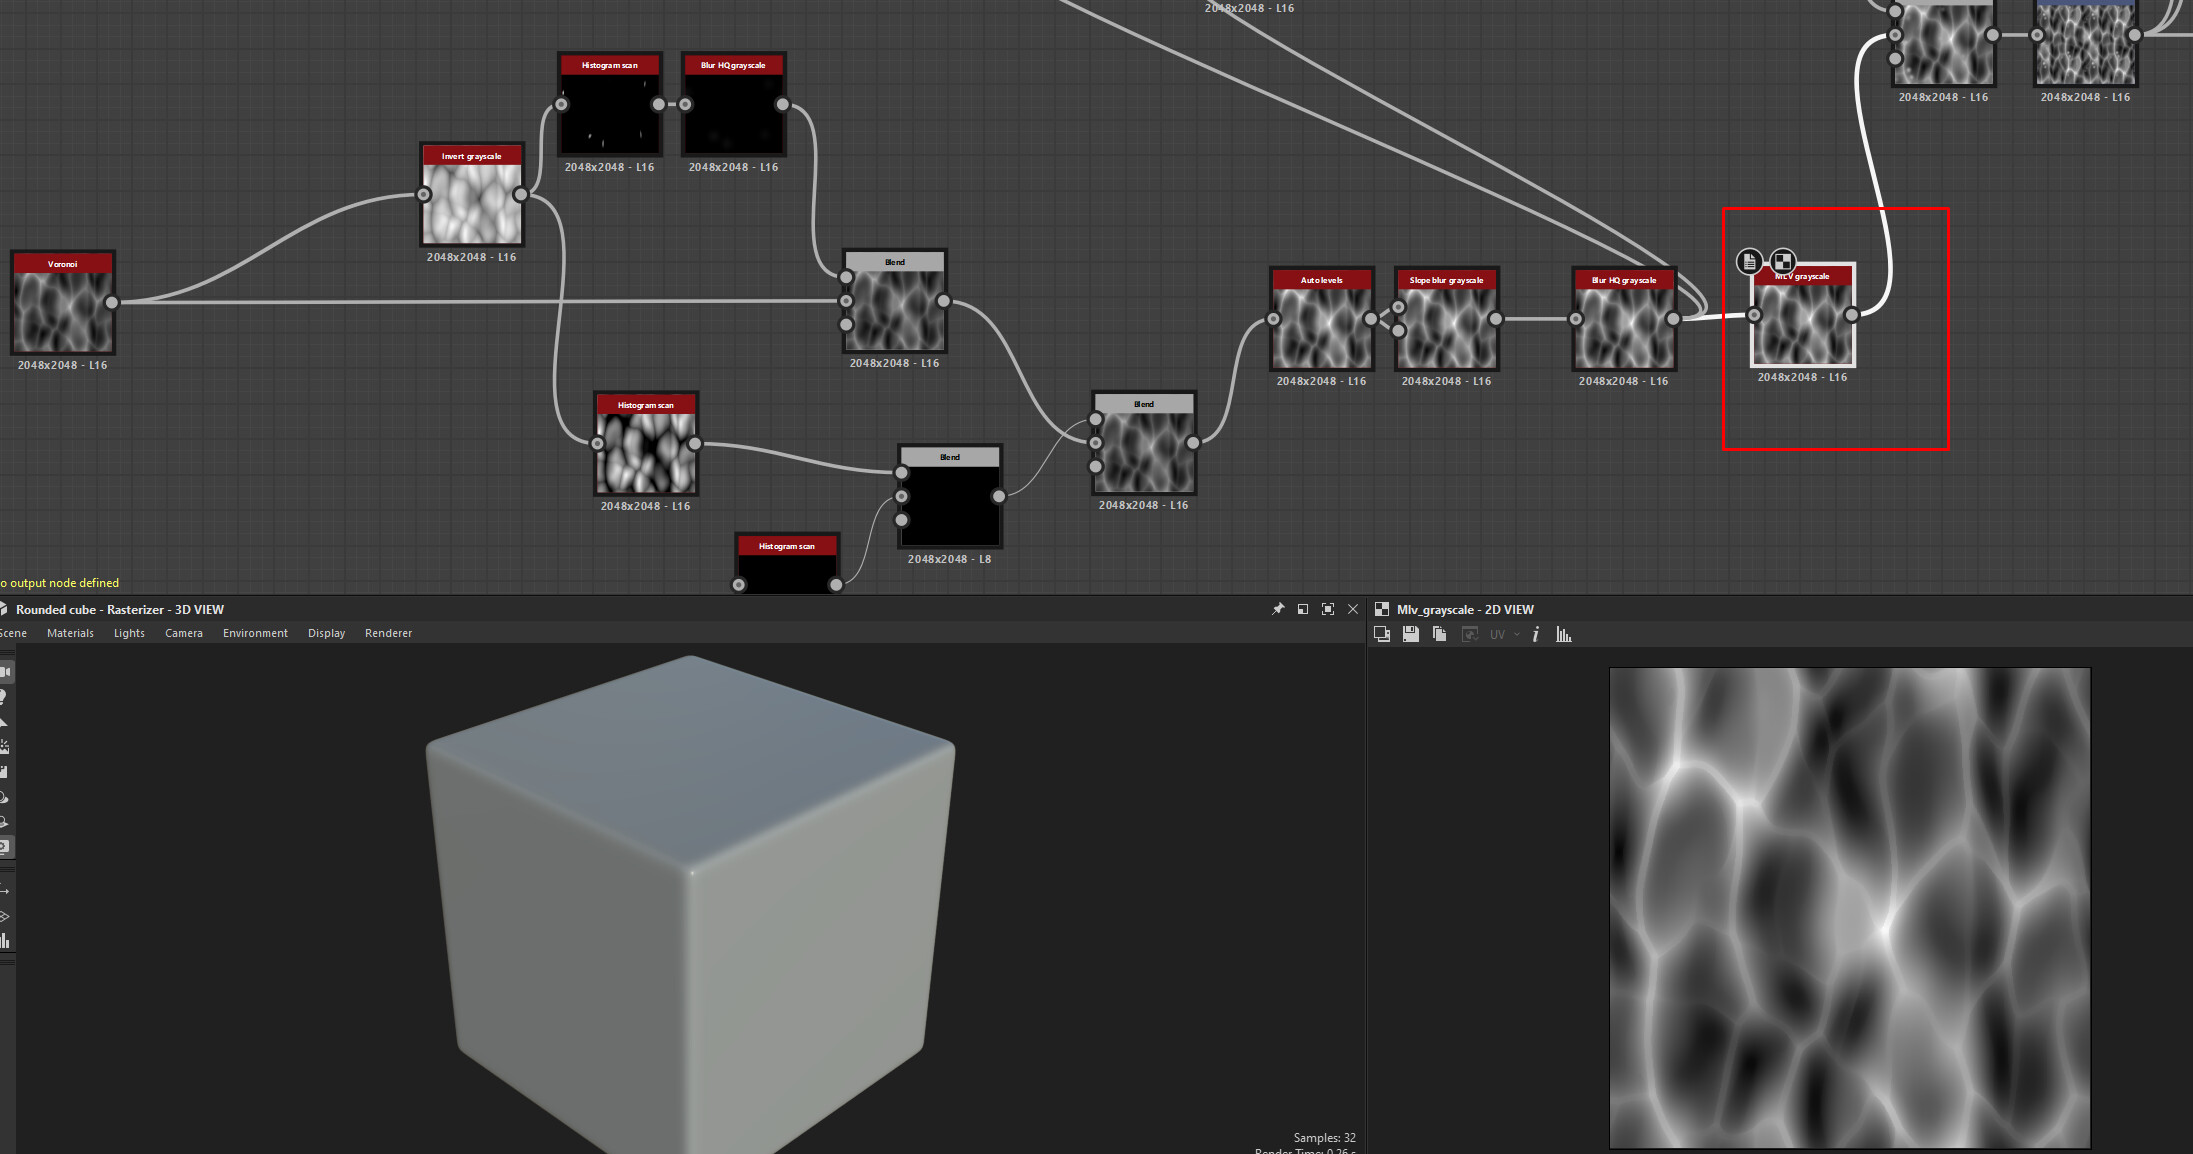
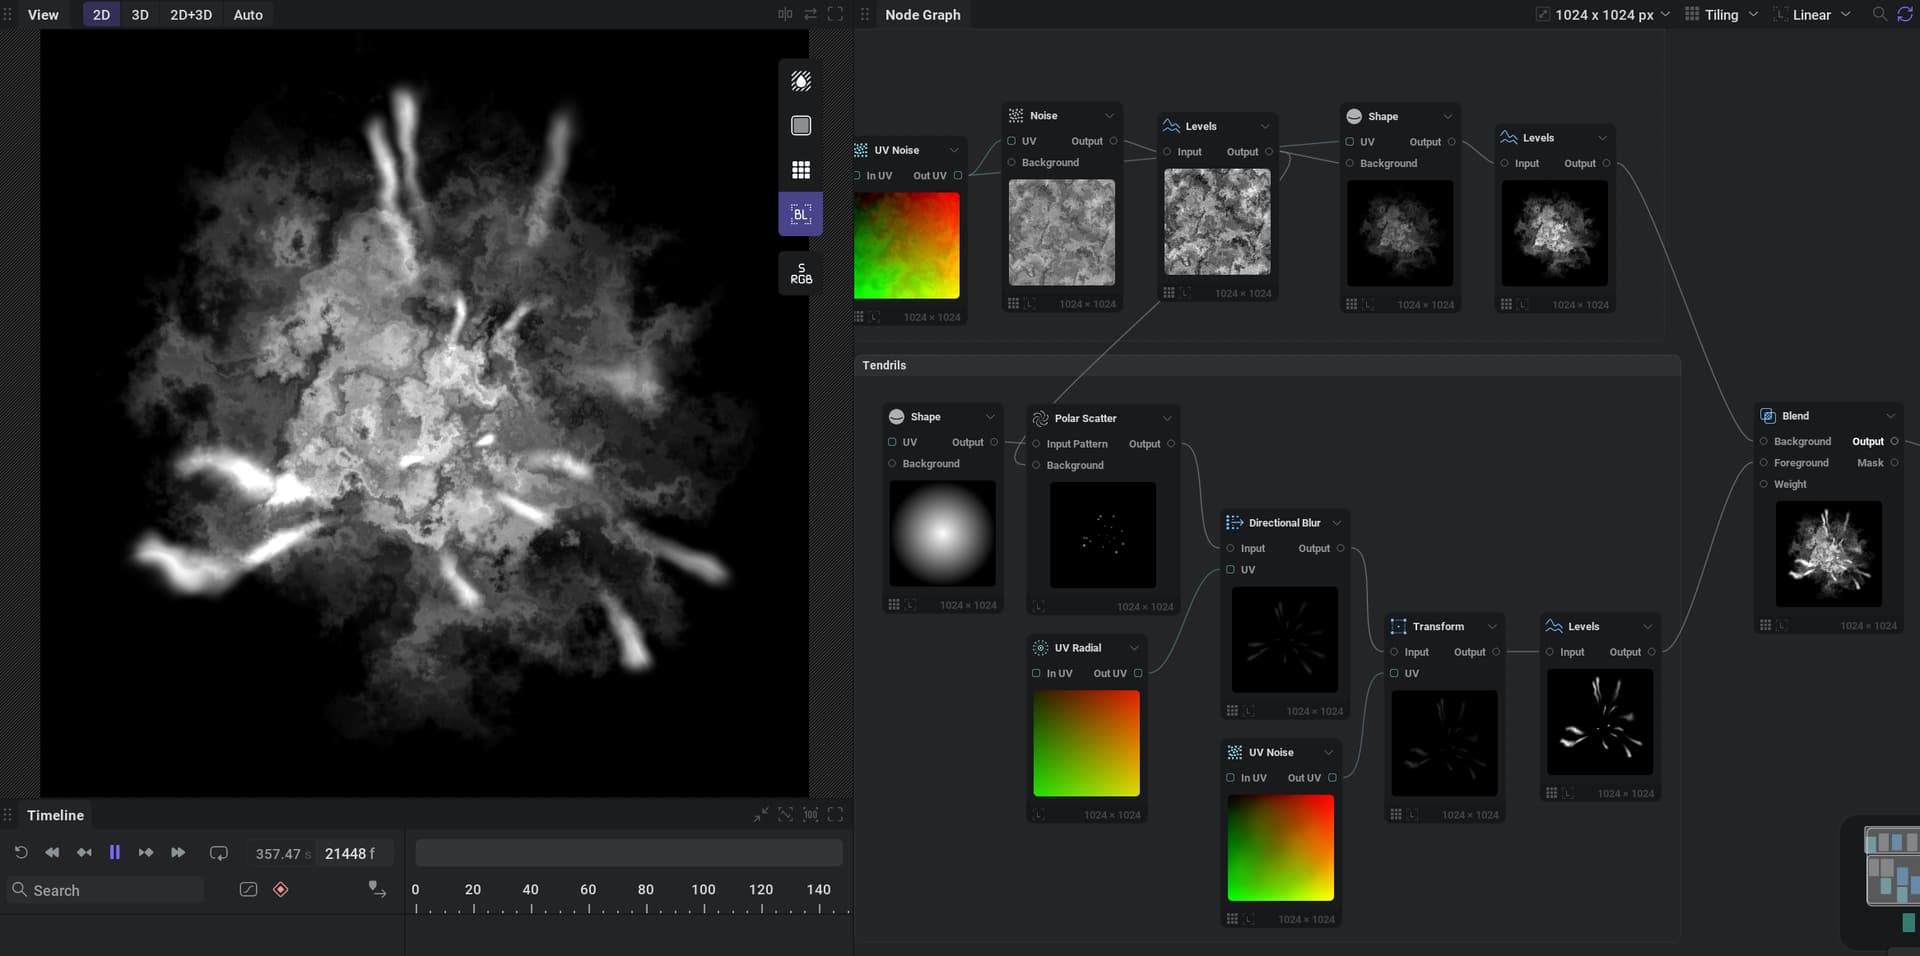
It’s certainly not the best approach, but I found that I can get good results by first generating a base noise that I can use. The MLV grayscale node helps with getting the tighter/sharper shapes in the noise.
For the base splatter shape, you can follow along with this Tutorial to help you get some interesting base shapes going, and then add multidirectional blurs and slope blurs to further break up the shape.
You can then multiply the noise and the base shape to get some stringy bits in the shapes. Move around the noise with a transform node, and make sure to use polar coordinates on the noise to make it circular in shape
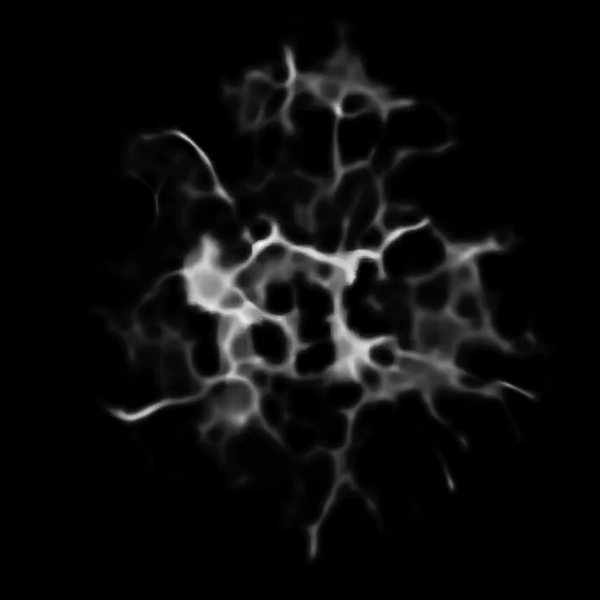
Here is one of the results I got with this approach. The alpha is a bit too uniform, and it could use way more warp and a bit less strings, but I think it’s even a good base to make further refinements on in Photoshop.
The workflow would include a single frame from a simulation in Blender/Liqui Gen/Houdinit etc., and then refining it in Substance. This isn’t completely procedural, so it’s a bit off from what you were asking for.
I would love to hear what other approaches people take here as well.
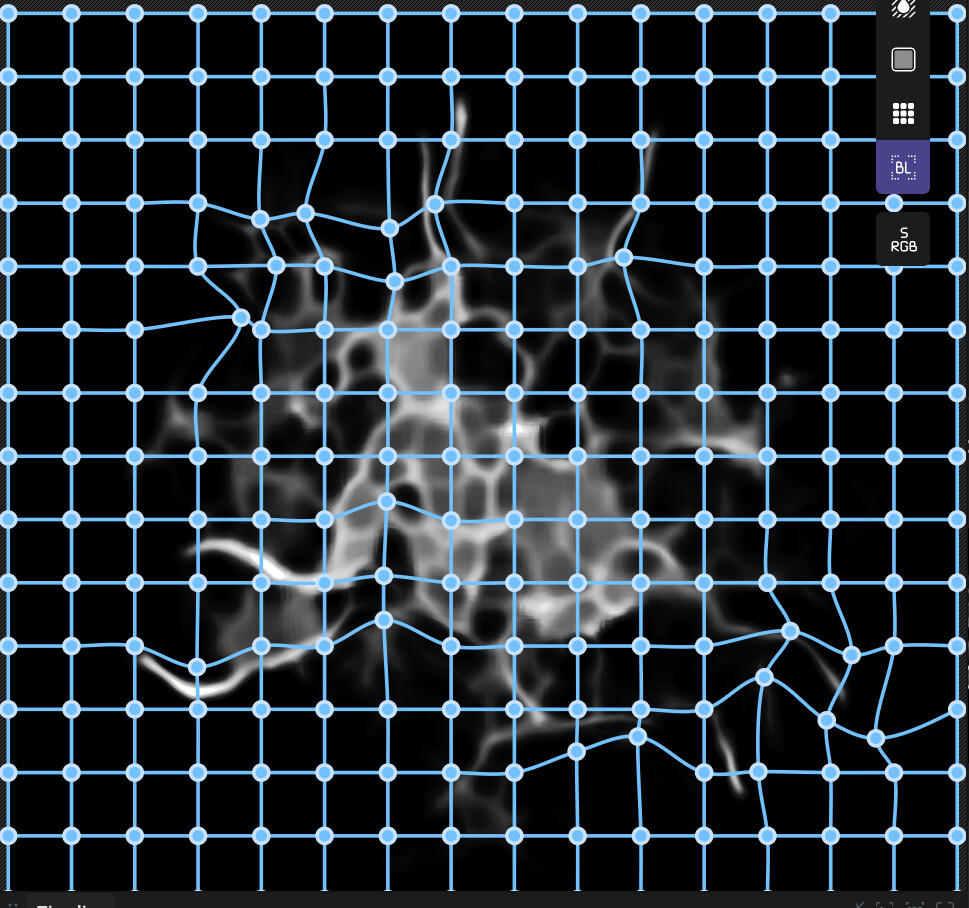
The file also contains an animated threshold preview:
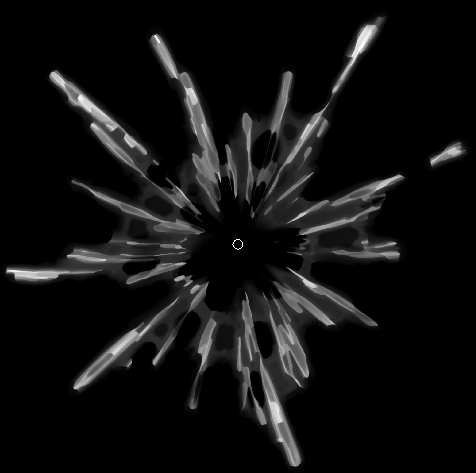
First you need to define a base shape that you want to apply filters to. This could even be a frame actual simulation from LiquiGen or something similar. Inside of IlluGen we start the base shape by severely warping a base noise that we generate. You then want to plug that into a shape node which in this case is using the same exact UV warp into a “cone/circle”. Both the noise and the shape node can have independent warp intensities.
To create the strings we use a polar scatter and directional blur to create an outward spark like texture. You then want to blend your base and that string texture together additively.
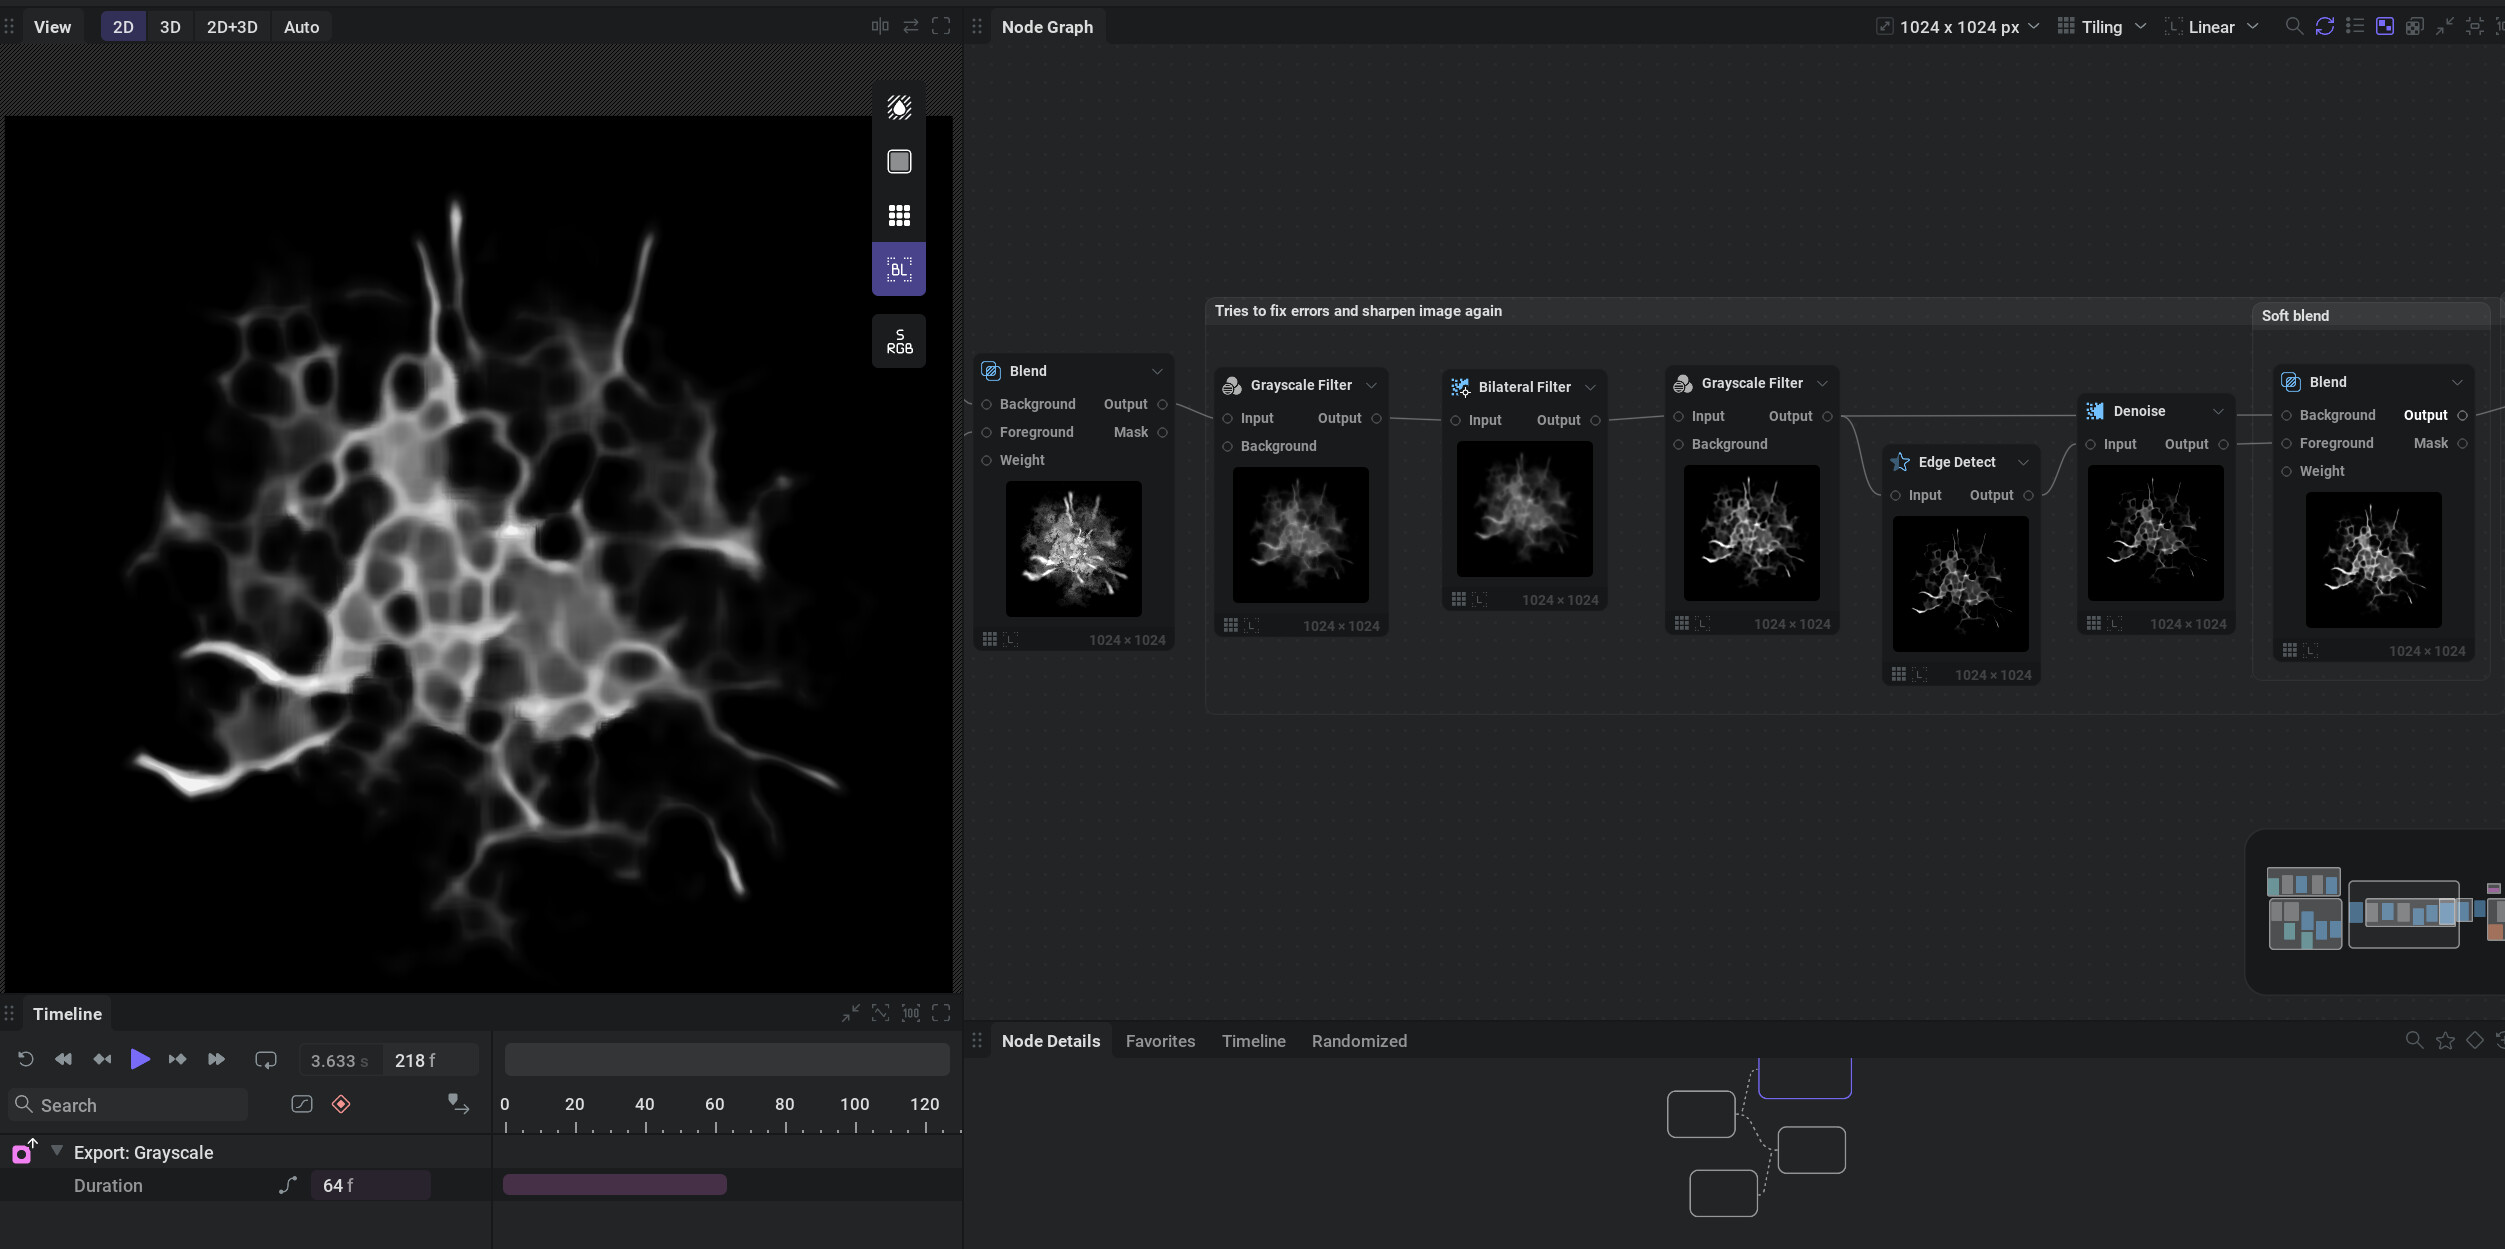
Then you apply the filters. The grayscale filter is using the “shrink” modifier to give us a great erodible shape. Then we’re using other utilities such as denoise and threshold to try and get rid of image artifacts and make it properly detailed again. I’m sure there’s a lot you could do to preserve details and have cleaner filtering but this is first time i’ve tried to recreate my old tutorial in illugen procedurally.
As a bonus, you can shift click the circle beside any parameter to add it to the “randomize” tab in the software. So for instance you can find any parameter with a seed option in noise, uv noise, etc and enable randomization. Then when you click the randomize all button you can get different variations instantly.