As this effect gained significant amount of interest in my twitter, I decided to create a breakdown thread. This is not going to be a tutorial on how to make it, but I’ll try show the key stages.
As this effect gained significant amount of interest in my twitter, I decided to create a breakdown thread. This is not going to be a tutorial on how to make it, but I’ll try show the key stages.
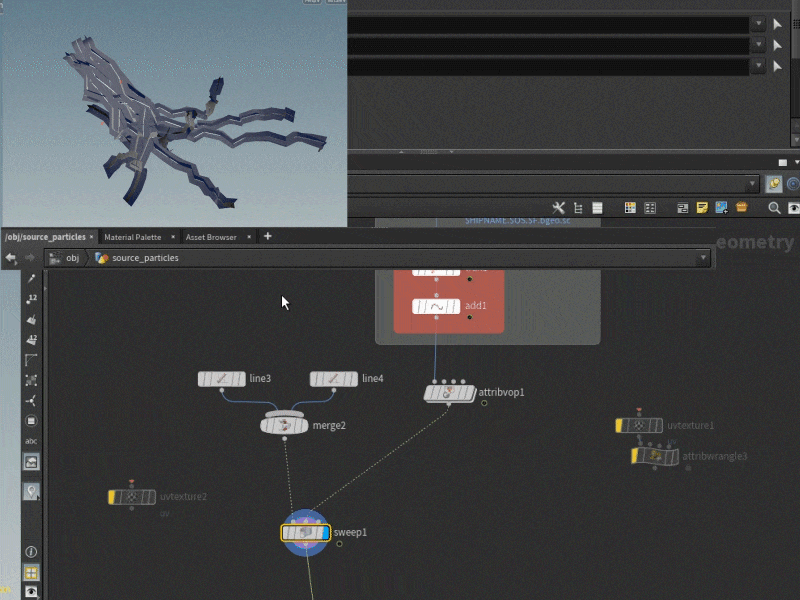
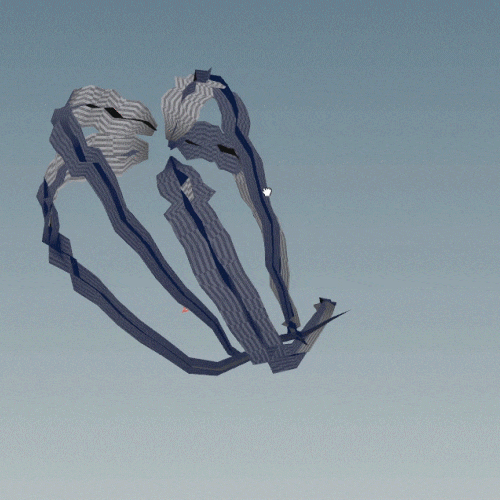
All was assembled in Unreal Engine 4, but the key elements of the effect were created with the help of Houdini. And they are lightning strikes.
Of course they can easily be modeled inside any software, but I wanted a flexibility and possibility of quick changes.
So here goes the stage 1
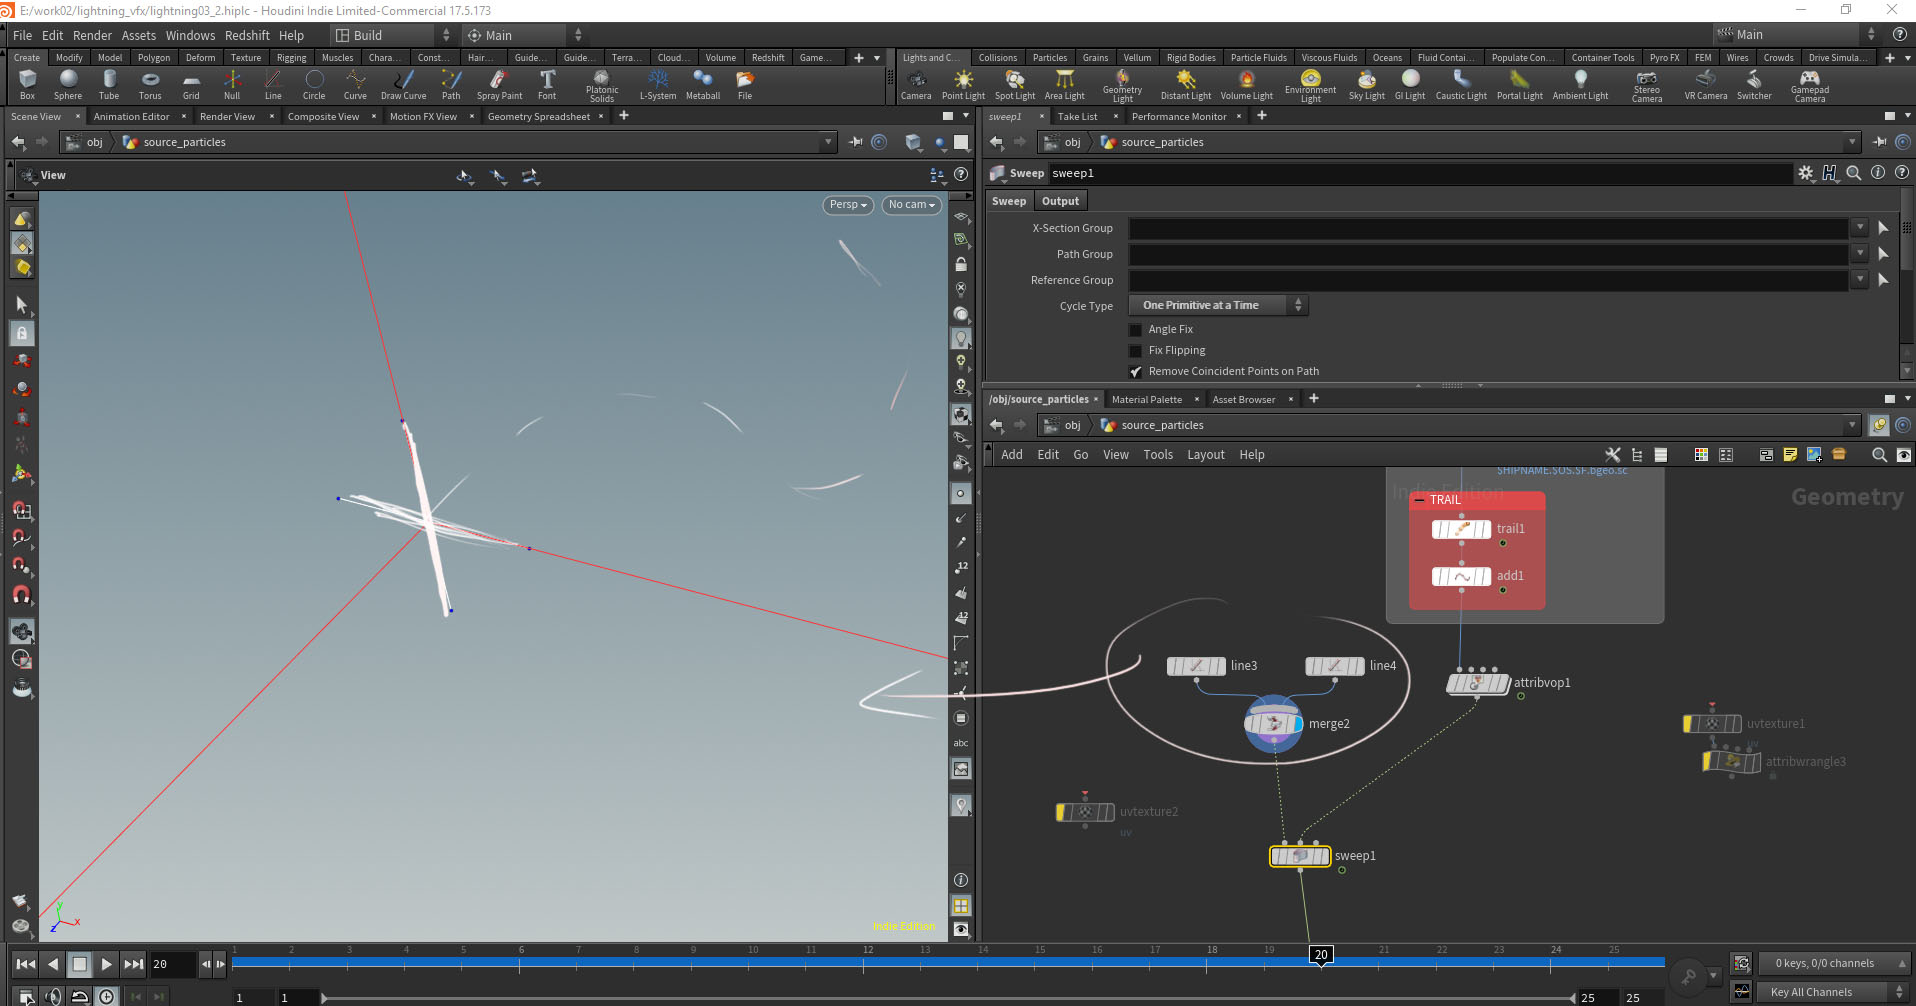
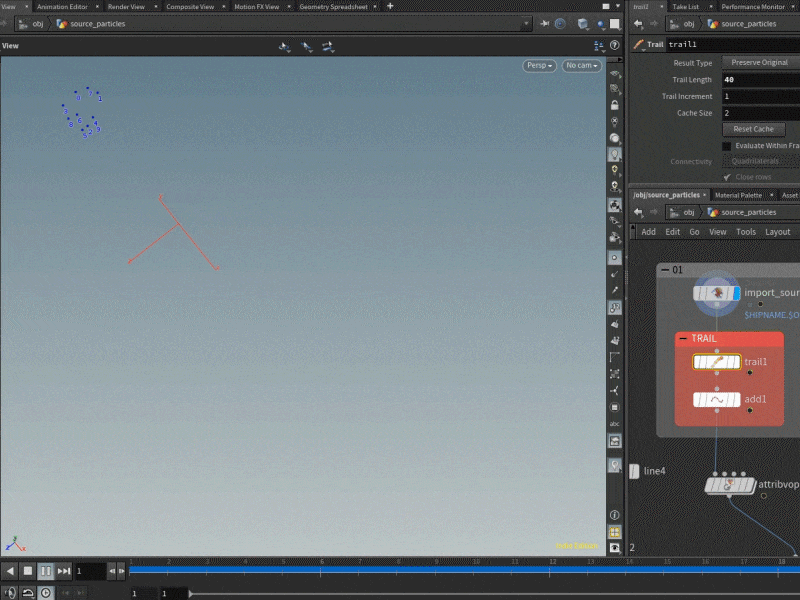
The idea if the lightning elements is quite simple. A sphere emits particles and each particle draws a line, that will later be turned into mesh
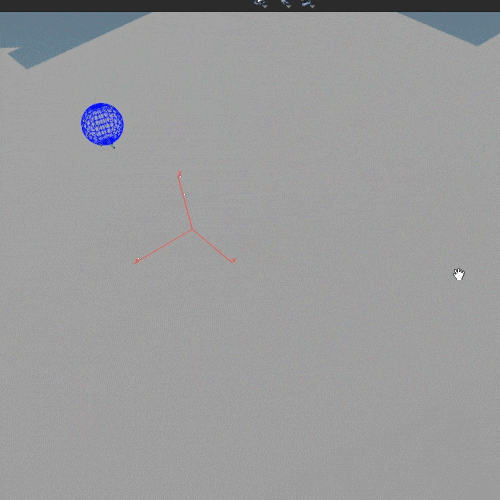
“Trail” and “Add” nodes inside Houdini finish the basic idea. “Trail” creates additional points that represent the source particle path, and “add” connects the points.
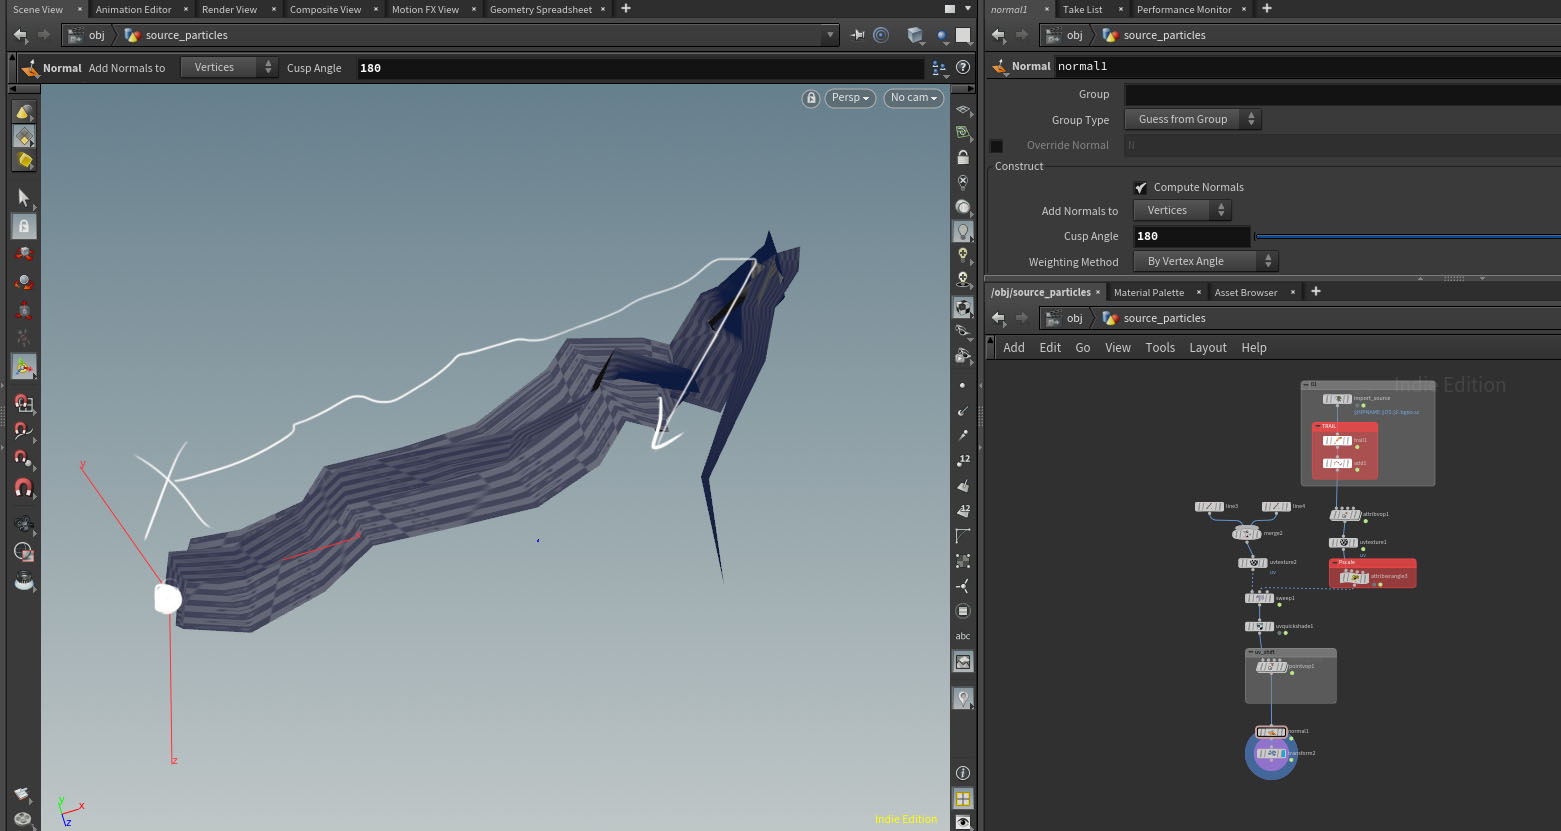
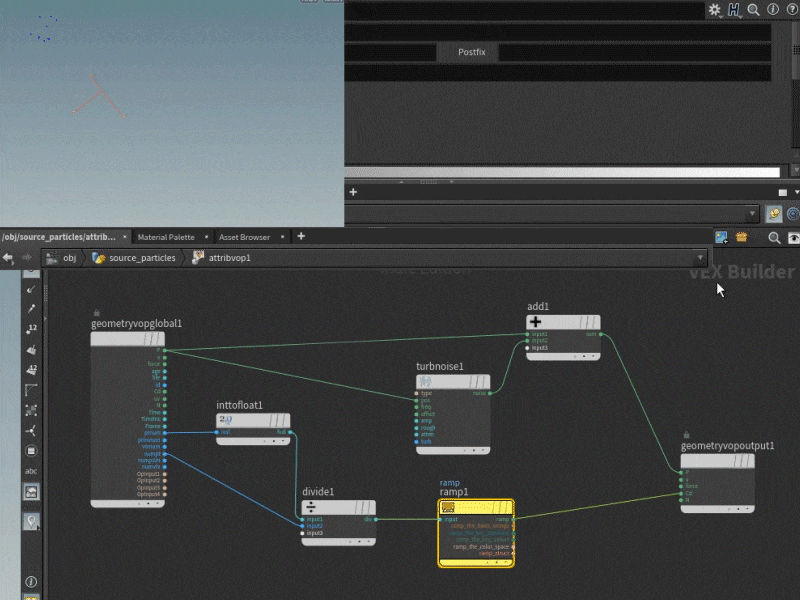
The next step would be to add a bit more noise to the path and give the lines a gradient color. The gradient will be useful later, so we could control the thickness of the lines by color.
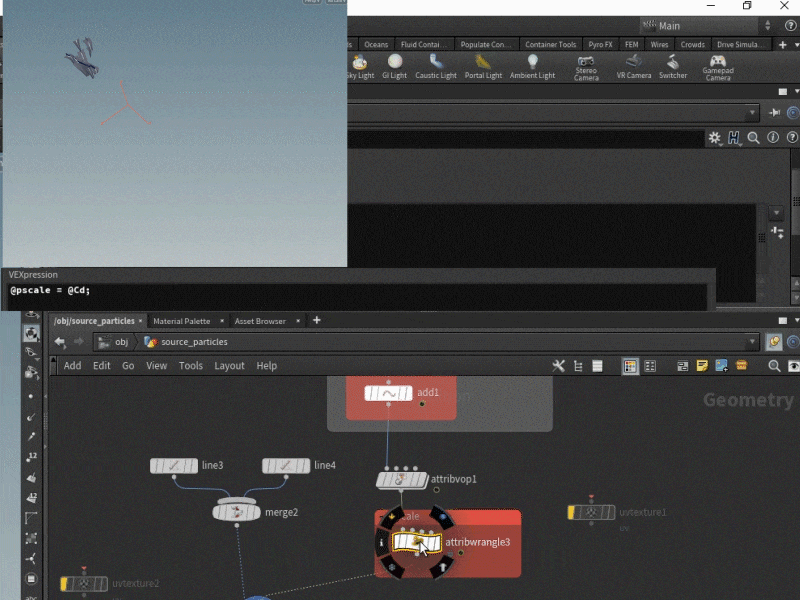
Inside the “attribute VOP” the following is made:
Now we can create a shape that will follow the path and give the lightning elements the thickness. In this case - two crossed lines, but can be changed to literally anything that makes sense.
Sweep node does all the rest
Now goes the gradient. As the size of the cross shape is controlled by the particle scale of the path, we simply make particle scale to match the gradient values.
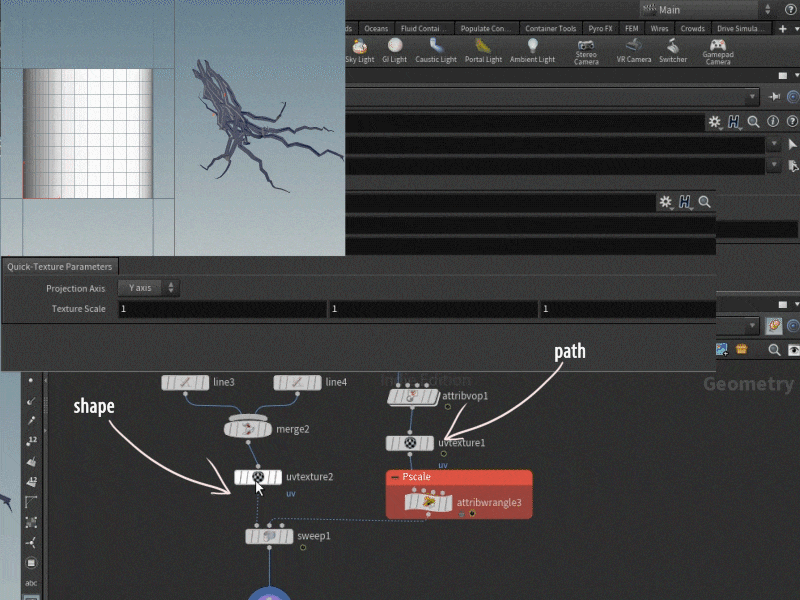
Worth mentioning that these element will not be used as animations inside unreal engine. We will only export several good looking shapes and use UV panner option to move electric currents along the lines. It means we need UVs.
To create UV the “UVtexture” node is used, the node is applied separately to the line and to the shape, but with different angles (0 and 90). After sweep is applied these perpendicular lines will turn into UVs we need.
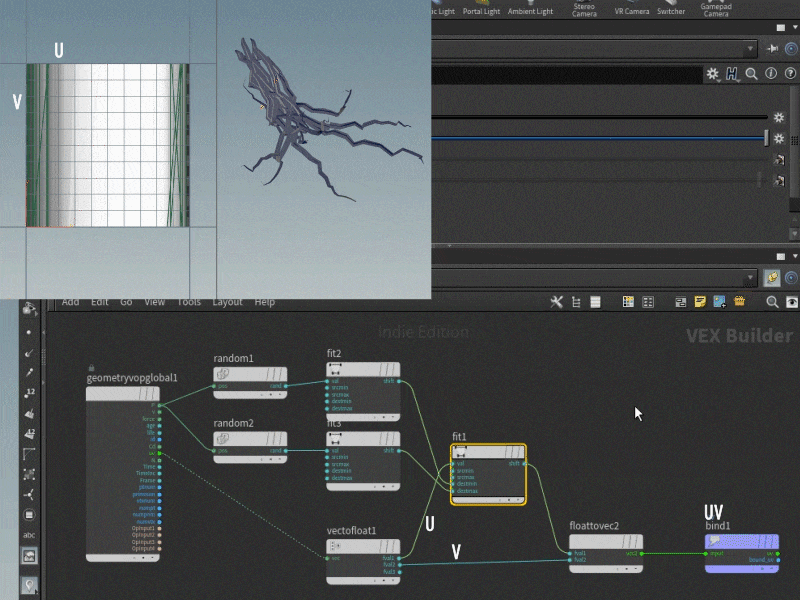
We are almost done. The only problem right now is the dynamics that can be applied to the lightning strikes. If we use several meshes in one element (like in the example) we better shift the animation a bit, so the strikes all happen not at the same time.
That can be modified in a new “attribute VOP” node.
We break the UV into two floats - U and V. After that add random numbers to the U, the numbers are limited by the fit node, so we could randomly move the left and right borders. In the end the floats are appended and sent back to UV.
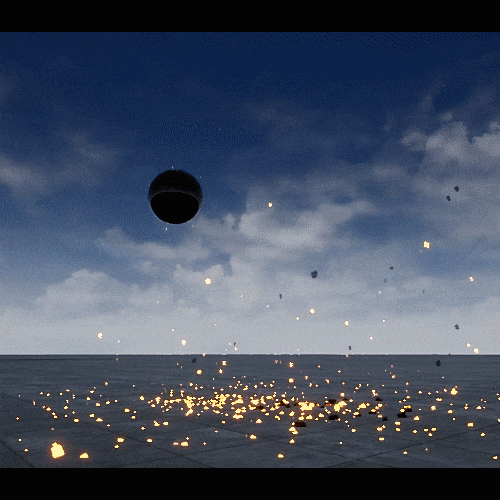
It is mostly done. For the effect we need several single meshes, a bundle of meshes and a directional final strike.
To make a single mesh just set the number of spawned particles to 1
For the final strike the motion of the particles is slightly modified.
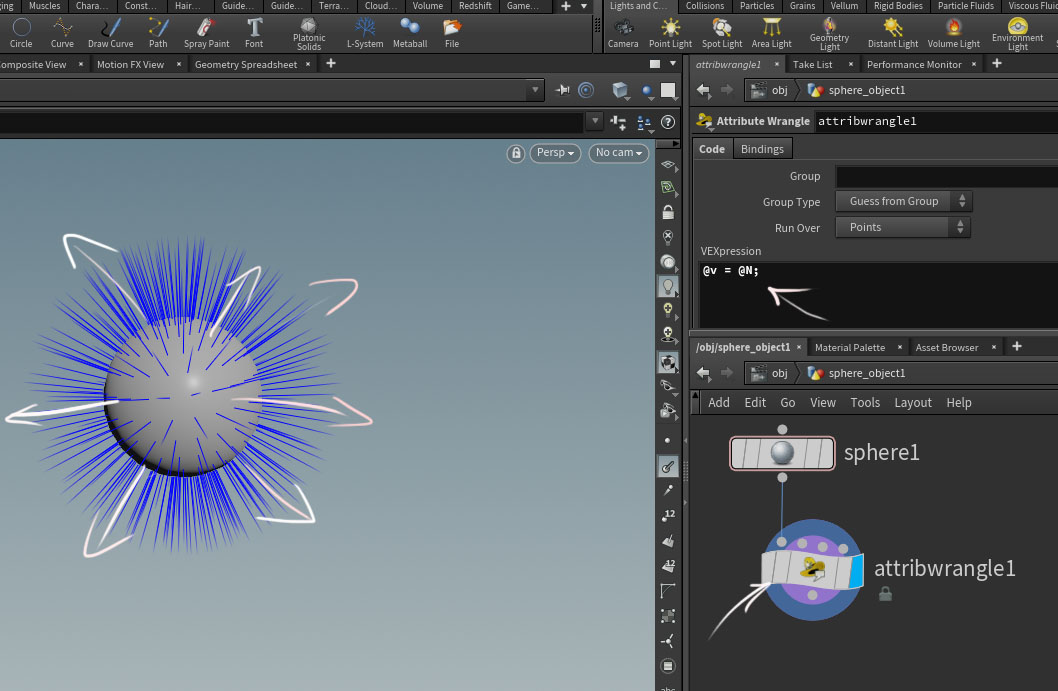
The particles are spawned in all directions in the beginning. To make it happen I simply set velocity to match the Normals
After that I used “popattract” node to attract particles to the strike point
This is it for the Houdini stage. Hope you find it useful.
The next one will be unreal engine stage
Woah, that is really cool! It’ll take me a bit to wrap my head around it all, but this is amazing to see, thank you for sharing! ![]()
And the stage 2
Some words about the actual creation process
The meshes from the houdini stage should be imported to unreal
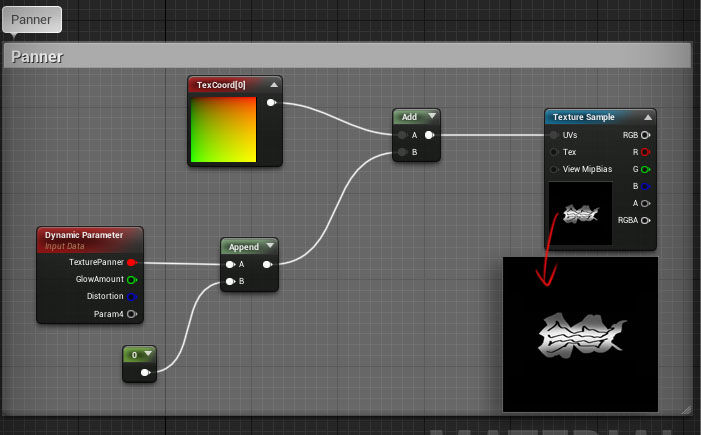
The main idea here here is to scroll the lightning texture along the meshes. So here I simply add a dynamic parameter value to U coordinate of the texture.
The texture here is not the one I am proud of, and it also was a placeholder in the beginning. But it works anyway so who cares ![]()
The next stage is tweaking numbers and parameters to make all look good. Work with timing takes a significant part of the whole process.
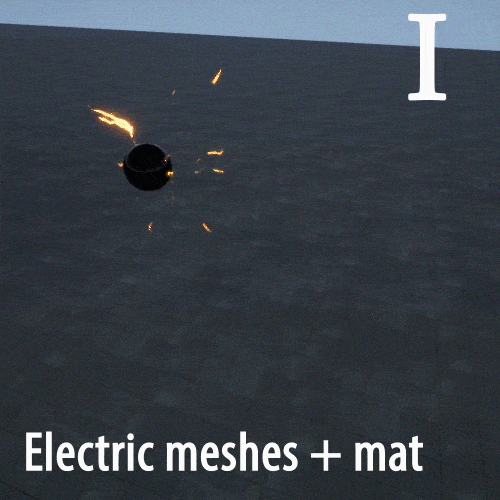
You can notice here that before adding a final directional strike, I also added a copy of this strike but with faster living time. It made the effect look more powerful and striking.
Lights layer. In this case I used real lights. But if you are tight in budgets or have other limitations, you can probably use additive textures that simulate light spots.
Sparks. This one is simple. Use GPU whenever you can ![]()
Distortion layer. Just a scaled-up spherical mesh
And the last but not least - aftershock wave.
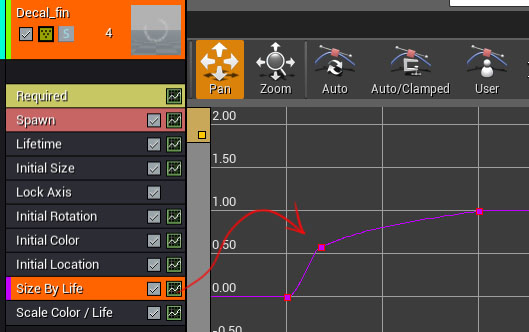
It may seem that you just add a circular texture and scale it up over time. But in a simple stuff like this work with curves is even more important. Don’t forget about it
That’s it ![]() thanks for your time
thanks for your time
Very cool breakdown to see, thanks for sharing your workflow! ![]()
![]()
Looks amazing, love the look of the lightning. If someone had asked me I’d have guessed they were ribbons, but I see you used meshes. Did any special considerations go into choosing meshes over ribbons? I haven’t worked much with them yet, I assume getting the sharp jagged look of lightning is harder with them than with a texture on a mesh?
Hey. Thanks. I think that you can use ribbons instead ![]() it is just a matter of choice.
it is just a matter of choice.
What I can say here, if I had to model the meshes manually, I would definitely use ribbons. But the idea here is that I can easily get any shape I want, using a procedural approach in Houdini.