Hey Folks,
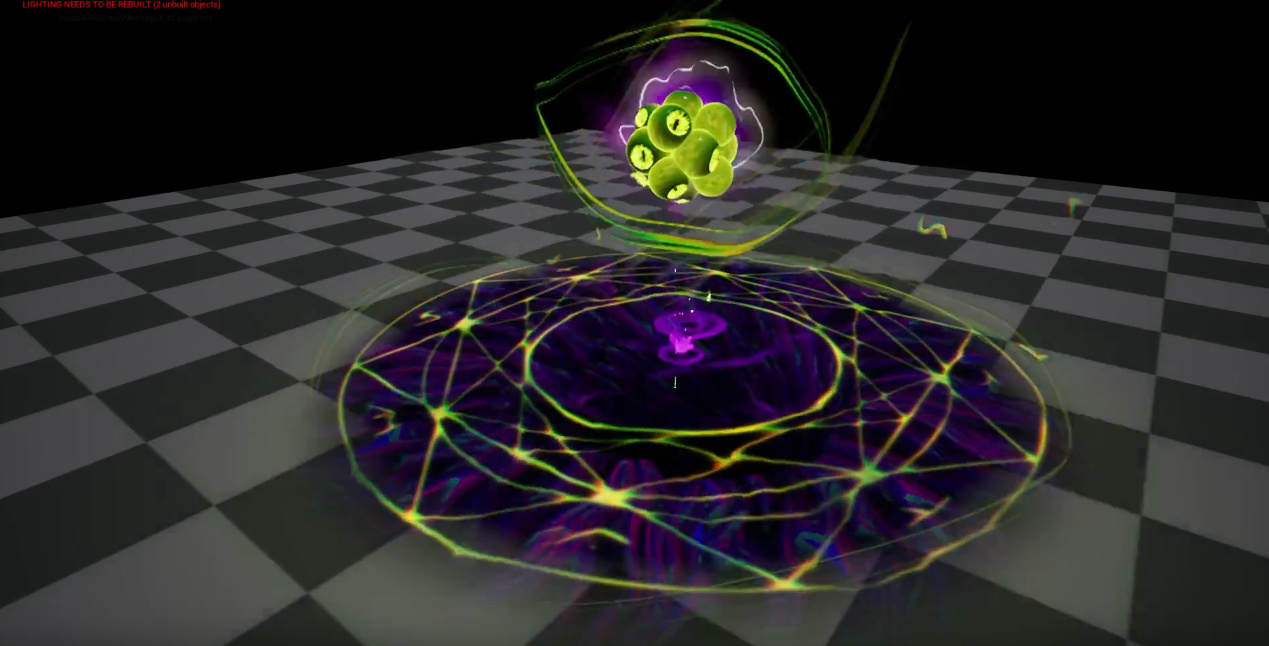
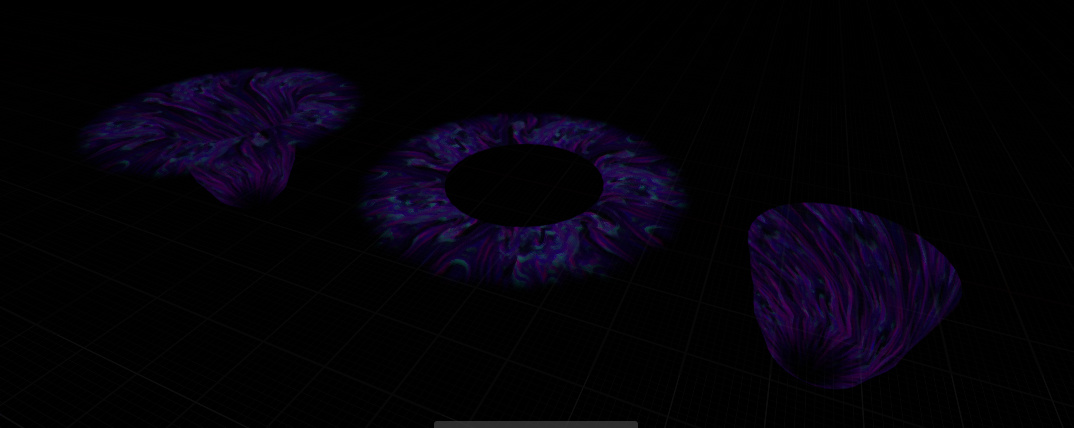
Here’s something I started working on as I transition to UE4. It’s some kind of Abyssal eye thingy over a dark portal. …Halloween!
I’m still working on it and C&C is welcome. I was looking at some Justin Cherry Evolve stuff and loved the eyeball effect. I’m thinking of including some splash meshes and randomly arcing lightning from the eyeball.
Ultimately, I’d like to keep things legible and avoid getting too noisy (though it looks neat). Gotta wrangle in that focal point while adding enough complexity to keep stuff jazzy. Suggestions?
https://www.youtube.com/watch?v=FQm8JtY6Eu8&feature=youtu.be
Also, I’ve also got a couple of questions about Flowmaps-
1) Firstly, How do I generate one in Houdini? I’m using Flowmap painter currently but the results are subpar since their mouse-painted.
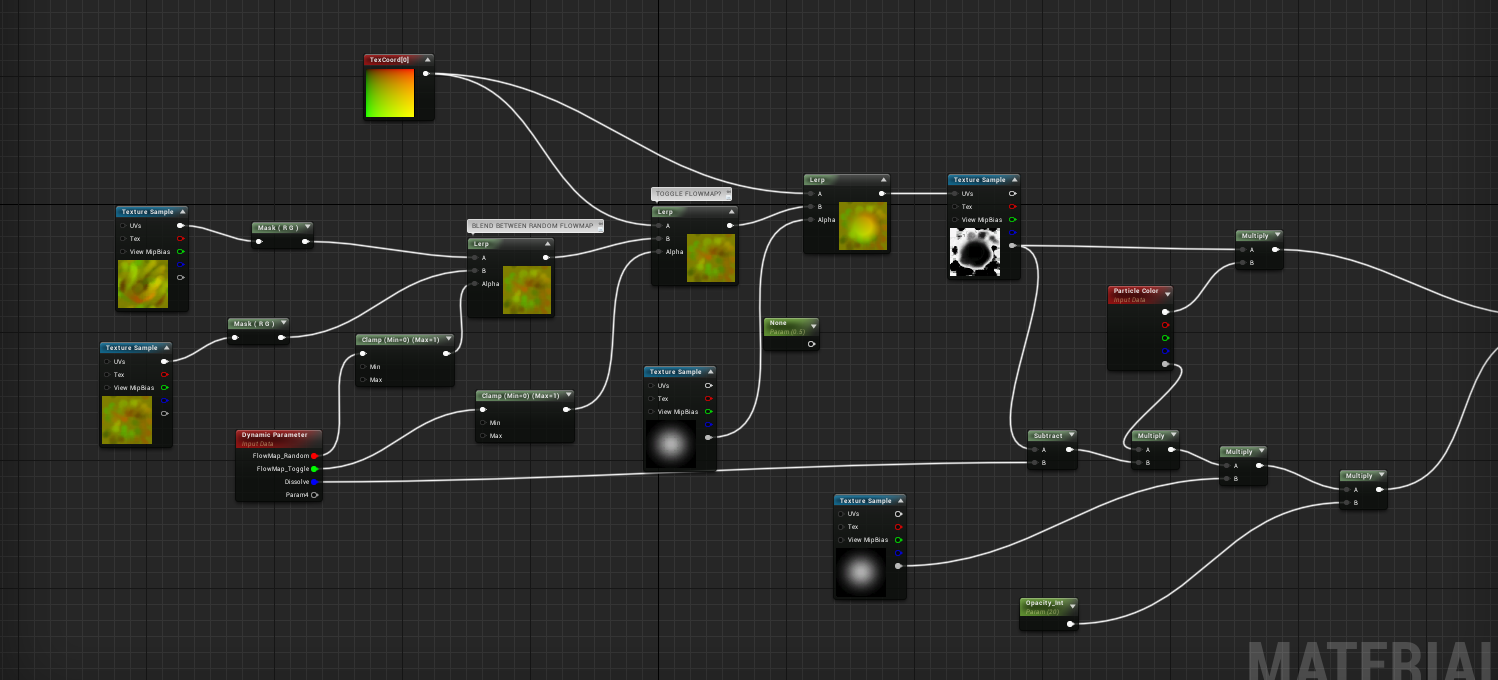
2) Secondly, How can I get this effect in UE4 using this graph setup?
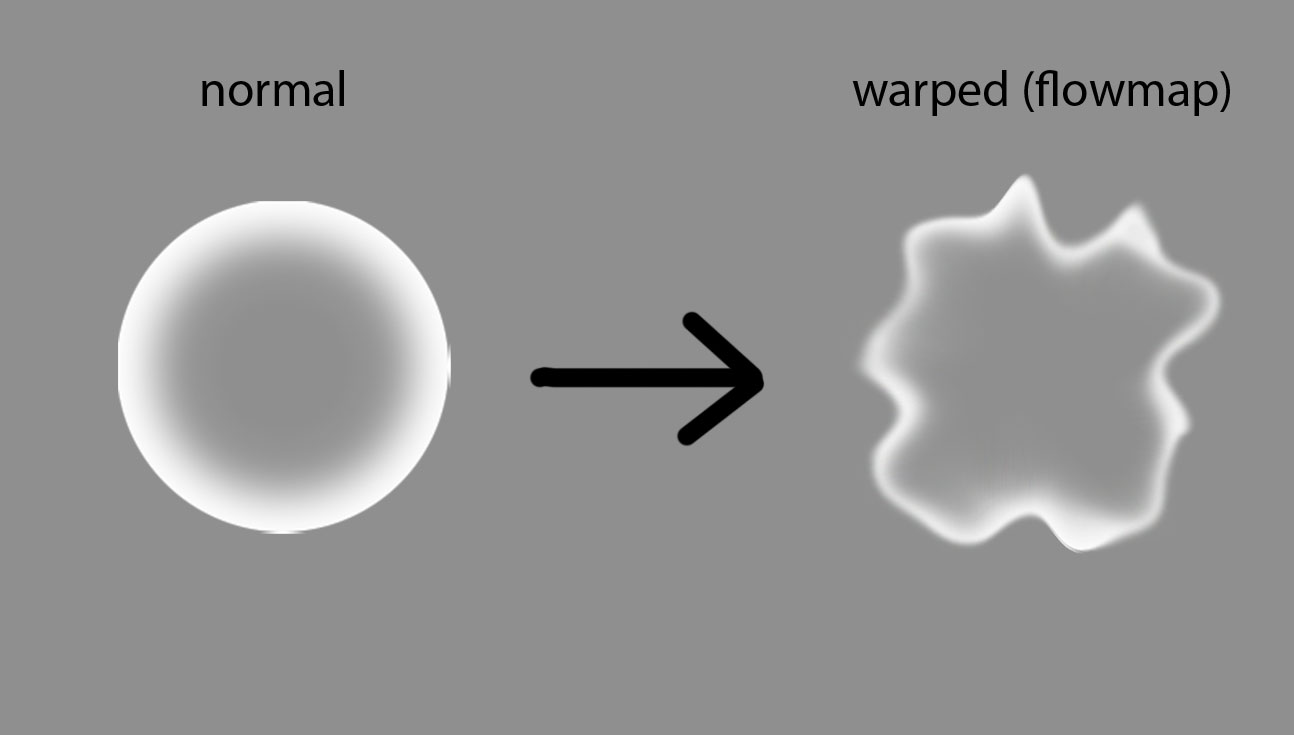
I want the ring to shift from “normal” to “warped as hell” as it dissolves out. The problem I have right now is that it seems to eat away at part of the ring rather than warp the entire thing as one piece. I’m not sure if it the fault of the flow map?
Here’s an image of the ideal result. It almost feels like its tiling or something, though nothing is tiled in the texture coordinate.
Here’s my graph. I was looking at this Kris’s post for the setup. Overwatch - Moira - Biotic Orb Recreation Attempt
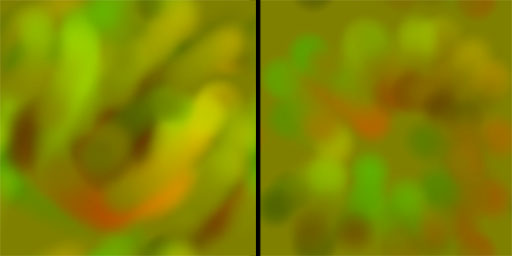
Here’s the two flowmaps courtesy of FMP haha.
The way it works in the Dyn in Cascade is that it Lerps from 0 (no flowmap) to 1 (all flowmap) to give it that ‘transformative look’. I’ve been fiddling with the numbers but its either “very little/unnoticable warp but ring warps uniformly” or “crazy warped and eats away like a crescent ring.” Any ideas on how to fix this?
3 Likes
It’d be cool to do something like this for the “random lightning arc”. Is there a way to tell the beam emitter to randomly fire at particles?
What I imagined (correct me if i’m wrong) is that you create a particle system and set it as the “beam target”. The source (eyeball) will then fire the beam from the eye to the random locations.
If it can’t be done through cascade, is there a blueprint tutorial with a similar setup?
1 Like
Here’s an update on the eye. A friend suggested making it a cluster of eyes so I gave it a shot.
https://www.youtube.com/watch?v=u5Xel3YKdcg&feature=youtu.be
I’m still investigating that “random arcing lightning” and how to make flowmaps in houdini (similar to the bill kladis video here) imbueFX - Cascade: Flow Maps & Advanced Materials in VFX on Vimeo
Mainly I’m just experimenting with ideas and seeing what I can get.
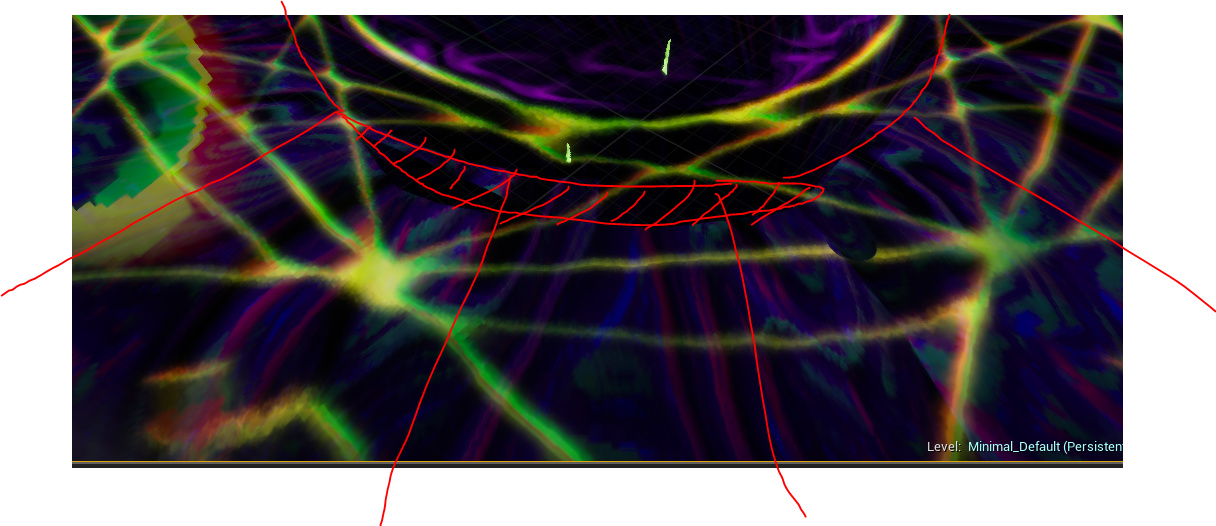
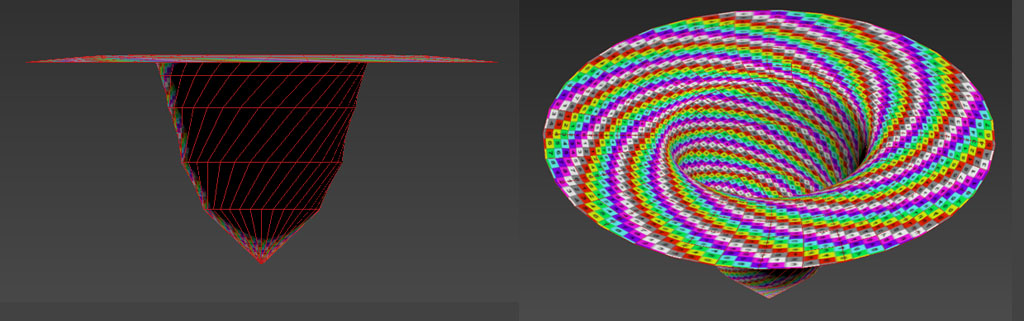
Is there a way to get rid of this? The mesh isn’t two-sided and it seems to occur on transparency materials. It’s rendering the inner cylinder, when it should be hidden by the top of the surface (as seen in 3dsmax). You can see this harsh cut in the video.
Here’s the mesh itself (3dsmax).
1 Like
that inner portion is not being hidden i think because the shader is not calculating Z-depth IIRC e.g. depth pass - For a Unity shader it’s a single Boolean like this
https://docs.unity3d.com/Manual/SL-CullAndDepth.html
ZWrite On
as for the other questions I don’t have ‘answers’ only suggestions/thought
Krita lets you paint flow by hand though it won’t be interactive AFAIK, i.e. it does not give you a demo texture to perturb and watch in real-time looping (although that would be super helpful, wink* wink*)
Krita 4.1 Documentation on “Tangent” Tilt directional option
double flow maps might be over producing what is ostensibly a single UV_Offset map. e.g. a Red channel can be used to offset U AND V from the middle of UV space (0.5, 0.5)
i’d probably try something like (Edits ; sorry just working out the math to do the offset correct)
UV = Red * particle_lifetime * (UV_space * 2 - 1)
with that particle_lifetime 0 - > 1 texture goes from no perturbation to 100%
if the value isn’t the right strength just pass another mult var in there
offsetting should certainly not create ‘squashing/stretching’ being seen with flow vectoring _
(also i did not see anything wrong with your setup vs Moira examples)
2 Likes
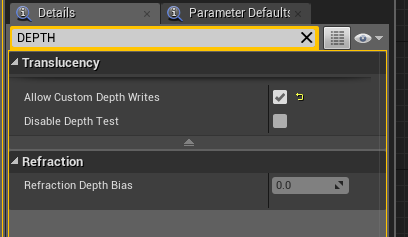
Hmm, so it does seem to be depth related. Problem is, its disabled by default it seems. When i enable “disable depth test” then the problem gets worse. I also tried enabling the first setting but no results. I do not see any Zwrite, depth buffer or depth related settings in the material beside these two.
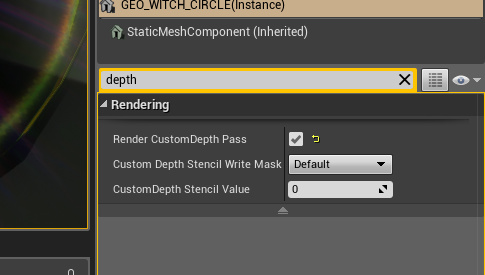
There’s also this on the object itself. I’m messing with the values but not seeing any results.
As for flowmaps, I’ll look at different methods. Ideally simulated ones would be nice- something that just twists the UV space would be good.
I’ve also considered using UV distortion as an alternative, in regards to the “distorted splash rings”. It’ll achieve a similar effect, though not as fluid as a flowmap. I’ll see what I can get.
Hey Folks, here’s another update on my project. I’ve gotten a much closer result using a flowmap I made in photoshop. It was as simple as using the filter Twirl & Wave. Now it opens up like I wanted while still having motion.
I’m still working out the “arcing lightning” aspect. I’m using a spline mesh right now since the beam emitter seems to have limitations, specifically the “loops infinitely” part. Ideally, it’d fire one bolt at random locations in an erratic manner.
As for the mesh, I wanted to add “pools” where the lightning impacts, but I’m running into some issues. I used the “share module” for “Initial mesh rotation” and it rotates independently. Essentially, its always offset rather than being lined up. Is there something I’m missing?
Lastly, is it possible for particle systems to be called into other systems? As in, call “lightning w/ splash pool” particle system into a “randomly rotating container” particle system?
The first system would be the “vfx prefab” and the second system would be the “spawner” and “random rotation”. That way the second system handles all the randomness and there’s no issues with offsets since it’s entirely local in the first one.
I’m using a system like that right now and I’m curious if that is possible in UE4.
5 Likes
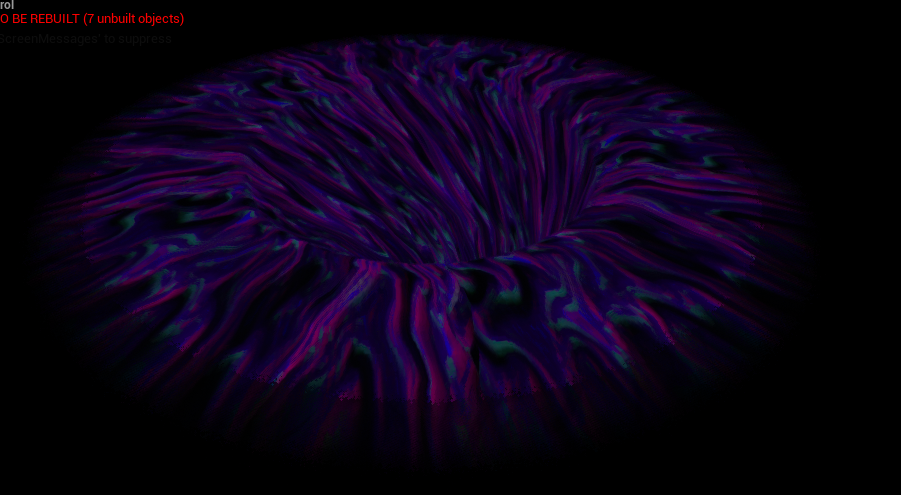
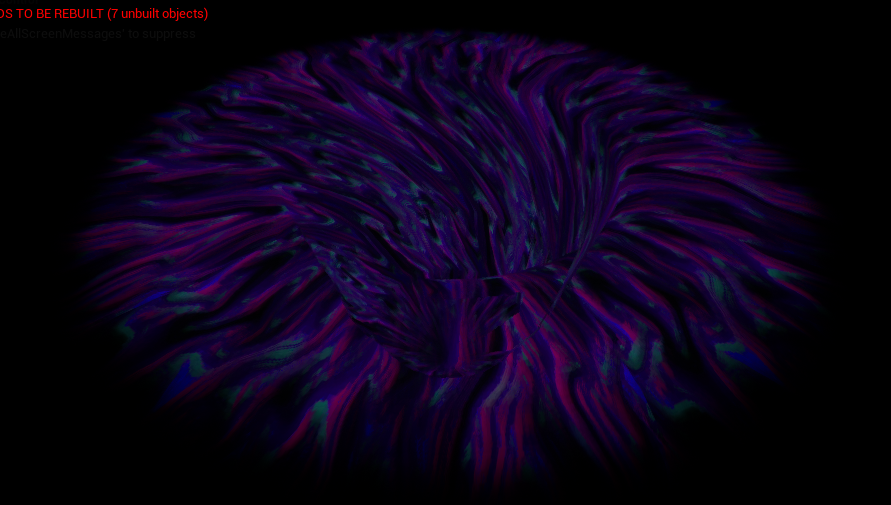
Hmm, so I’m still struggling with how to fix this issue here. The first image is using the dithered technique and more or less sorts things correctly. Problem is, the dithered mask doesn’t work well here.
The second image is the default translucency setting which is rendering the interior through the top.
Does anyone have suggestions on how to fix this problem?
Would I split the interior and top into two pieces and apply two materials? Perhaps Transparency for top, and opaque for the interior? The materials and UV’s would be in sync. The top sort priority would be above the interior. That’s all I can think of right now.
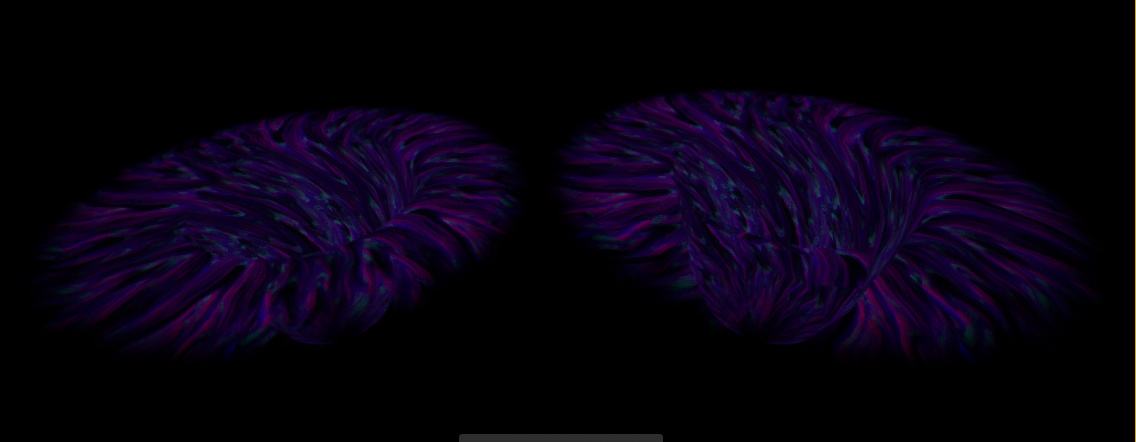
HMMM. I guess so! Looks like it sorts properly now that its fractured into two meshes. If there are better solutions to this I’m open to it.
Left - Combined Mesh. Right - Translucent Mesh (one piece).
Left - Combined mesh in UE4. Right - (Same mesh) split apart into Top and Interior.
Edit** The seam was fixed. It was correct I just had the child local scale the same as the parent which offset everything. It works now.