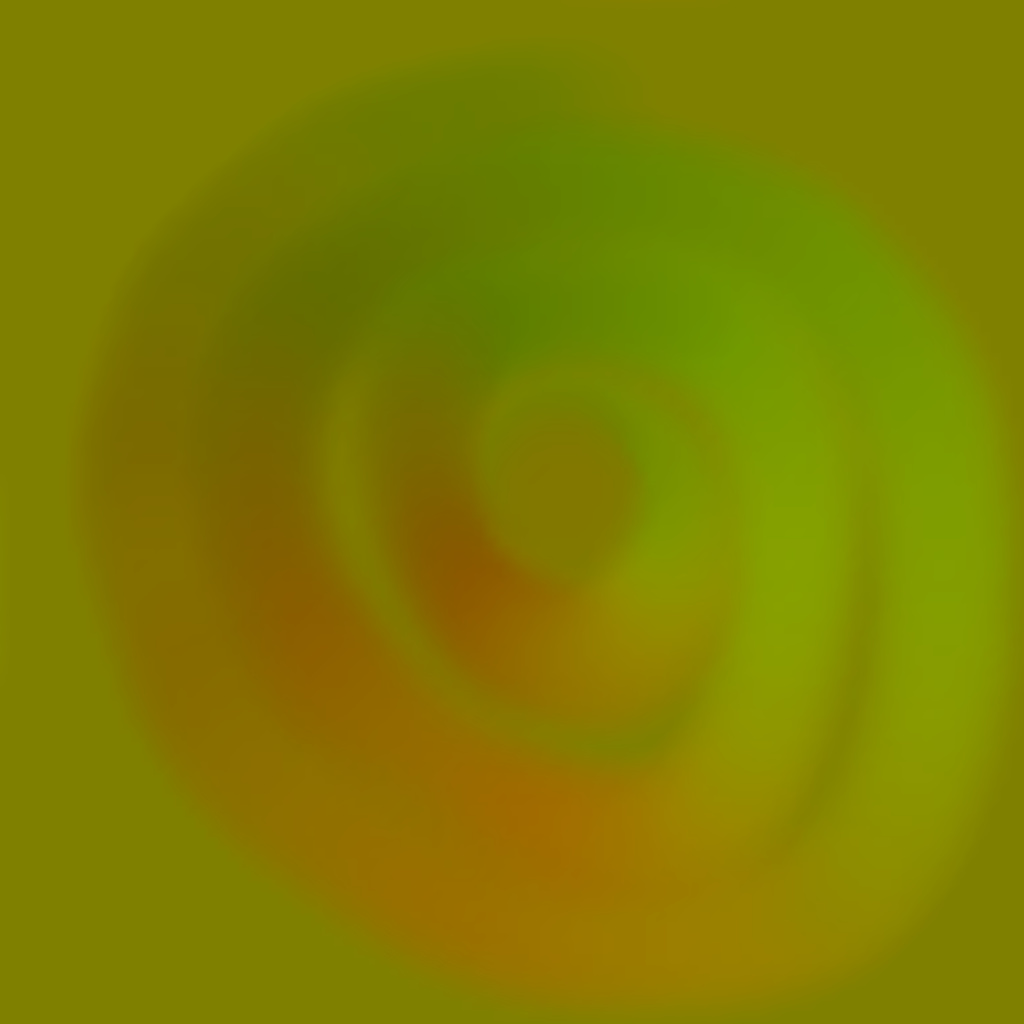
and the result was kinda strange: the part which flow is suppose to be 0, looks like it isnt
the whole texture was moved diagonally.
would there be any mistakes I made? by far as I know, subtracting 0.5 and scaling up by 2 will make the data from -1 to 1: when it is added to texcoordinates, it should be flowing with flowmap’s vector
I do need help with this
I’d import it/set it as a normal map so all that’s done for you, if the option’s available.
Else you want to Multiply by 2.0 and subtract 1.0. Gets you to 0.0-2.0 range, and then -1.0 to 1.0 range.
Also verify that your maths is correct by first creating the flow texture as pure zero (0.5,0.5,0.0) and check that there’s no distortion. Flow map does look fine though.
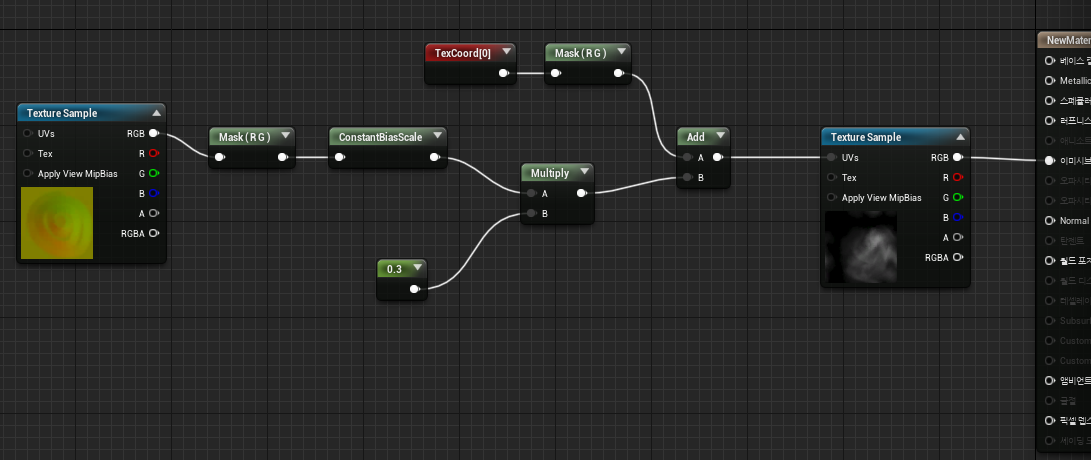
Problem is likely the ordering between mult and adds which is supposed to be (Input + Bias) * Scale = Output
You can try to remove the constant bias node and simply do the math with math nodes. As Alex said, I suggest also doing MaskRG > mult by 2 > subtract 1 > add to UV. And see if your problems remains.
Yes! unchecking sRGB and multiply 2 then subtract 1 has solved it.
I am curious why the order is important. *2 -1 and -0.5 *2 looks same to me
anyway, thank you all!