Thumbnail for the latest topic:
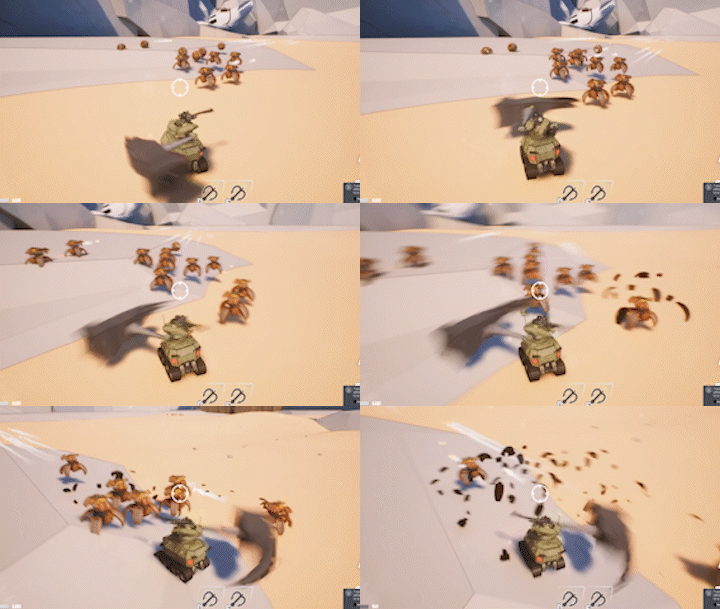
Hi everyone,
After all these years I wanted to give back to the community, so I made my first tutorial!
I hope you can appreciate it! I had a lot of fun making this video!
Thumbnail for the latest topic:

Hi everyone,
After all these years I wanted to give back to the community, so I made my first tutorial!
I hope you can appreciate it! I had a lot of fun making this video!

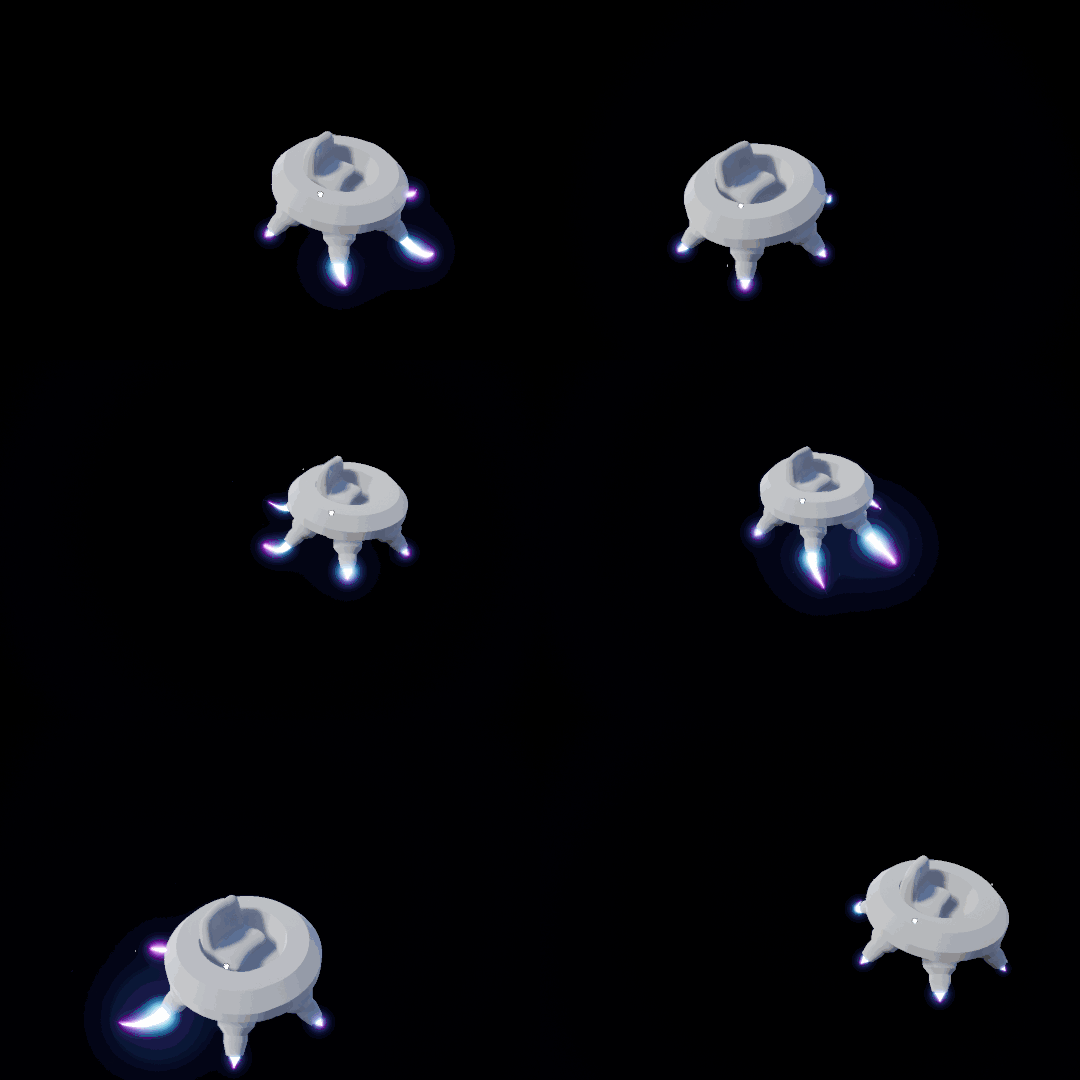
The saga continues…
This time I am explaining how I deal with a particle system, that has infinite particle(s), that is being deactivated through code/blueprint. In this video we are creating a niagara module that allows us to use an additional fade time parameter to transition out the infinite particles.
Well well well, It’s been a long time that I haven’t posted here ![]()
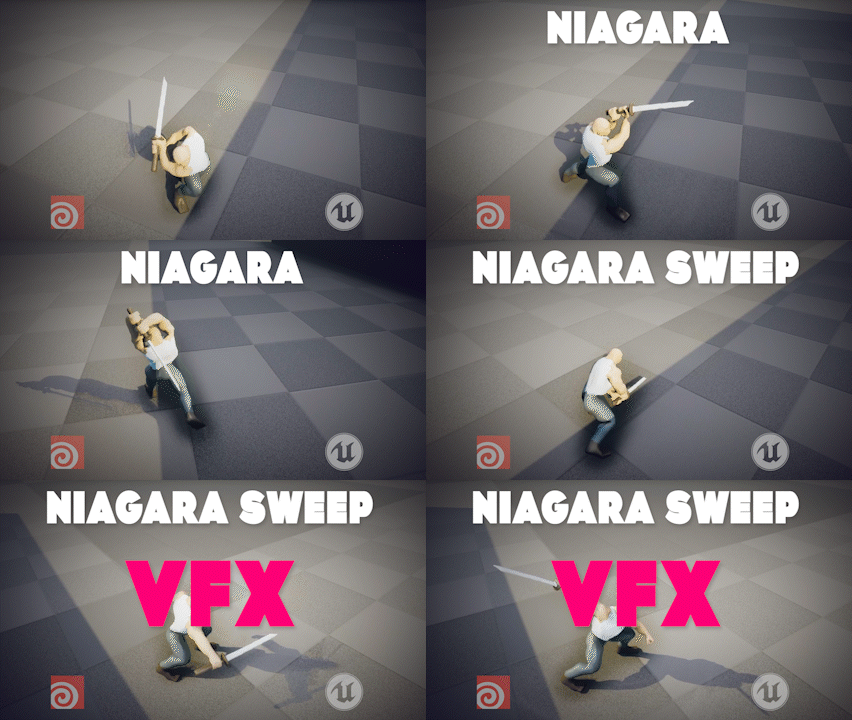
This time I am back with a course. Not just a typical course but a course that offers you a unique solution to create incredibly precise sweep/swoosh effects in Unreal with Houdini.
I made a new website where I plan to post many free tutorials and paid courses, so I hope you are as excited as I ![]() !
!
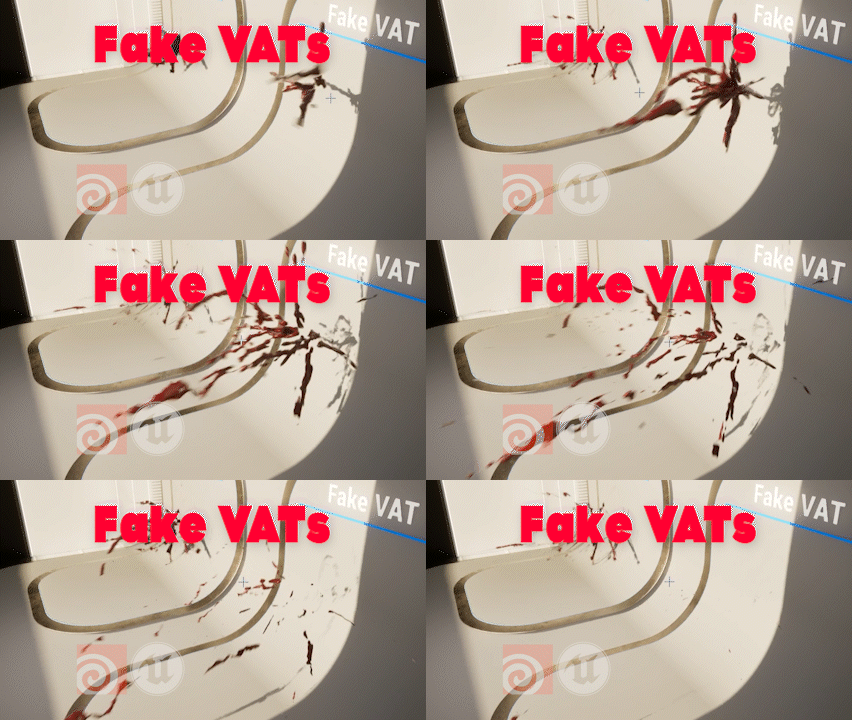
Free tutorial about how to create fake VATs and blood sprites in houdini.
But you can delete “Kill” module or disable check button to kill partices. That’s all.
Yeah, but that will be instant without a proper fade.
It’s awesome result just using the sprite. Fake 3D and optimized.
Beautiful! Definitely interested in how you achieve the motion of the flame while the character is running. Some WPO-based solution I’d guess?
The flame itself is simply done with fake physcis created by an endpoint that will slowly move to the center (in the hlsl code) and then move upwards. when the torch is moved the endpoint is locked within a certain radius to prevent it from further extending. lastly i calculate the overal speed to make the flames shrink with that value i then slowly bring down over time. The flame is constructed with bezier calculations. I also push down the first points of my ribbon so that it nicely attaches to the knob of my mesh.
Ahh this is fantastic, what a clever solution! Thanks for sharing ![]()
Free tutorial on how I created this weapon smear effect.
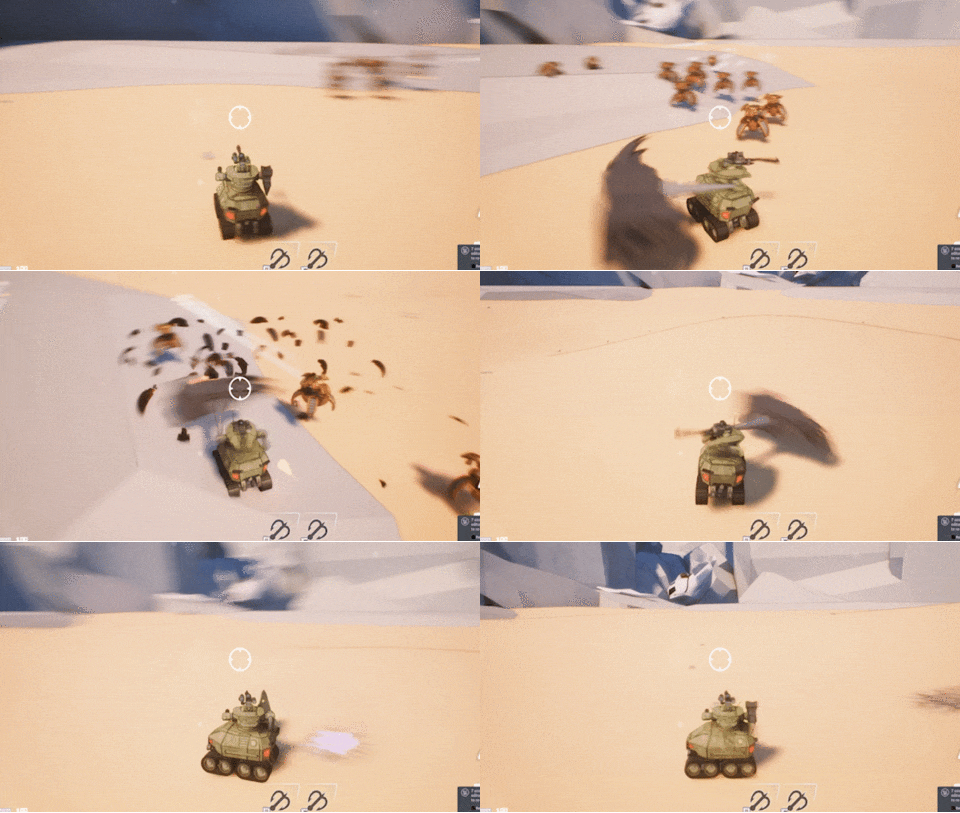
I plan to share more cool VFX from this project if people are interested ![]()
If you’re interested and would like to be part of an exciting project, feel free to reach out to us.
This torch effect is very innovative! Still I don’t get the part having 256 frames and the last frame is flipped to the first frame?
Thank you! I really appreciate it ![]() When we reach the last frame, after each full loop I can invert the UV coordinates horizontally and start a new loop that is flipped, after that loop also finishes we then flip back to the original UV coordinates. 1 loop is 128 frames, 4 channels (R, G, B, A) with each channel being 32 frames. So we flip after we have fully scrubbed through all channel, then flip the UV.x coordinate with a one-minus. If you really run into trouble I could show you more in depth on how I created my custom Sub-UV material funciton, but I won’t break it down fully because I offer that service for people who are interested in my services, otherwise it wouldn’t be fair
When we reach the last frame, after each full loop I can invert the UV coordinates horizontally and start a new loop that is flipped, after that loop also finishes we then flip back to the original UV coordinates. 1 loop is 128 frames, 4 channels (R, G, B, A) with each channel being 32 frames. So we flip after we have fully scrubbed through all channel, then flip the UV.x coordinate with a one-minus. If you really run into trouble I could show you more in depth on how I created my custom Sub-UV material funciton, but I won’t break it down fully because I offer that service for people who are interested in my services, otherwise it wouldn’t be fair ![]()