Thank you for being so helpfull!
Thank you for the answer! Another small thingy.
Should I export every frame with each of the map and then make a spread sheet of each type?
Im not familiar with FFX. I dived from maya right into houdini so I still figure out how to pipeline real time explosion with it.
I usually make 2 flip books and combine them, one with the left/top lighting and the other with the right/below. That way i can do my PS actions on all the frames at the same time.
1 Like
Are your lights set to 1 for intensity or are you working with degree of lights? I assume you’re using spots? What kind of settings do you have on your lights as far as transmission/shadows and the like? The biggest issue I get is I get a lot of white light or all white in the rendered composite and casting shadows becoming an issue, so I’ve been trying to figure out the best solution to fix it. I’ll try this method this week and see what’s what. Thanks for the response!
Ok I hope I understood it all right. I will give it a try and update how it goes ![]() thank you very much!
thank you very much!
is it not possible to use lights with negative intensity for the opposite sides? used to do that in max for baking tiling textures with opacity mapped highpolies.
It depends on the renderer - sadly most renderers don’t allow negative values (Houdini does!).
My suggestion is (sorry if this was already covered… don’t have a second to review all of the links in this great post) to do 2 renders, one with a red light at 90 degrees to the right, and green light from the top (positive render), then a second render with red light at 90 to the left, and green from the bottom (negative render). Make sure your light intensities are normalized (i.e.maximum brightness on any pixel never exceeds 1) . Blue is completely unnecessary for a tangent space normal map (uv directions, blue can be computed).
In a compositing tool, or python, here’s the shader foo to make it a normal map:
normals.rg = positiveRender + (-1 * negativeRender);
normals.b = sqrt(1 - normals.x^2 - normals.y^2);

normalMap = float3(normals.rg * 0.5 + 0.5, normals.b);
While absolutely not a “technically correct” normal map, the great thing about this method is that it actually returns normals with “softer” edges that replicates light transmittance (based on your render) when used.
3 Likes
When setting up your lights there is no exact brightness to use, it depends on the smoke density and color. You dont want any clamping of white in your channels. Set up your lights and then do a few test renders at diff times in the scene to make sure. If there is clamping of white, you can either lower your light brightness or darken the smoke. I use free direct lights, scale them up large enough that they completely overlap your entire container and the other lights.
It helps to think of each channel of the texture as a separate greyscale lightmap. When viewing your renders, look at each channel individually and in greyscale.
Unfortunately there is no way to render negative lights this way because of how the light interacts with the smoke. This is an entirely additive process. That is why you must invert the left/top renders in photoshop.
Keith is right, this is not a true normal map. I tend to think of it more liked a baked lightmap. The awesome thing about this is it records things like subtle self shadowing into the texture. So if you have light rays penetrating your smoke, it will capture those streaks into the texture.
out of curiosity I will try to make a procedural texture with substance and update how my project goes ![]()
Another option is to output your render in an EXR (say from houdini) with HDR values. Then use the maximum brightness to normalize it back between 0 to 1. A few more steps but it lets you create a light rig that is less tied to manual testing. In a package like Houdini you can do the whole thing in the IMG COPS so you just get out the normal map normalized and cleaned up right away.
2 Likes
That sounds like a good idea, i will have to try that.
Unfortunately i always have trouble getting a proper float point map rendered out of 3dsmax/fumefx with scanline. I think scanline can only render up to 16bit. I dont have vray installed on my work machine either. ![]()
Anyone know a good workflow for this?
could you target an detailed method or tutorial , I’m a noob to know how it all works that fast ![]()
My best help I have so far is that examples (of what Houdini capable):
*wish i could find more, but i believe we can do it ![]()
1 Like
I don’t have an example file on hand that I can share. I’m not sure if there are any resources already. @Shadowist may know more if someone has an HDR Render to Normalized LDR tutorial.
That tutorial that you pointed at @Ohadgfx talks about using the gradient cop node based on the density render to create a normal map. For most sims, that is probably more than enough.
If I have some spare cycles I’ll try to get something together.
Ok thanks! First, I will finish my first explosion project with houdini and ue4 then we can definilty try something. I didnt know if i should make explosion Sim . so I Made smoke and fire separate and bring it separate to the cascade for more “control” in UE. You think it makes sense ?
So far i got only smoke sim ready to be rendered.
Nice work! Great breakdown.
For some reason it really bothers me that I can see stars through the cloud.
We moved to Maya 2017 which uses Arnold. I cannot figure out a way to render the motion vectors using Fume.
The AOV’s don’t seem to support the mapping and this was confirmed by SitniSati support.
I am currently using the out of the box vectors from Slate, but I can see errors.
Ideas?
Dumb question…cast/receive shadows or no?
The normal map in this case would only be used for per particle lighting info. Inter-particle & geometry light occlusion (cast shadow) would have to be done through other tricks. I’ve usually seen the particles get rendered into a secondary “shadow” pass (with sprites facing the light, instead of camera) to then project shadows. For receiving the shadows correctly (cast from other geo), you could theoretically use the blue channel of the normals, or any other concept of density, to bias the world position in the shadow lookup. I’d done a few tests with that at Naughty Dog that were pretty cool. Don’t think anything every made it into the game though.
1 Like
I’ve normalized and there are no color parameters. I can’t figure out where the strange orange color is coming from. I would expect that’s a blend mode subtracting too much somewhere, but I don’t know how.
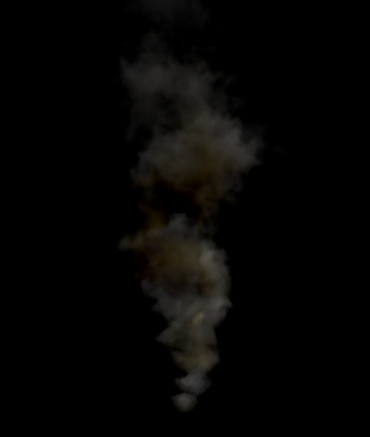
Here it’s rendered with the light to the right.
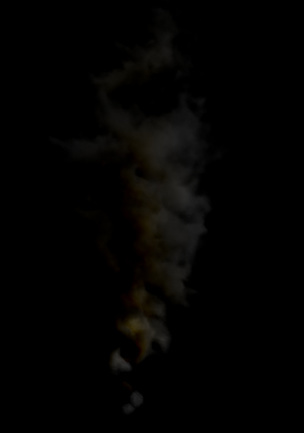
If you’re wondering about the shader, it’s Klemen Lozars flipbook blender. But I normalized the normals and clamped the opacity and color just in case.
What engine is this in? If its UE4, and you’re in cascade and seeing the viewport, it’s going to look like that. There isn’t proper lighting in the viewport and you have to put it in an actual level with a light to see what it looks like. The orange color comes from some weird shading artifacts in the viewport when using volumetric directional lighting.
If its any other engine and you’re using “volumetric” lighting, then it’s probably the same issue.
1 Like