~Thumbnail gif~
Hello !
This is my post for the sketch #26 : ~Vertex Offset~
It’s been 2 weeks since I’m thinking about what I will do for this sketch, and now I have a perfectly clear idea of what I want to make !
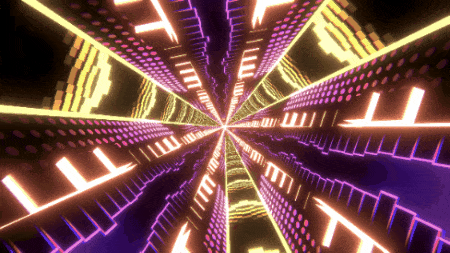
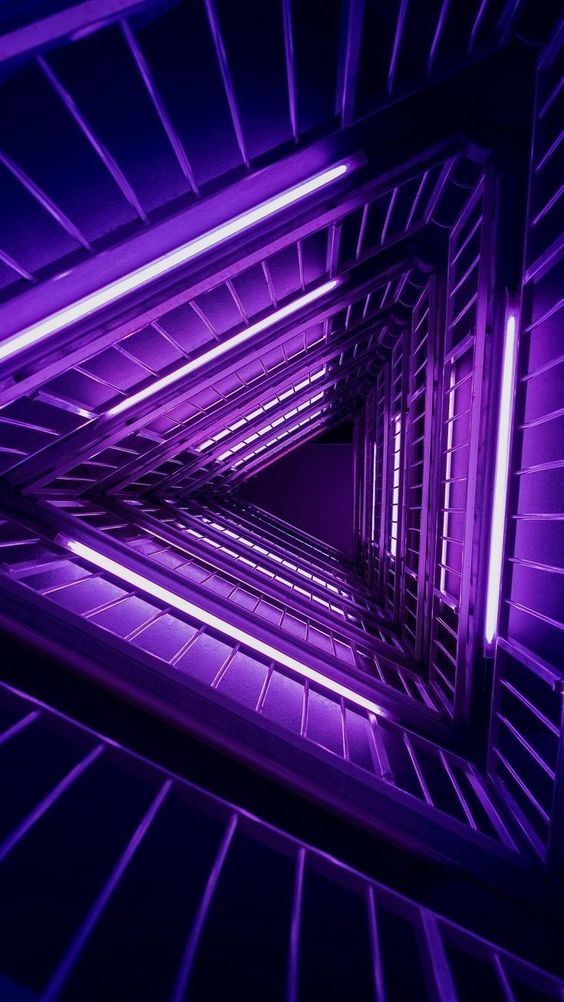
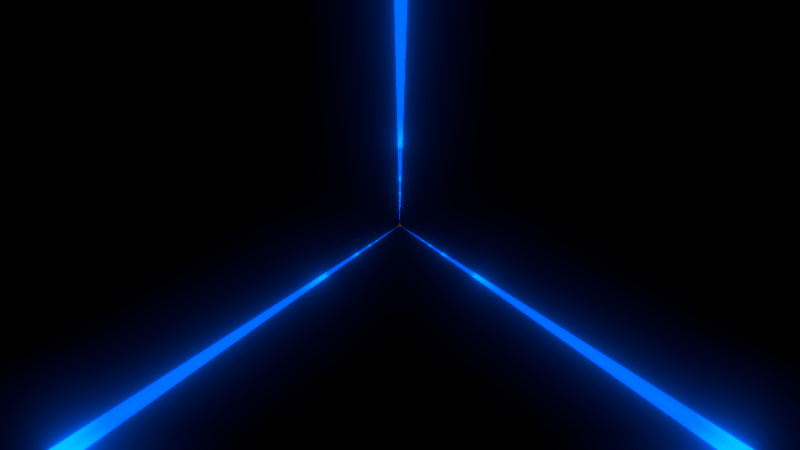
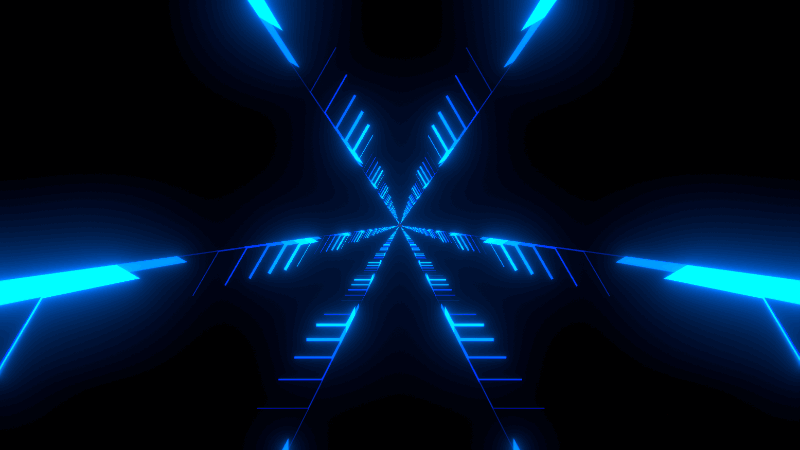
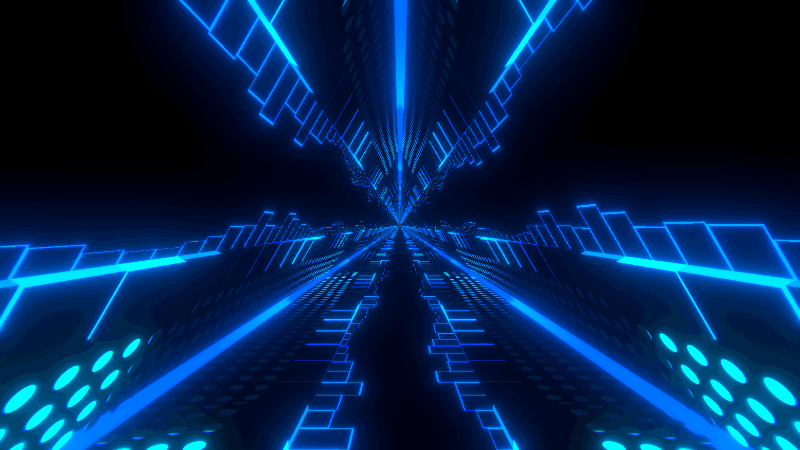
I made a tunnel. A groovy one ! ![]()
1 hour before the deadline, phew !
Here is the final result :
https://www.youtube.com/watch?v=pUqdMNXdkcM
I really enjoy electronic music, so I’ve gathered a lot of visual and musical references, here’s a few :
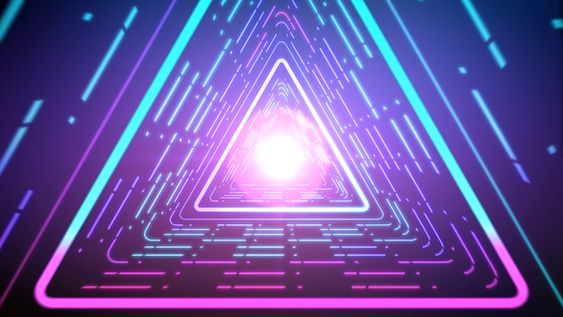
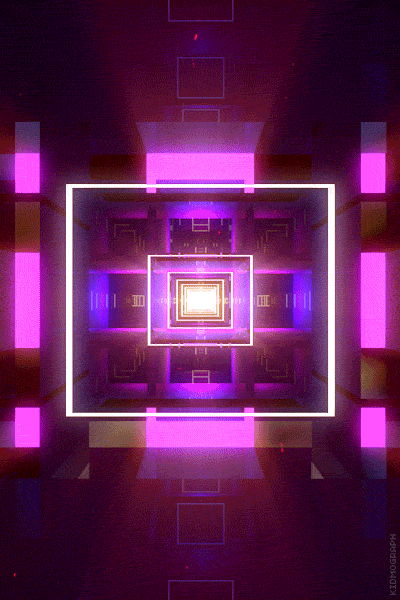
References (click to open)
Beeple ones :
Others :

Musical ref and visuals :
https://www.youtube.com/watch?v=MAiOAert8us
(I love both the visuals and the music of DJ Sona)
Everything is synced on a music, with shader-only work and some textures.
So basically, I use the song BPM as a base for all my elements. Every movement in my shader is linked at this BPM float. (Currently the song that I chose has a BPM of 144)
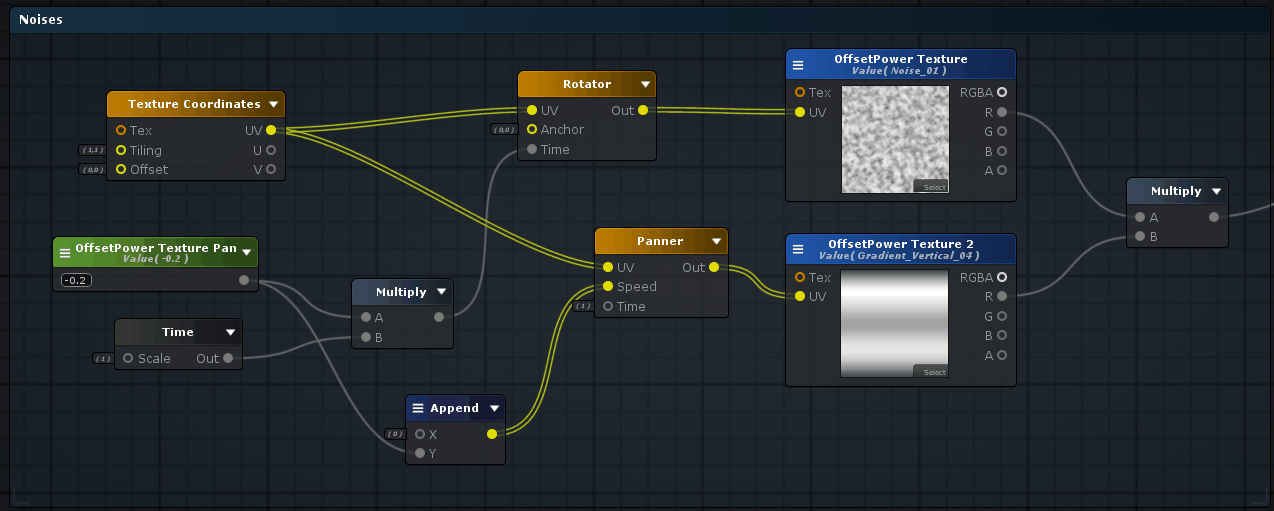
Here are a breakdown of all my elements :
- The shaders
Before explaining how those neons are working, we need to setup a few basics in our shader.
The first one is the BPM; it’s really simple :
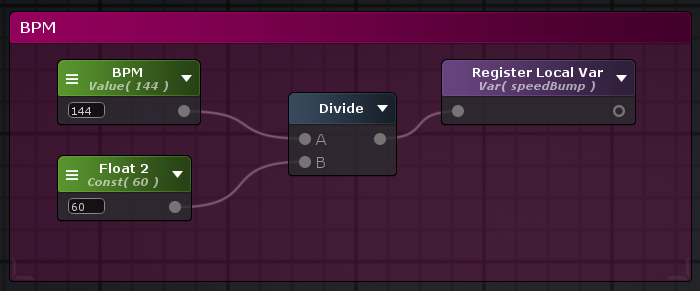
We register the BPM/60 in a variable that we will use for EVERYTHING. YES !
Newt, one of most important thing for the vertex offset is composed of two math functions :
-The first function is a linear one, clamped between 0 and 1 and getting reset every BPM : mod(x;1)
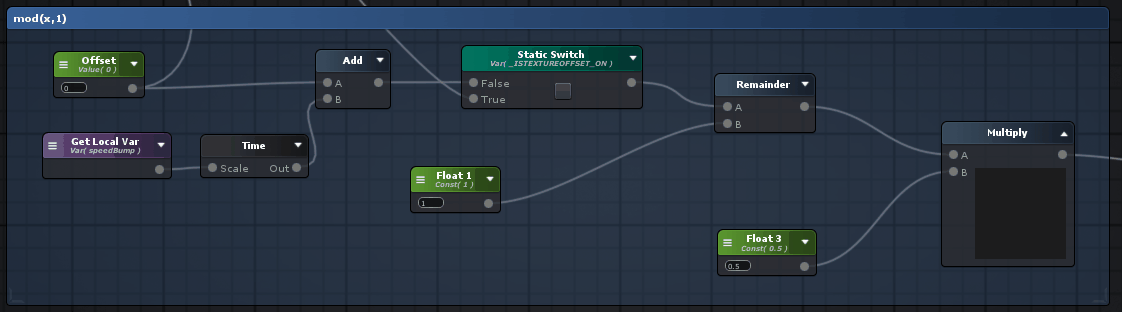
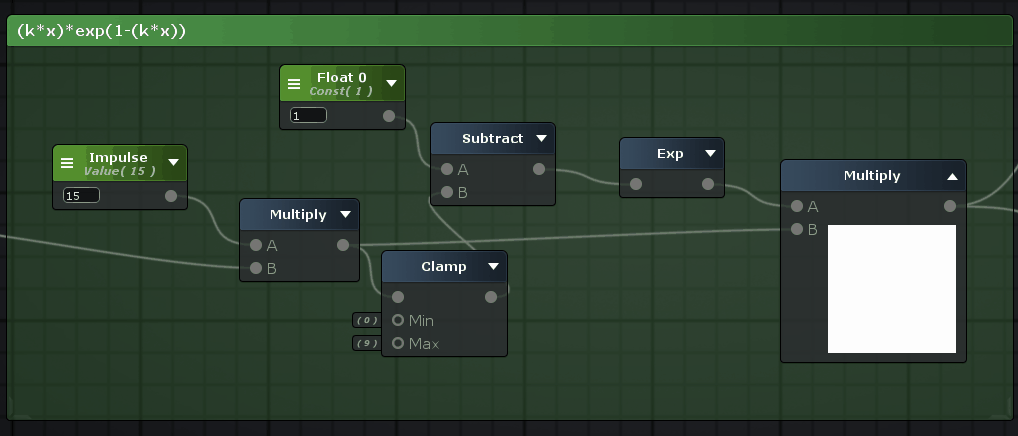
This will allows us to resamble this function using another one, more complex this time : (k.x).exp(1-(k.x)). I’ve found this one on an incredibly website : The Book of Shaders
I plug the previous function into this one to create an impulse value that I’ll use to bump a lot of my elements.
- The visual elements
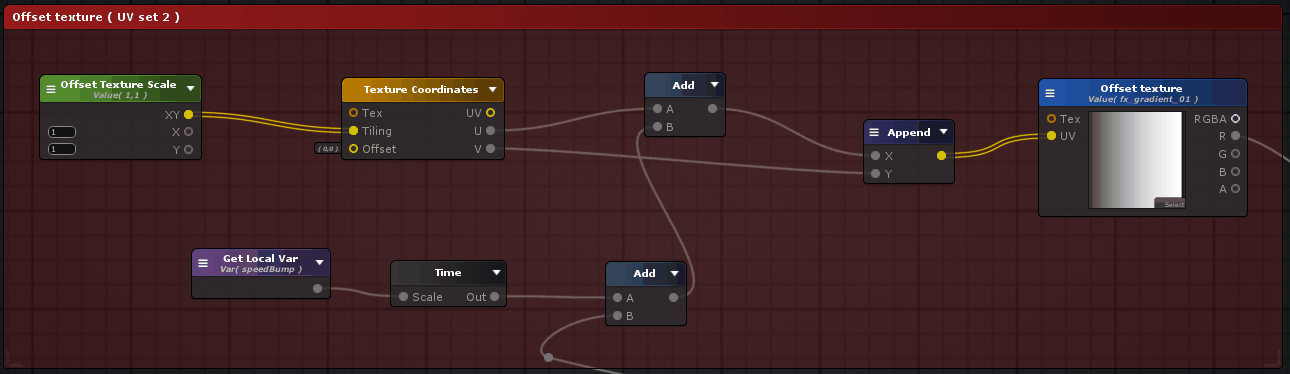
The first element is a really simple panning texture. Nothing really hardcore here, the BPM factor that we created before is used as the pan time scale.
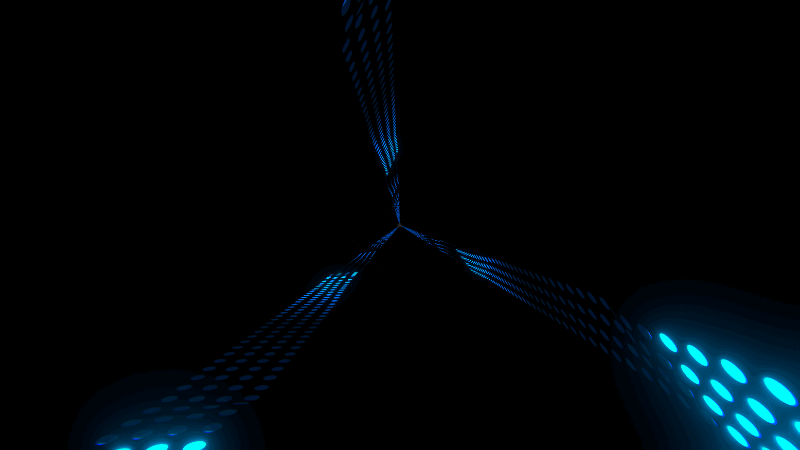
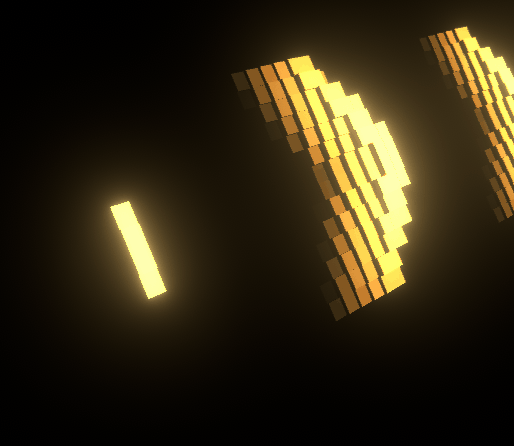
I add those waves of bumping dots on both sides of each triangle face. I use a 4x256 texture that is bumping the dots at different intensities and offset :
I really like these dots ! ![]()
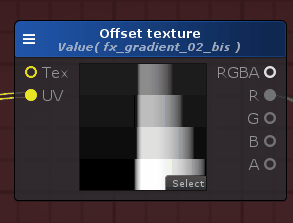
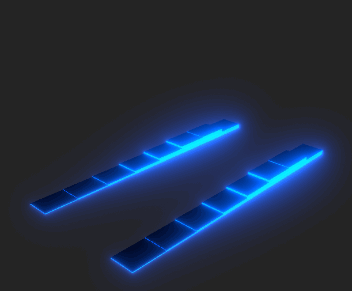
This element is the one that I made first. It uses the math functions to create the vertex offset, but there is something else.
Instead of using a basic float as my offset factor in my function, I use a texture. This way, I can delay some cubes compared to others :
This texture is added to the offset float. Black pixels are not doing anything, when white ones adds 1 BPM to the global offset. With this gradient, I can make waves !
This element is quite interesting. I use a generated texture representing the intensity of the song to make it bump more or less depending of the current state of the music. My texture is 1x8192, and is panning to the left at the same rate as the song.

My tile factor is divided by the number of pixels of my texture length, allowing me to have an output value of one pixel every time.
After this, I divide my pan speed factor by the total number of BPM of the song, and scale the time to the BPM factor (the song that I use has a BPM of 144).
Also, to have some random on the motion of my bars, I use some noises :
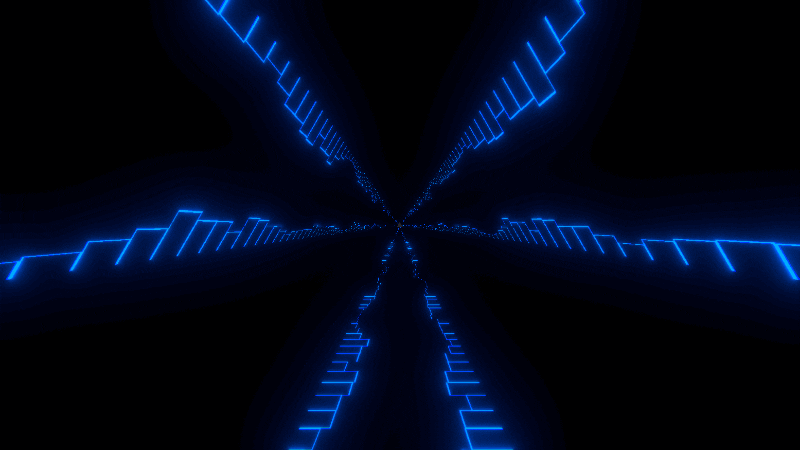
Finally, all those elements grouped looks like this :
I also added a phase when the beat drops, all the elements are using vertex offset to expand themselves and a new element appears :
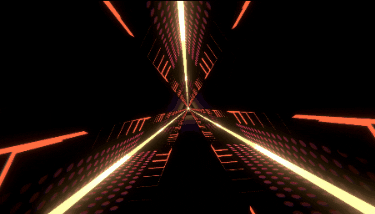
I simply add a value to the vertex offset of each material, multiplied by a mask of 1*8192 reacting exactly the same way as my song texture, so I can decide when my elements are moving.
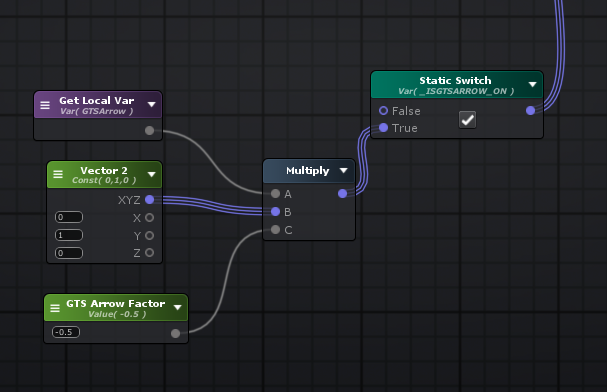
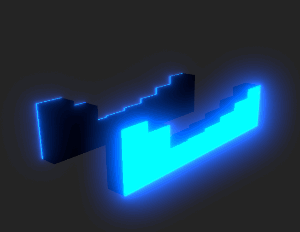
Finally, the arrows :
They are composed of small squares, and I use the same method as the waves that we’ve seen before. My mask is an arrow texture, and the mesh has 2 sets of UVs : one for the emissive (only top of squares are colored), and one for the offset. The mask is also multiplied by the emissive to have this kind of height-based gradient.
That’s it ! That was an intense challenge, I did not achieve everything that I wanted to add on my tunnel, but it does not really matters, it’s still a fancy tunnel ! ![]()
Oh also, the song that I used is “Pressure makes diamonds”, made by Dante Axe, a Youtube channel that makes funny LoL videos, check it here ! I wanted to use a non commercial song.
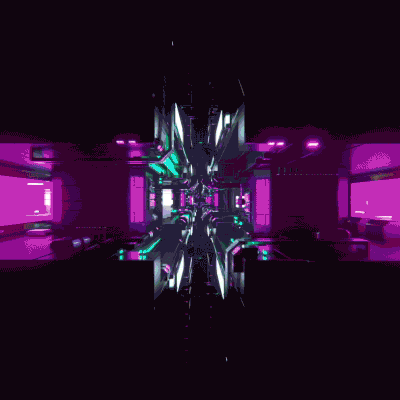
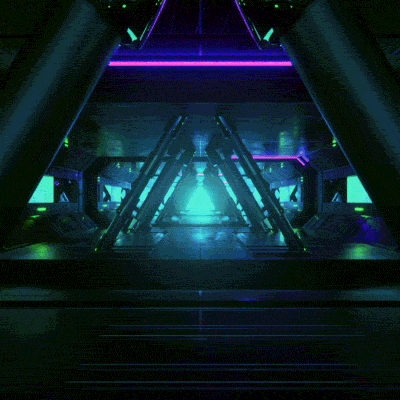
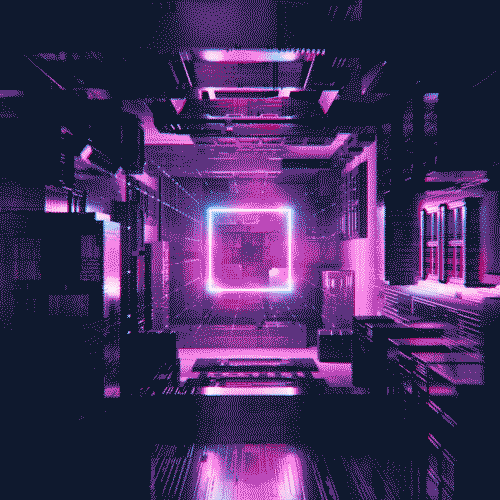
Here are some old gifs of my first tests (click to open)
I hope you enjoyed this musical experience ! ![]()
![]()
Don’t hesitate if you have any questions ![]()