Thanks to the author for the clear analysis. I have been struggling for a few days, but I did it!
I used URP 8.2.0, Shader Graph 8.3.1
To make it easier to refer to the light, I also used this plugin. In my case, it did not work on metal (ios, mac), you have to switch to OpenGL.
There may be bugs, but it seems to work correctly.
Video:
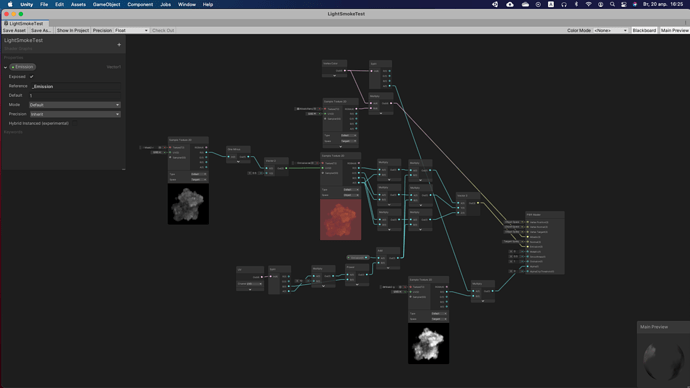
At first, I started with the easiest part - albedo, emission, and alpha.
Here I used different textures and the PBR master for the test, but further, I would use Unlit master.
Work in progress:
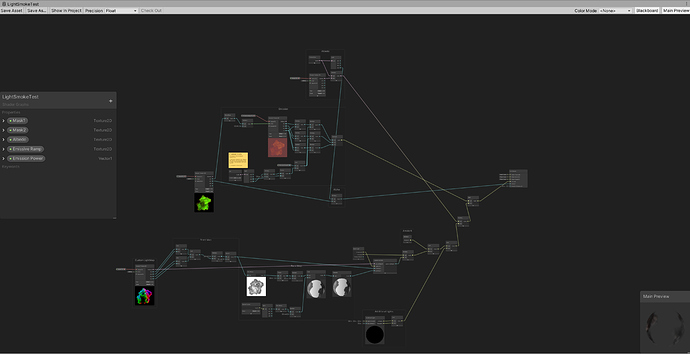
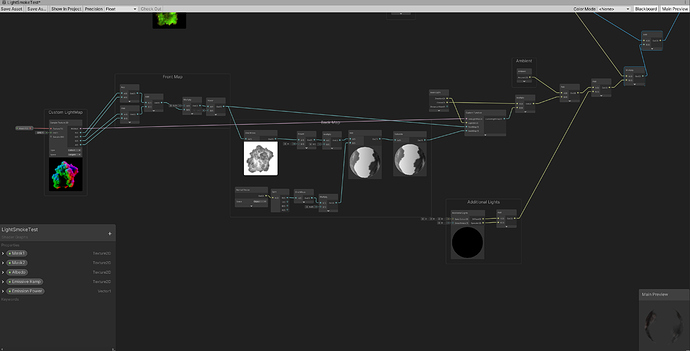
In the end, I got this consisting of two parts.
This is already an improved graph for ease of use in a particle system.
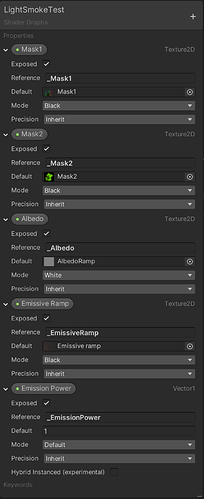
Properties:
Whole graph:
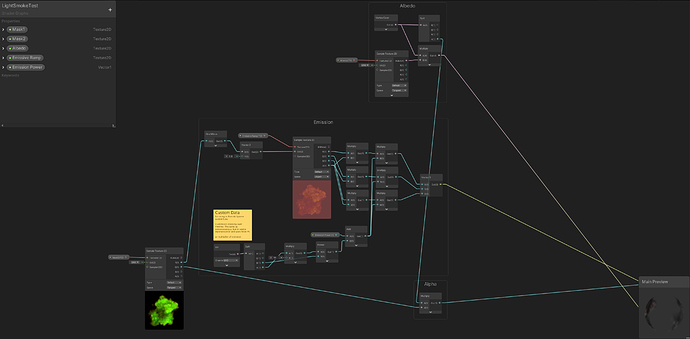
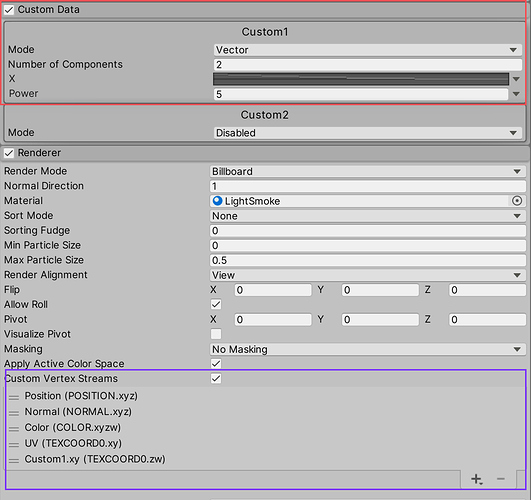
First part (There is a mistake in note - custom1.xy(texcoord0.zw) ):
Second part:
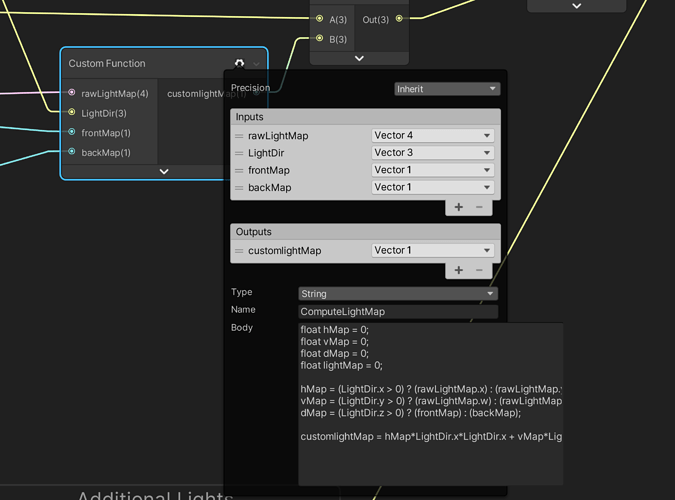
Custom Node ‘ComputeLightMap’:
Body of Custom Node:
float hMap = 0;
float vMap = 0;
float dMap = 0;
float lightMap = 0;hMap = (LightDir.x > 0) ? (rawLightMap.x) : (rawLightMap.y);
vMap = (LightDir.y > 0) ? (rawLightMap.w) : (rawLightMap.z);
dMap = (LightDir.z > 0) ? (frontMap) : (backMap);customlightMap = hMapLightDir.xLightDir.x + vMapLightDir.yLightDir.y + dMapLightDir.zLightDir.z;
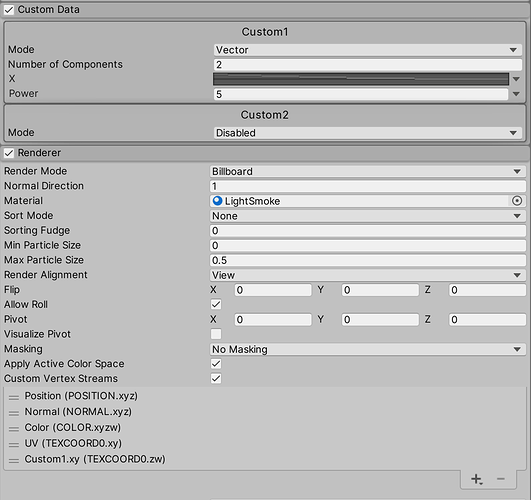
This is how it works with custom data.
Improvements:
- Albedo can be set through texture, ‘Start color’, ‘Color over Lifetime’ or all together;
- EmissiveRamp.a can be set through texture or custom1.xy(texcoord0.zw) or all together.
Now it remains to understand how to bake the same textures in other 3d programs. ![]()
