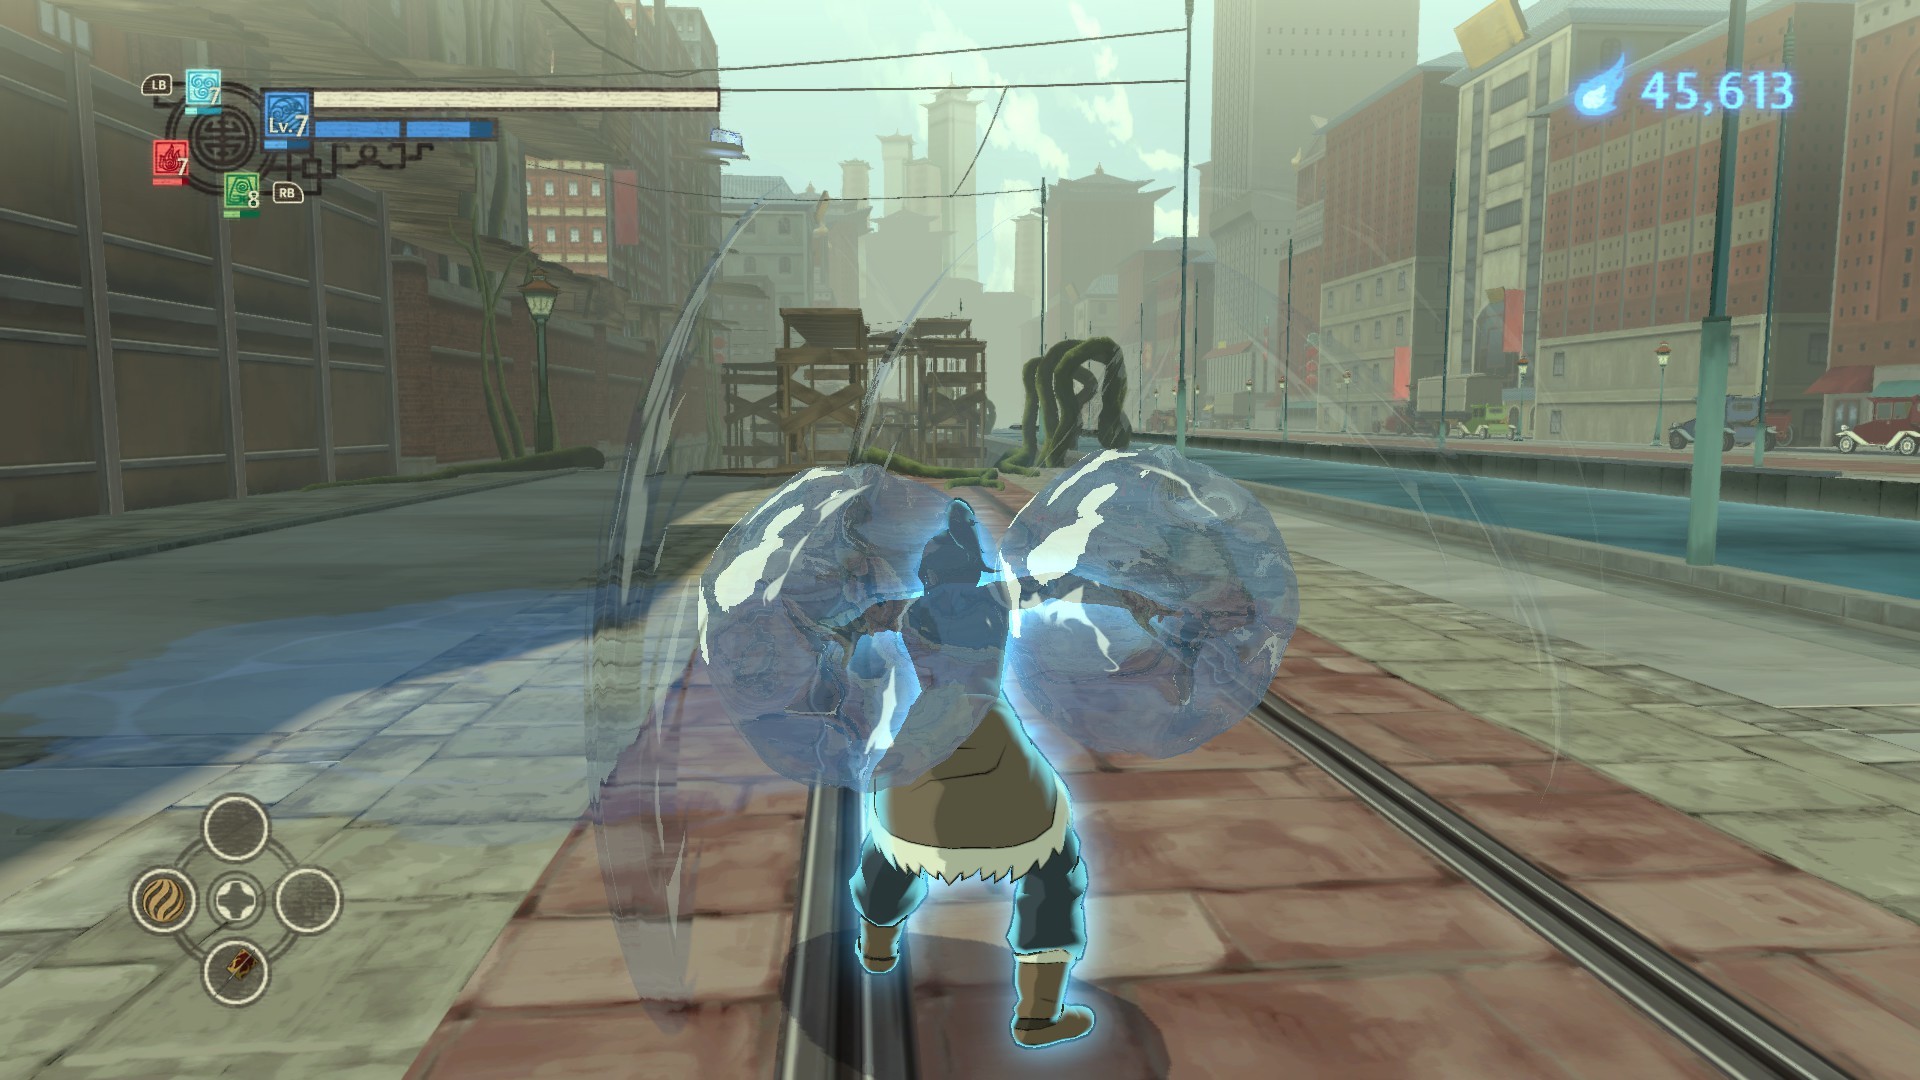
I’m creaing a shaders to give the “water wavy effect” of the balls and this is the result with two different spheres. The first one has been modelled in Blender and with the same shader /the second sphere is the shaderforge deffault sphere).
So it looks like you are having two separate problems. I’m not sure what the first problem is, it may be due to the UVs on the sphere not being set up properly. It also might be due to your meshes normals. But it is hard to say. If you apply a default material to your sphere does it look messed up?
As far as what is happening with the Default Sphere that is more easily explainable.
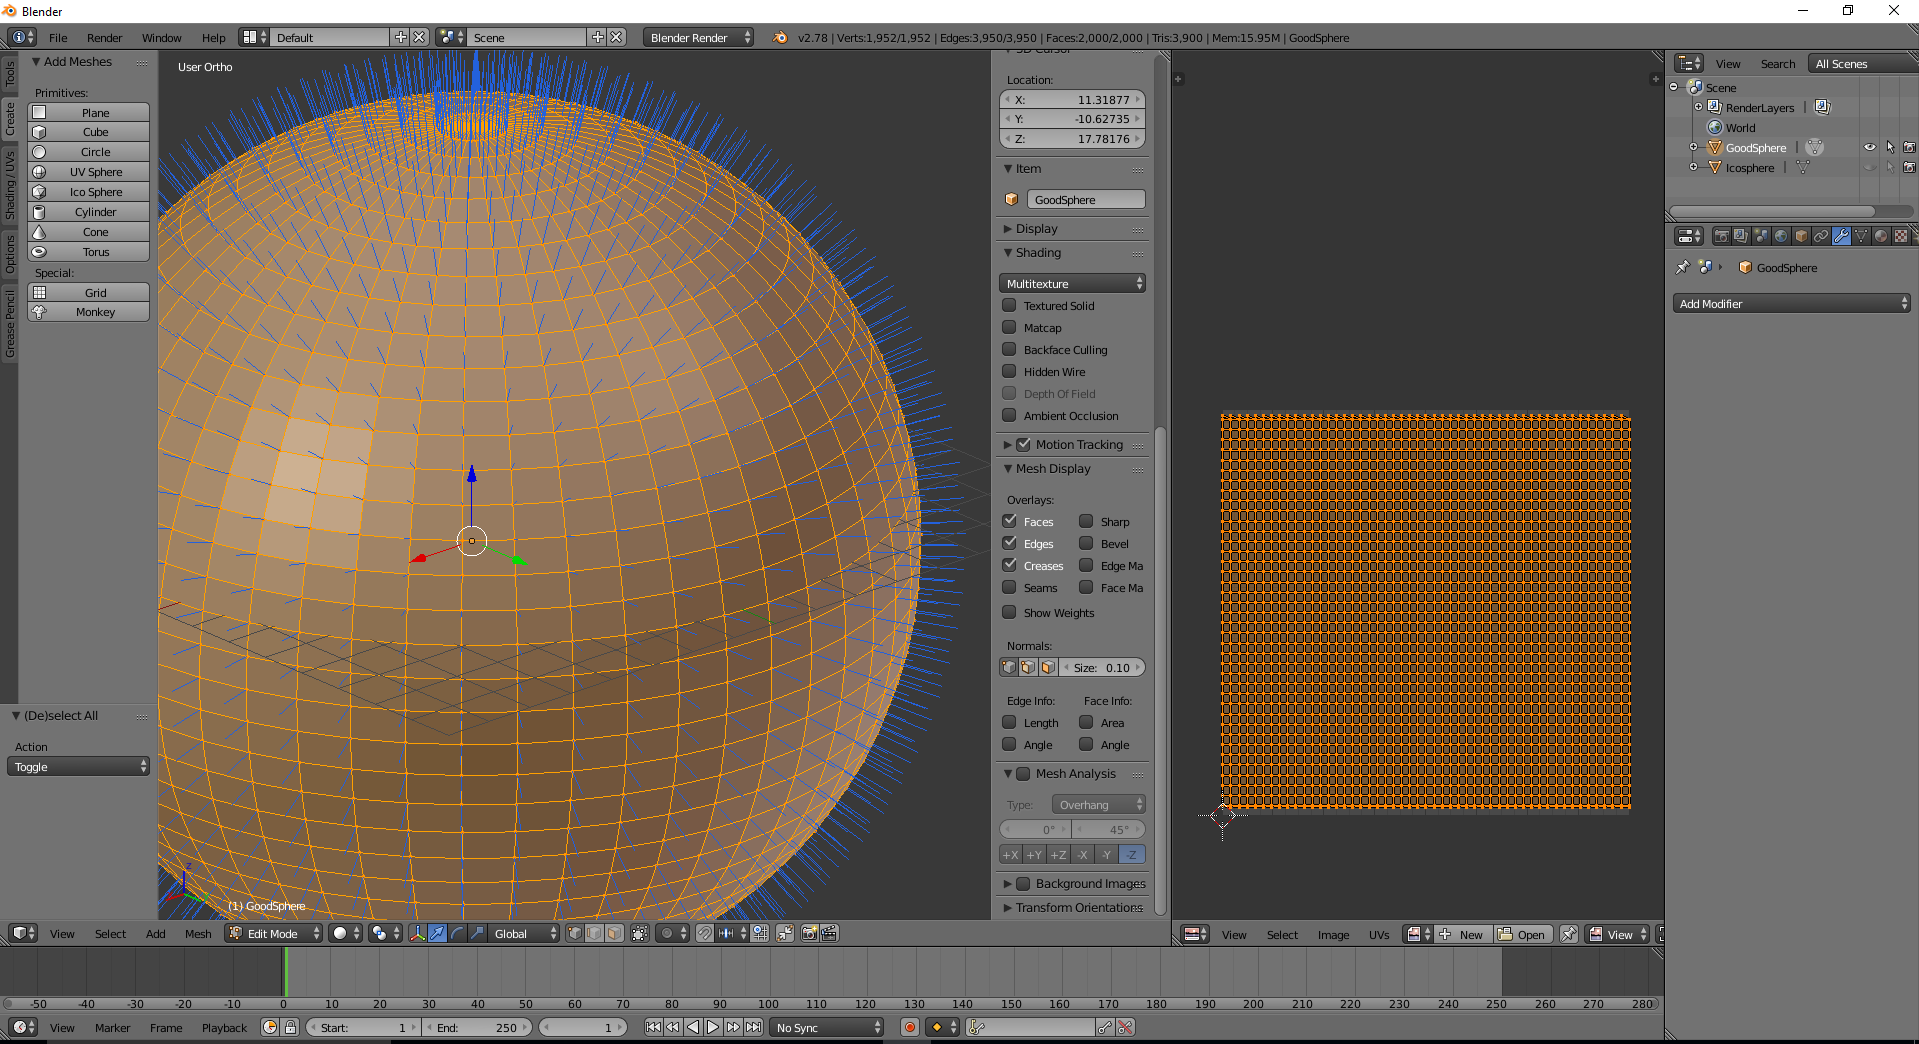
The default sphere is made so all the vertices end up connecting at the poles. Since you are deriving your distortion from the UV coordinates, this will mean you get a lot of discontinuous motion at the poles. There are a lot of different ways to tackle that issue. One way is to make your sphere more like a soccer ball, but that can still create similar problems because laying out the UVs can be difficult.
Instead sampling using the Local Position of your vertices is usually an easier solution. Take your WorldPos transformed into Local and use that to sample your texture. Doing this has its own problems, since you are taking a 2D texture and sampling it with 3D coordinates you would need to do a tri planar projection and blend between the different axes.
Another easy option is just to blend out the distortion around the poles. I believe with your current setup you could take the green channel of your UVcoords and use that as some source information to blend out the texture’s results with a multiply or a lerp/mix.
I solve the issue in the normal sphere with a mask, but i’m still worried about the other problem because it happens with all my meshes. (Another example, the distorsion looks weird because i use an strange noise texture) Screen capture - 4409e410f13a022798cba97c12e6394c - Gyazo
One could also use 3D gradient noise I suppose. Does shaderforge have code integrated for that already?
Keep in mind ofcource that a 3D noise is gona be heavier on your shader then just sampling a texture.
You could also just use a geosphere and make sure everything is in the same smoothing group.
That should eliminate texture scaling problems.
My problem with the vertex not keeping together stills with an ichosphere and with any mesh modeled with blender. I solve the problem in the other mesh (the defaults) with an small mask, but thank you ^^.
Hmm. To be honest, in Unity your sphere looks like it may be busted a bit. I would expect your normals and highlights to be smooth. I do wonder if it is related. Can you upload a sphere here? Someone might be able to take a look.
Real quick, while I’m getting stuff up and running: Is there a reason you are using a Tesselation input at all? Tesselation typically can cause issues like this so it may be worth a shot trying to make sure you aren’t using tesselation. I don’t use Shader Forge typically so I don’t know if by having a node plugged into the tesselation pin that you are accidently enabling it.
If it is tessellation then that would mean your vertices aren’t properly welded.
I’ve opened it in max, and there is no smoothing groups assigned.
This means that ever vertex has multiple normals. Which is why they are splitting up. Every side of the face is offseting over its own normal basicaly.
I don’t know how it works in blender, but you basicaly want the whole object to be in the same smoothing group, so all the normals align in a vertex.
Side note* Smoothing groups might also have dissapeared during export or import into 3Ds max
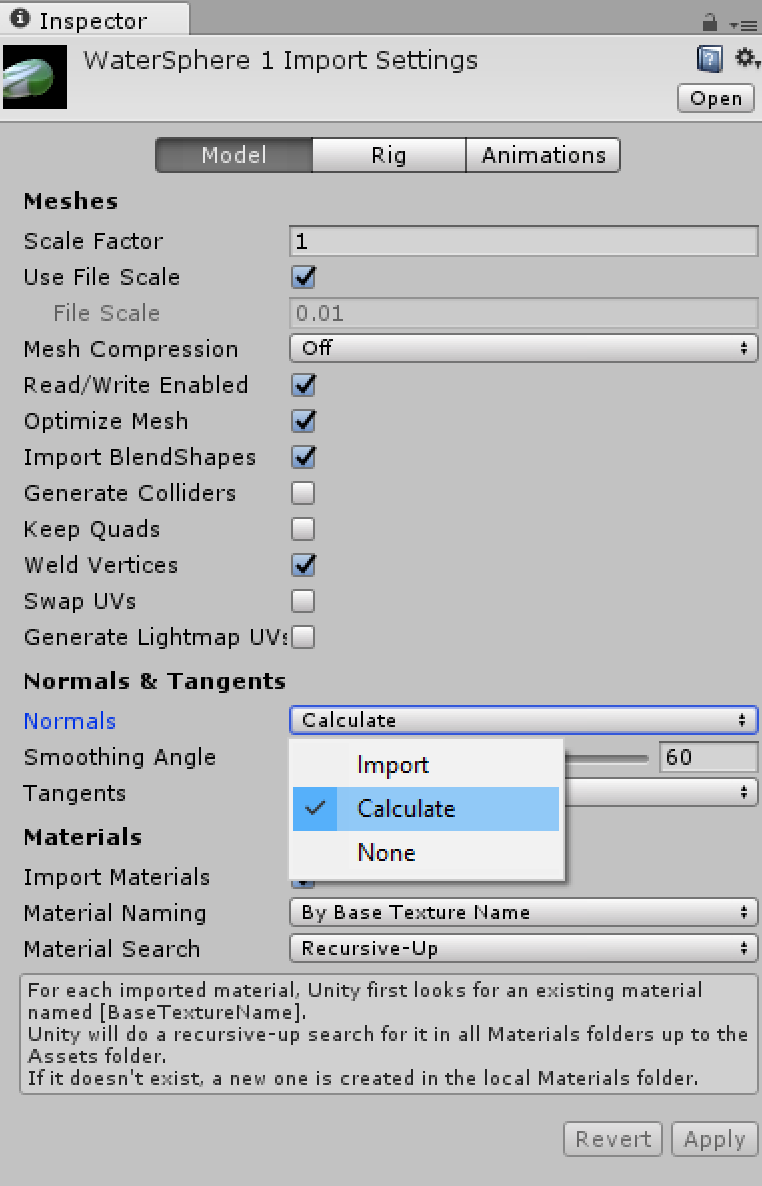
Side note 2* You can acctualy ask unity to recalculate normals. Its in the unity import setting somewhere. So that might be an easy fix.
Side note 3* Half of the effect you are seeing on the top is probably achieved by smart use of normalmaps. The effect looks so awesome because of the shape of the highlights, not the shape of the mesh itself. Because the silhouet is acctualy still kinda flat.
@Niels is absolutely correct. Pretty much your normals aren’t staying properly welded in Unity. I would guess this is more of an issue on the Blender export side, but you should definitely try fixing it just inside of unity.
Really, thanks
So it’s a problem exporting to FVX in Blender i think, it’s solved now ^^
I didnt get the point in the highlights (i’m a bit newbie here)
Normalmaps fake normal differences on a per pixel basis. This means that you can put much more detail in highlights using a normalmap, then if you would just offset your normals on a vertex niveau.
That being that, Normal maps are also a lot cheaper than adding extra vertices and doing extra calculations on a per vertex basis.
Okeeey, i think i get it. I’m not sure about how to get that effect in Unity but i’ll test things. Thanks for all, really helpful <3. I love this community