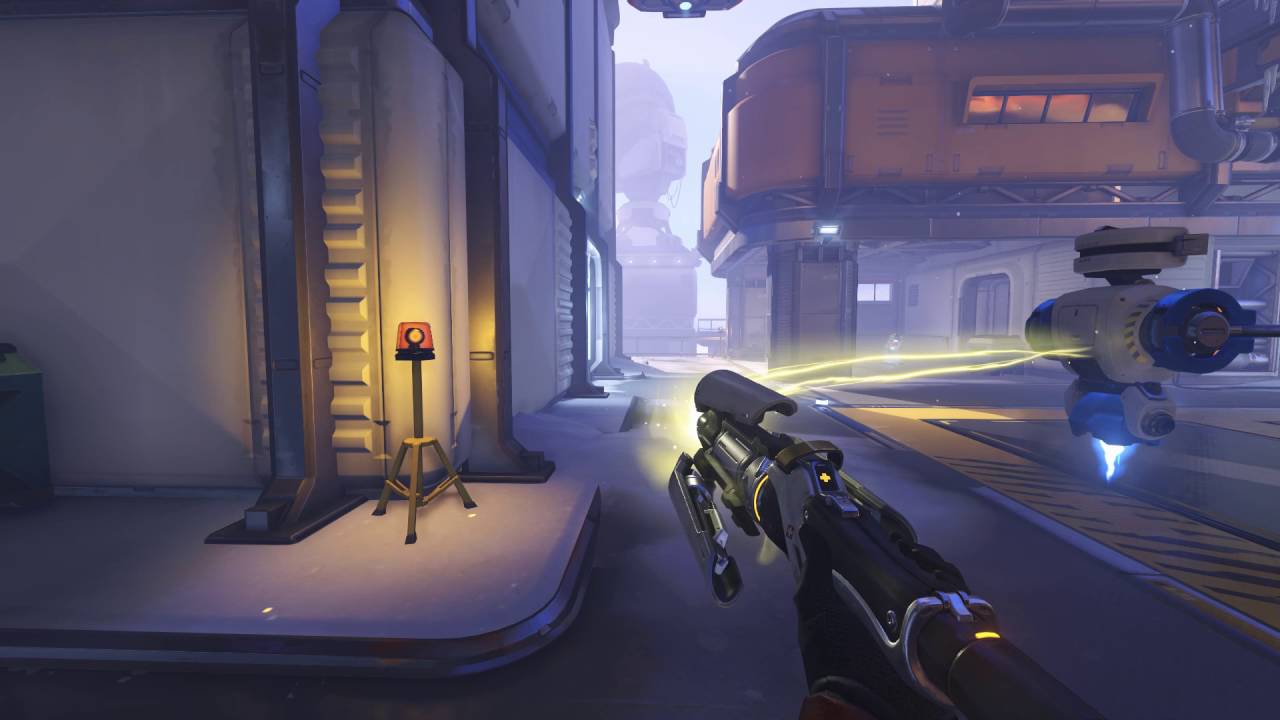
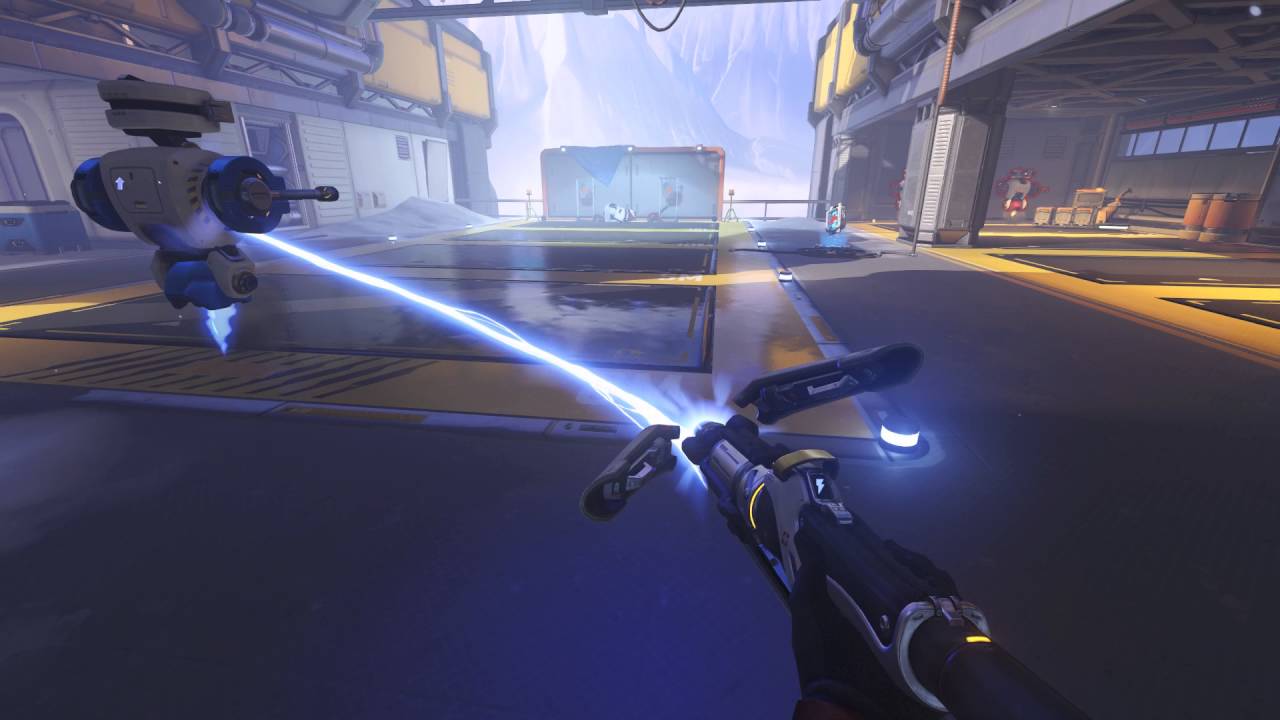
Overwatch VFX: Mercy Healing Beam

G’day mates

This time I have been working on the Healing Beam effect that Mercy uses when healing or damage boosting allies in Overwatch.
I’d love to get some feedback, both on the effect itself and the presentation as I hope to do many more effects.

Mercy Healing Beam

This effect was created in the Unity game engine
I created the effect with four key components.
The Ribbon, the contact glow, the wispy energy effect and the small dot-like particles.

The Ribbon
The Ribbon is the main effect and certainly the keystone of the entire result, most players likely don’t notice the other effects directly (Though of course they subconsciously appreciate them)

The Ribbon is constructed using a Line renderer which, using a simple bezier curve and a script to interface with can be moved and positioned as needed.
The curve only has three points, Start, Mid, End. I imagine the mid point in the actual game would use some tricker math to get it sit in a more comfortable position, but for our purposes I simply parented the mid point to the start point so as the start point rotates, emulating a player looking around, the mid point also gets moved creating the nice long flowing ribbon.

The Ribbon makes use of a single panning texture.
IMG
This texture is much longer than it is tall. It likely could be compressed down into a sq if absolutely necessary.
Of note when painting the texture, you want it to feel like the ribbon is twisting upon itself.
Make sure you know how fast you want the UVs to pan, if they go too fast or too slow the illusion is broken.
When drawing the texture on the ribbon I found that using only 0.6 of the texture at once also hid much of the tiling that the player may be able to see, strengthening the illusion.

The Other effects
All the other effects are pretty basic stuff.
The contact glow is a simple particle that grows and shrinks, there are two particles so you never see them swap over.
The dot effect is simply a group of particles drifting out from the center.

The wispy effect is slightly more complicated.
This effect is a custom circular mesh with two panning textures that multiply against each other.
This creates the strange organic shapes we see.
Emitted via a particle effect to control lifetime size and alpha we get them fading in and out.

The Damage Boost
This effect is practically identical but with textures swapped out.
Of note with this effect, it moves much faster and more erratically than the healing beam.

Overview
Overall I’m pretty pleased with how the effect came out.
I feel the smaller particle effects could use more attention to their shape and form.

A few more iterations over the effect and I’m sure it would look positively fantastic, but onwards to more VFX!

The reference I recorded
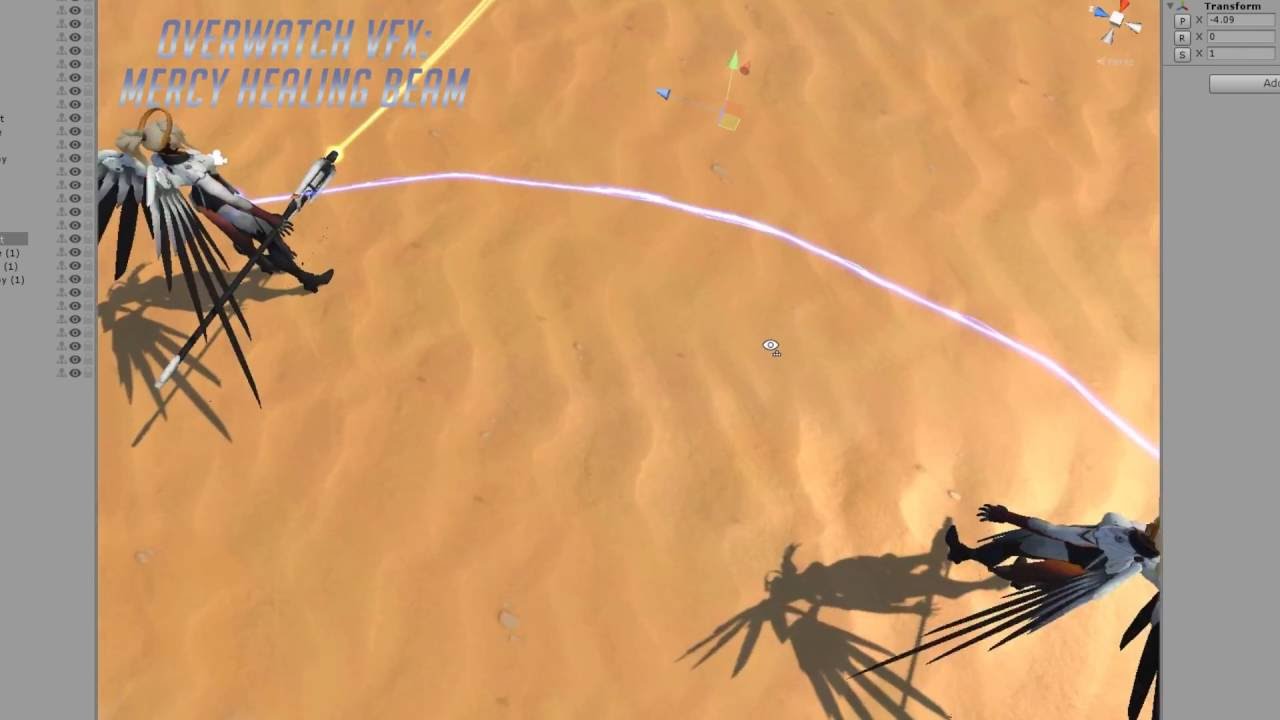
16 Likes

Nice man! Good job on setting up that beam! Feels very close to what I see in your reference :slight_smile:

If I were to be picky, something that I really like about the reference you’re using is the wisps of energy that come off of the cast particle around the gun. It’s subtle but they’re a little more stringy feeling than the smoky particles you have (specifically the yellow beam).

Anyhow keep it up!

2 Likes

Yeah I completely agree regarding the wispy particles. I just didn’t get round to fiddling with the textures/shader to get the effect.
If I revisit the effect I’m going to give a lot more love to those particles.

1 Like

This is really great! Never actually used the Unity line renderer, I’ll have to try that out. Inspiring! Thank you for sharing. :slight_smile:

3 Likes

Hey Agile,
This is a great effect. You did a great job recreating the hues and behavior. A couple of things that I would do but aren’t necessarily part of the original effect:

1.) Anamorphic flare at the emission point for both beams.
2.) You could also add a subtle chromatic ring flare to both beams at the emission point.
3.) Apply a subtle fresnel glow to the target.This would only be seen by the healer but increase readability in the heat of battle.

Just my thoughts! Looks great!

glhf!

Yance

1 Like

Thanks :slight_smile:
Yeah I find the Line Renderer a bit of a pain as you often need to couple it with a script, however some effects really do benefit from it.
I’m glad I explored using it, learnt a bunch about it and bezier curves which was on the to study list xD

2 Likes

Hey Yance,
Thanks for taking the time to check out the effect :smiley: and the kind feedback.

Those suggestions sound great, I hope to complete a collection of OW effects and iterate over them with all the feedback and techniques I learn so I’ll definitely be looking at this again.

Cheers

p.s, thanks for your work at Insomniac, I’ve enjoyed many of your games over years, keep being awesome :smiley:

2 Likes

This is so cool!!

I love seeing how you tackled the problems and the creative solutions you used to create the final look. There are a few things we did differently but you were able to get really close!

The ‘whispy’ particles at the emission point have a flow map applied to them that are distorting the texture in spindly ways.

We are also using two ribbons with some subtle directional changes to get the two-strand look. I really liked your solution of just painting it in to the single ribbon.

7 Likes

Thanks a bunch for checking it out Rachel! I’m stoked to have some feedback from the original source.

One of the most exciting things I find in VFX/Tech Art is finding effective solutions to create complex effects.

I was trying to keep my texture count down but I can certainly see how making use of a flow map would make the end result much easier to achieve.

Two ribbons! Gosh dangit I painted that texture maybe a hundred times trying to get it to twist nicely haha. I thought for sure there must be one ribbon as the beam appears slightly stronger in the middle section between the two beams, but it occurs to me that with two ribbons the glow of both of them will naturally be stronger in the center.

Thanks again for taking the time to check it out and share a bit about how you guys worked the effect. One of my motivations for studying your effects stems from feedback given by Julian Love to demonstrate I can create VFX in the Blizzard style, so I’m pretty pleased to hear I got close to the mark with this one.

2 Likes

Hello! Was there supposed to be an attached image? I want to create this myself <3

There is a video I made at the top, but if you want the texture I used I can share that.

This is the core beam texture I used. Unlike how they actually did it (See Rachels response above) I used one ribbon and panned this texture to make it look like it was twisting.


Note that I wouldn’t use this large a texture (2048x256) in normal production I simply didn’t bother optimising it

Good luck! I’d love to see what you produce :slight_smile:

1 Like

Awesome, Thanks for the good breakdown. Impressive effort:+1:

Omg! so good!Could you share the production process?

Sure! What’d you like to know? I covered most of the effect’s creation above and I can’t speak for how Blizz actually did it (Check out Rachel’s response above though) Or did you mean the production of the texture itself?

Hands down, great outcome. May I ask how you tackled with the 2D feeling of LineRenderers? I’m currently trying to create an effect similar to Mercy’s damage boost, but the line looks flat…

Cheers mate,

I think that comes down purely to the texture and the timing of it’s pan. If the panning texture is tiling too much it becomes very obviously a 2D image moving, the trick I found is to scale the panned image down to only about 70-80% so that it almost never looks repetitive.
Next the timing of the pan, too slow makes an hot electric shape look lethargic and fake, so the speed of the pan generally needs to match the tempo of the texture experimentation is king here.

Ultimately if you jump into OW and stare at her damage beam for an hour it starts to look a bit flat but most players won’t be scrutinising the art that closely so it’s not a concern.

Hope that helps :slight_smile: