This is some of the exercises last year, the same hope that a friend can point, a lot of communication, thank you
28 Likes
That second water-like attack is lovely! The others are cool as well but the water one is really really nice
1 Like
Thank you very much for your suggestion, it now appears that the effect of water was not good enough
Silver this is VERY nice work! I’m wondering… can you share how you did your very smooth trails as seen here:
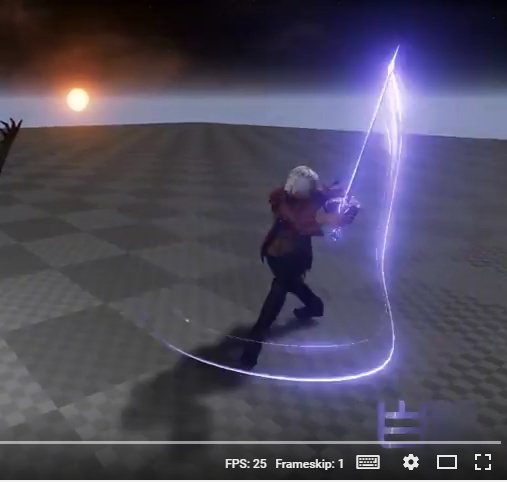
Are they meshes? Or are you using the engines default Ribbon Data? When I try to create really smooth arcs like that with fast motion I get jagged edges. I’d love to hear if you have any tips your willing to share behind your process! ![]()
3 Likes
Oh no, it is definitely good enough, it looks great!
Thank you for your interest in this.Yes, they are mesh,It is a mesh generated by Trail on the animation event.Add a notification state to the animation event, and then take two points where a stripe is drawn between the two points.
3 Likes
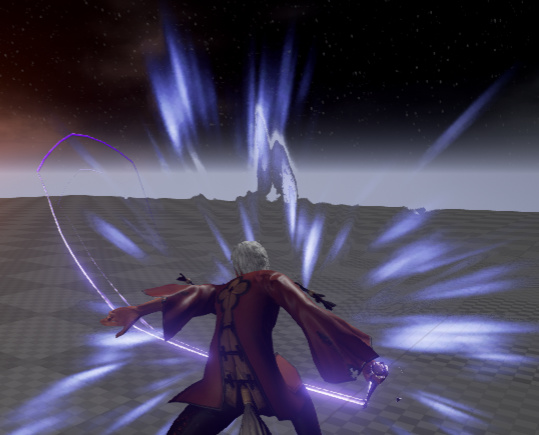
Wow, pretty cool effects! I think the effects match the animations very well. Did you do the character animations and the camera movement also by yourself? They create an epic feeling. ![]()
Yes, the camera also made an animation
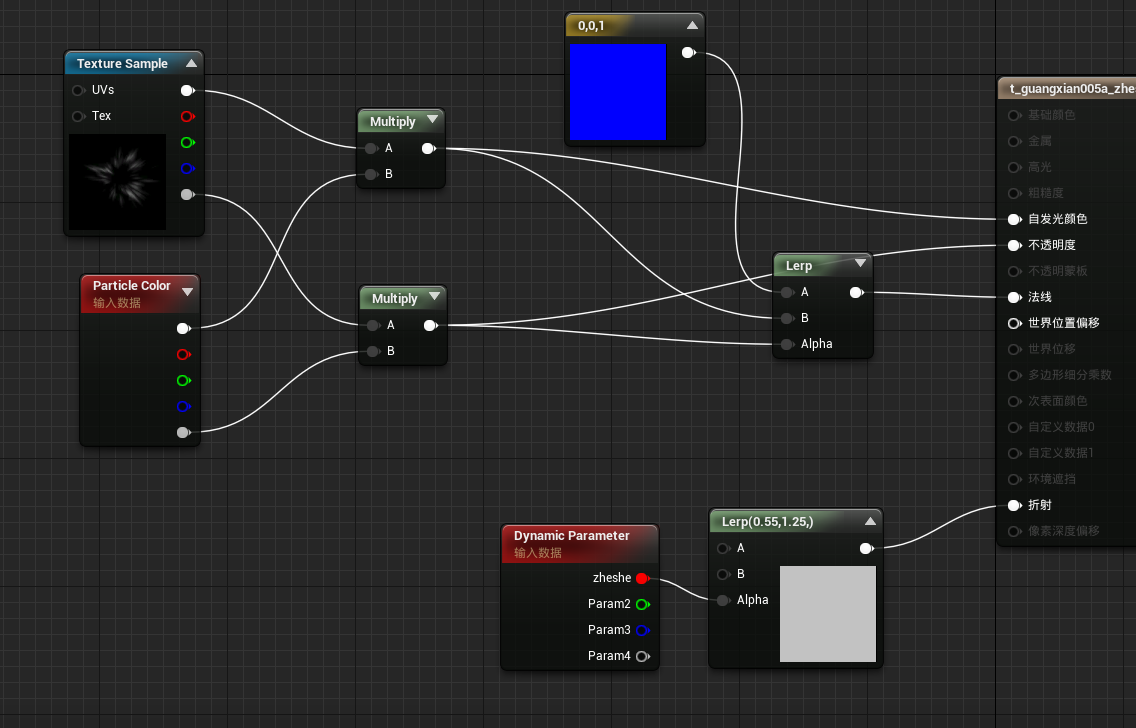
Are you using two different particles here? One for distortion and one for adding a little additive stuff? Would you mind share how the textures look like? ![]()
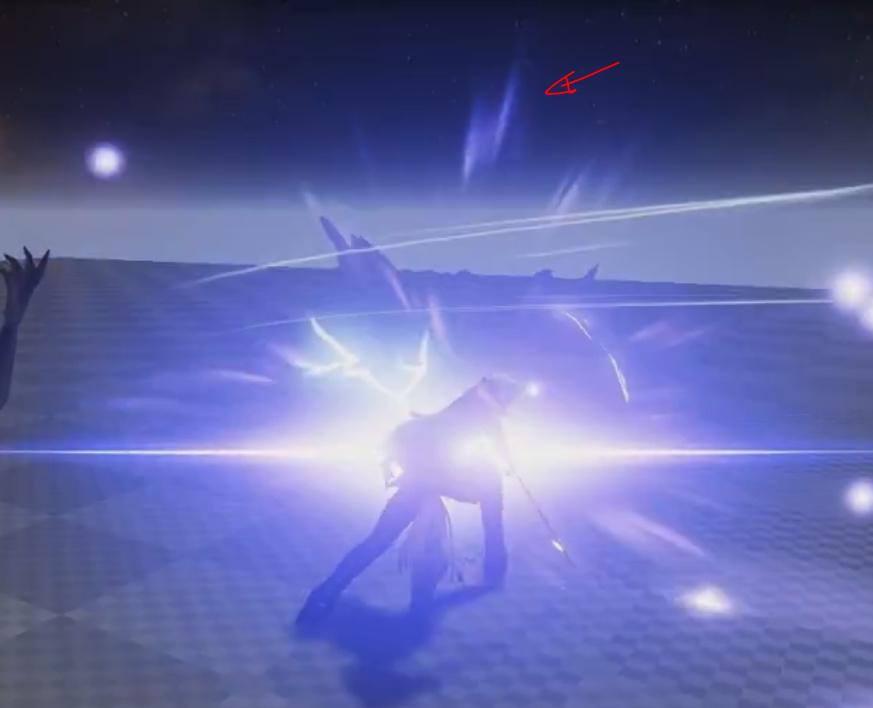
Hi Simon,I’m glad you are interested in the visual effects and questions, in fact, it is only a texture map, and a transmitter, you can see the texture and material from the figure, because the background is the sky box, the texture in this part is not refracted, so it looks like it should be, and in ground transfer part is refracted, so it looks like a two particle.![]()
3 Likes
Thank you! Wow…that’s interesting. I didn’t know that you can use a gray scale map as normal map. Thanks for the post!
How did you create your texture? Is is Photoshop-Painted or generated in Substance? I’m not that good with textures and struggling often to create them ![]()
I’m not very good at making maps, and I can draw some simple textures. I saw you share the visual effects of rime some time ago. It’s a great work. You’ve made me learn a lot. Thank you.![]()
2 Likes
You are welcome.![]()
1 Like
from slide 77, Sarah Grissom’s part is all about photoshop tricks for VFX.
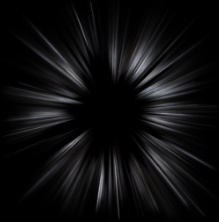
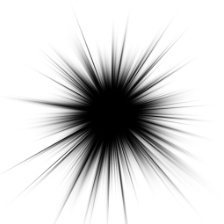
For this sort of textures, the radial blur in photoshop is your friend.
(Can’t look at substance right now but I bet they’ve got similar tools)
Start from a fireworks / sparky texture for instance, apply different levels of radial blur in zoom mode, mix and match and voilà!
You can also just start from a few dots but I tend to like using pictures as a base because it gives you more details.
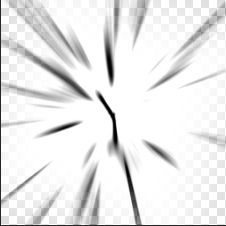
This texture for instance was created using a mix of radially blurred images, it is kind of similar to Silver’s texture:
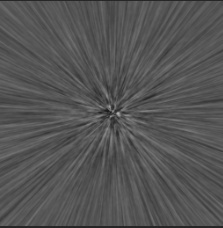
These as some of the layers that make it up. It’s a case of simple add of multiply blends between layers, and some levels here and there. And every single one of these layers have been radially blurred as a start.
5 Likes
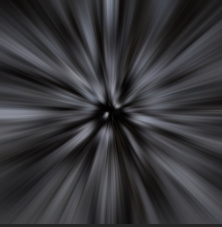
thank you! i just found this, which is also interesting. in substance for example you could use a “Cartesian to polar” node to convert the right textures into the left.
2 Likes

5 Likes
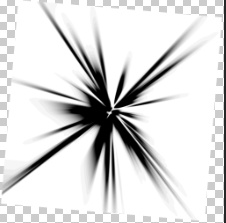
The issue I found with the right-to-left workflow is that it’s incredibly difficult to get some of the “pointier” flares. When you use the polar distort, you get your ends flared out unless the points are very thin and very precise, which I’ve found very hard to get in a time efficient workflow
1 Like
A technique I’ve used in the past is to create some simple geo in maya and render my texture on that to create texture distortions. Super useful for straight to rings etc that photoshop doesn’t do natively. Also means you can use some maya tools in your workflow, like adding noise etc.
An adjustment to the polar coordinate technique I’ve used is to initially not do any fade at all, but rather keep it as a single horizontal gradient. After applying the polar coordinate filter I apply a radial gradient with a darken blend and a curve adjustment layer that applies only to that darken layer. From there you can adjust the curve to shape the points however you want. Using 16 bpc all the way through can be beneficial here to prevent some potential banding.
1 Like