Make Noise Textures with World Machine

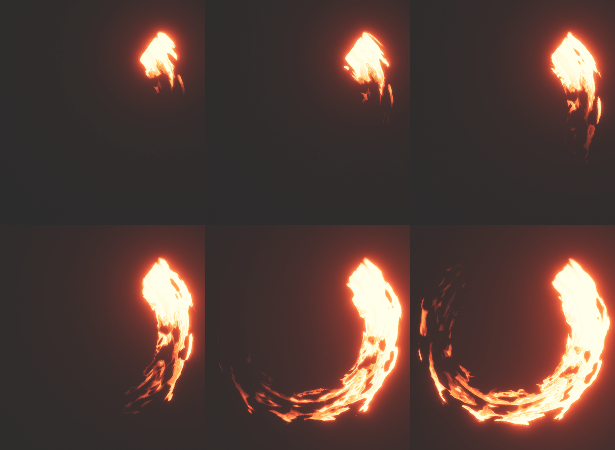
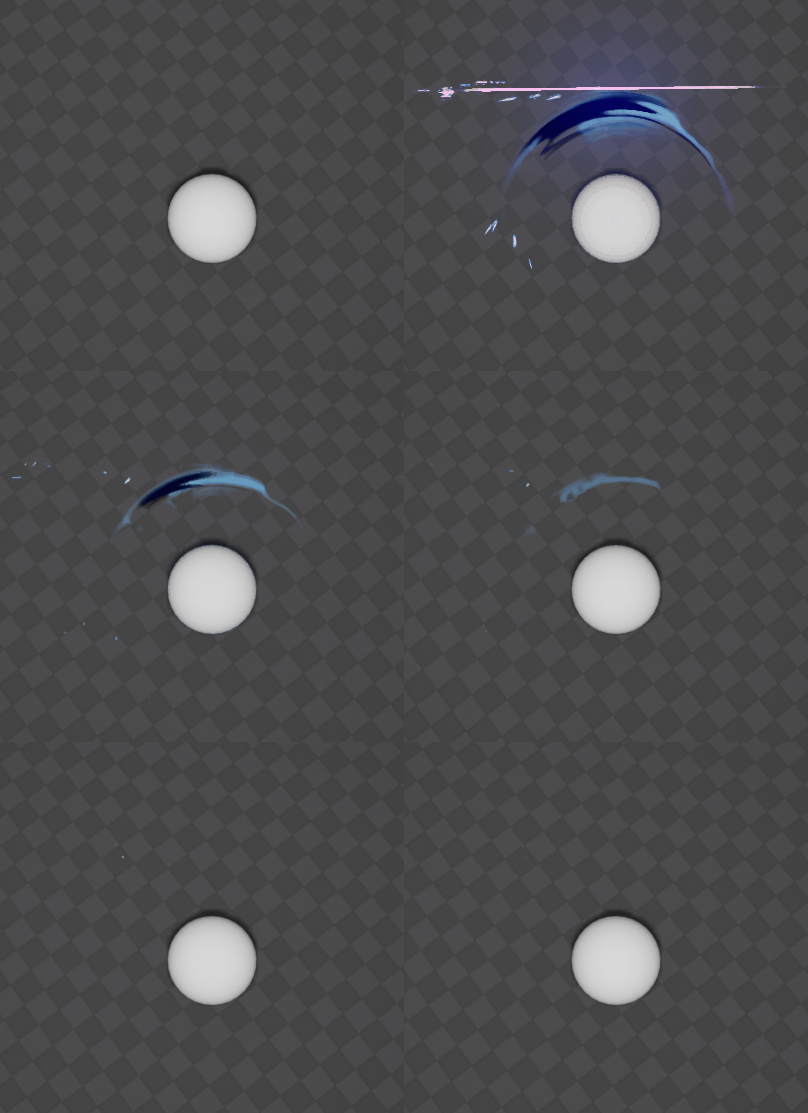
Hey folks! So I was using World Machine again today but this time to walk in @Niels 's footsteps and experiment with noise patterns to make sword trails. It’s actually giving me some pretty cool results!
And massive THANK YOU Niels. What you did on the trails really inspired me alot!

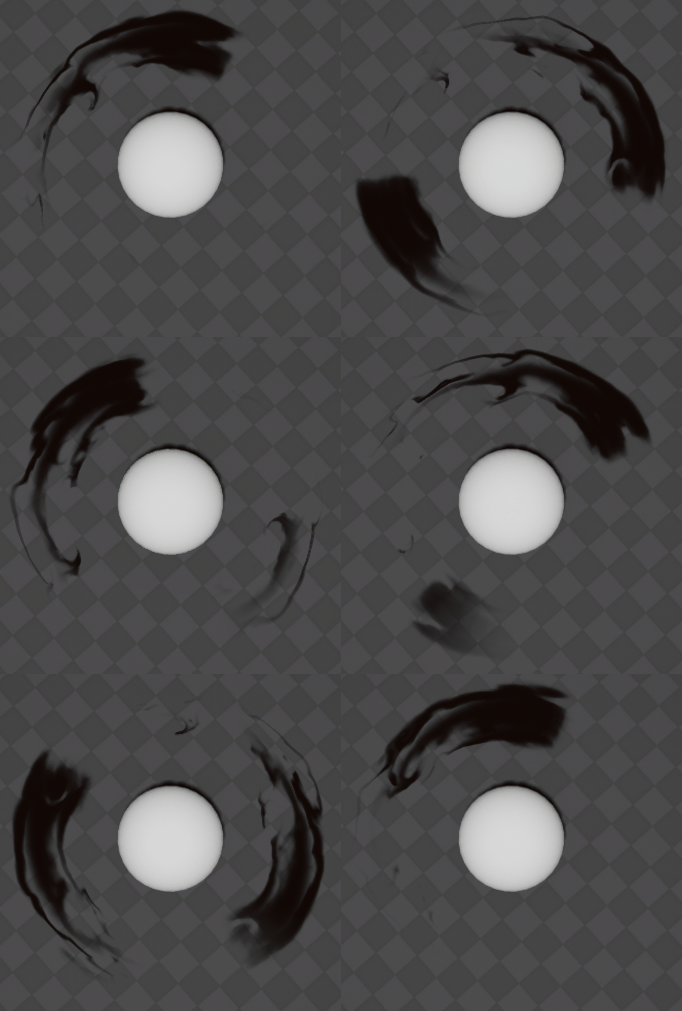
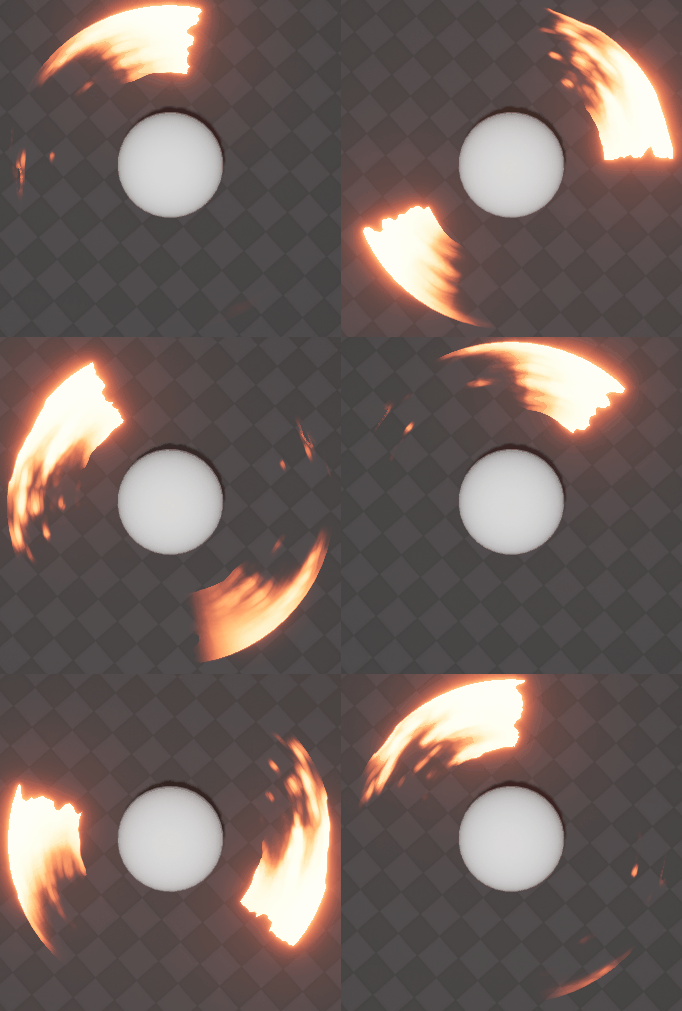
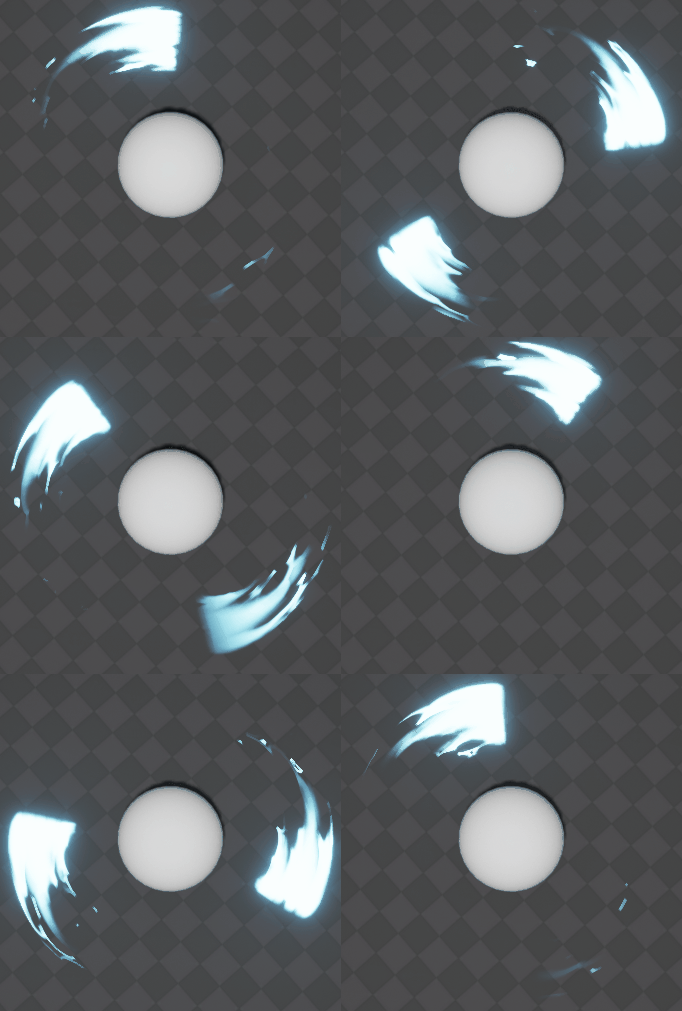
Combined and 3 stacked ontop of each-other
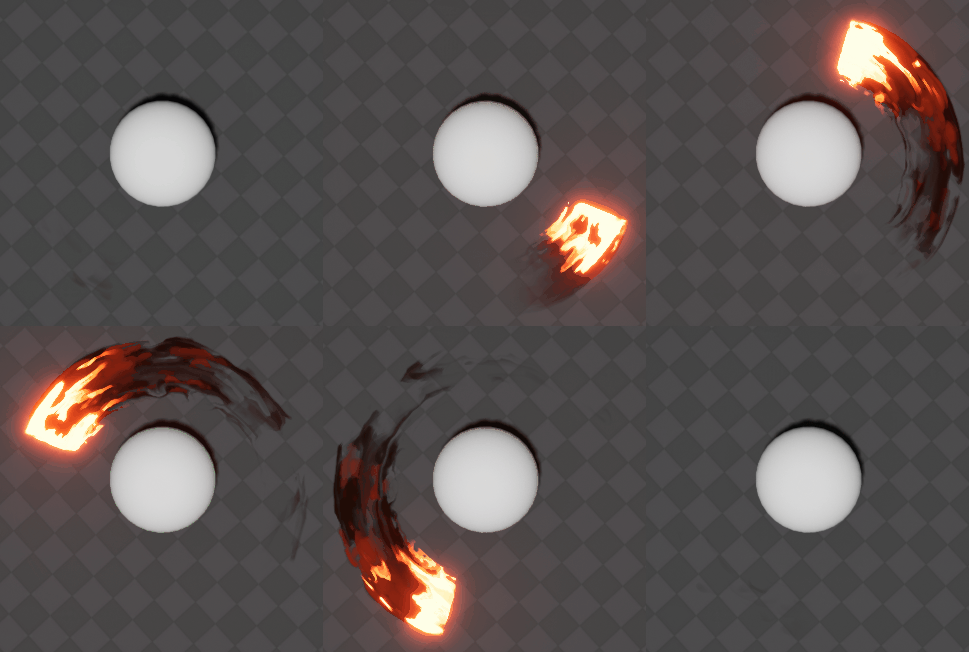
swordslash_test04


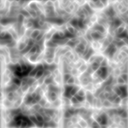
Ridged perlin noise
bild
noisetest_00


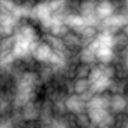
Billowy Perlin noise
bild
noisetest_01


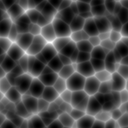
Voronoi noise
bild
noisetest_02


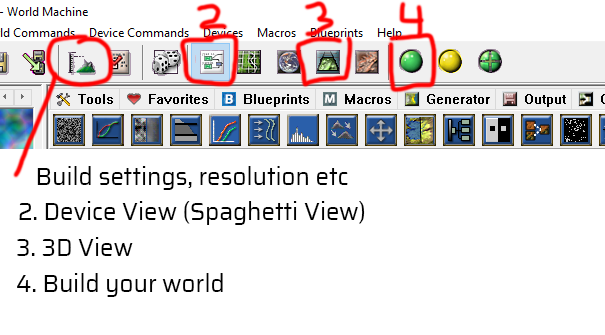
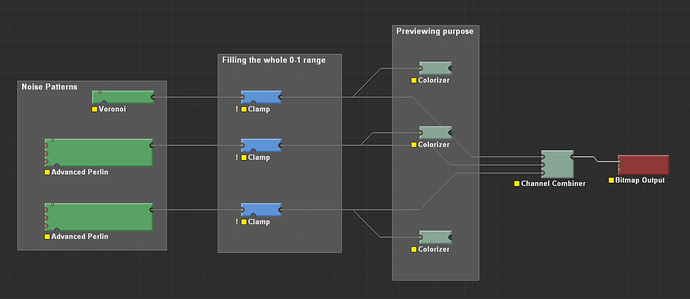
This is what you need to setup in WM to get some noises:

1.To find the noise generators click the tab “Generators”.

  1. To find the Clamp you head to the tab “Filter”. Inside of the Clamp function you can check the “Normalize input” to make the input range from 0-1. It’s a little bad if some noise maps are missing the top or bottom range of values.

  2. Colorizer is found in the tab “Converter” and I’m only using that to preview the noise in 2D. If you select the Colorizer node and hit “F” you will lock the preview to that node so if you change settings further back you’ll see what those changes did to this node.

  3. Channel Combiner is also under Converter and this one simply converts the heightfield data to 2d and combines it a RGB bitmap.

  4. Bitmap Output is under Output, naturally. Here you can specify where you want WM to output your texture. If you want it to save the texture each time you build the world then check that checkbox!

  5. DONE!

bild

Now apart from Substance Designer… WM won’t tile your outputs (AFIK) since it’s revolving around making terrain, HUGE terrain. So to make it tile inside of Worldmachine you’d have to make your own tiling function. You can however output this as either a 512 x 512, 8 or 16 bit texture or as a 3D model with a set resolution.

And WM is free of charge! But you won’t be able to output any larger files than 512x512 (you could output 513x513 but that wouldn’t make much sense to this purpose)

But if you, like me, like this kind of software… then you can of course buy it. If you pay enough you can even have the preview window on a separate screen!

Happy spaghetting! Let me know if you have any questions regarding WM!
41 Likes

Really ingenious use for World Machine! Love this so much :astonished:

1 Like

Glad you like it!

Only big downside is I havent found a really good way of tiling the heightfields yet… I could blend in a second noise but it feels like unnecessary extra work if it can be avoided. Having to edit parameters in more than one place kind of doubles the iteration time.

1 Like

Very cool, I’m gonna’ have to play with this!

As another option to play with I found this recently that creates tiled perlin noise textures:

http://kitfox.com/projects/perlinNoiseMaker/

Caveat being that the ‘Groovy’ setting doesn’t seem to tile from what I can tell, but the others make some fairly nice results.

1 Like

Yes, try it out! Let me know if you have any questions regarding WM!
That’s a good resource as well! Thanks for sharing it :slight_smile:

wow! some pretty good results there!
so can i use after effects/ substance painter/ blender/ or etc to create noises with same result?

Awesome result.

From here, I think you really want to stack the noises with different colour and movement to get some more interest.

1 Like

really cool, thanks for sharing!

regarding the shader itself: are you “just” multiplying/substracting your alpha with the age of the trailpoints or are you using smooothstep? and do you apply the uv offset noise gradually over time (based on the age of the trailpoints) or is the noise always at 100% to distort the uvs?

@Niels Thank you!!
You couldn’t be more right! I was more or less following what you did so I’ve done some tests stacking them and it’s super cool! I didn’t think of it myself at all before I looked at your stuff, so thanks again!

Here’s a stacked example:
swordslash_test04

I had made a mistake in the shader previously making things appear… weird. I had managed to flip the V channel and all that went in to it in an attempt to make the texture shrink in V. I re-did it and now the noise texture is being shown with less artifacts and not inverted. :stuck_out_tongue:

@simonschreibt
Thank you! I thought WM is a really good thing to share around especially since you can get it for free and render out 512x512 images! And getting this sort of thing set ut doesn’t take much time.

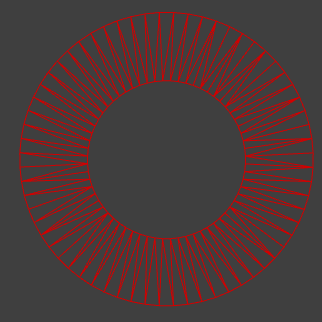
Right now it’s just a circular mesh that I’m moving the texture along.
bild
I did make the mistake of not mapping everything in an order that would make it work with Ribbons so I’m gonna re-do it so that it’s all mapped the same way for re-usabilities sake.

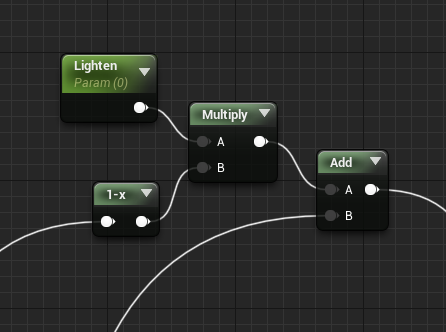
It’s a blend shader and I’m smoothstepping / eroding the final results from the distorted color texture. And I have the option to lighten all the dark areas so that some smoke don’t get that hars, dark outline, or the flame to keep more flamey :stuck_out_tongue: .

bild

Super simple but it adds some more versatility to the material. I take the greyscale value from the channel I picked, invert it, use that as a mask to add brighter values to the dark areas and add them back together before applying the particle color.

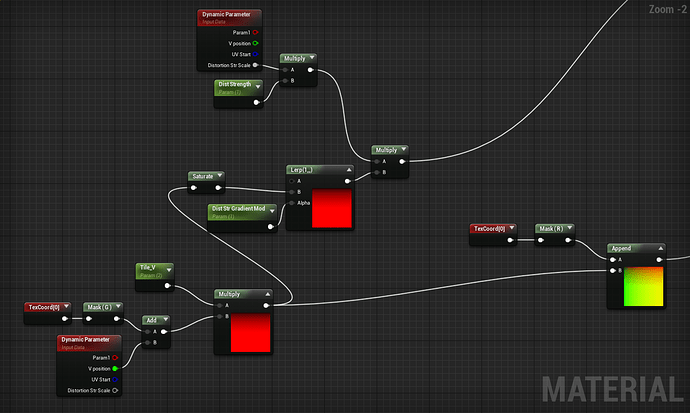
Right now I have a function to basically “tile” the color texture, making it smaller, or bigger from the top. I’m also applying the same gradient, but inverted to the distortion scale value so I have full control over how far across the starting point the distortion travels.
expand_color
This lets me have a long smoke and a short flame, for example and the flame, and smoke is less affected by distortion where it starts, making it look more natural, I think.

This example doesn’t limit the distortion and the color texture doesn’t start at the top, it starts in the middle of the texture and I wanted the distortion to rip the texture in both directions.
swordslash_test03

Once I’ve re-mapped it to work with ribbons I’ll see how that will work! But my guess is that I’ll be increasing the distortion based on life while eroding / smoothstepping away more. Will be interesting!

12 Likes

This is a kick-ass, inspiring thread - thanks for all the contributions of knowledge to it! :+1:

thanks for the detailed breakdown and explanation! if you’d share the whole material it would be awesome. really inspiring! :slight_smile:

How do you create the tiling function?

@simonschreibt You’re welcome! I’m glad you found it inspirational! :smiley: If I have time to clean it up I might add it later! :slight_smile:

@Delphic
You multiply either U with a scalar value, or V, or both (Tiling both will end up with a tiny texture in the corner though…). And if the texture is set to Clamp rather than Wrap in the texture import settings, when you tile it, there’s just going to be a lot of black space, if that’s the border color of your texture. And when you’ve done that, you have a gradient you can use to mask your distortion scale value!

I use the lerp to control how much I want the gradient to influence my Distortion Strength scalar parameter.

Now, like I said before, doing this in the V direction isn’t very good. Doesn’t work with Ribbons so I’m gonna re-work it. But that’s how I do it atm!

2 Likes

Super cool, i’m looking forward to it. :slight_smile:
But as you mentioned @Niels: I checked your sketchbook and couldn’t find material-examples where you show what you said

“I think you really want to stack the noises with different colour and movement to get some more interest.”

Are you refering to use different noises along the trail and one section would be fire-color + noise and nother section would be the smoke which then uses a different noise?

Looks great. I’m goona try this.

1 Like

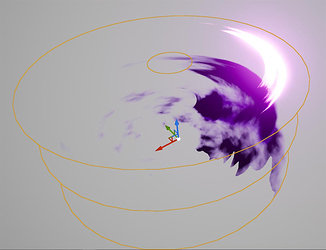
I think this image from @Niels explains the layering:

I’m thinking you should be able to get the same result even when using ribbons if you seed them?
3 different meshes in that example, all using the same material but with different instances and different settings.

@simonschreibt
The layering is mostly an artistic thing, you could do it in the material, but I prefer stacking multiple particles with different settings and movement as shown in the picture. I find it helps with itteration speed and gives more options.

1 Like

Ah! Now it gets cleaer! :slight_smile: Thank you! Yes I understand. I’d alsoprefer having several meshes as it keeps the material simpler and cleaner. Increased overdraw of course, but I think it should be ok for this kind of effect.

Thanks guys!

CO-OP ALL THE NOISE GENERATORS! I’m going to make a quick bump to suggest an open source variant of this that y’all might want to give a look at which I’ve been playing around with at one point. As I recall, I THINK I saw an option to make seamless noises. I think it was… “Transform → Tileable”. Plus… no size restrictions!

It’s called Terresculptor 2.0. It’s a one man operation building it, so it looks a touch rough around the edges, but for our needs, it seems quite capable. “It uses the Patreon-funded ‘pay if you like it’ model” and is “a single full-featured edition, free for personal, academic and commercial use.”

IDK, might be worth a try, right? :wink:

Cool stuff as always @jqarlsson. :slight_smile:

1 Like