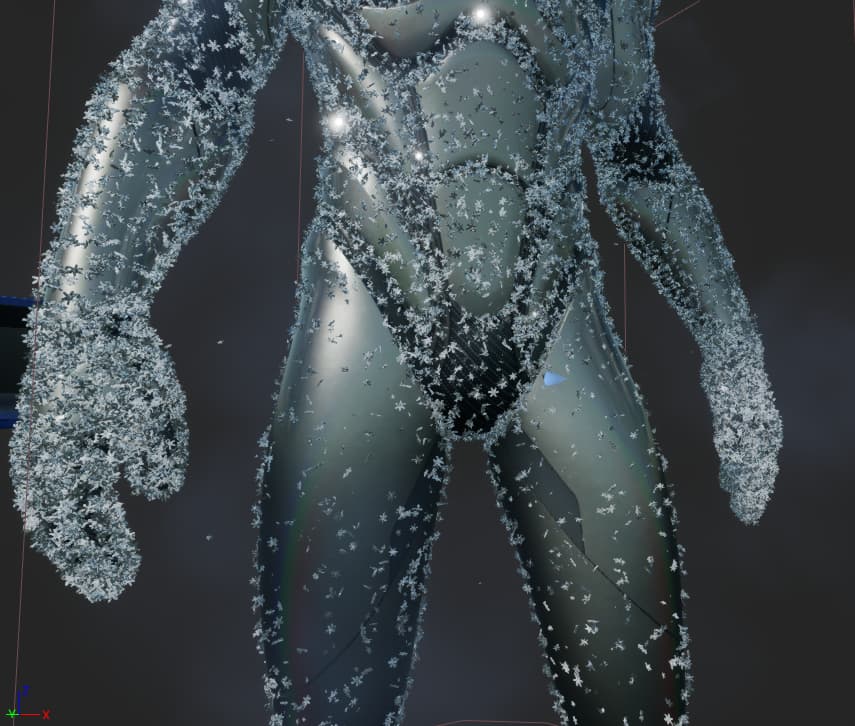
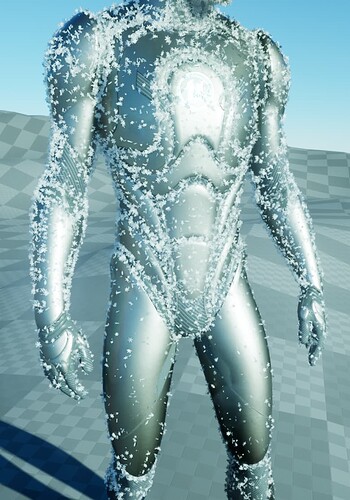
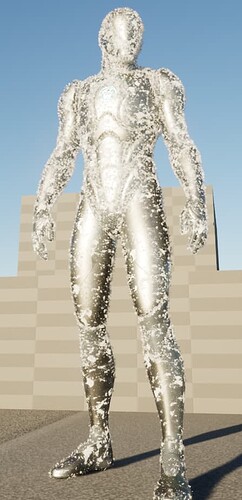
I’m sorry I couldn’t do a progress report like other participants because I was really busy this month. Here is a breakdown of my submission and the technical bits I’ve learnt when creating this effect.
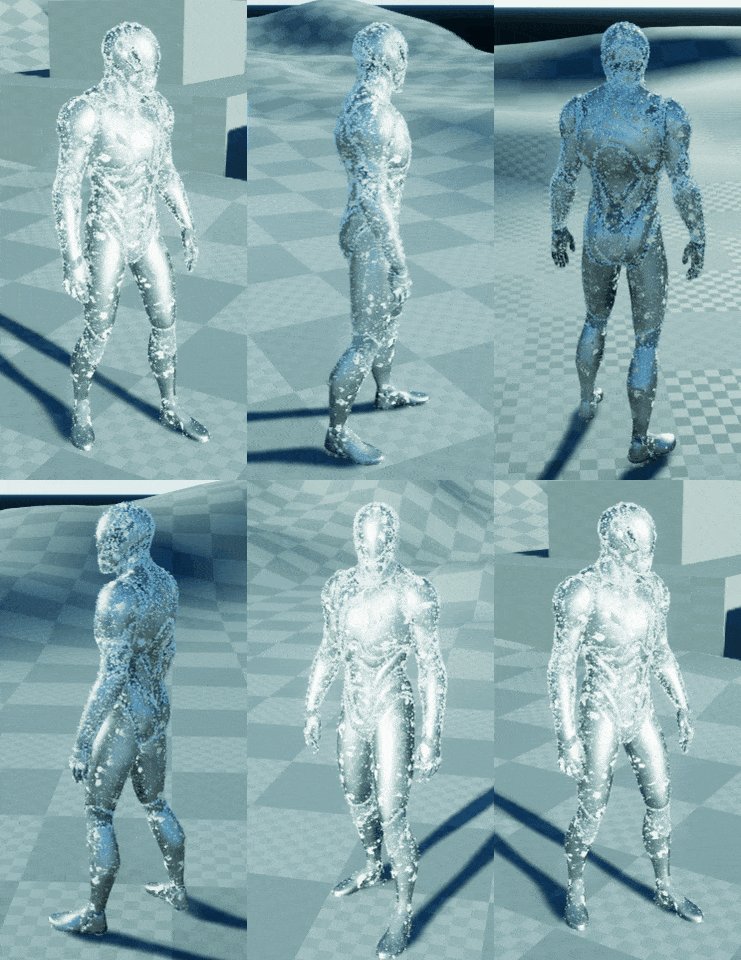
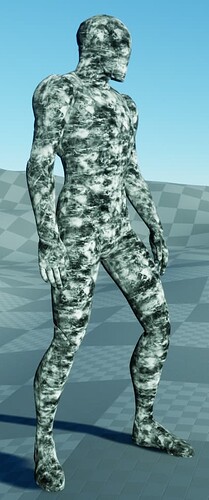
My idea of this frozen sketch is to cover the skeletal mesh in snow and ice crystals, instead of transforming the character into a complete icicle or snowman, so my keywords when looking for reference images on Google were “frozen meat” and “cover in snow”.
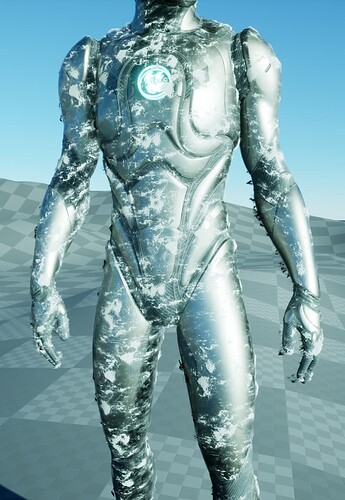
The composition is a frosty material which takes advantage of UE 5.1’s overlay material (even though a similar thing has already existed in Unity for more than a decade) and a Niagara particle system which emits snowflake and icy vapor particles from the skeletal mesh.
For the frost overlay material, it is translucent lit with volumetric directional light mode. The first part is the “glitter” which sparkles whenever the distance between the camera and pixel world position changes.
Then a frost texture with triplanar mapping for opacity and world position offset.
Because this material is used for a skeletal mesh, the local position value for the texture UV must be pre-skinned, but pre-skinned data is in the vertex shader. This unfortunately means that the same triplanar mapping has to be done twice for opacity with pixel shader interpolation and WPO without interpolation respectively.
Anyway WPO is for faking the volume of snow accumulating on the character. I tried to spawn mesh particles around the character, but it looks horrendous and I don’t want to show how bad it got.
On to the Niagara System.
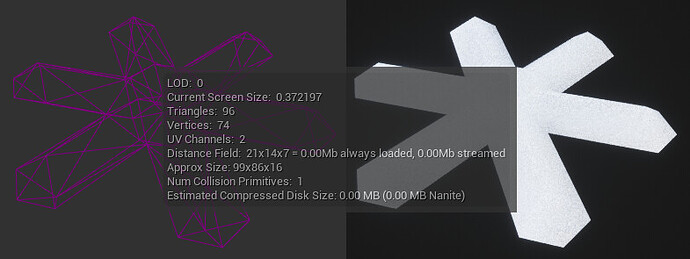
The “snowflake” mesh is a very simple hexagram because I am spawning it like >50k, there is no reason to make it super detailed. No one would care.
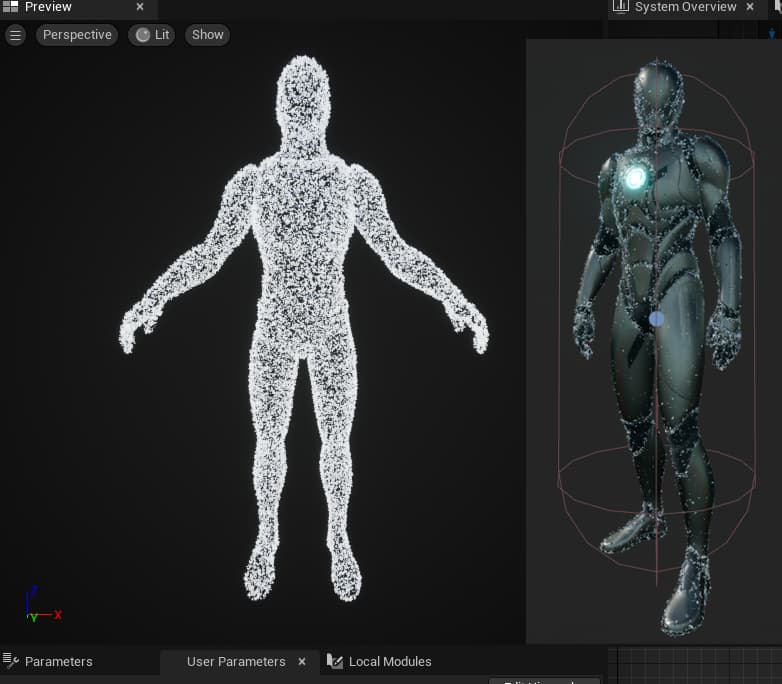
About the skeletal mesh location module, I am not sampling random triangle (spawn only evaluation) because for unknown reason, some particles flash around the triangle even when the character is in idle animation. Also the distribution of particles, while looks very even during Niagara preview when the character is in T pose (all LODs of the mannequin have already enabled “uniformly distributed sampling”), is rather lopsided when the character is animated. I am not sure why this is happening or if this is a bug. Anyway sampling mesh triangle is slightly more expensive.
Instead I sample the vertex and the vertex of next vertex index, and then I do a lerp between the 2 sampled positions with random range [0,1] float value. It doesn’t solve the lopsided distribution issue, but at least now the particles don’t flash back and forth and the emitter is slightly cheaper.
Obviously not all neighboring vertex indices are physically neighbors to each other, so I kill the particle if the 2 sampled positions are too far apart.
Let’s address the elephant in the room. Because the fingers have more vertices so more particles are located on those. I sample the bones of both hands in System Spawn, 1 location module per 1 hand, then again I kill the particles within certain radius of the sampled hand location with a probability for about 95%. It’s that bad, but I can’t really build a new mannequin model with evenly distributed vertices, not my specialty.
Finally the icy vapor uses flipbook texture baked from modified Niagara Fluid smoke sample. The simulation would need more fine-tuning for better result, but running Niagara Fluid is turning my computer into a BBQ and I don’t want to inflate my electric bill like crazy during this period of time.
Sampling of skeletal mesh location is similar to the snowflake emitter to prevent lopsided sampling, but this time I sample 2 bone positions, instead of vertex, and again interpolate with random range [0,1] float value. In total I filtered 20 bones for this, the hand, upperarm, lowerarm, foot, calf, thigh, etc.
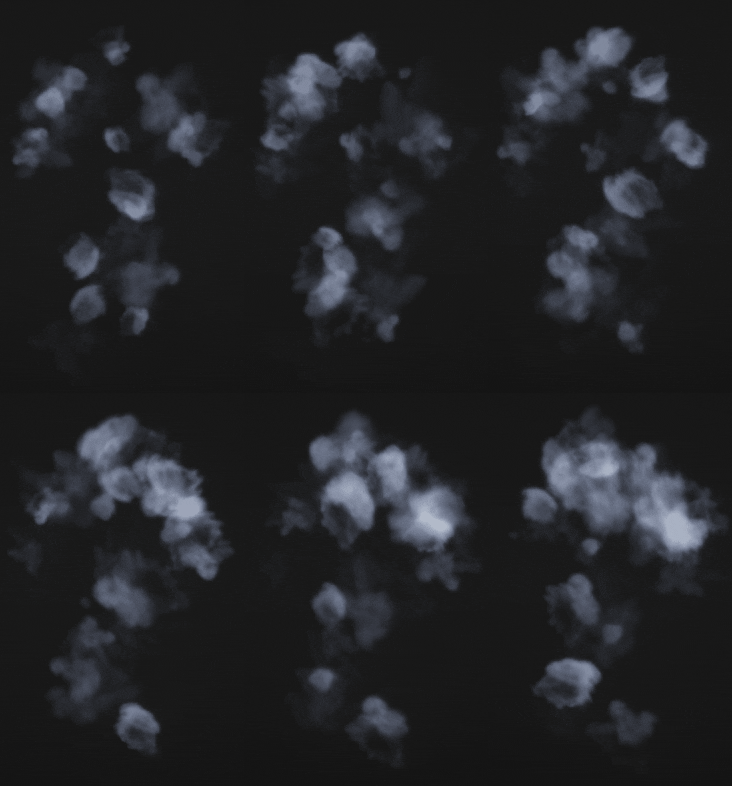
So here it is:

