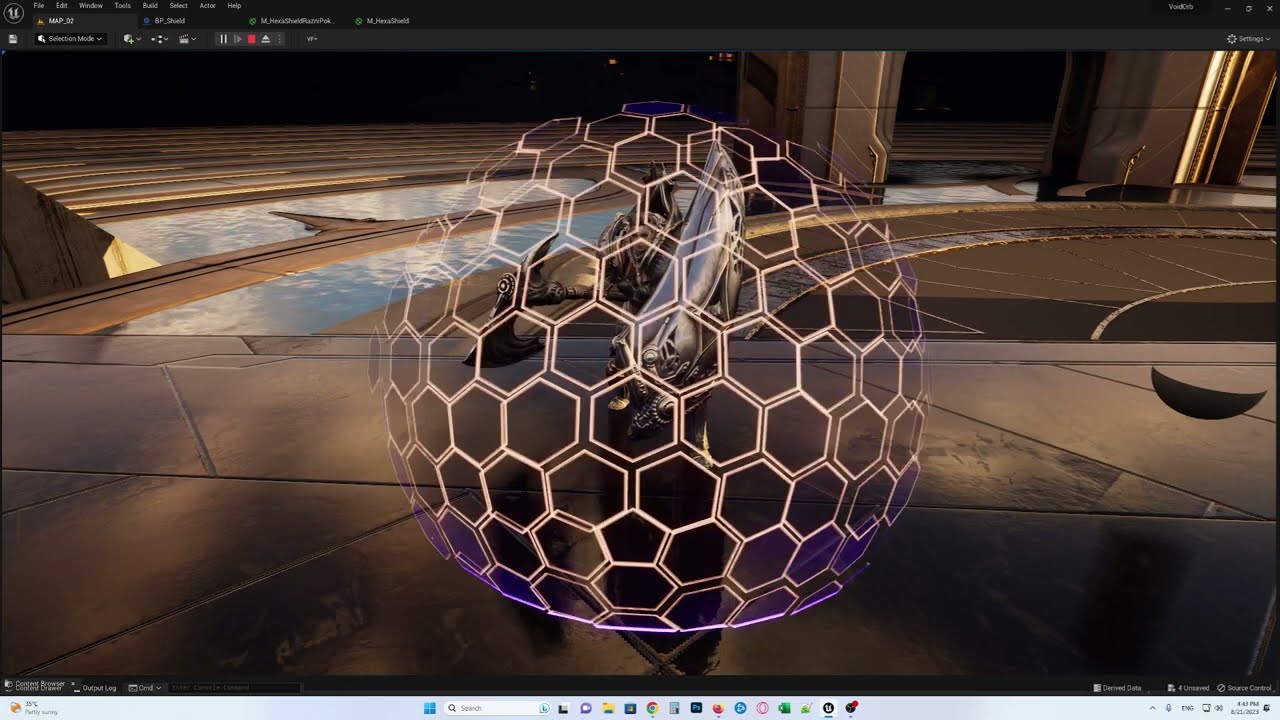
Hello, this is the first VFX that I’ve made a video of. This is the first one I havent FULLY followed a tutorial. Done some input myself. I would like you to roast it. Any ideas, references, or feedback overall is highly appreciated.
Since you’re using a detailed background, it would be a good idea to give the effect a color that contrasts well with it.
Maybe making it a bit brighter and using a complementary color could help make the effect stand out a bit more. Also, I guess it looks a bit off-center compared to the character.
Otherwise, it looks good in terms of detail and animation.
I will probably change to a plain background when I am ready to make a portfolio. I will make sure to center it better. Thank you for your feedback, really appreciate it.
I have a different idea for the end but I have no idea how to do it. I would like to make it go away each hexagon for itself. I know I have to do it with noise but I dont know how to have one noise texture for forming and another one for destroying. If anybody could explain i would highly appreciate it
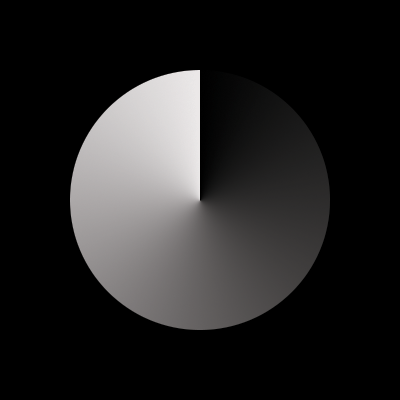
You could use a texture with shapes filled with a gradient and then use alpha clipping to fade the shapes away.
For example, look at something like this:

By using the alpha clip, you’re going to be slowly fading the image, from the darker side towards the brighter side.
You can make different patterns using gradients to make the fade more interesting.
Honestly, I have no idea what you just said. I am just a beginner ![]() I’ve never even heard about alpha clipping. Maybe it’s called something else in unreal? Sorry for being this stupid.
I’ve never even heard about alpha clipping. Maybe it’s called something else in unreal? Sorry for being this stupid.
The tutorial showed me an idea of how to make it appear and disappear using Noise texture. But I would like it to form using Linear Gradient but to disappear using noise texture. Don’t know how to do that. Is there some option where it switches which texture is being used? Or should do i have to do it in the blueprint? ![]()
Oh, right.
Well, I’d say it’s better to see it yourself instead of me trying to find a way to word in it a way that you’ll understand everything.
I would recommend you to follow these steps:
1 - Find a video teaching you how to make a “dissolve” effect shader/material in Unreal.
2 - After you finish that tutorial, use the image I provided in my previous post instead of the noise texture that was used.
3 - Play around with the values and see what happens. (I recommend using a plane to better see the effect).
Hope it helps and sorry for causing any confusion.
Aha, i see it’s forming differently now. But i would like it to form the same way but to dissolve using different noise. Screenshot by Lightshot This is my material. I would like it to form using a Linear gradient but to dissolve using Texture that you provided. How do i plug them both? is there some function i can use to make them change. one for forming other one for dissolving? i control dissolving and forming with a parameter called WPO Gradient Control 0-1. Thank you for helping me
You could use a branch node and control the output using a variable.
Alternatively, you could add the results of the operations using both textures and then clamp the result so it only goes from 0 to 1.
White = 1 and Black = 0.
So if you multiply the texture output with a number greater than 1, you will get a fade-in. When you use a number between 0 and 1, you will get a fade-out.
Not sure if this helps.
I would say to look up tutorials with examples of what each node does for blueprints to better understand how to get the results that you want.
Thank you very much, I will look into everything you’ve written maybe i menage to make it ![]()
I highly appreciate your help
No worries. We’re all learning, so it’s important to not be afraid to ask for help.
