I’m still finishing up the sketch I didn’t work on in time for a couple of months ago, but I couldn’t not attempt to put something else on my plate when I saw the theme is Cute Magic
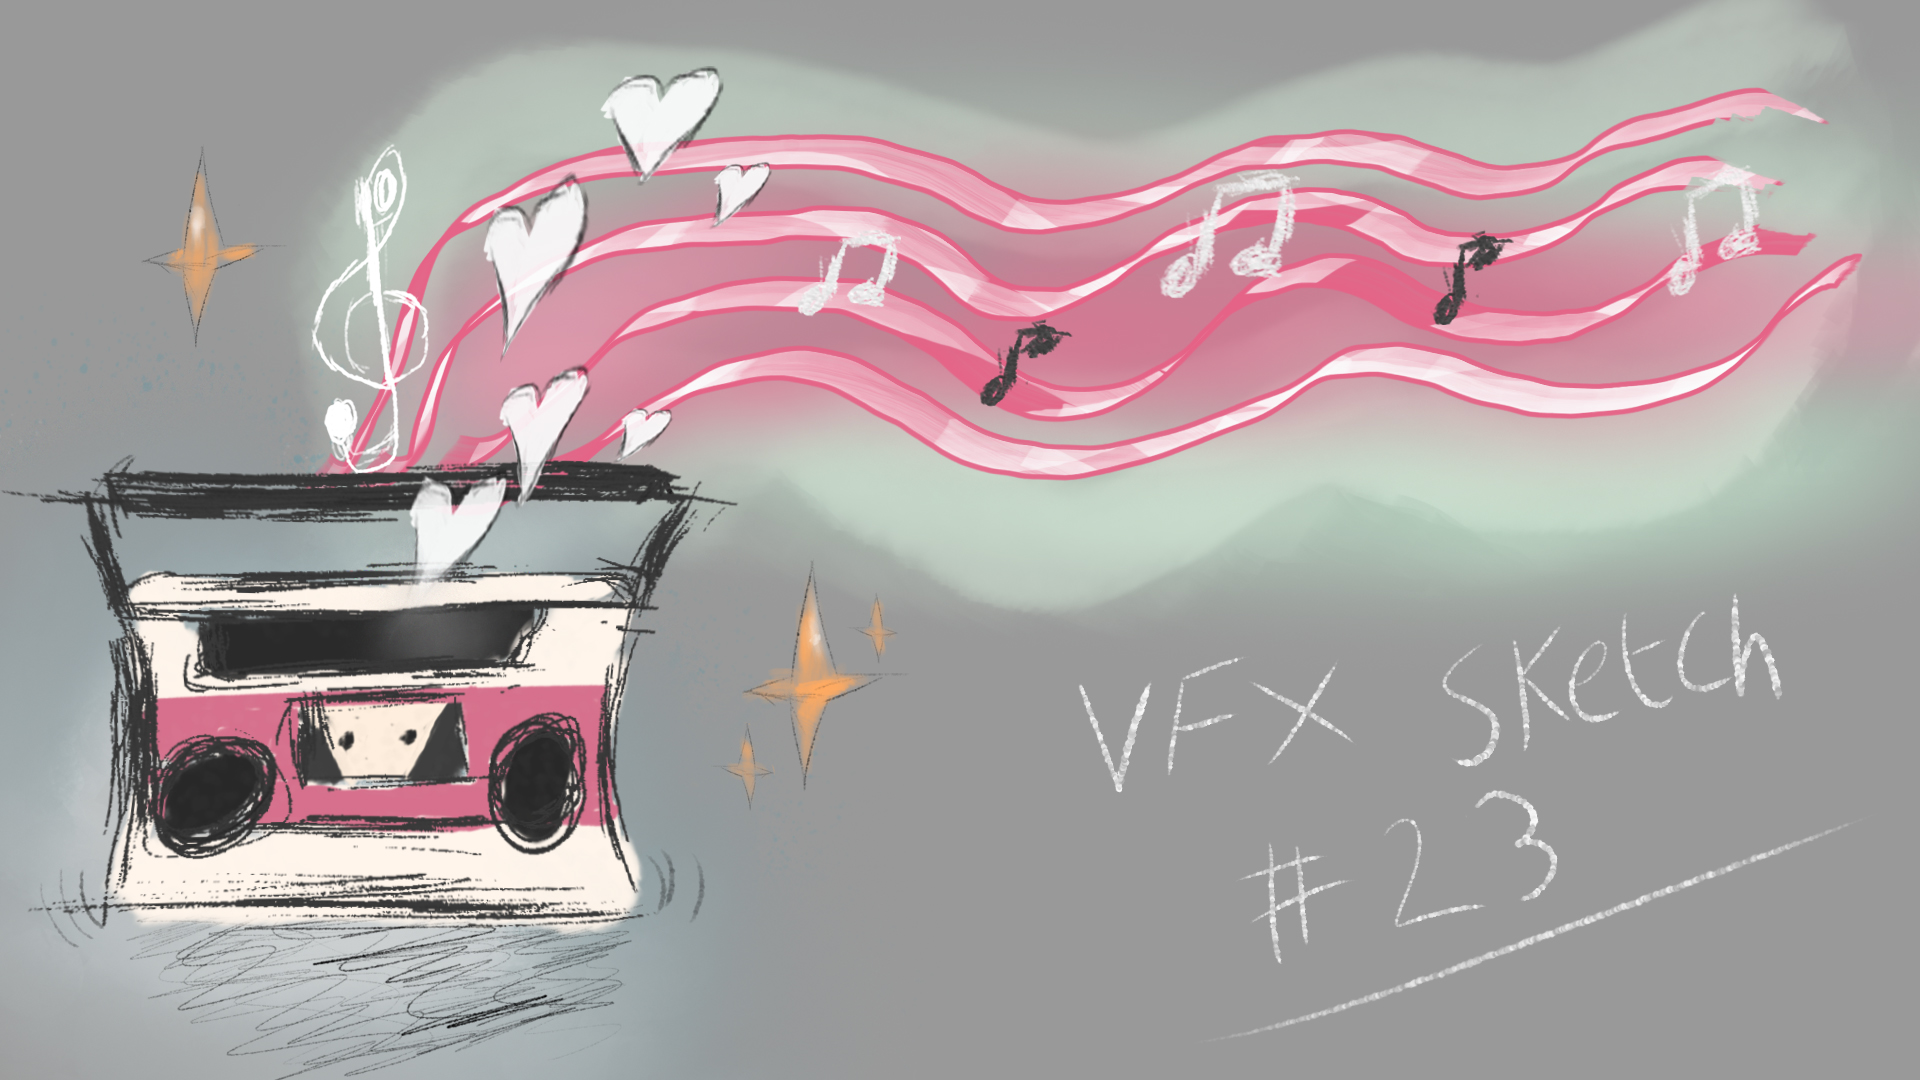
For this sketch I want to make a cute little persistent effect that might go on a magical item of some kind. At the moment, I’m set on making a magical boombox that I imagine is pumping out encouraging J-pop anthems about love and friendship or whatever other sickeningly sweet things you can imagine.
Here’s a rough idea of what I think it will look like:
The alternative idea is a trio of instruments in a ring creating the persistent effect together.
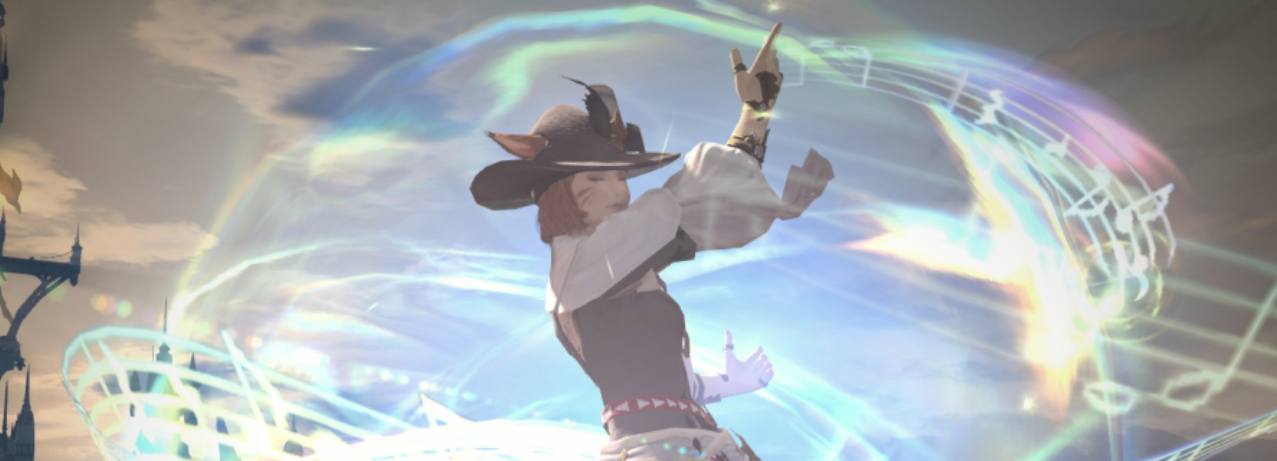
I’m still deciding on what style the effects will take; part of me would like them to actually look a little on the sketchy hand-drawn side as if they were right out of a Peanuts comic strip. But if I’m not able to will that out of myself, then something more along the lines of the Bard spells from the mmo Final Fantasy XIV
(pictured below)
In any case, my plan is to keep it as simple as I’d actually quite like to finish it in time this time, and really rely on the movement and colour to sell the cuteness.
My first step will be to make the 3 main sprites I plan to use: hearts, kira kira sparkles, music notes.
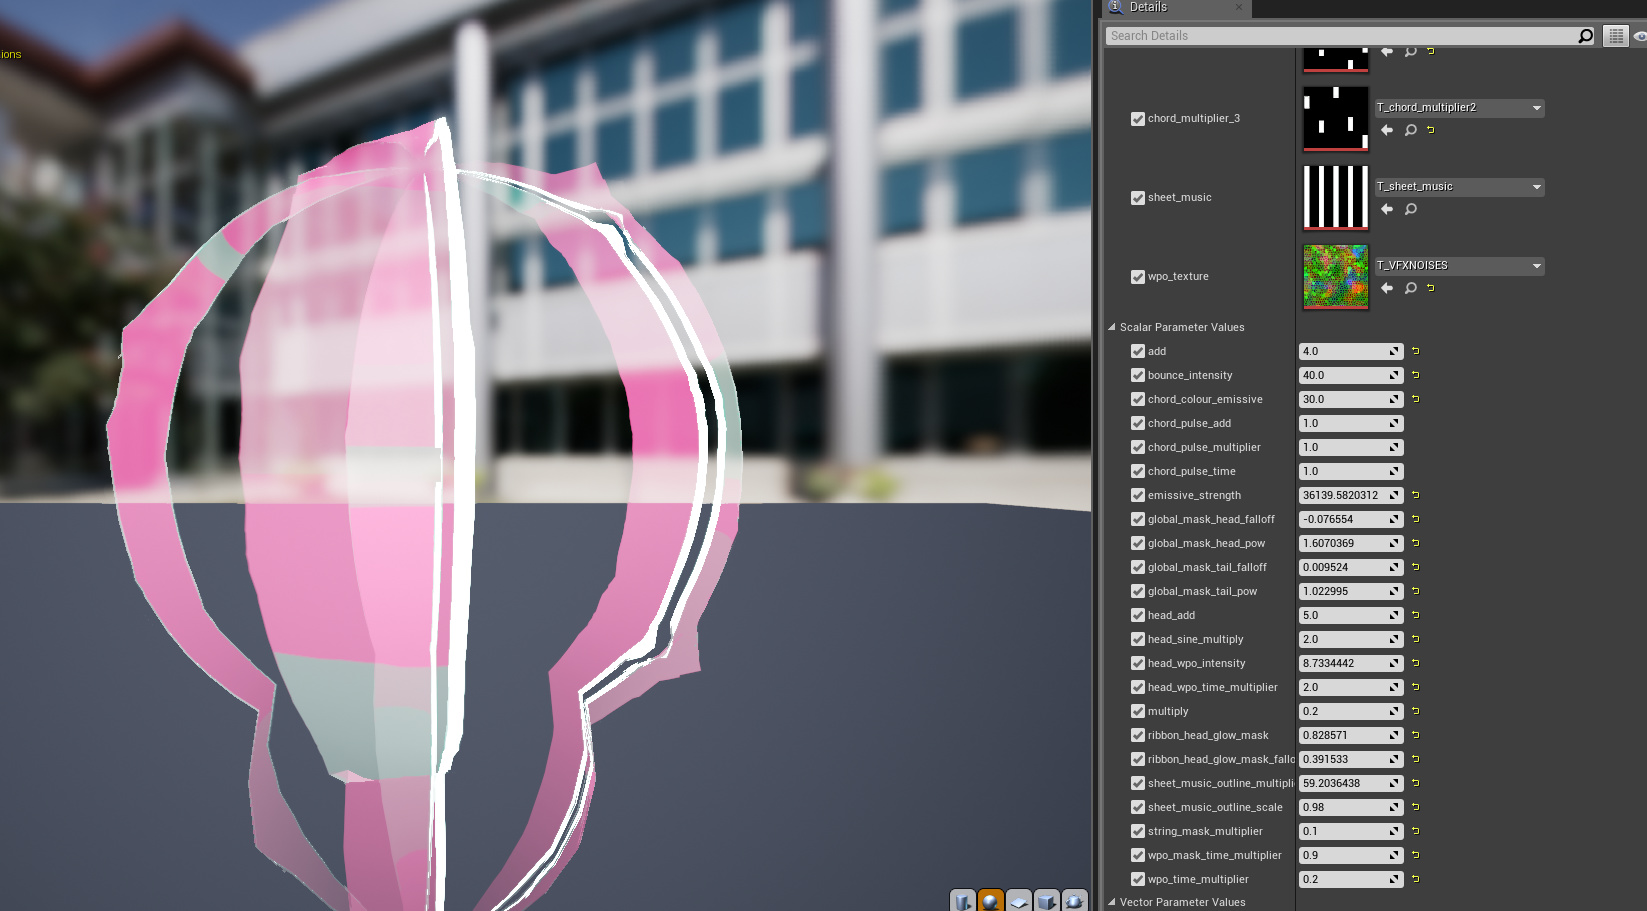
I’ve had a bit of time to think about/work on this sketch today, and started filling in various bits and bobs based on the concept.
One of my aims is to make it a lot less glowy, shiny, and busy than other effects I have done before, so all of the materials I’m using are currently unlit and using the emissive only.
Here is the work in progress so far!
The timings for a lot of it are all over the place as of now (possibly influenced by the music I’m listening to being different while working on different bits?!) and generally things aren’t quite meshing together yet.
Next time I work on it I plan to work on the timing, add some sparkles, and adjust the sheet music mesh to space out the lines a bit, and maybe then spawn the notes in between the lines, sequentially.
I’m also not happy with noise lines coming out of the speaker, as they spawn in a little bit of a chaotic configuration every time and could be a bit more uniform.
Also, tweaking the overall colours to be a bit more balanced.
Used the “scale UV from centre” node on most/if not all of my materials to create a black or coloured outline version of my alphas, giving everything a nice sharp outline to match the Boombox mesh a little better. This has also helped defined the different shapes a bit so they aren’t bleeding into each other, or getting lost.
Offset the vertex animations of the boombox so the different pieces are being pushed and pulled in different directions and at different times. I think this has made it look a little bit livlier and less robotically uniform
Added a “glowy” vertex animated mesh leading from behind the boombox and up to the sheet music. I still need to find a way to blend these two together better so it looks like they are somehow connected.
Added some “chord” alphas over the sheet music that are panning and have a sine wave to control when they pulse in and out. I want these to be a bit more defined as at the moment they’re just kind of pretty flashing colours on the lines. Ideally I want them to be a bit punchier and noticeable.
I may end up replacing this with particles along a spline
Speaking of splines, I added a blueprint spline following the length of the sheet music mesh, and have the music note’s world position being spawned along it’s length. The timing of this still needs some work.
timing is something I’m still trying to figure out and tweak for maximum cuteness.
I found this 90bpm 4/4 metronome video on youtube, and listened to it on repeat for a good while.
(https://www.youtube.com/watch?v=vQY0HLztg-o)
It started to get annoying, so I instead matched up the treble cleff mesh to pulse in and out in time to the metronome, so now I have it as a visual reference for when I finally start to line up the timing of everything else in unison.
Also new, tiny sparkles to show the impact of the boombox bouncing, tiny sparkles where the music notes spawn.
I also replaced the speaker “noise lines” with a sprite of concentric rings. This might be clashing with the concentric ring that is spawning just under the boombox, as they’re the exact same shapes. Will think on this tomorrow.
Added the word Kawaii in very small print to the label of the boombox (I hope that isn’t cheating)
Today I ran into the realisation that the colours of the sheet music and effect overall were fine with a grey background, but as soon as I moved them into any other kind of environment, everything was washed out! Their transparent and pastel nature meant that the colours really just got lost on anything that wasn’t grey. Lesson learned…DO test the effect in various situations/lighting/environments.
I’ll definitely be more wary of this from now on.
Finding myself a bit low on time to find a nice solution, I just placed a low opacity, dark blue mesh directly behind the sheet music to help things stand out on the new pastel pink background, and also tweaked the colour values of everything a bit to keep it all as punchy as possible.
Beyond this, I only really managed to make some changes to the sheet music, added the pastel-y background, and other minor changes here and there.
Realistically I think I only have 1 more day before the deadline of the challenge to work on this, so I may have to leave this as it is. Ideally, I’d still quite like to animate the boombox dropping in with a little impact, and then turning on to reveal all the effects. I’d also still like to tweak the timing of pretty much everything to be more harmonious and in-sync.
Miscellaneous notes:
Although I haven’t spent as much time as I’d like to on the sketch, it definitely made me think a lot about my process. Almost everything in the scene is parametric and uses instanced materials, and essentially I built the tools I wanted to use first, and built the effect afterwards. The pro of this has been that I could make quite large sweeping changes and minor tweaks on the fly, and didn’t have to keep diving in and out of the editor to compile shaders. The con to this, has been that I’ve ended up with a LOT of parametres, and when stepping away from my laptop for longer periods of time I have forgotten what some of them do exactly! (need better naming conventions). It’s also meant that I’ve spent a lot less time making art and vfx, and more time thinking about how to make materials that will let me make art and vfx, which is useful for a larger project maybe, but potentially less useful for a quick effect that I need to keep iterating on before polishing.
Looking at my materials,of the 4-6 shaders being used, all of them could have probably been 1 single master material if I’d worked a bit cleaner. I also could have packed most of my textures into a single 2k texture.
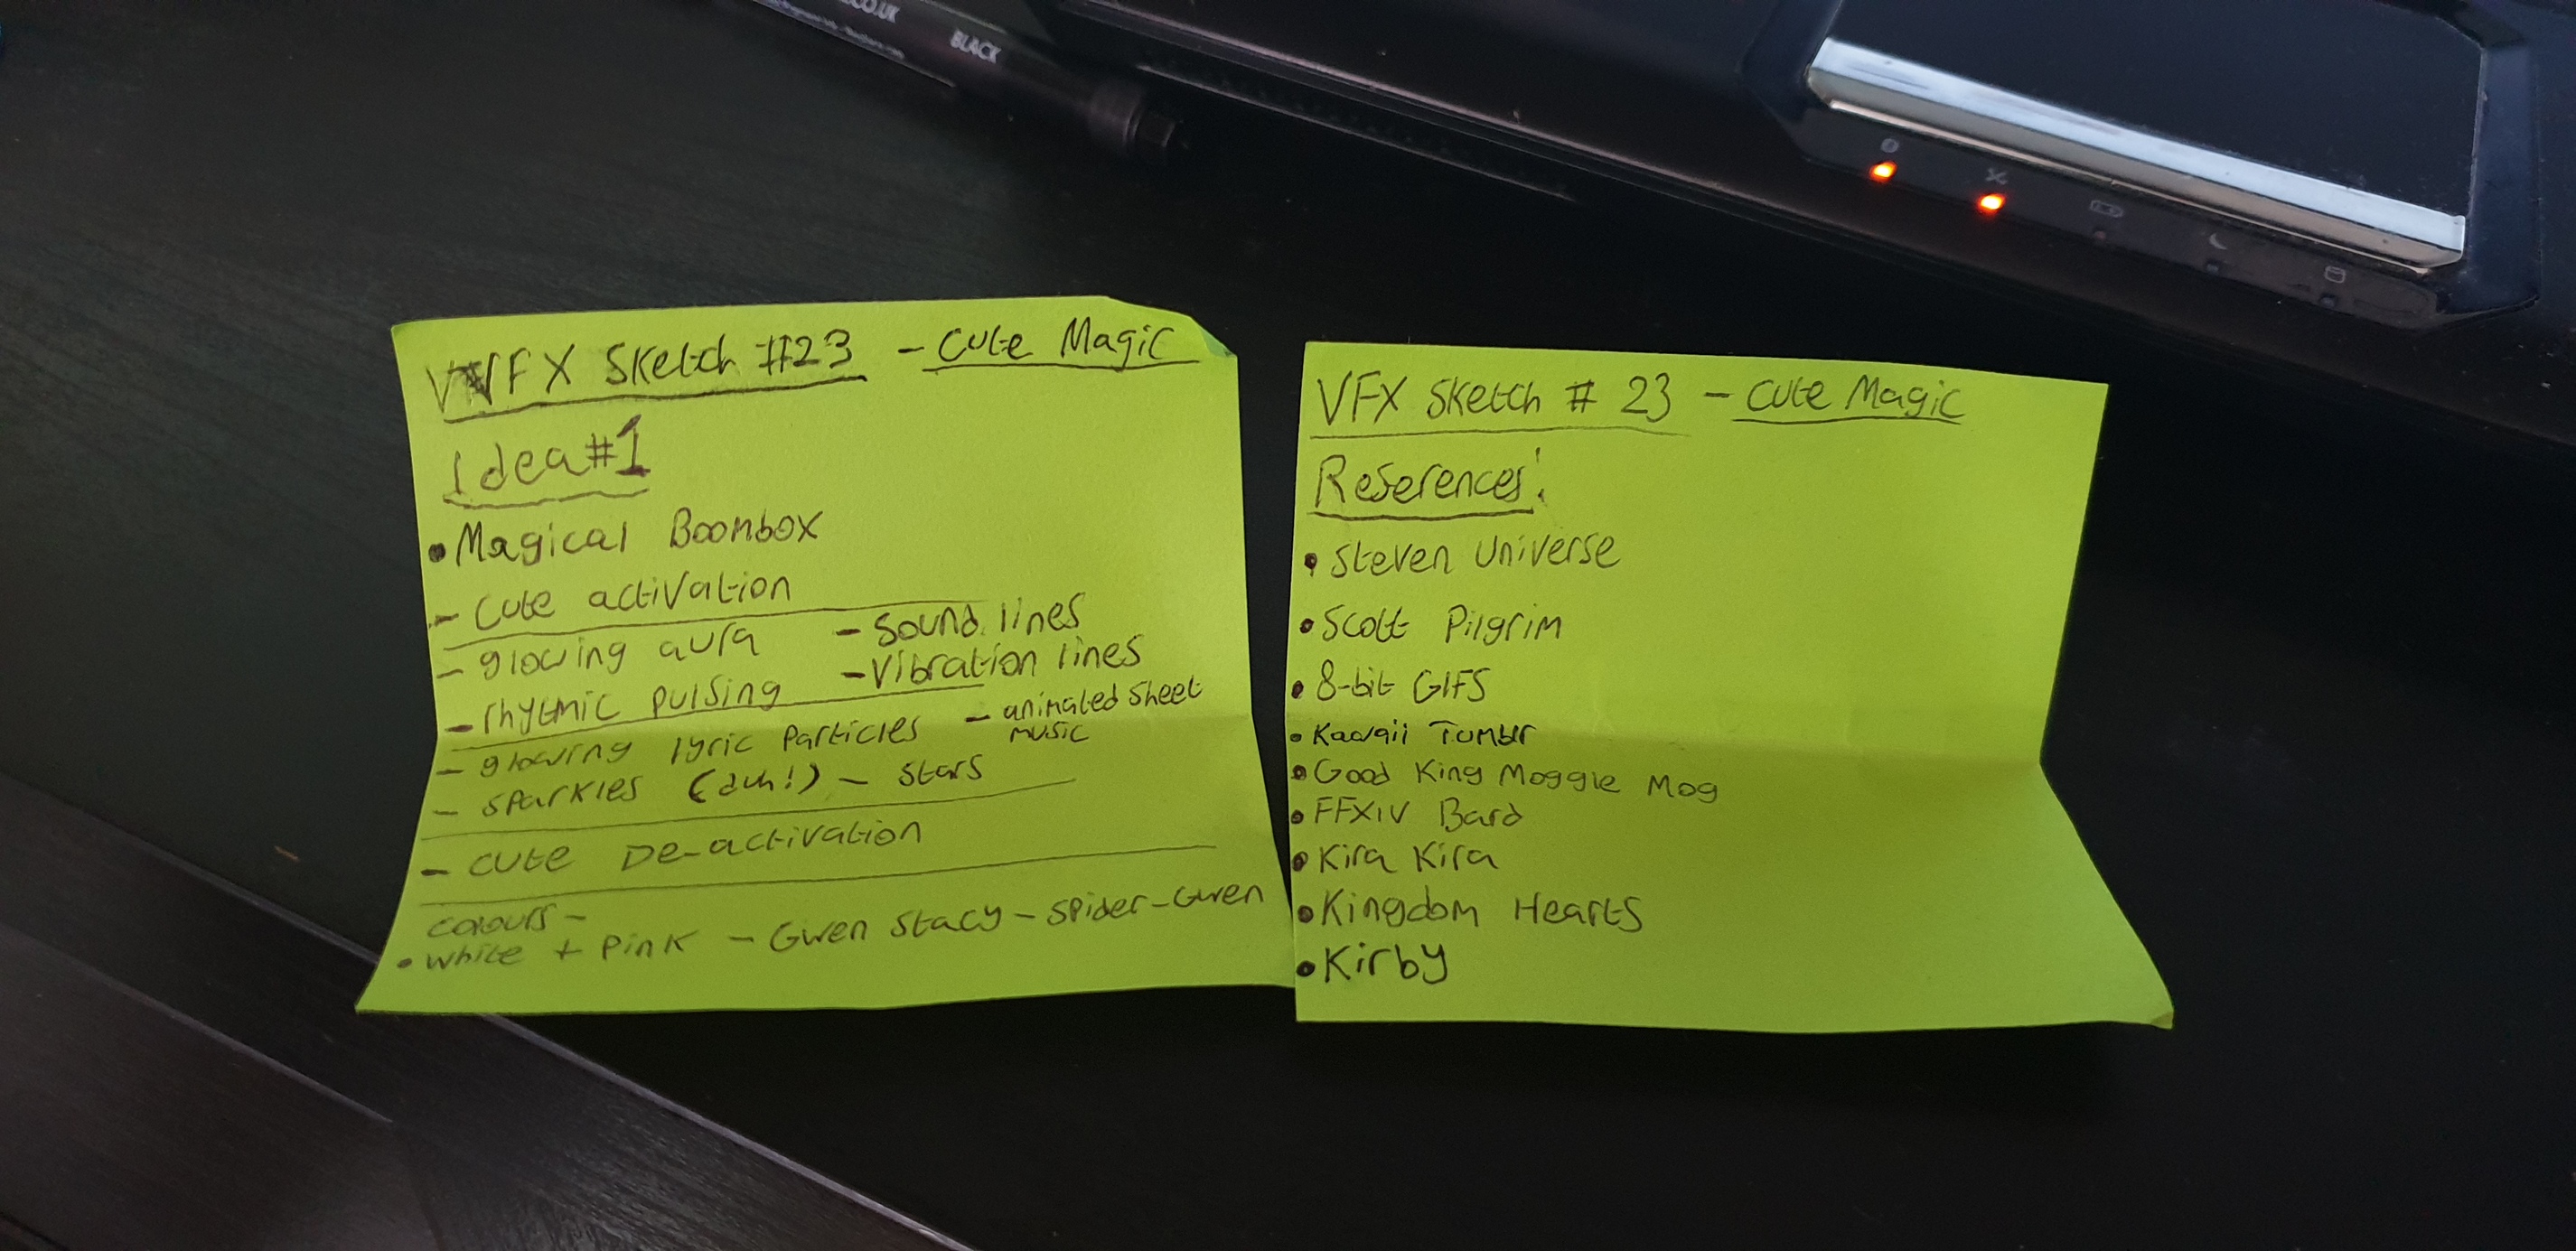
I need to refine my process of collecting and storing references. For most of the sketch, I have been referring to scrawled ideas on sticky notes, and hasty google searches.
To that end, I will try to make time this week to make one more post that outlines my references and process a bit more comprehensively than I have done so far, for my own reference and peace of mind at the very least.