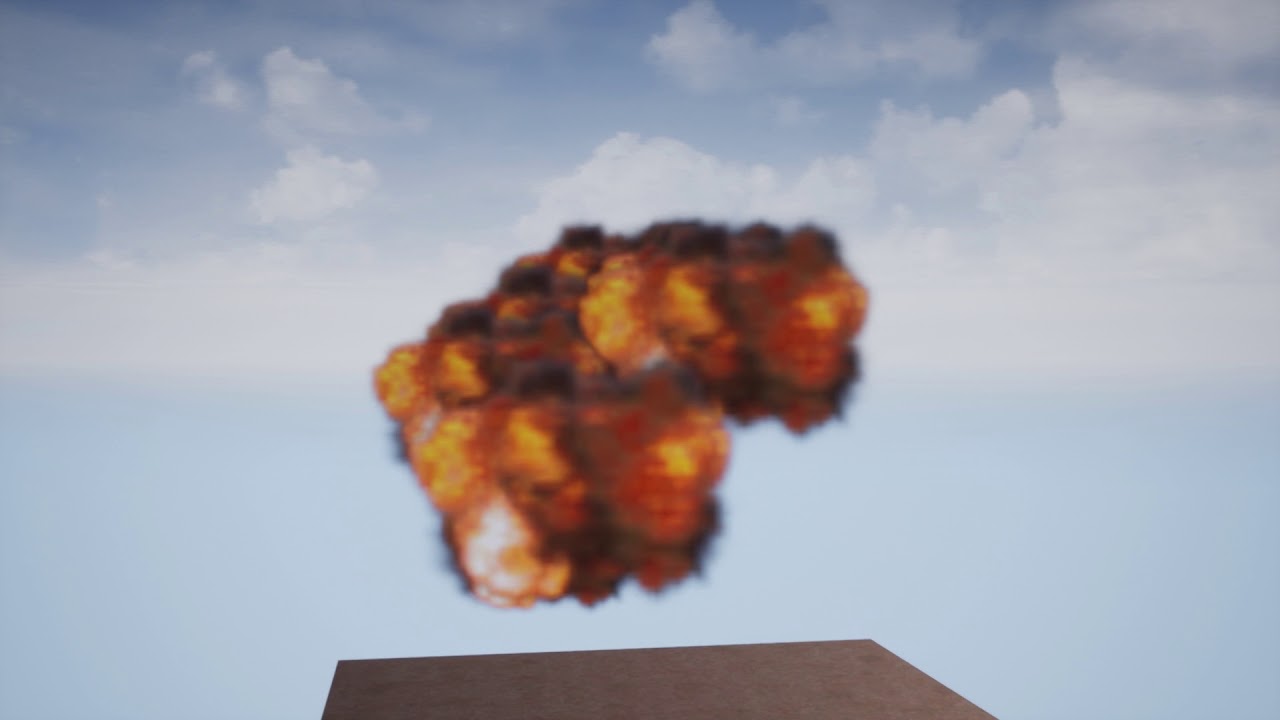
Hello everyone. I was doing this FX with Niagara, the new Unreal Engine particle system, and someone (cannabis.cod3r) told me I should post it here on this site. It’s my first time here, so, I’ll try to post everything the right way. Please, tell me if I doing anything wrong.
The Fx is an impostor with animation. I call this method Mosaic Of Mosaic (MOM). It is sprites, that you can turn around and gives you the impression of 3d (impostor), but that can play animation (sprites sheets). It is an alternative to Houdini’s animation trips. Why doing an alternative? It is because there’s already the Motion Vector sprites sheet in houdini and I use blending motion vectors for the animation. Also, I find them more intuitive, but that’s just a personal tast.
The FX is costly in shader complexity and textures memory. So I don’t know if it has potential to any production work, but it’s cool. It use Unreal Niagara 4.21.0 and the textures were done with Houdini 17. I assemble them in Nuke. I use a distance sorting to provide a 3d effect if you use many particles. This may introduce pop up in the renders. I’m trying to find a clever way to solve that. I was also recommended to “use some sort of octahedral impostors and use fewer slices in time, while introducing procedural high frequency detail in the shade” (by Deathrey).
Enought with the presentation, here it is:
First things first, you have to generate the texture. I used Houdini like most people do. For the lazy ones like me, here are the textures of one quarter of an explosion’s rotation already generated:
textures:
Here is the project. I just copied the folder from the content:
https://drive.google.com/drive/folders/1cWR7zLHOwysgsyJpzE4c_fVo8JGyQixi?usp=sharing
As a bonus, Here my houdini file, if you can open it (HoudinFX 17).
So we have to generate them using a bunch of cameras. The cameras placements are up to you, rotating at the right angle and capturing as much as you can without your subject touching the edges. I named my cameras by angles. I wish I knew how to automated this.
Using a rop_motion_vector, generate motion vectors for all angles from all cameras. A mosaic 8x8 from every angles for 64 frames of animation each.
Then with a rop_texture_sheets, do about the same for the texture. You have to change camera and render folder for every angles.
Then you create a big mosaic of all those mosaic. I have 16 camera creating 2k texture. I assemble them in nuke using a ContacSheet. I create a 4x4 mosaic of those for a final 8k texture. Simply import all your texture in nuke, use a ContactSheet and select it. Shift-Select all your Read nodes in the right order and press Y. Voila, they are all connected. Render them as a big EXR. Do the same for the motion vectors.
As for the shader, I won’t try to explain it here. I’ll just say that it’s simply 2 counters that counts rows and columns, and one is 1 mosaic frame behind. That makes 4 counters (2 rotations phases, 2 animation phases).
The real stuff happens in the UV mix. I use the mosaic size to multiply the UV and have the right size. Then I use the counter to add the right displacement in the UV. This was weeks (years) of trials and errors until I understood the right way to do it.
The counters chooses the right phase and mix the motion vectors, then the rotation blending.
I have an option to add another quarter of a turn mosaic. For now, I just repeat the same texture saturated to know it changed.
In the Niagara System, you’ll be able to see how I implemented the position and size, how I driven the animation via a ramp, and how I set the render sorting with expression and Blueprint.
That’s it. Use as you wish at your how risk. Have fun!
Pierre Lalancette.
Quebec, Canada.
