Greetings. Newbie here. Little bit over month in learning VFX. Looking for some feedback and tips.
So, Here`s nice lil blob I got here.
Effect was made in 4-5 days including all textures, erosion maps, and meshes.
Here`s the final effect:
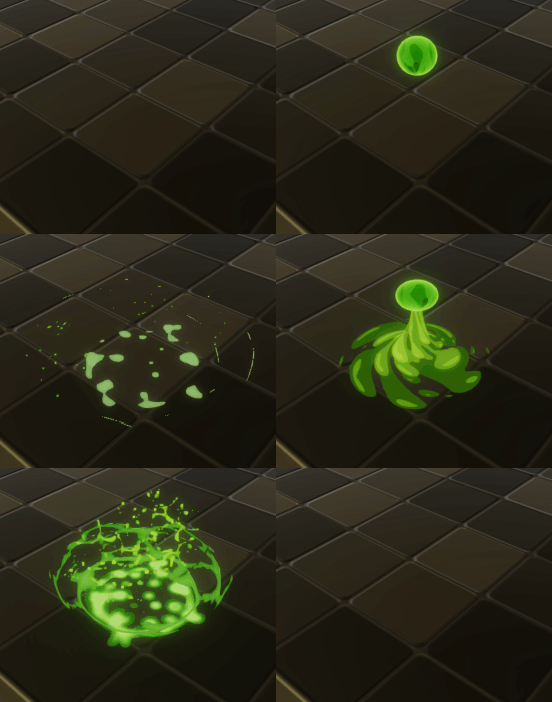
And then step by step how I got to this result.
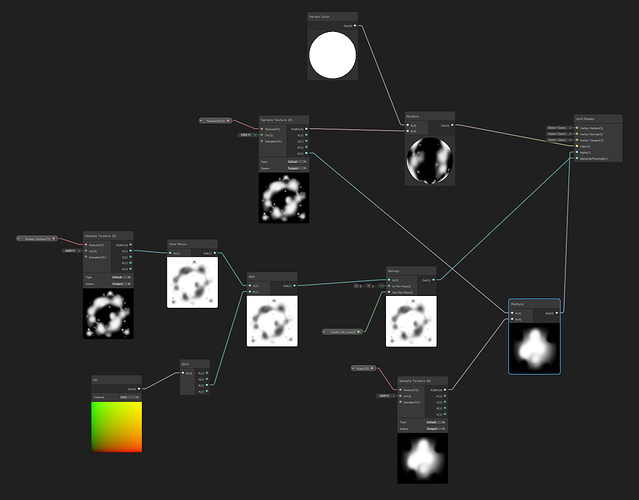
At first, I got this little splash effect, based on this tutorial by Ryan Gatts
https://www.youtube.com/watch?v=PyDLES1zGJs
It`s the first time I tried to work with erosion maps and I think the result is quite good
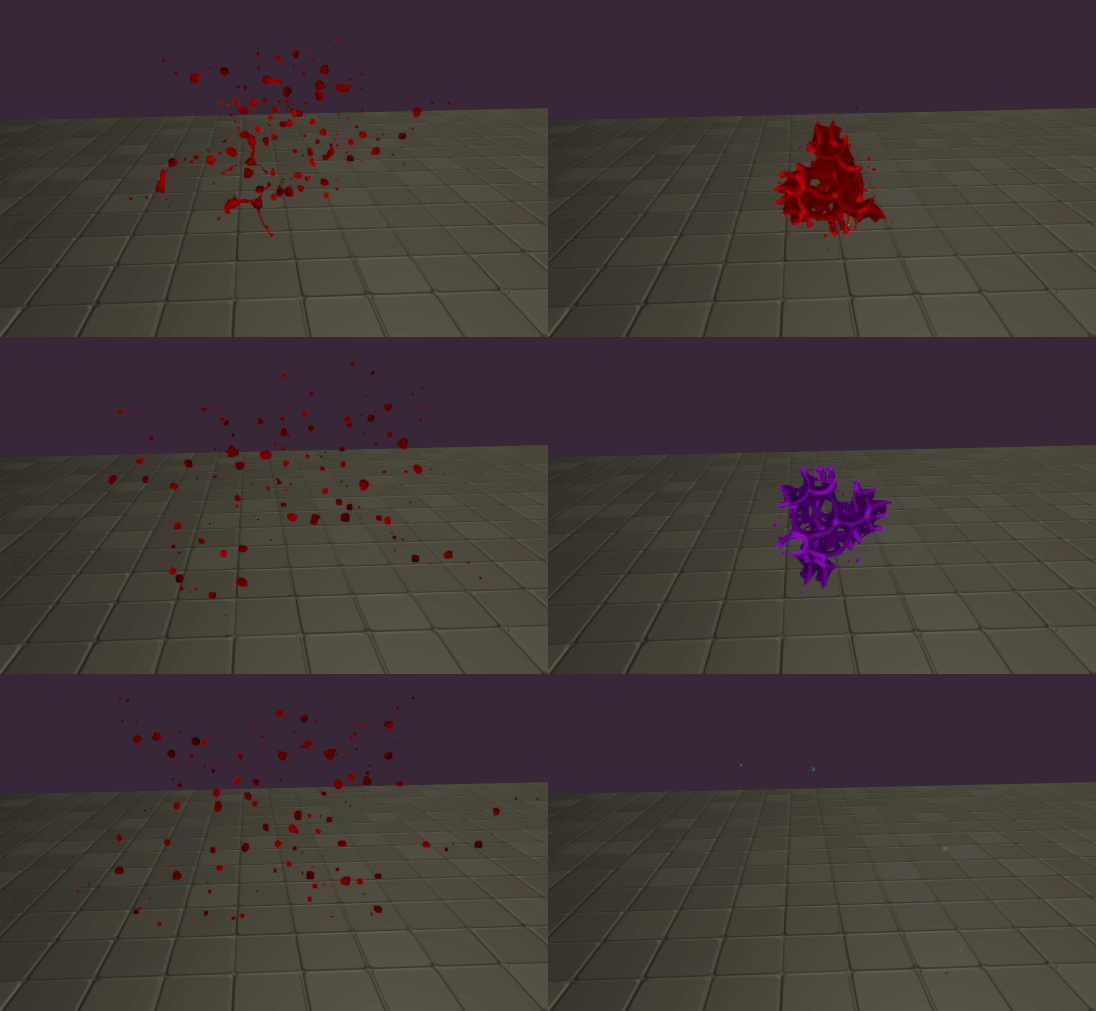
Next I got the idea about this jumping blob with splash
So there is 3 stages:
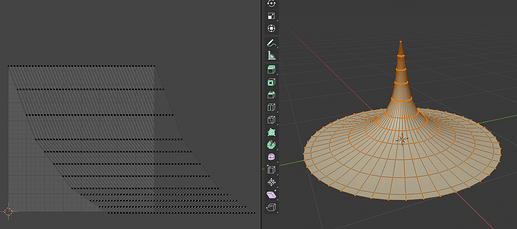
- Gathering liquid. I decided to use UV scroll on the mesh so I needed mesh with something like peak.
- Blob itself. I thought it would be cool to make something like squishy Disney-like blob with “stretch and squash” animation.
- Splash. Decided to use ground decal, another mesh for crown and that blood-like splash.
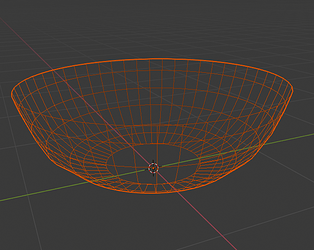
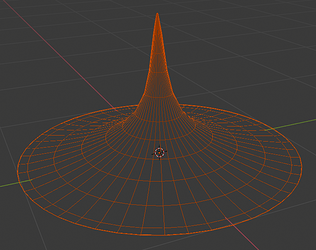
Meshes:
So I made 2 meshes using Blender. One for starting peak and one for outer crown splash.
Both were made from Torus with some faces deleted.
Here`s a draft effect i made to test meshes and define some basic timing
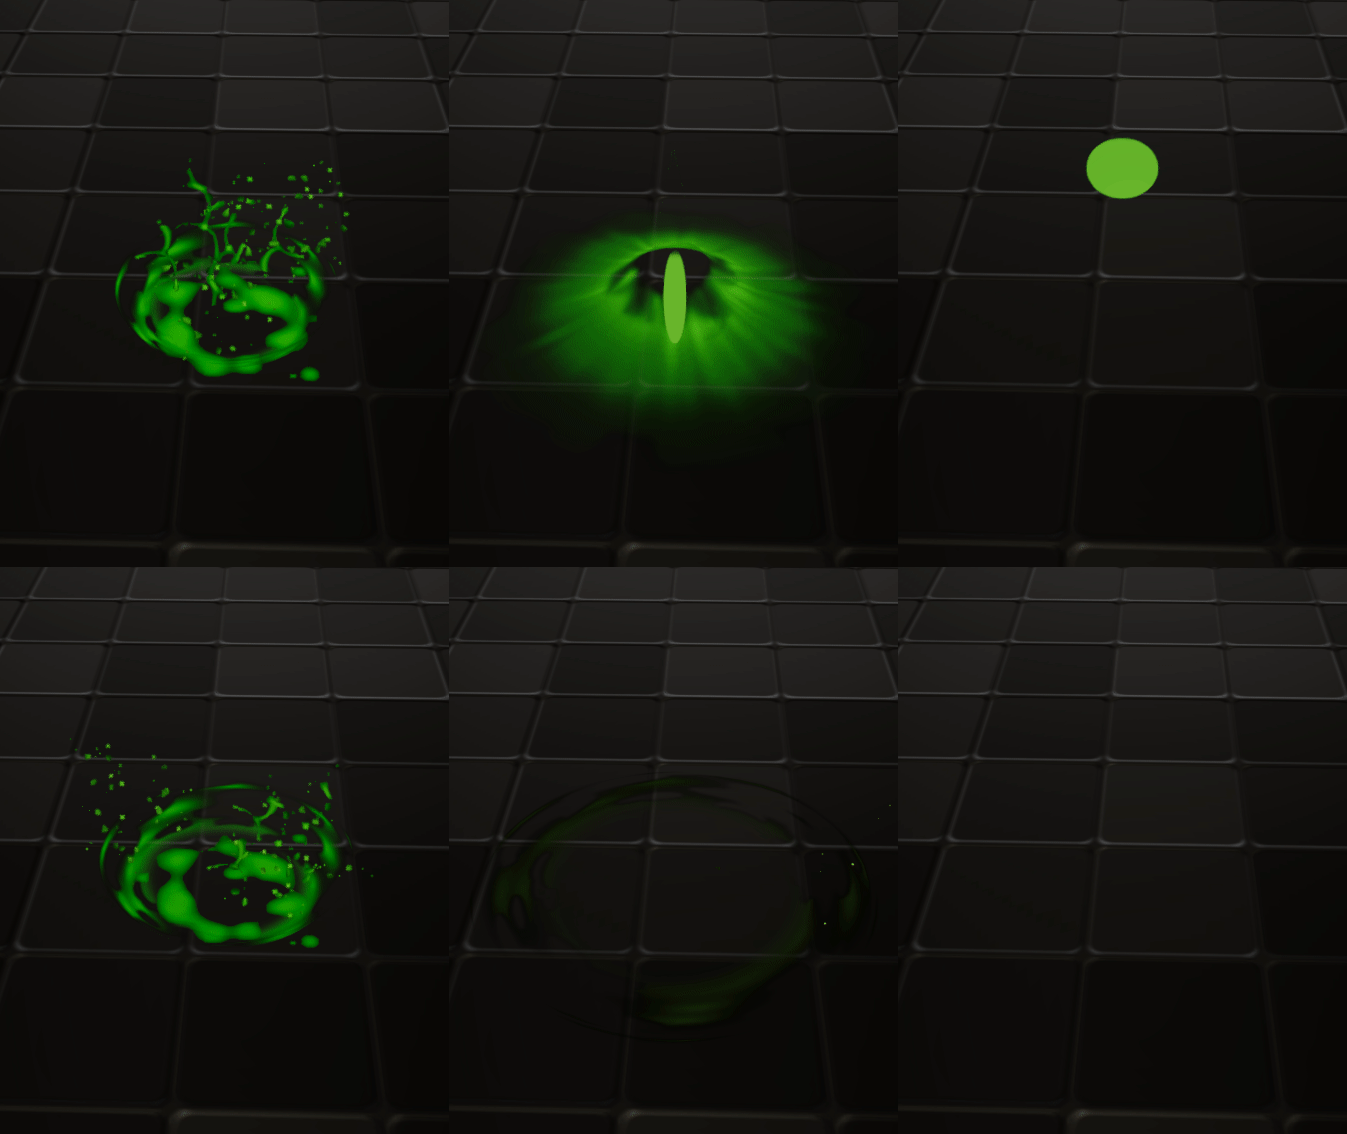
Good.
Peak:
Next one - Texture for the first stage.
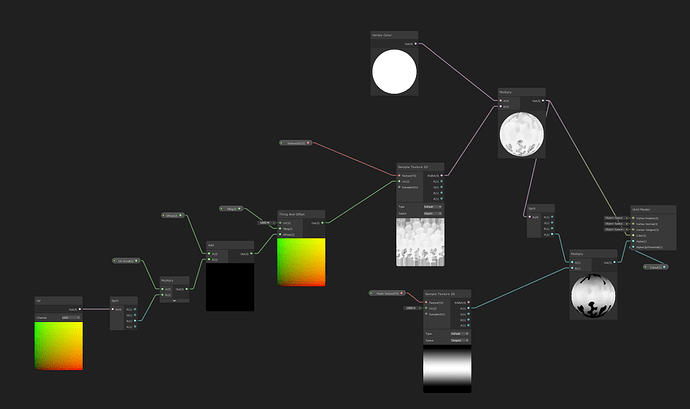
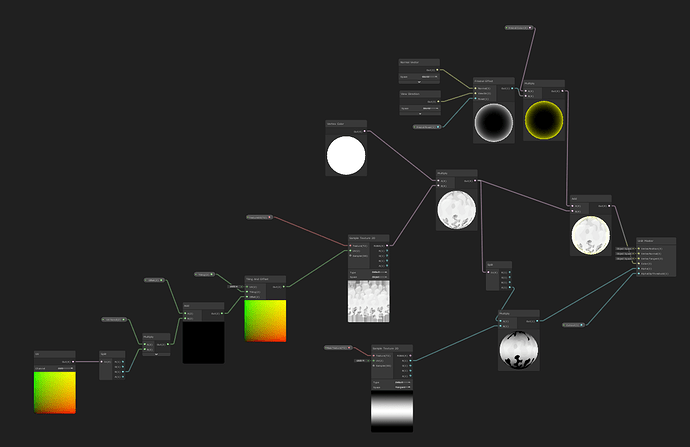
I used Krita to make texture and then UV scrolled it across ‘peak’ mesh to make this liquid gathering effect.
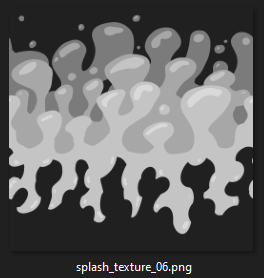
I also twitsted UV map on mesh to make it swirl towards a center
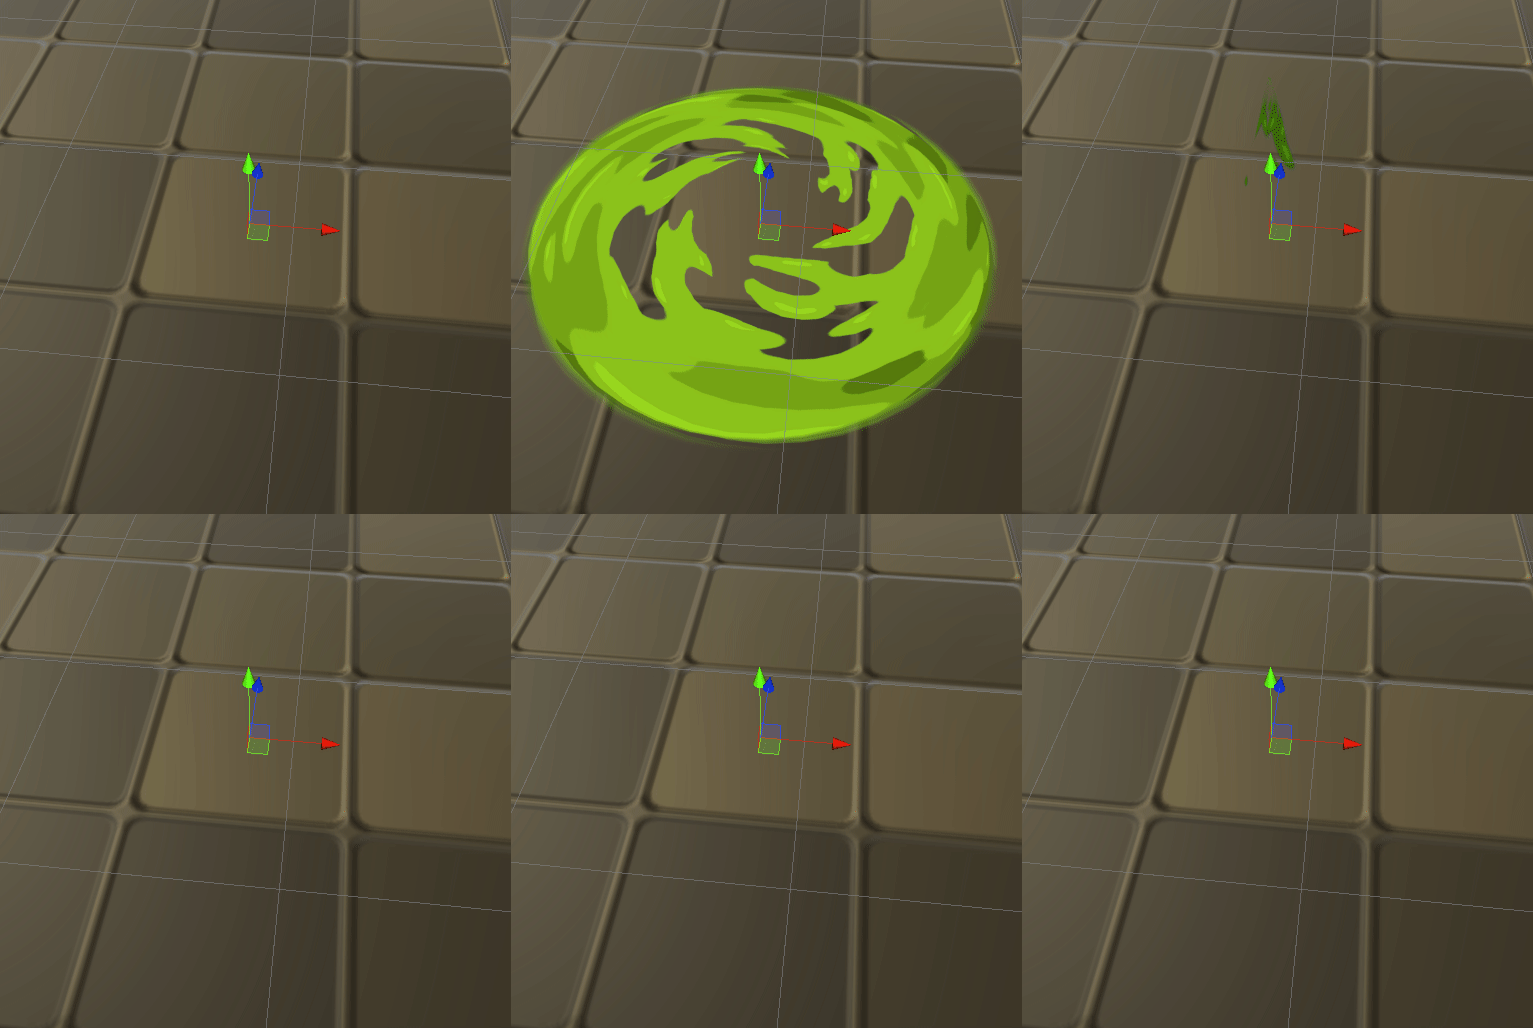
Here is shader pic:
Next, I’ve used the same texture on blob and crown splash to see if it worked there. (left it on the blob in final effect.)
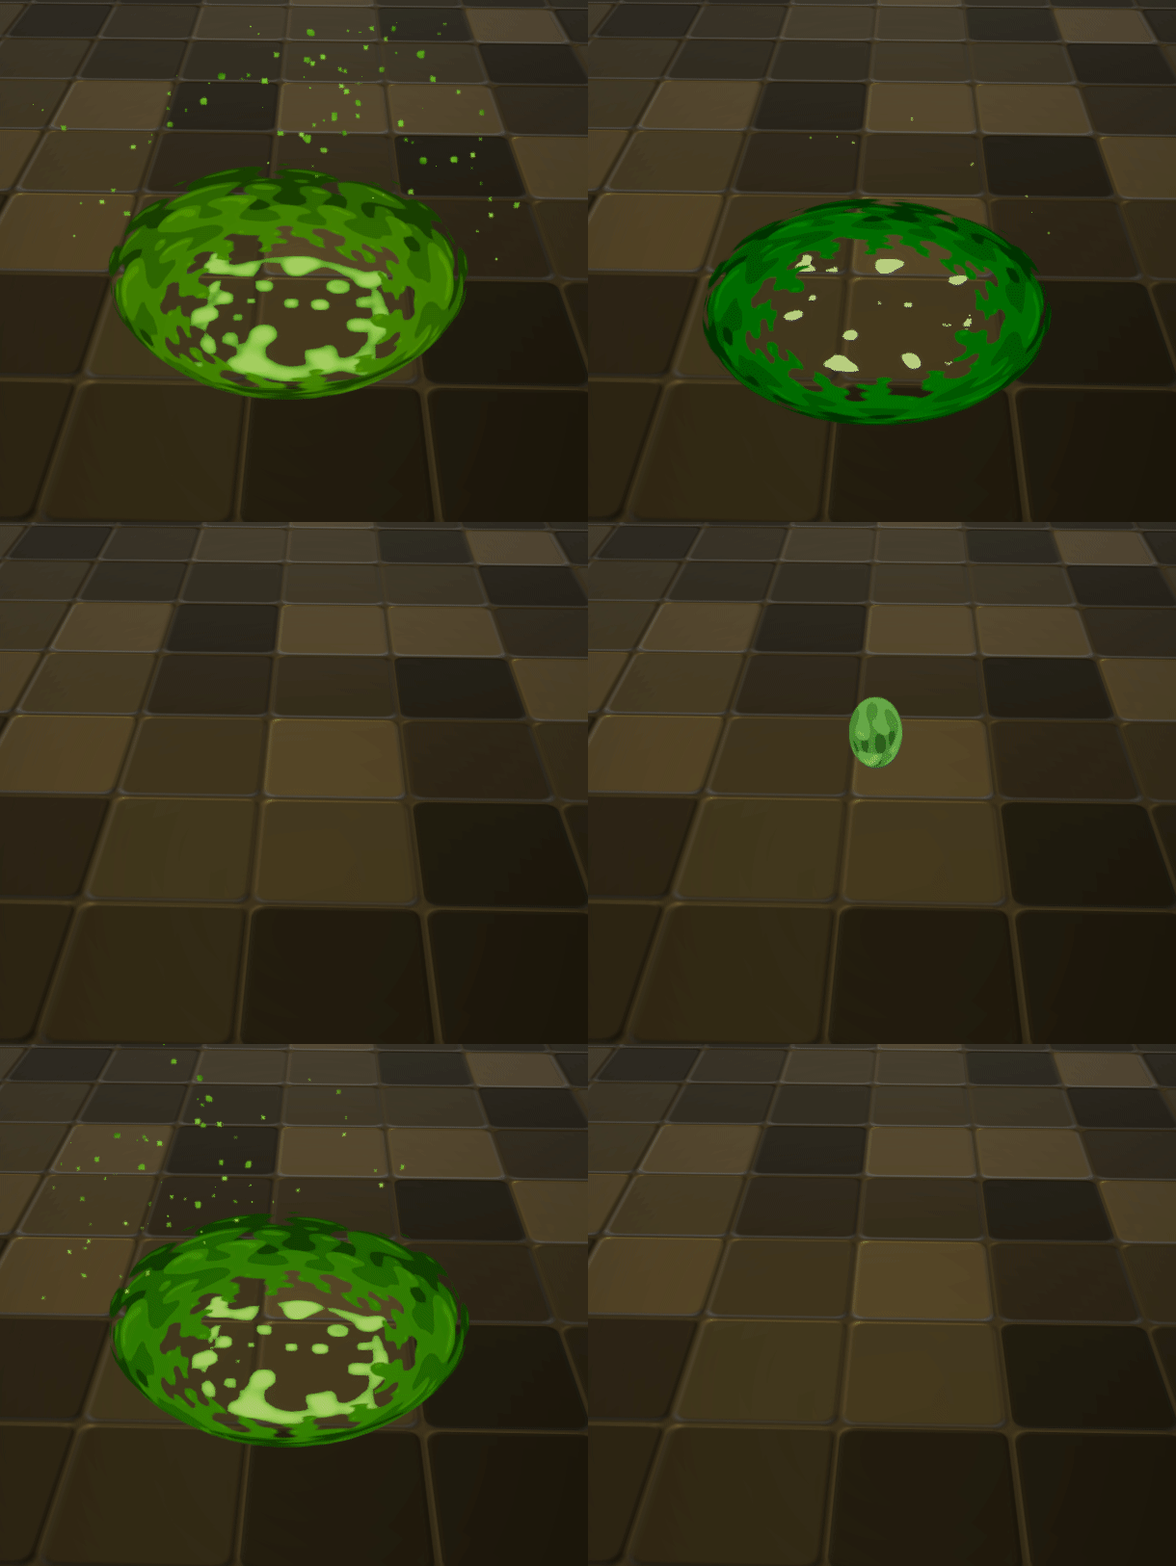
Splash decal:
I`m using the same technique with erosion maps that I’ve used for blood splash. Also, to draw this texture I used a little trick with threshold packs I learned from one guy on twitter https://twitter.com/mahler_matias/status/1238522452050874373
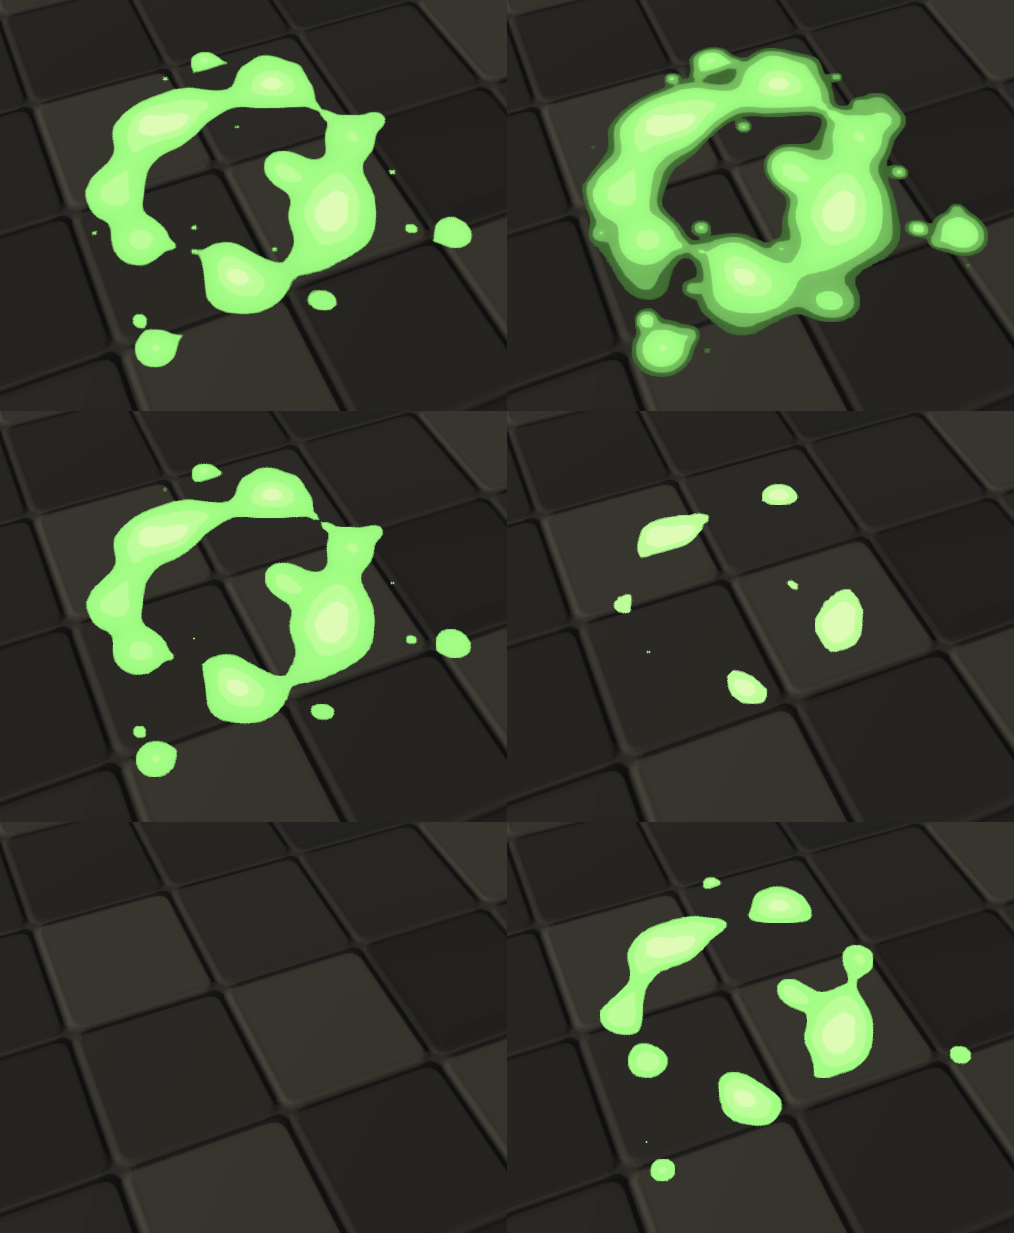
Further, I drew a new texture and made it more rounded.
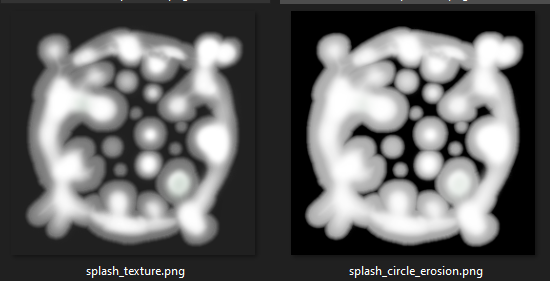
Splash crown:
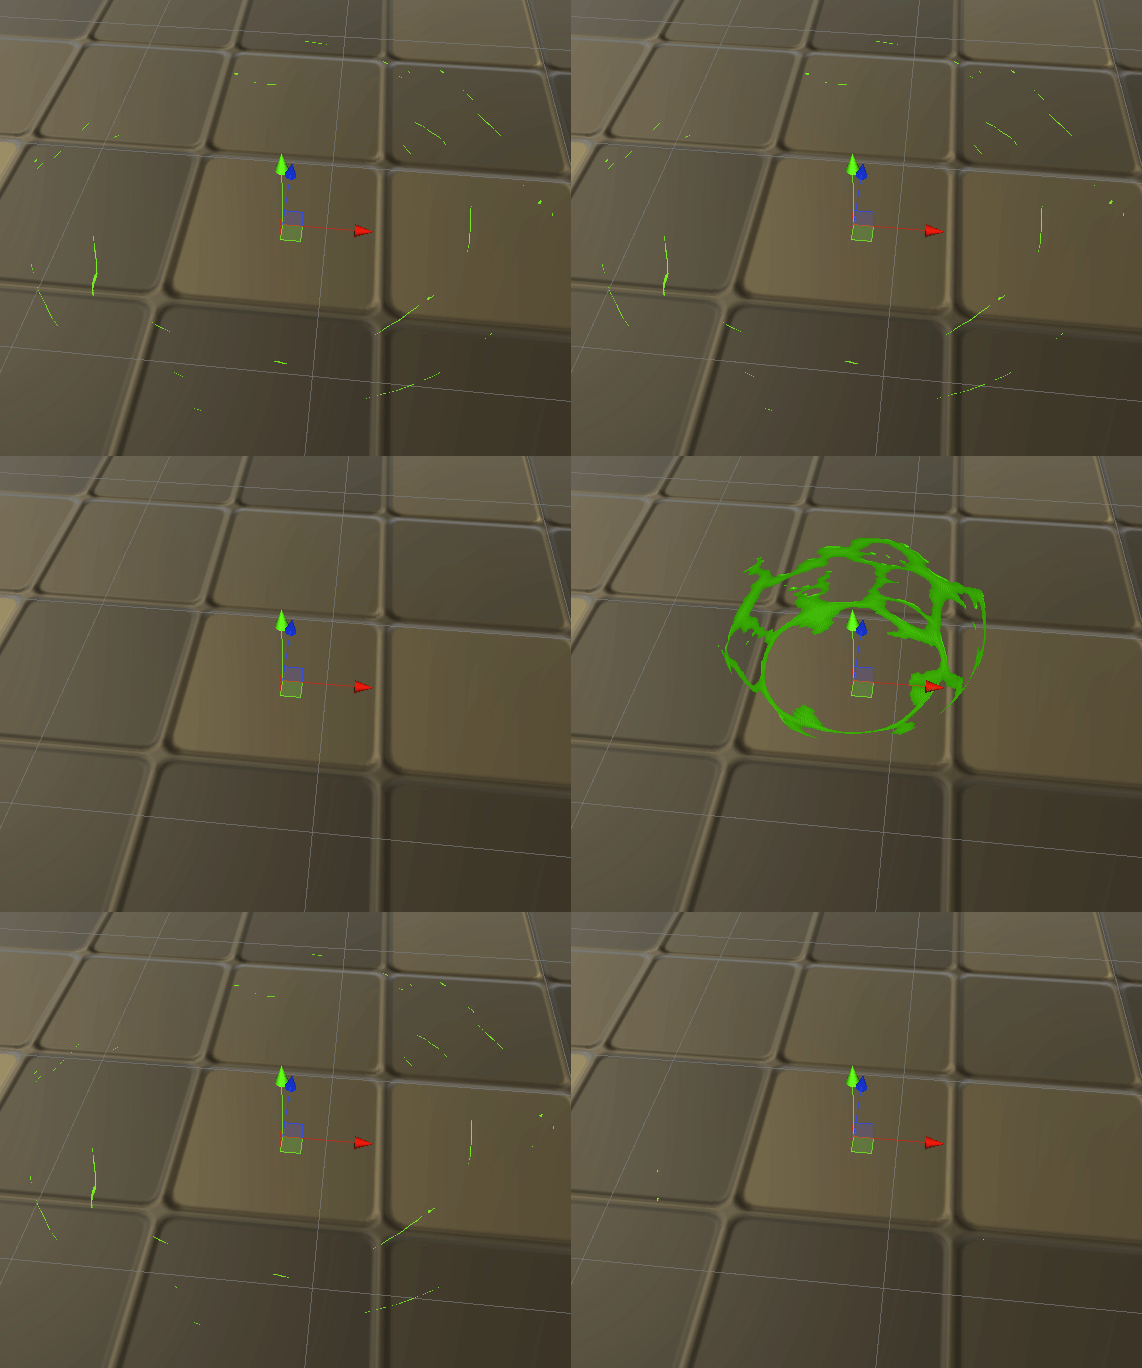
For crown I`ve used second mesh. Drew a new texture in Krita and tried to use it without erosion. It sucked. So I added erosion further in development.
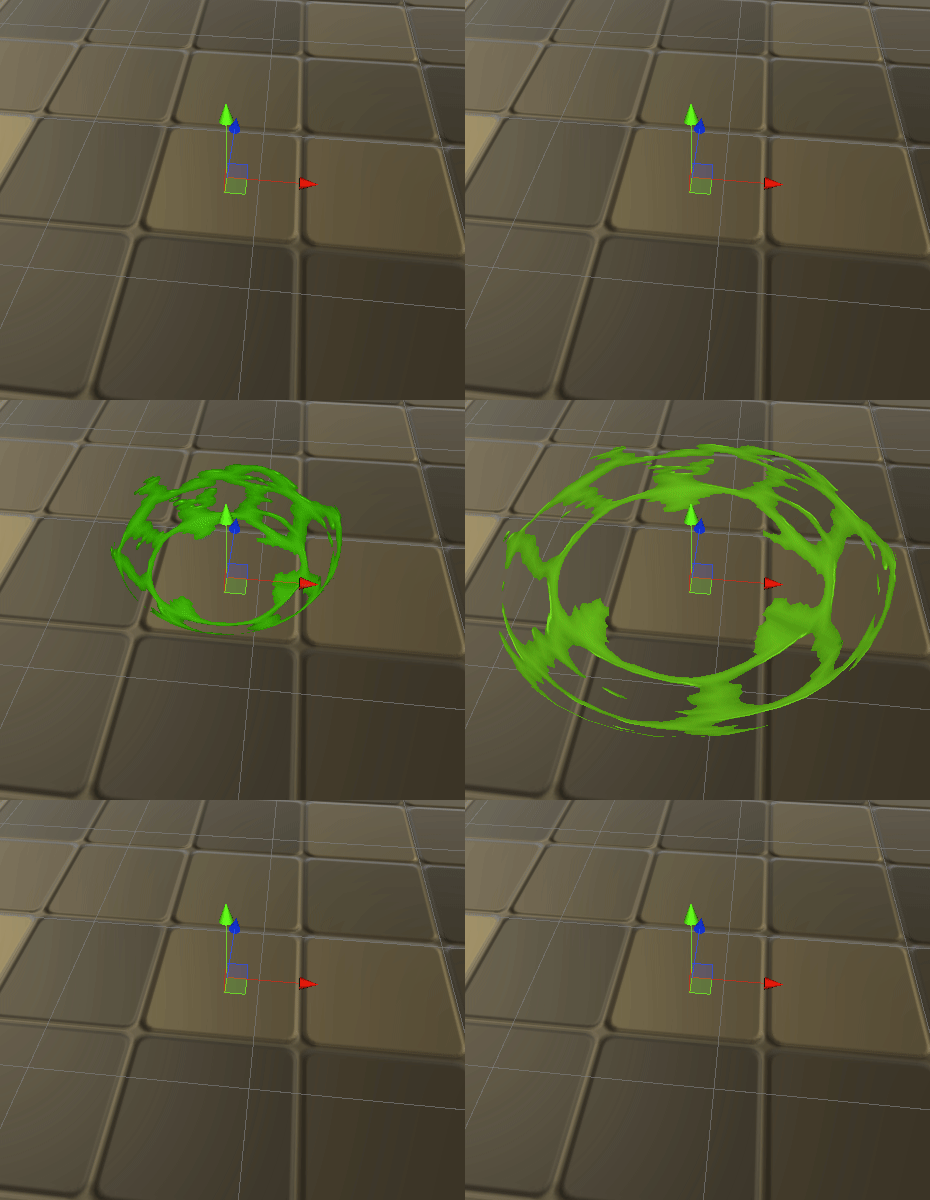
For blob I`ve used the same texture I drew for the peak with some basic fresnel over it.
Stretching and squashing are done using size over lifetime with some custom curves.
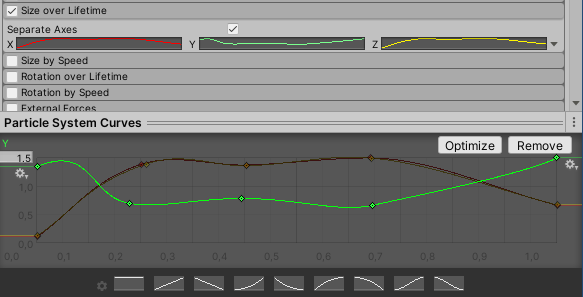
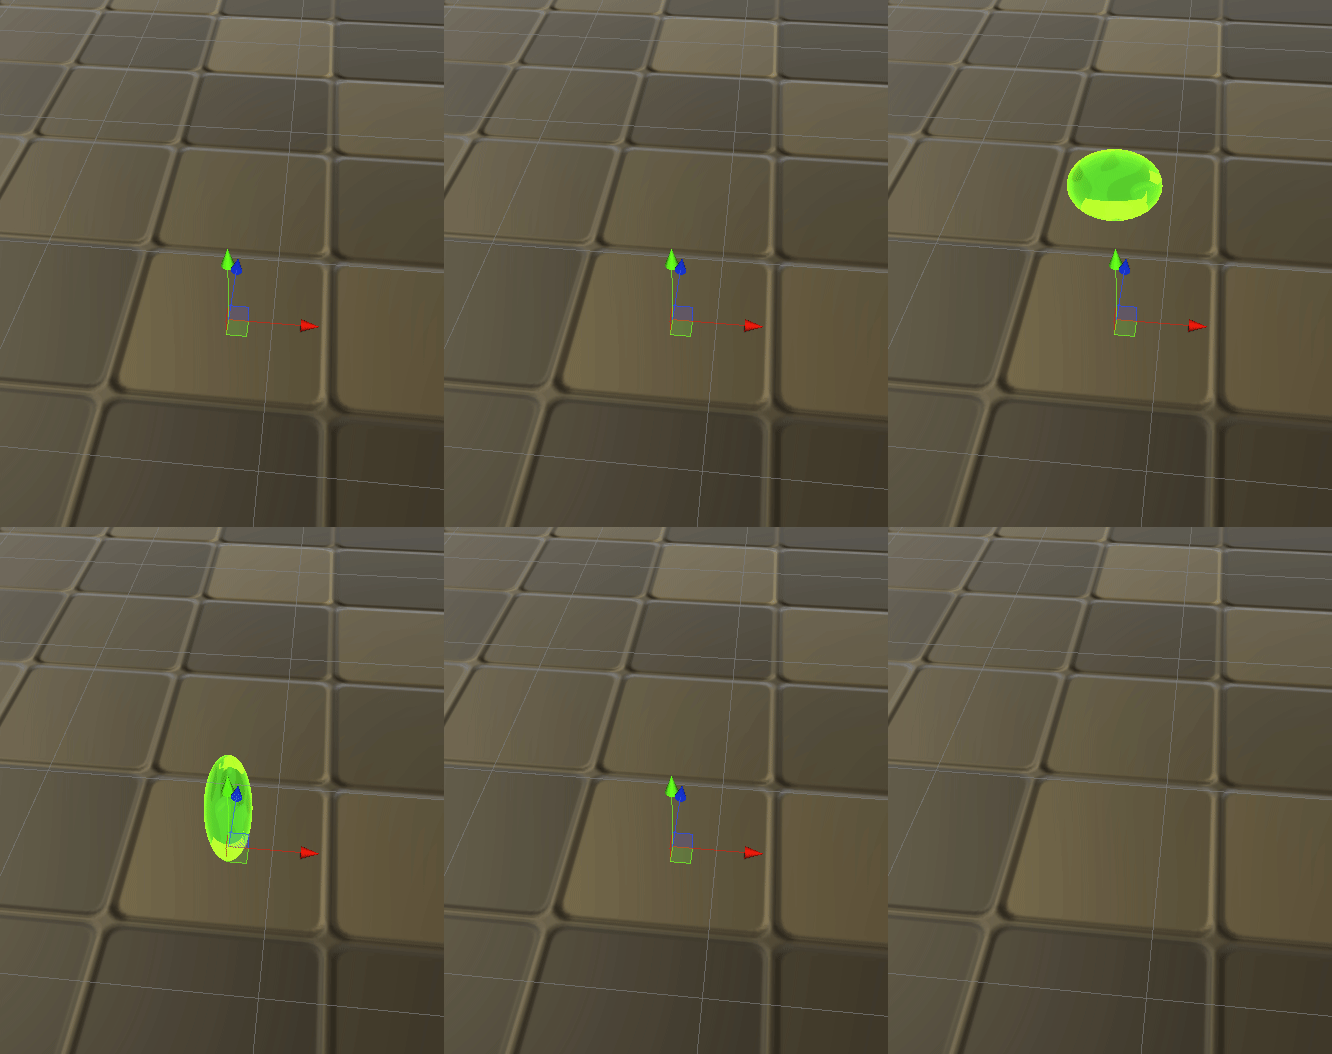
In the end I tweaked some timings and scales, added some rotation to link parts of effect together.
I also added a little bit of post-processing (bloom + tone mapping).
And here`s the final result:

I learned a lot of fun new stuff while making this effect. I hope you liked it.
Looking forward to your feedback. I really want to dive into the community and do more awesome stuff. <3

