Hello !
Finally, I can begin to work on this sketch ! ~Lootboxes~
Update 3 : Shader breakdown is here ! Check below !
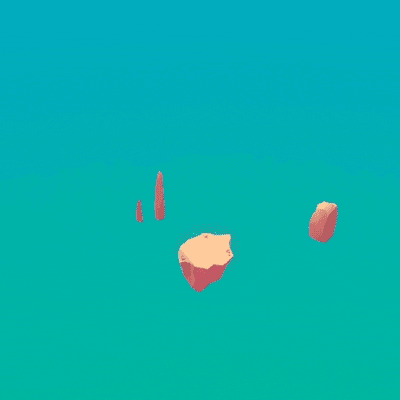
~thumbnail gif~
Here is my final video entry :

boom
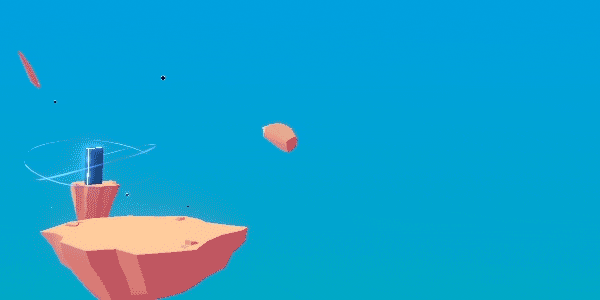
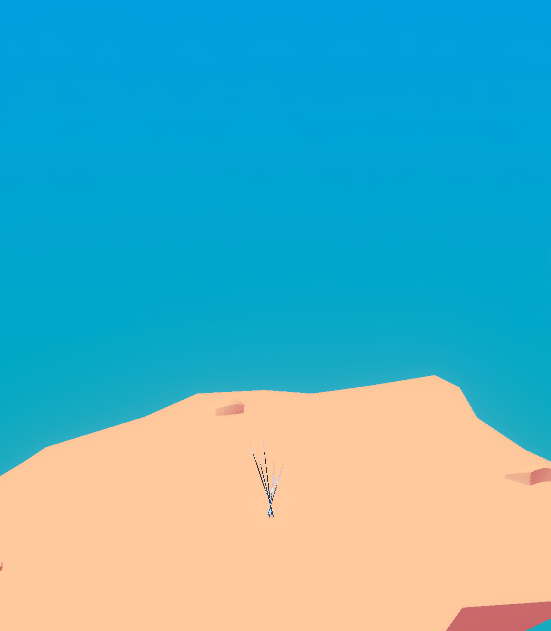
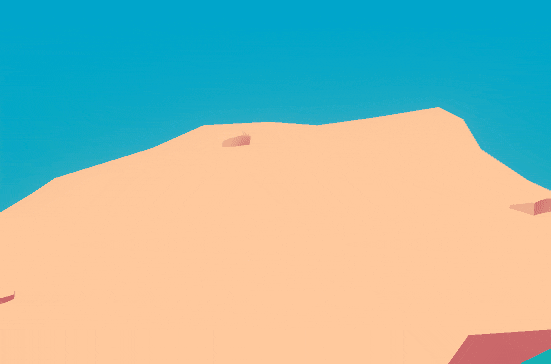
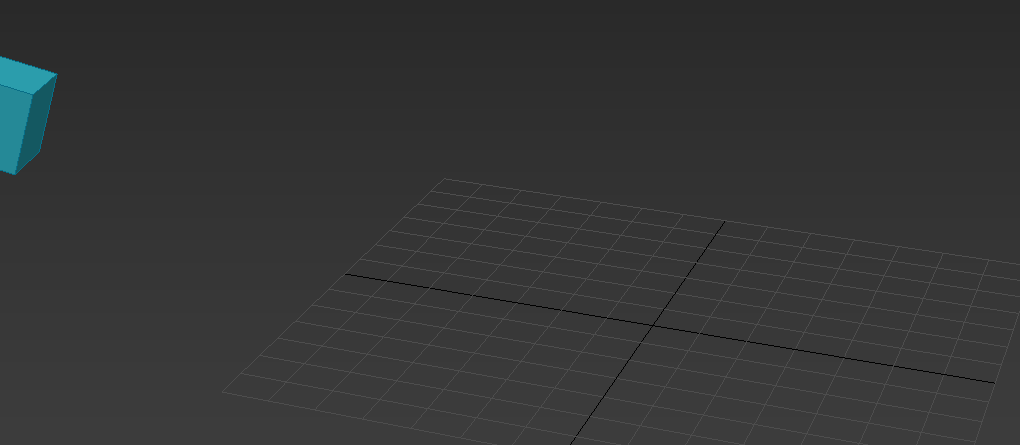
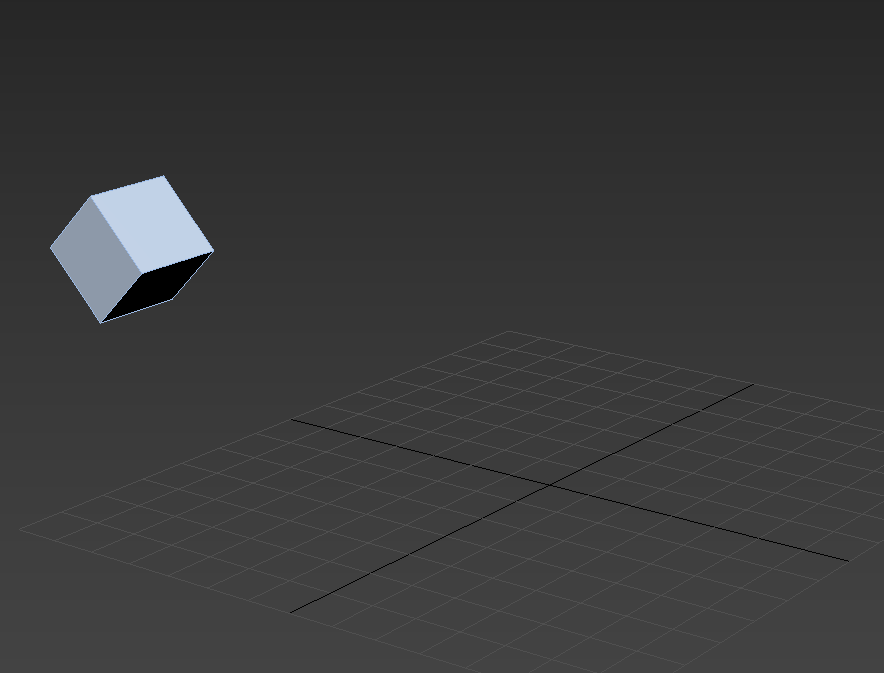
I’ve built the scene and defined the mood of my sketch !
I made a cartoony simple custom lighting shader to build this scene (feels quite empty for now, but I’ll animate the islands, rocks, and add more details)
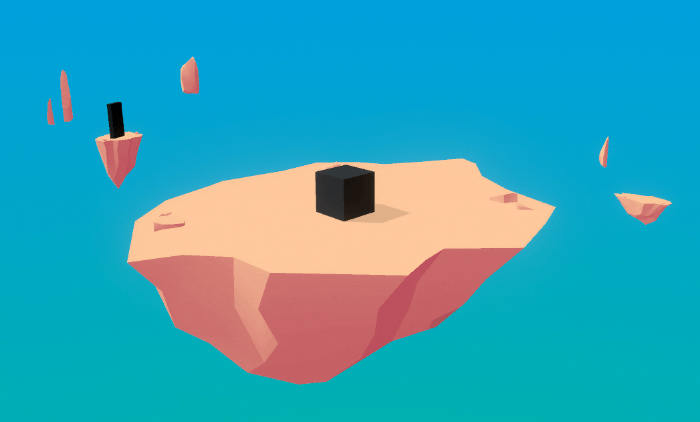
So basically, here’s the plan :

it looks horrible
- There’s a beam falling from the sky, spawning the Monolith on the background island
- The Monoloth charges itself and shoots a high velocity projectile
- The projectile is travelling from the background to the main island (I exactly have the timing for this one in my head, it will be AWESOME)
- The projectile (it’s the lootbox) bounces hardly on the island and stops at the center with some fancy vfx
- The lootbox finishes it’s animation by the opening (I know exactly how I will animate it), with the vfx that are at the top of the post, and other fancy things

So I made the whole shader for my dissolve effects that I will use for the beam/lootbox projectile/grounding/etc :
As the projectile/the lootbox/the Monolith are black, I wanted to have a quite full black VFX, with only shiny edges (color will change, maybe). This way, I can use this kind of dissolve to modify the cube “shape” of the lootbox during it’s animations. I also made a few test particles with this shader :

simple dissolve circles
some burst/explosion, for when the cube will collide with the island; also, the particles will be used in the projectile trail
another burst ![]()
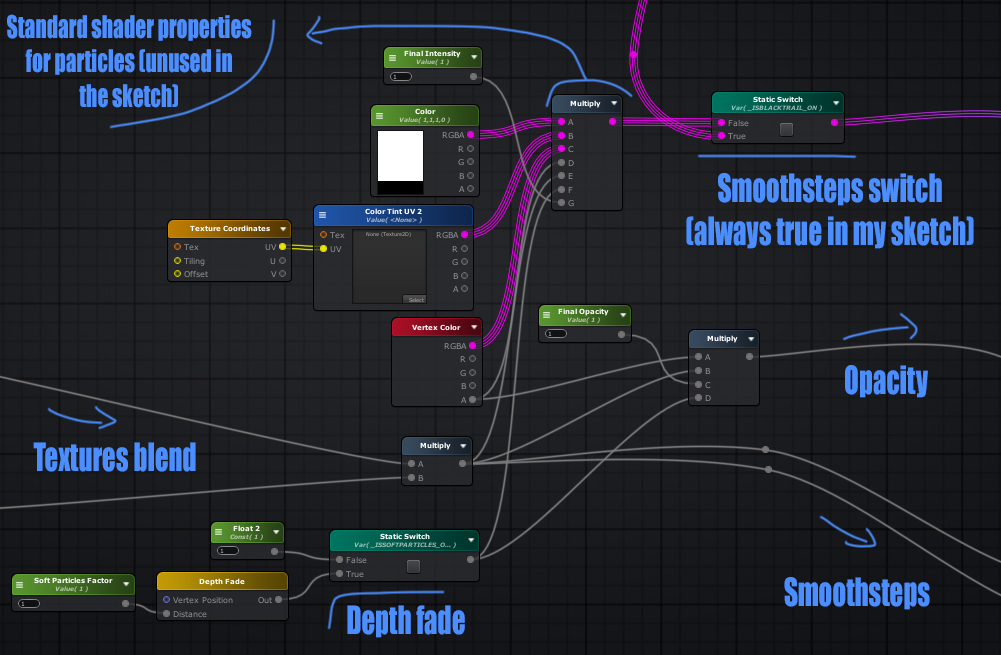
Shader Breakdown
I tried different approaches using steps, smoothsteps and even ramp textures to find something that I like, and here is the one that I used in the end :
-Step 1 : Main textures
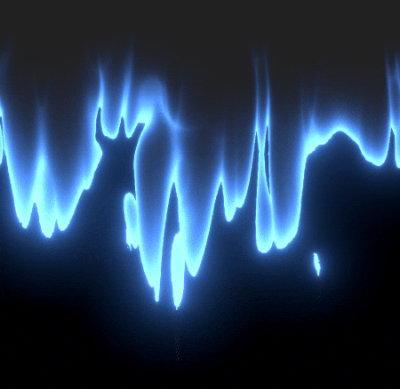
First of all, I have two main textures that are panning at different speeds to give this “liquid/ghost/blend” effect (for my effect it’s basically the same texture with a different tiling)

I’m using a custom stream here that allows me to control the panning of the textures through a curve when I use the shader on a particle system material. Really useful if you want a slowing down or an accelerating panner effect without relying on the level/scene time (and having weird time manipulation artifacts on textures)
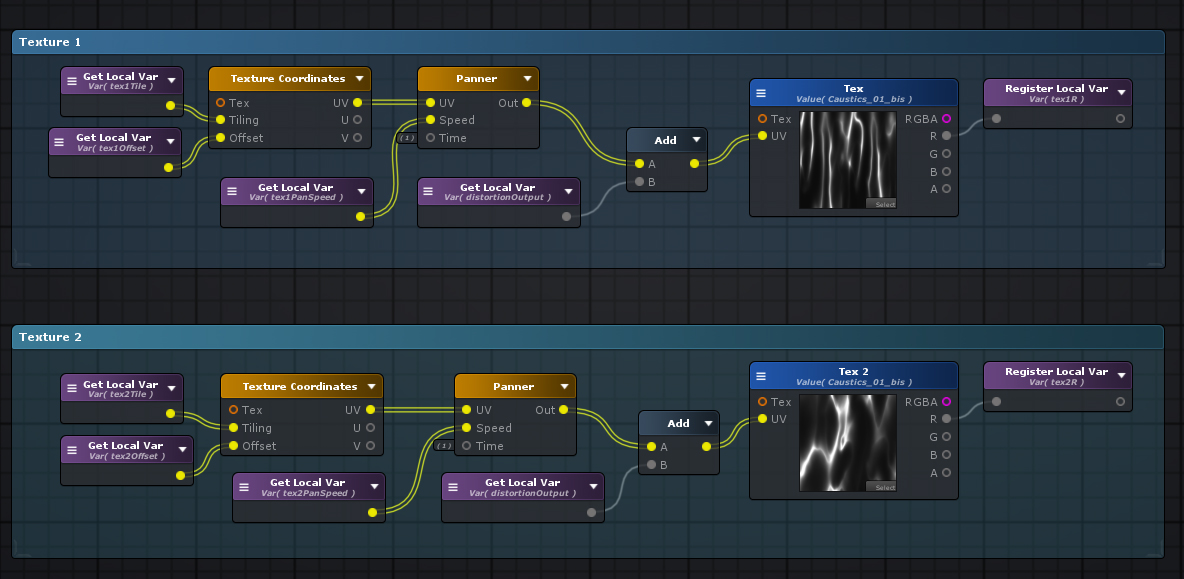
You could use a vertex to fragment node after the panner, just before the “add” node to optimize this by calculating UV work in the vertex shader, but be sure to check if it looks good on your meshes, and if they have enough density.
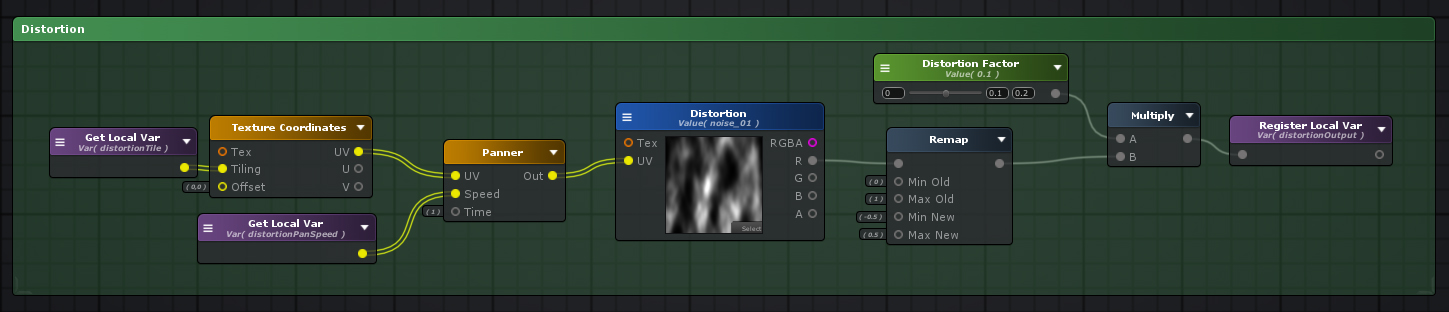
-Step 2 : Distortion
To add life and motion to my flame/liquid/other fluids, I’ll use a simple black & white distortion texture that I remap from [0;1] to [-0.5;0.5] because otherwise it will only distort one one axis (white pixels) and the black pixels will remain static. I add this to my main texture UVs.
-Step 3 : UV2 Mask
Now, I’m blending my two textures together (on the screenshot, I’m using a function that’s allowing me to choose which blend mode I’ll use in the material inspector), and I multiply this with another texture, a mask used with the second UV set; so I can have different UVs for my main textures and this mask.
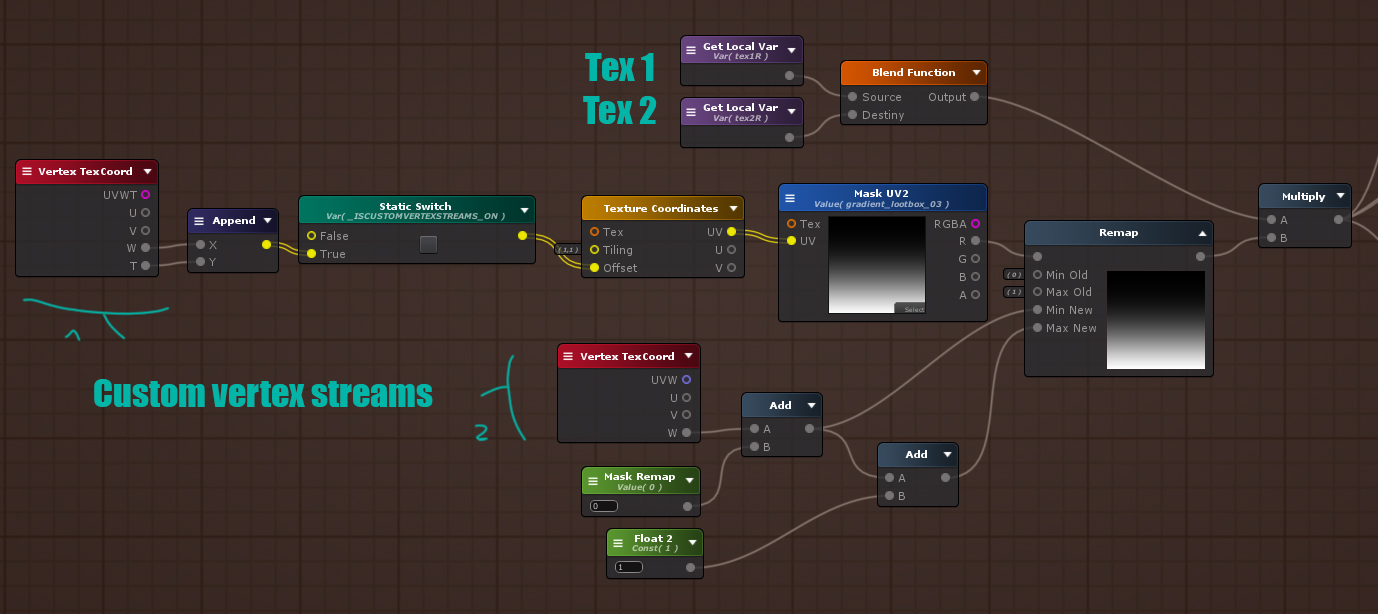
Custom vertex stream (CVS) 1 is allowing me to pan the mask through the particle system curves, as well as CVS 2 is useful to change the final remap of my mask, and I’m mainly using it to make a dissolve effect, with specific masks.
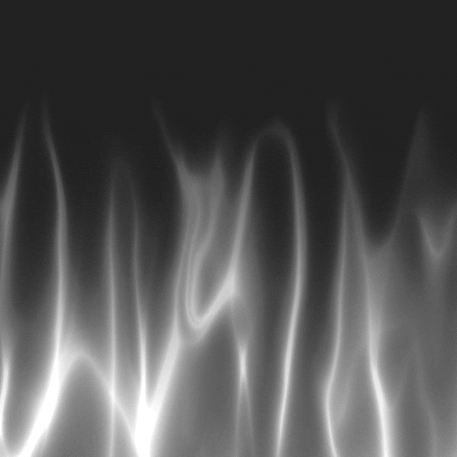
At the end of this step, I have something like this :
-Step 4 : Smoothsteps
So, now I need to create my “blue edge” mask. I’ll take my masked textures, and will do two smoothsteps.

The Smoothstep 1 is only useful to boost the intensity of my edge (as it will directly affect the basic input of my masked textures), while the Smoothstep 2 is by far the most important, as it will define the mask for the black area and the edges. With it’s both values set to 0.92, it looks like this :

If I play with the Smoothstep 2 values, I can have a smoother, thinner or thicker border. After this, I just need to tweak the intensity via the first Smoothstep, and the color of my border. That’s it ! 100% of the sketch effects were done with this shader or an additive variant, with some more nodes such as Depth fade (for geometry blending), Fresnel, Vertex color data, etc.
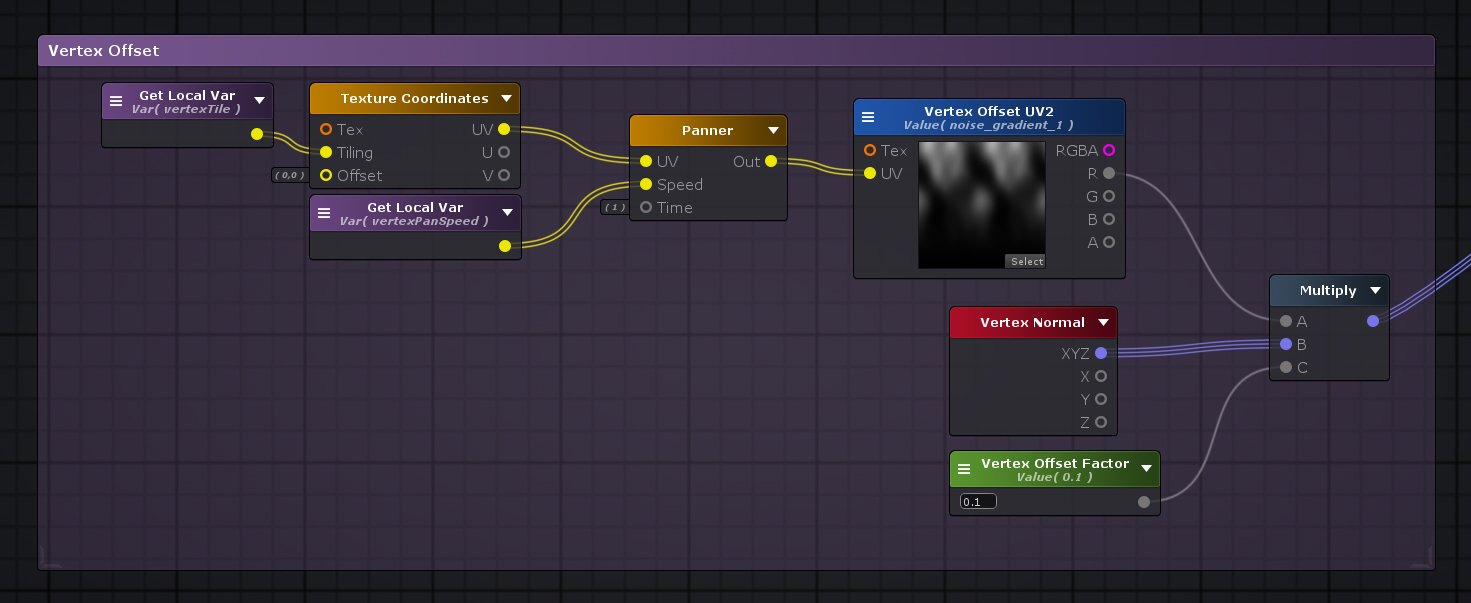
-Bonus Step : Vertex offset
On some 3D meshes/VFX, I’ll use vertex offset to make more organic shapes. This is a really simple setup, as shown below :
Don’t hesitate if you have any questions regarding the breakdown, or if there is something that I need to explain better ! ![]()
Old gifs :
First shader iteration

Some gradient tests
I freaking love squash and stretch !
As always, don’t hesitate if you have any questions !
Thanks for reading ![]()