I’m just going through the thread to get all the major content in the first post.
The final effect has now been finished:
Hi Everyone,
I was really excited to see a sketch that let me ditch half my workflow. I needed some good hit effects so I’m doing beams. But I’m stretching the definition of beams by a lot! Heres the concept sketches:
The Klenman:
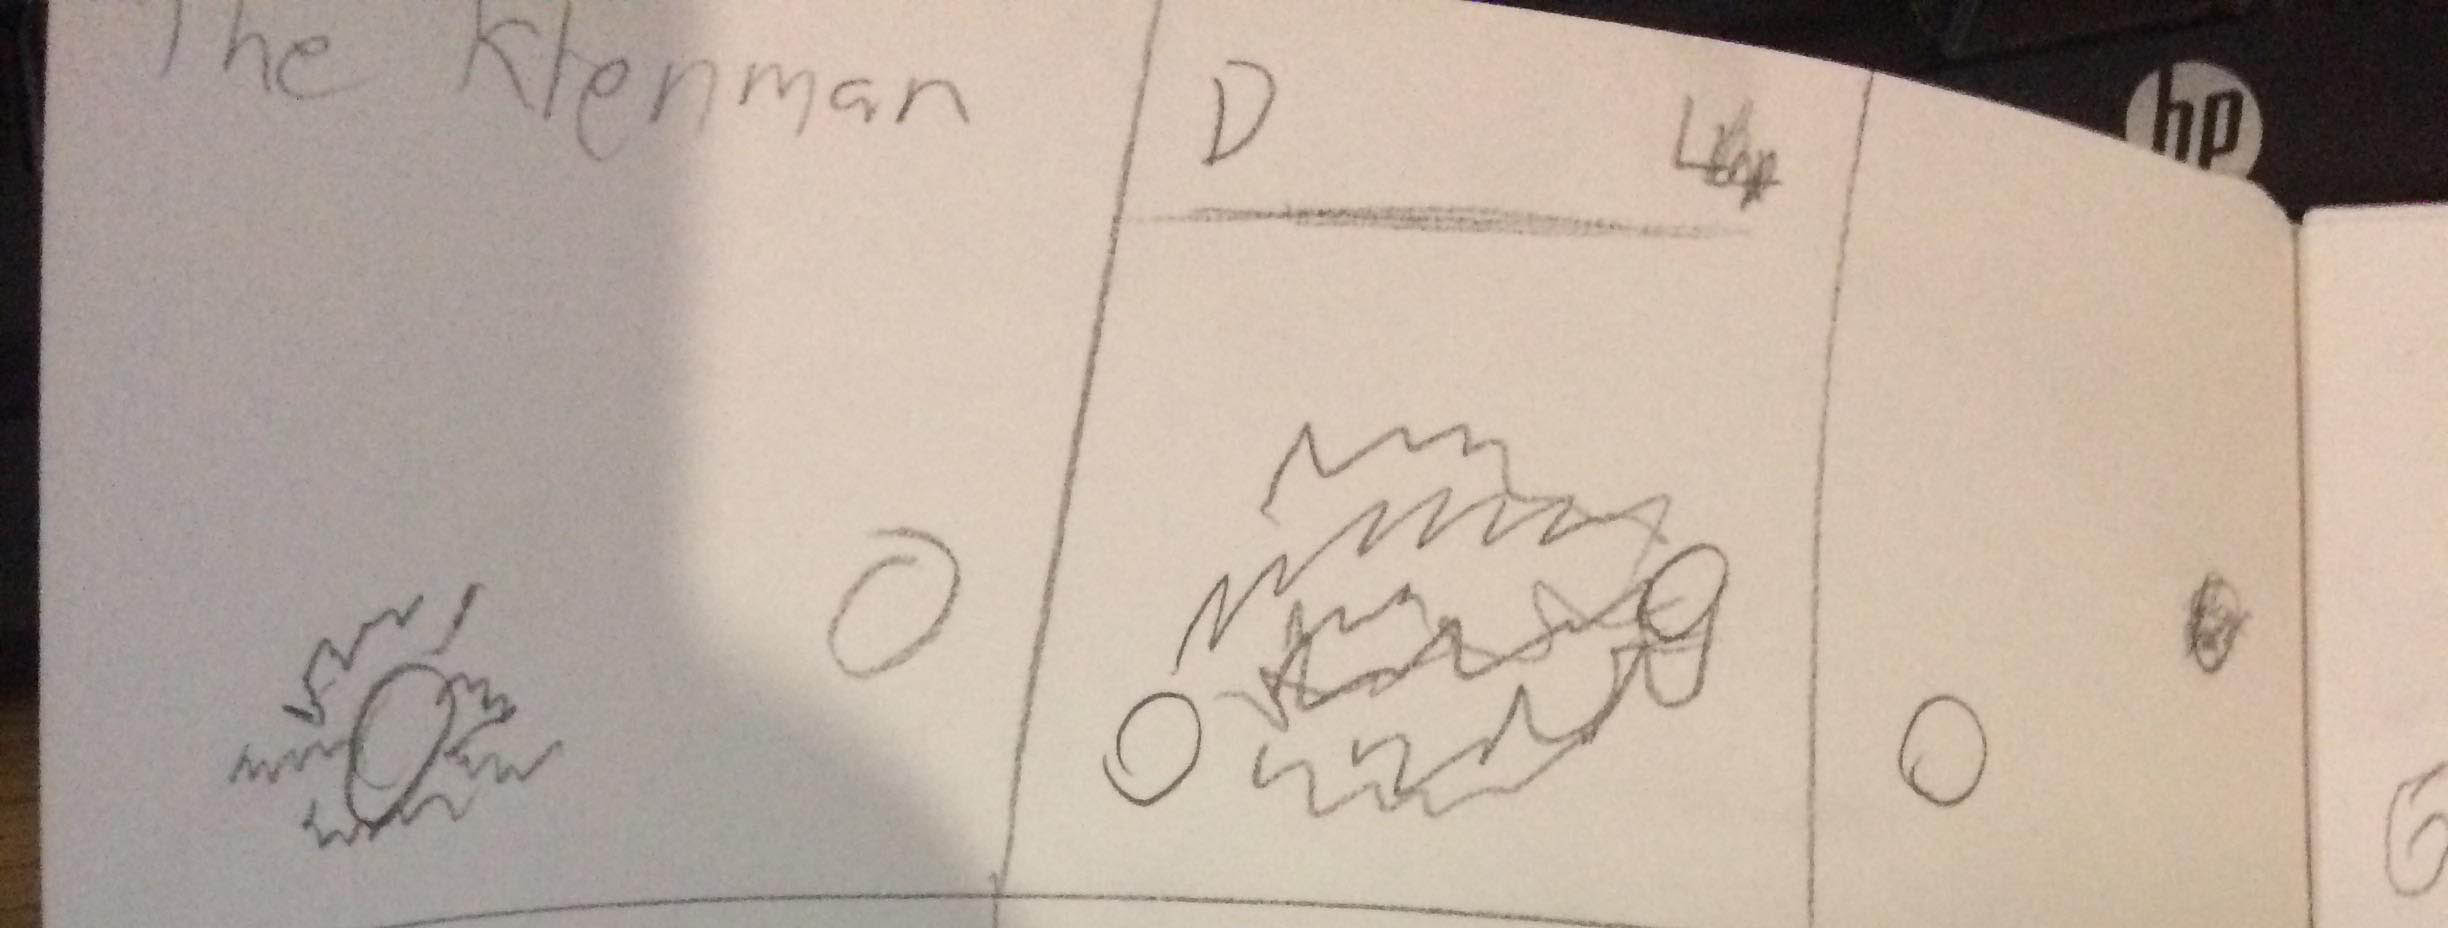
Named so because I’m “drawing inspiration” from a bunch of his tutorials [here] (https://twitter.com/i/moments/1065646095093526528) The summon and the beam are both going to be mesh flipbooks and I’m going to use that bump offset pixel cull to use an electric damage effect.
This one is using mesh flipbooks for the arcs, and a projected stencil buffer decal for the damage.
The Whips are beams too
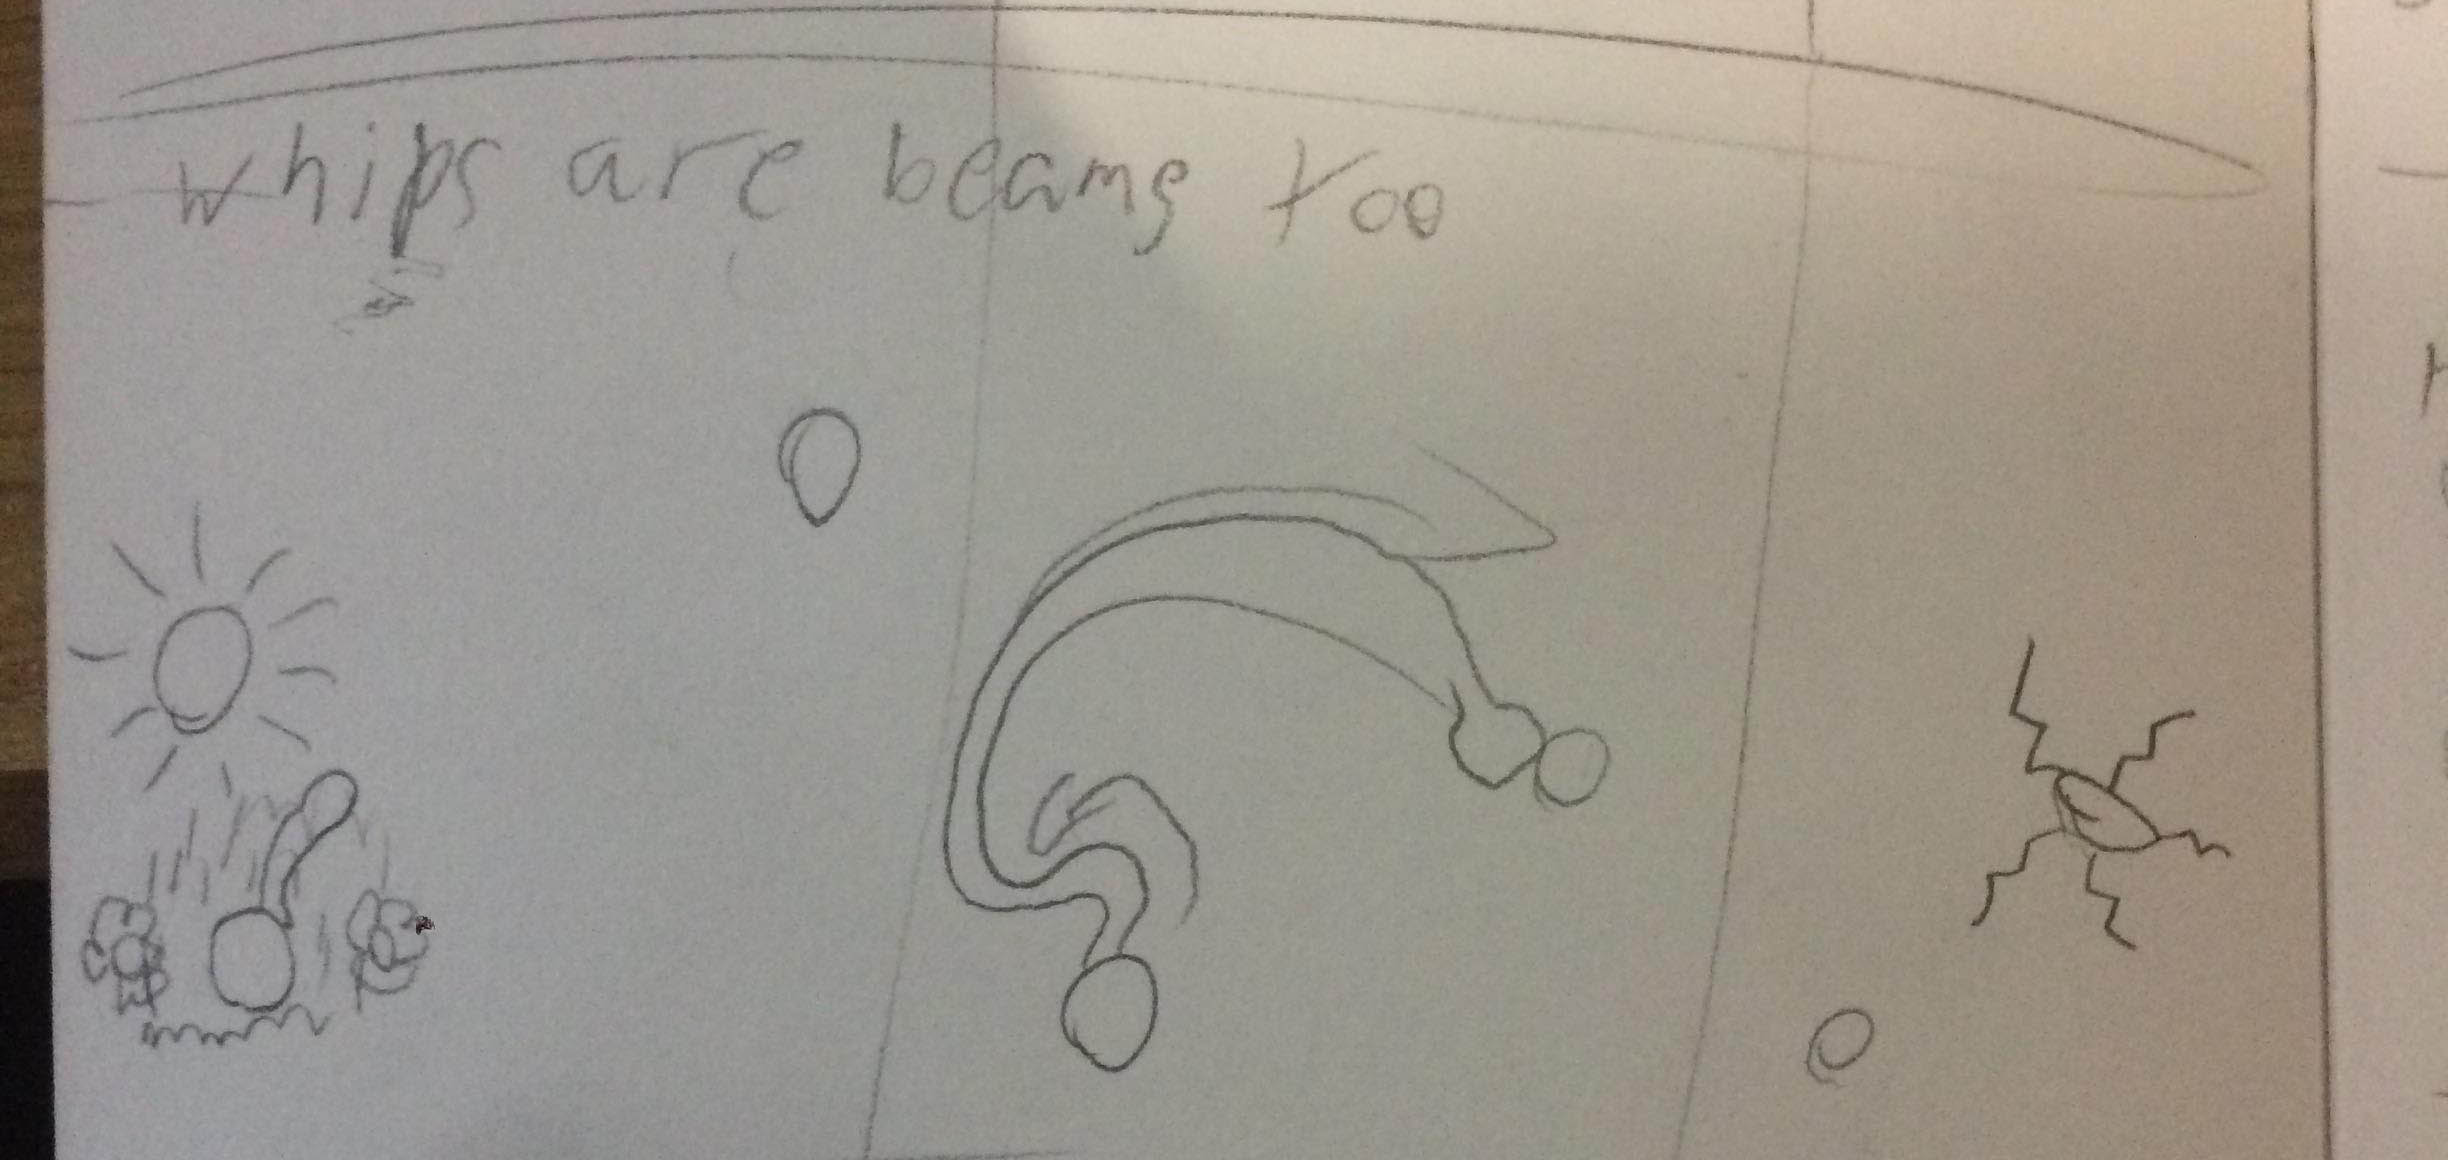
This is where things start getting wild, I’m going to make a little flower grow in a spring scene then using a VAT texture I’m going to make it whip the target. Since it’s a mass connecting too points it counts as a beam… Hopefully.
This uses smoothstep on gradients to spawn in the cloud and sun and a VAT texture to whip the vine.
The Meltaray
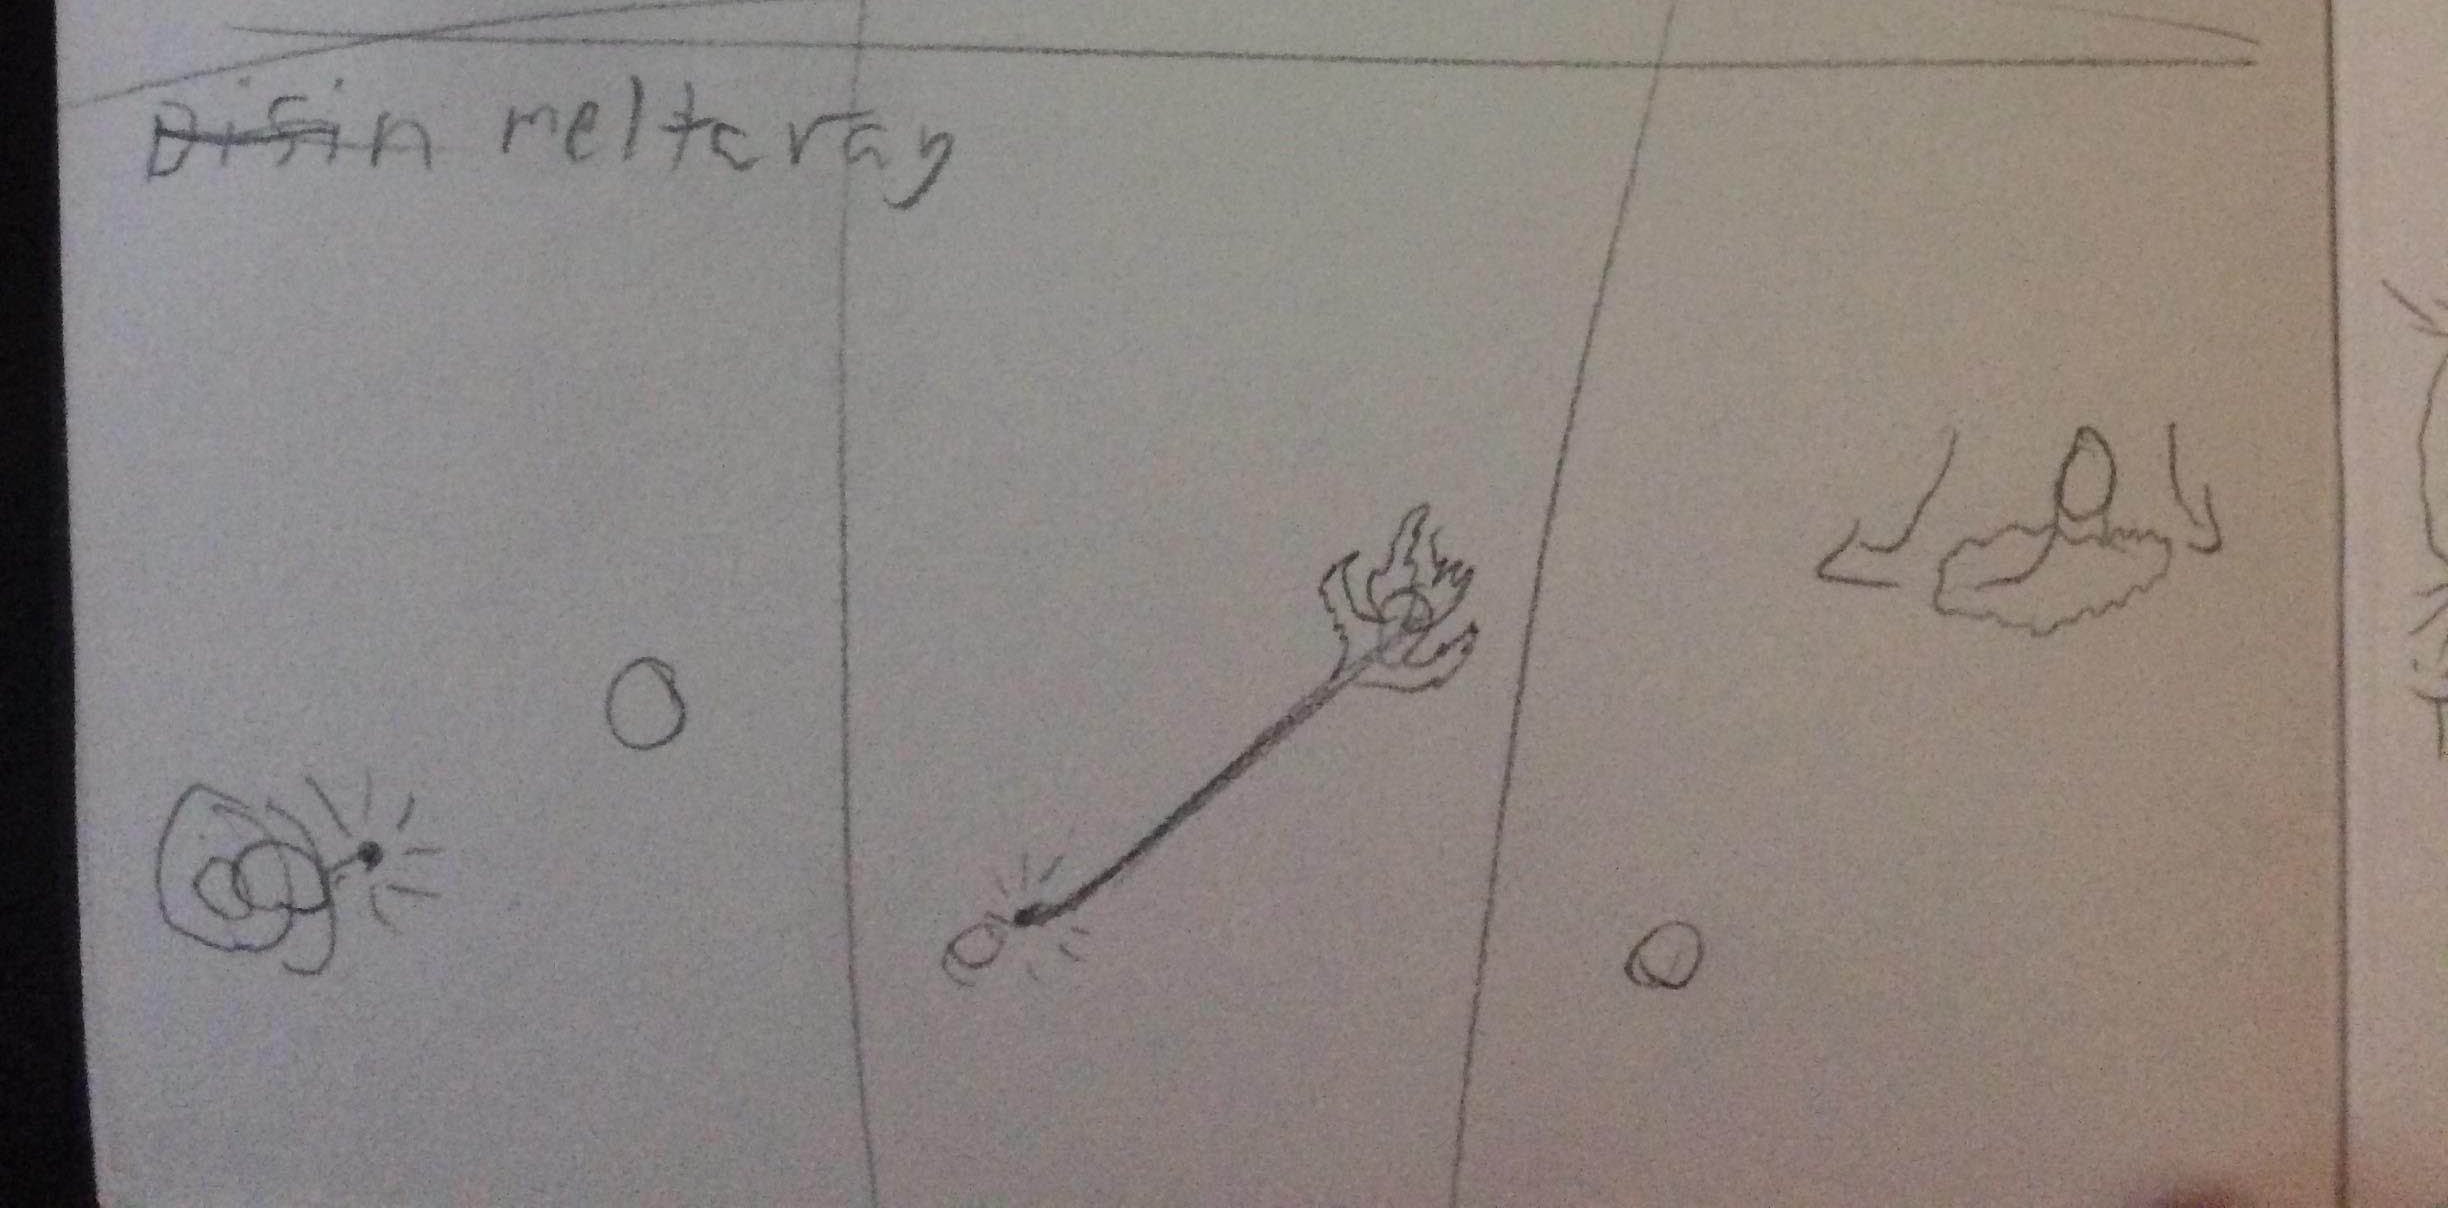
This ones a little more tame, I’m going to lean on mesh particles for it, rather than the ue4 beam and melt the sphere as a reaction.
Nothing too complex going on with this one melting is controlled via VAT and the rest is just meshes. It really needs an impact effect though.
The Jetwash
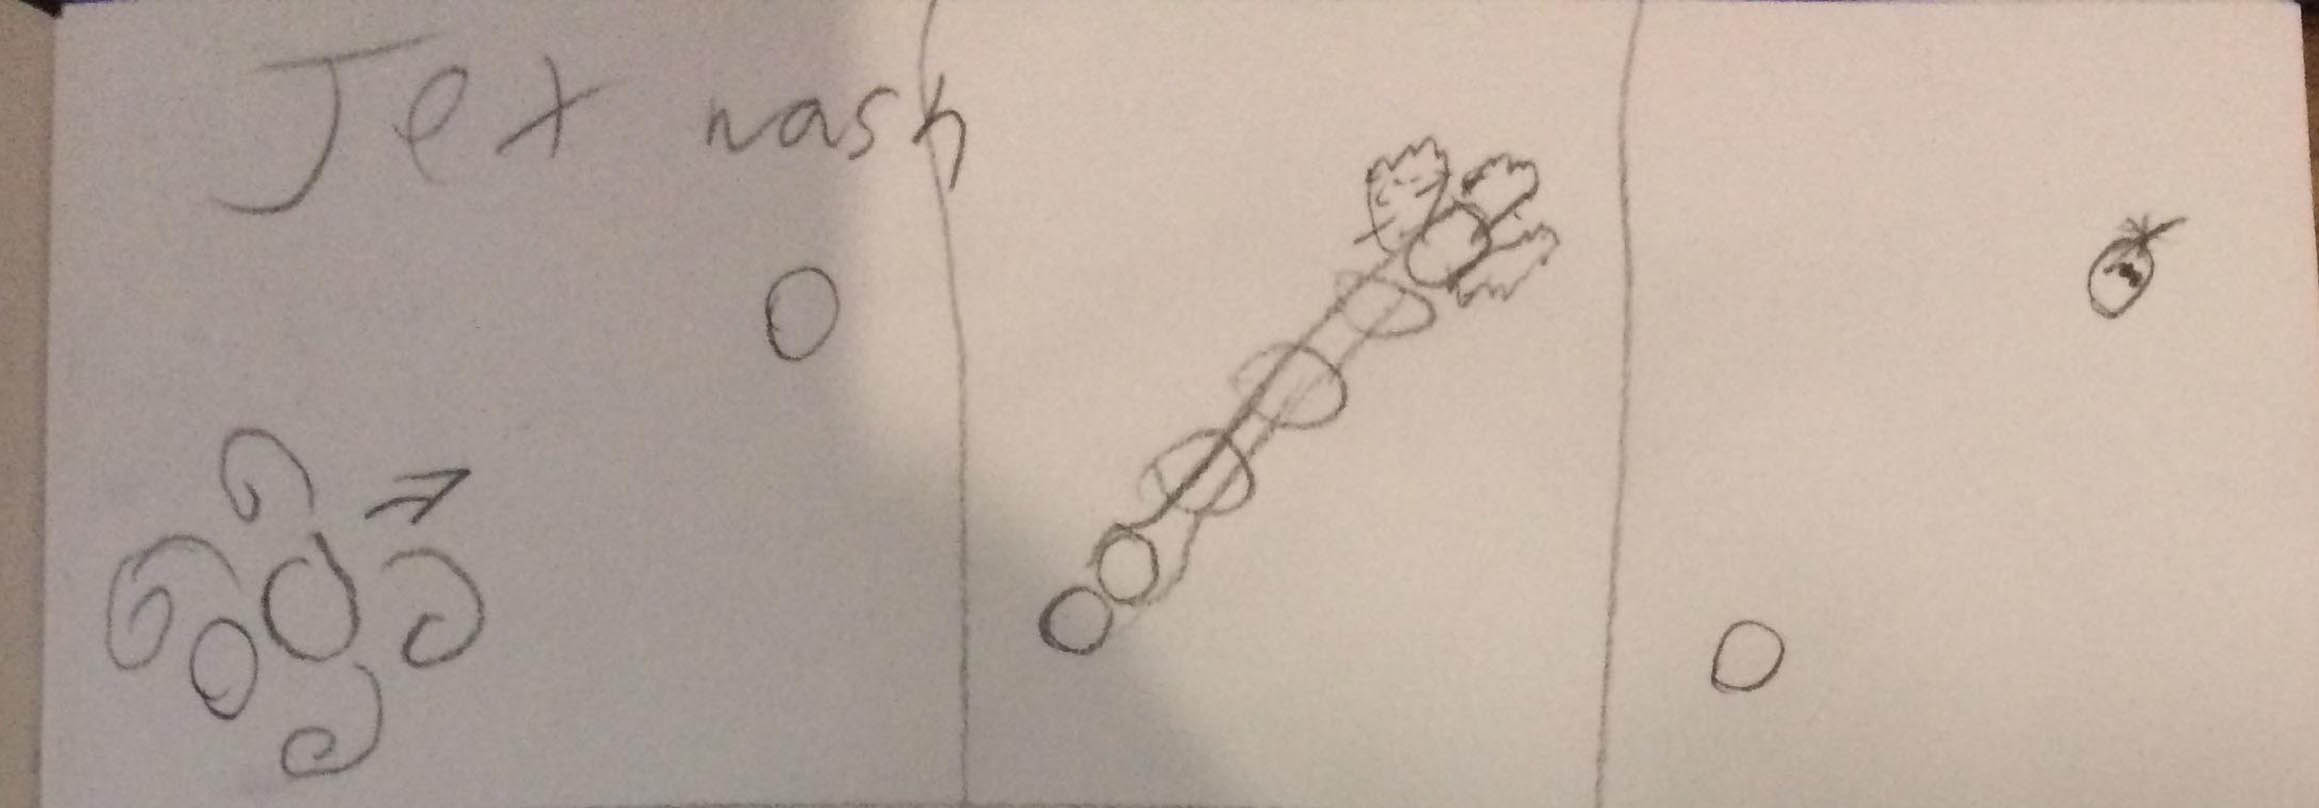
I’m going to use some swooshies for the summon and fire off a kamahamaha style beam. I couldn’t think of an impact effect so I thought it would just be really funny to make the ball really clean and reflective. I could be very wrong about that 5 hours from now.
This one is pretty fun and has a lot of room for improvement but with a little spit and polish could be a really cool effect. Then again the same could be said for all these beams.
The Ring of fire

This one is going to shoot a ring beam along a and set the sphere ablaze.
This one is a bit hard to read, wish I planned it better at the start, the rings following the path worked surprisingly well though so I’m happy with that one! Next up I’m busting some ghosts
The ghost busters ripoff
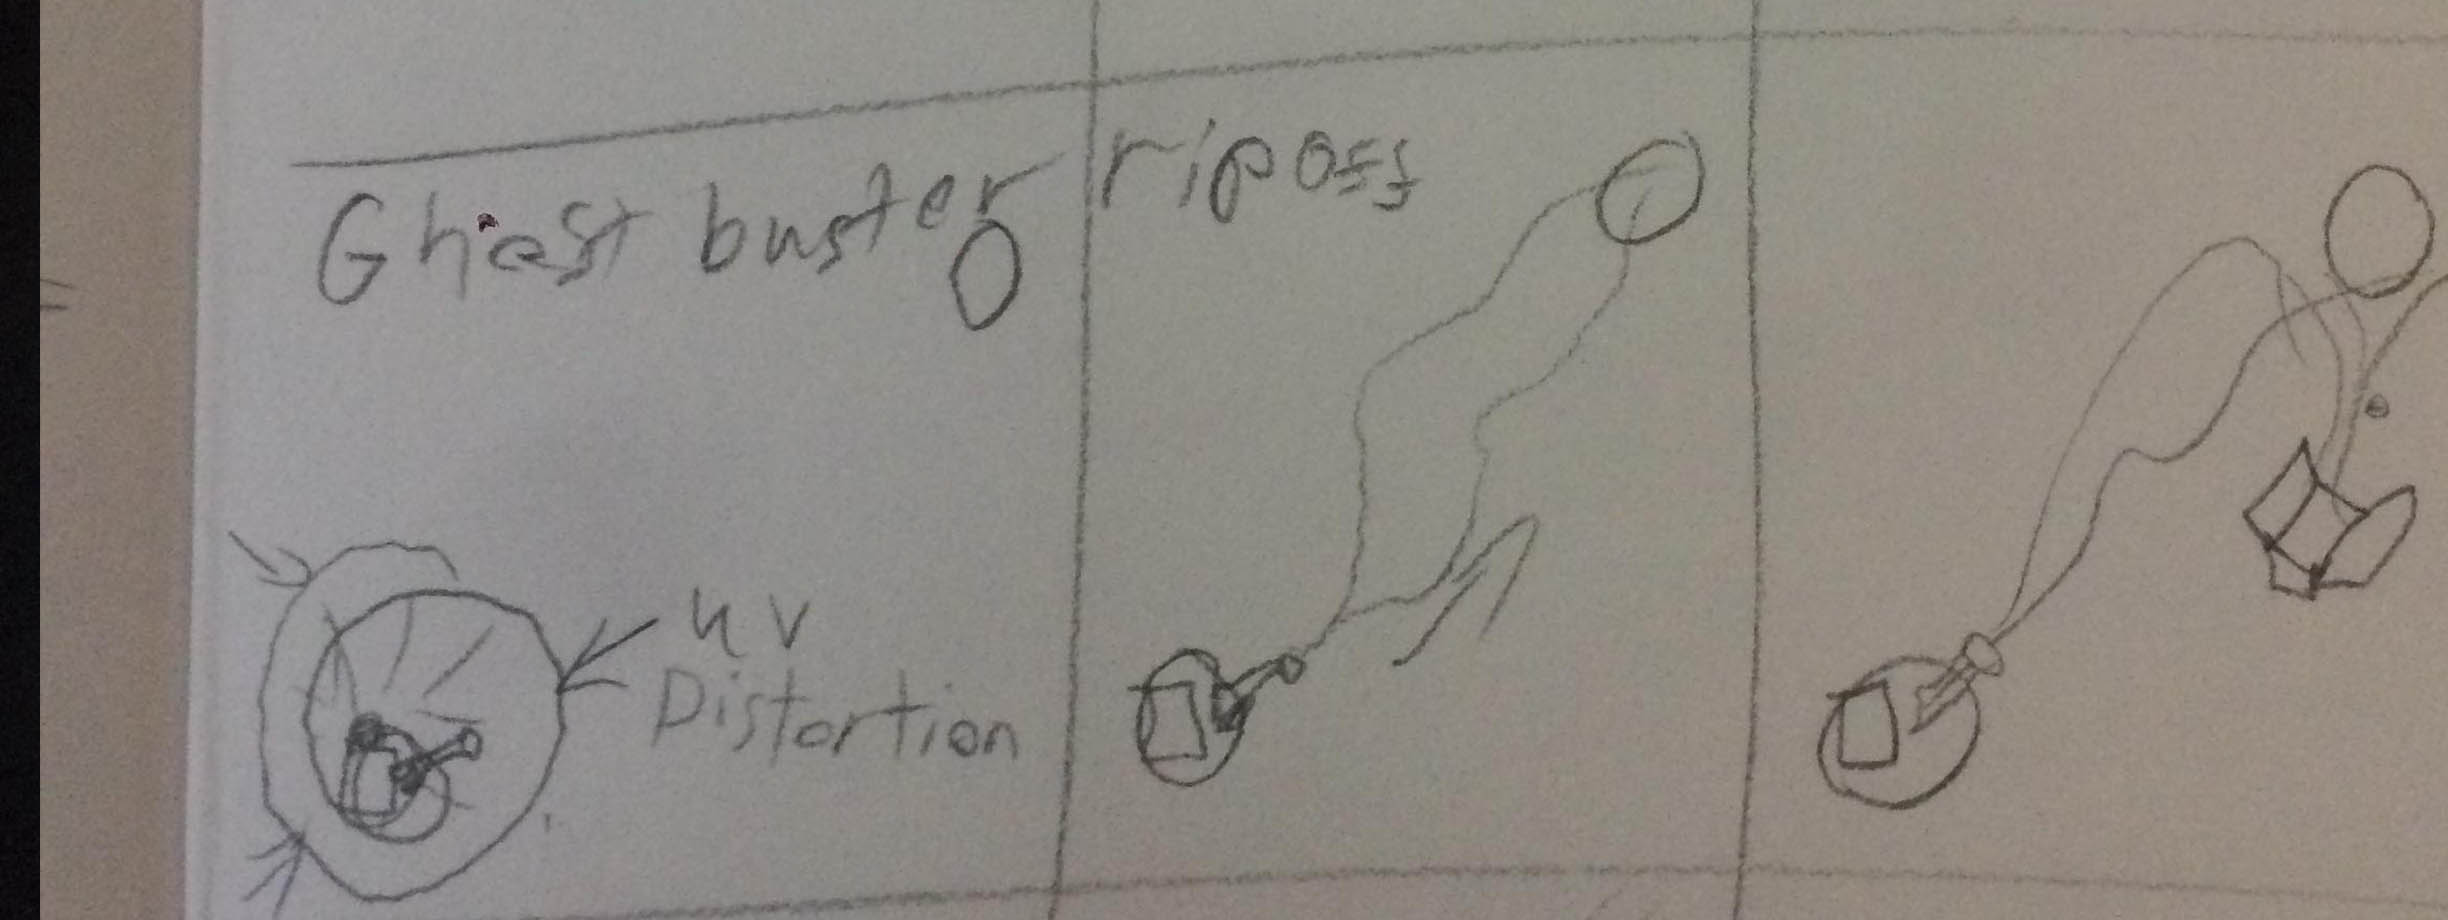
I’m going to use a swirl shader to make some funky refraction then shoot out the proton pack beam and dunk the sphere into a pokebox.
This one was a nightmare to construct purely because of how temperamental UE4 beams are. That said it still looks pretty cool. I wish I could say it’s on purpose but it’s mainly due to dumb luck.
The beams target is hooked up to a curve that moves to different vectors I wanted to make sure I was capturing the erratic nature of the proton pack. The “ghost” is controlled by 2 separate blueprints one to raise the target up and another to suck the target up. The suck-up is using the vert crush function that was displayed in a deepspace-banana blog. The loops around the sphere is the shader from the fire rings beam. It’s missing the windup but I don’t think this one needs it as much as the others. Who knows.
Tribeam
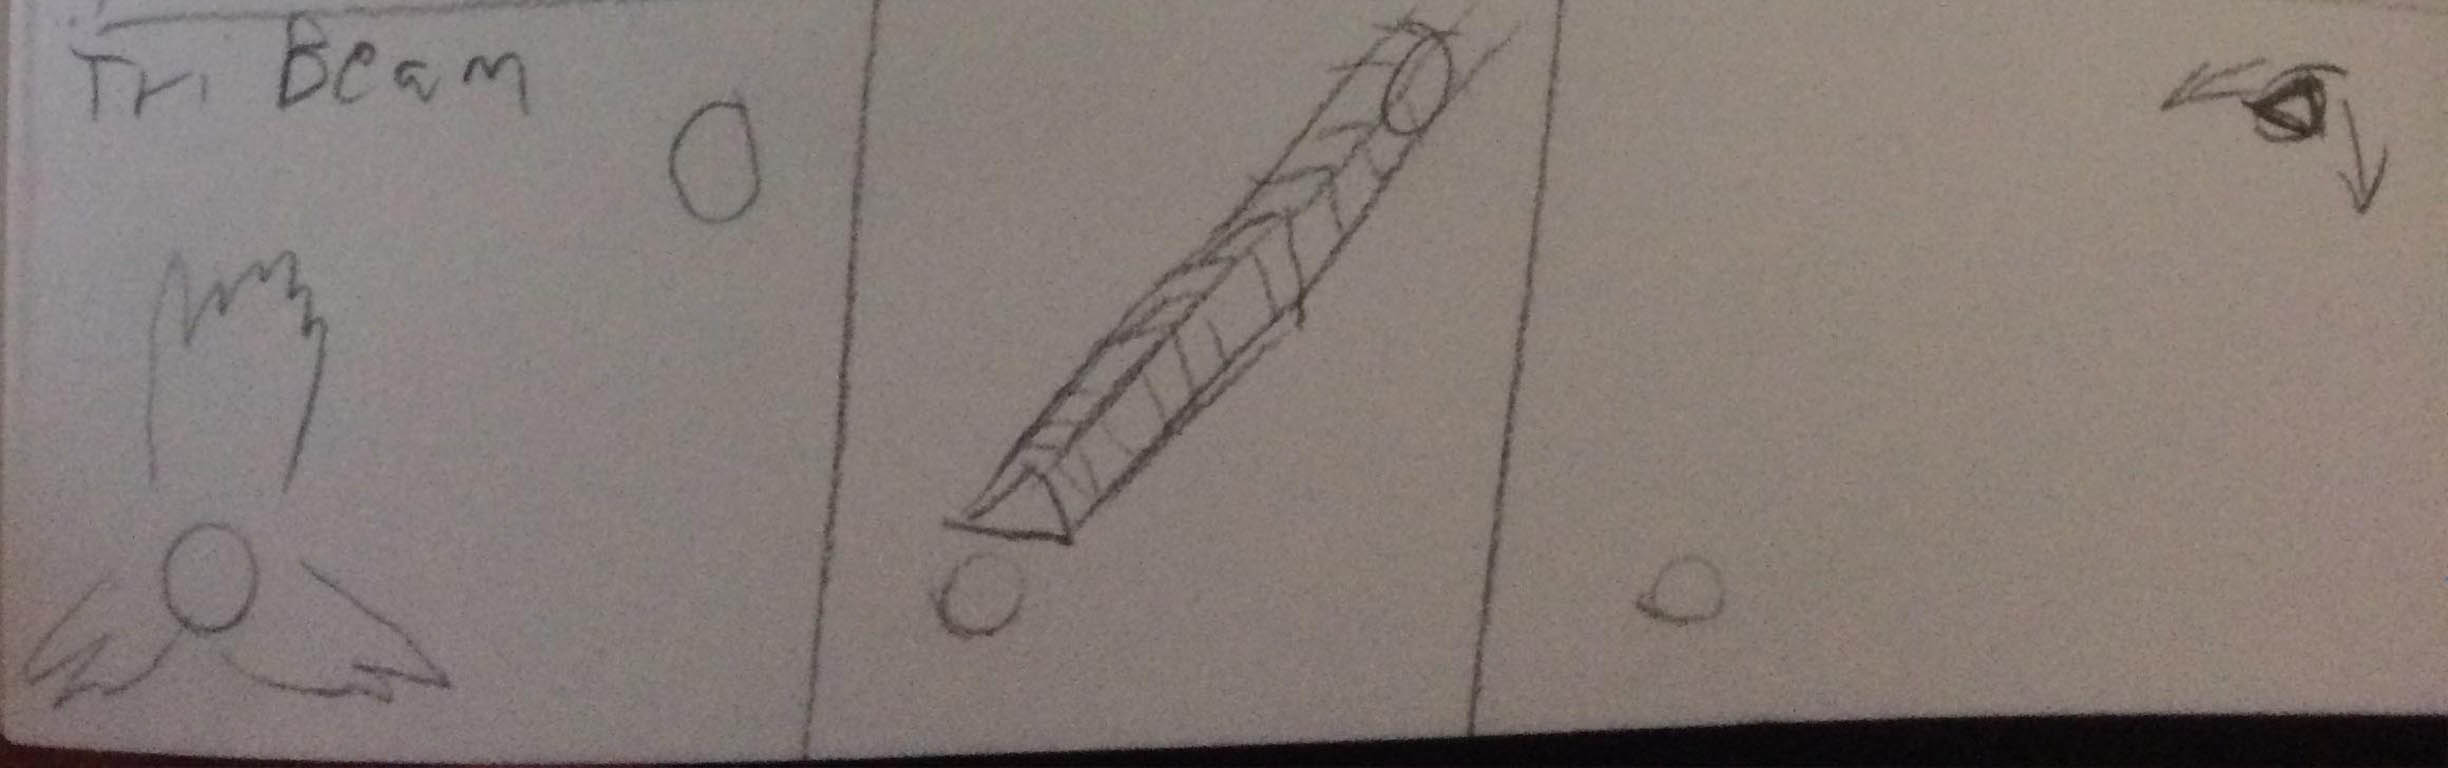
Finally the tribeam, Impact is going to slice the target in 3 and have the pieces fall over. I’m probably going to use an rbd sim for that so I can get some natural falling.
This is another beam that leans heavily on mesh particles and VAT textures.
Upgrade time! I’m choosing the Tri shot to carry forward as I think it has some good shapes and I won’t need to do too much with the timing already there.
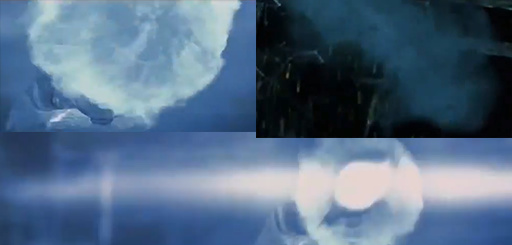
Current Block out:
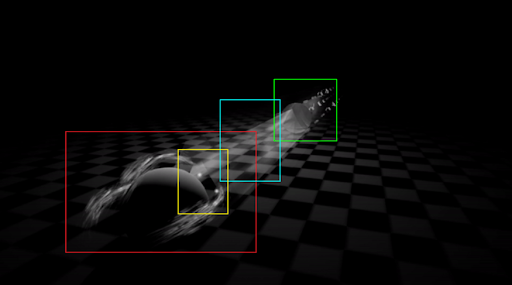
The effect comes in 4 parts:
- Charge up - Red Square
- Cast - Yellow Square
- Projectile - Blue Square
- Impact - Green Square
What’s currently happening:
Charge up
The texture is scrolling from no obvious source over some soulercoasters, wait no Luos is Judging, over some swoopies. The end of the swoopies align with a dot in the cast animation
Cast
The effect is made out of 10 emitters. Each dot has a charge up animation, flash animation and a linger state. A triangle mesh grows to connect the points before the flash.
Projectile
A Prism mesh and 3 cylinders extend from the effect to the target.
Impact
The enemy is a VAT particle that splits into 3.
What is the purpose of the effect:
I’m looking at this like its an ultimate ability for a MOBA character just because of how powerful the beam feels.
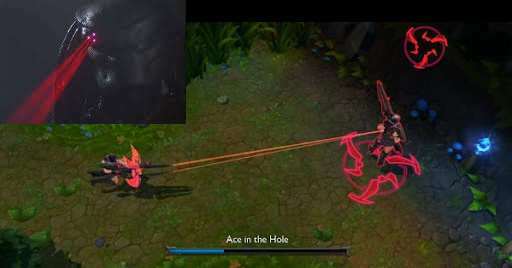
Setting for the Beam:
The beam isn’t exactly magical. It reminds me of the preditors cannon. Which makes me want to add a targeting beam to the charge up like what happens with Caitlin’s ult in League.
Preditors cannon shoots these plasma balls that make the aliens explode and leaves a puff of smoke.
I’m limited by the model so I can’t fully go with the predator’s weapon effect as it doesn’t make sense in the current setting.
It might not be totally magical but I can’t make it technical either since it’s being summoned from thin air. So what element could it be.
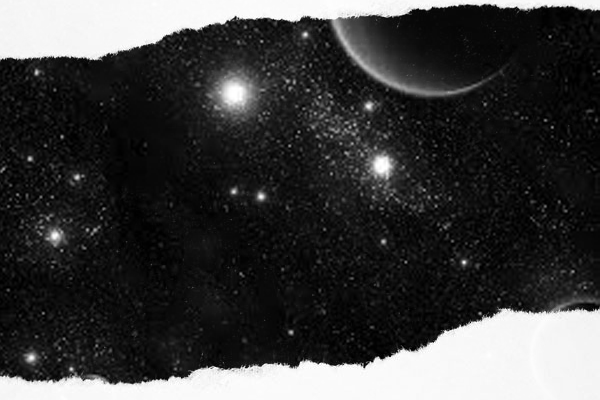
Well, the texture on the swoopies reminds me of stars so how about cosmic energy. What if what is happening here is our character is ripping open a portal to space throwing it at our target slicing a triangle in them.
Upgrades:
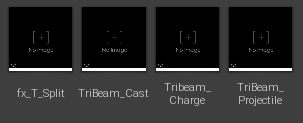
First thing I need to do is to break my particle system into 3 separate systems for ease. One for the charge, one for the cast and one for the projectile. I’ll then use a blueprint to cobble them all together.
Charge Upgrade:
I quite like the shape I’m getting with the swoopies what I want to do is make the texture smaller, have more value variance and some parallax. Maybe add a black hole on one of them too.
Cast Upgrade:
I want to add some particles going into the dots and add a swirl imprint inside the circle. Hopefully to make the dot look like a vortex sucking in the stars being pulled from the charge. Next, I want to change the firing pulse with a flash and add a subtle glow behind it. The final part of this is to replace the mesh with some beams connecting each dot.
Projectile Upgrade:
I’ll use something like the above texture with some parallax mapping on the prism to fake depth and ditch the cylinders that used to be in the corners.
Impact Upgrade:
The first obvious upgrade is to edit the particle effect so a normal sphere is seen before the destroyed sphere. Next, I want to add a highlight shader to the sphere to well highlight the fact it’s being targeted. When the impact happens I want the edges to be glowing like they have just been roasted. This will be done via vertex colours I should be able to quickly colour the boolean border in Houdini. I think I want a split second of calm before the hit with the beam so I’m going to drop the highlight and any other targeting UI I make a little bit before the blast hits.
As always I’ll carry on updating this thread as I upgrade each individual part!
Upgrade Stage 1:
Break up particle systems and cobble them all together with some blueprints.
This is arguably the easiest stage as it’s very paint by numbers. Currently, in the map, I replaced the spheres I had placed there with a blueprint representing the corresponding character.
The player blueprint contains nodes that get the player controller so it can receive input. Then when the left mouse click is placed it spawns all my emitters and casts to an even in the target trigger blueprint.
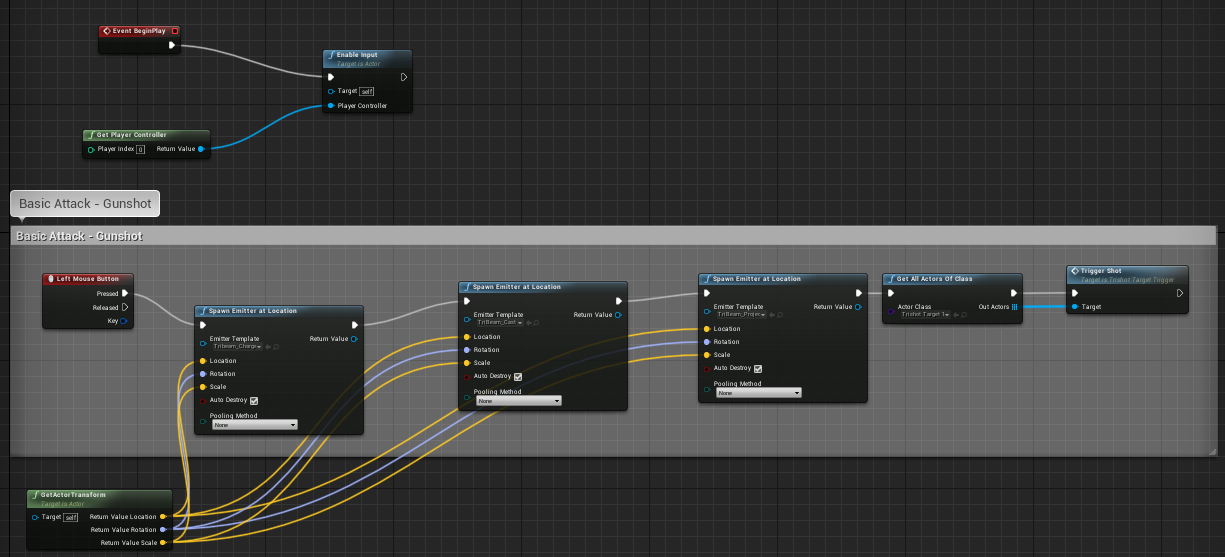
In the target trigger blueprint, it receives that event and uses it to spawn a blueprint that has the destroyed particle system bundled in it, and then destroys the trigger.
The final blueprint just automatically plays the particle system when it spawns. All the systems have delays placed inside so I didn’t need to put delay nodes everywhere like some of my previous effects.
Now I’m at the point where my effect triggers from a mouse click and I can go into small particle chapters to build up the effect and make it better!
Upgrade Stage 2:
Make the charge texture small, Add some variance + Parallax and a targeting beam.
I got lucky with this stage as it was mainly just small tweaks in various places. One thing I did notice is the shader I made for it is god awful. Why I felt I needed 2 scrolling noise textures on top of 4 more smaller scrolling noise textures I have no idea. Still, I figure I’d roll with it as I can use it to give a lot of variety to the parallax.
Each noise has its main scroll direction controlled by a parameter that’s shared between all noises, that gets appended onto a small number for the X-axis to give the direction a little variance. That gets plugged into a panner node which then gets plugged into a bump offset node. I used the mast as the height I could probably do with testing how it works with an actual noise texture in the future but right now I’m happy with the parallax I do have.
The targeting beam is just a beam emitter with the target sighted on the other sphere. I use speed to get it into place but I don’t seem to have any more control than that as beam emitters don’t like their target being moved over their lifetime.
Upgrade Stage 3:
Add Vortex, Add swirl imprint, change the puls to a flash with a glow, add some beams connecting the dots.
This stage was a little more difficult thanks to my old nemesis UE4 beams. The system for this gets a little crazy and answers the question of why did I feel the need to break my original system up into 4 separate systems.
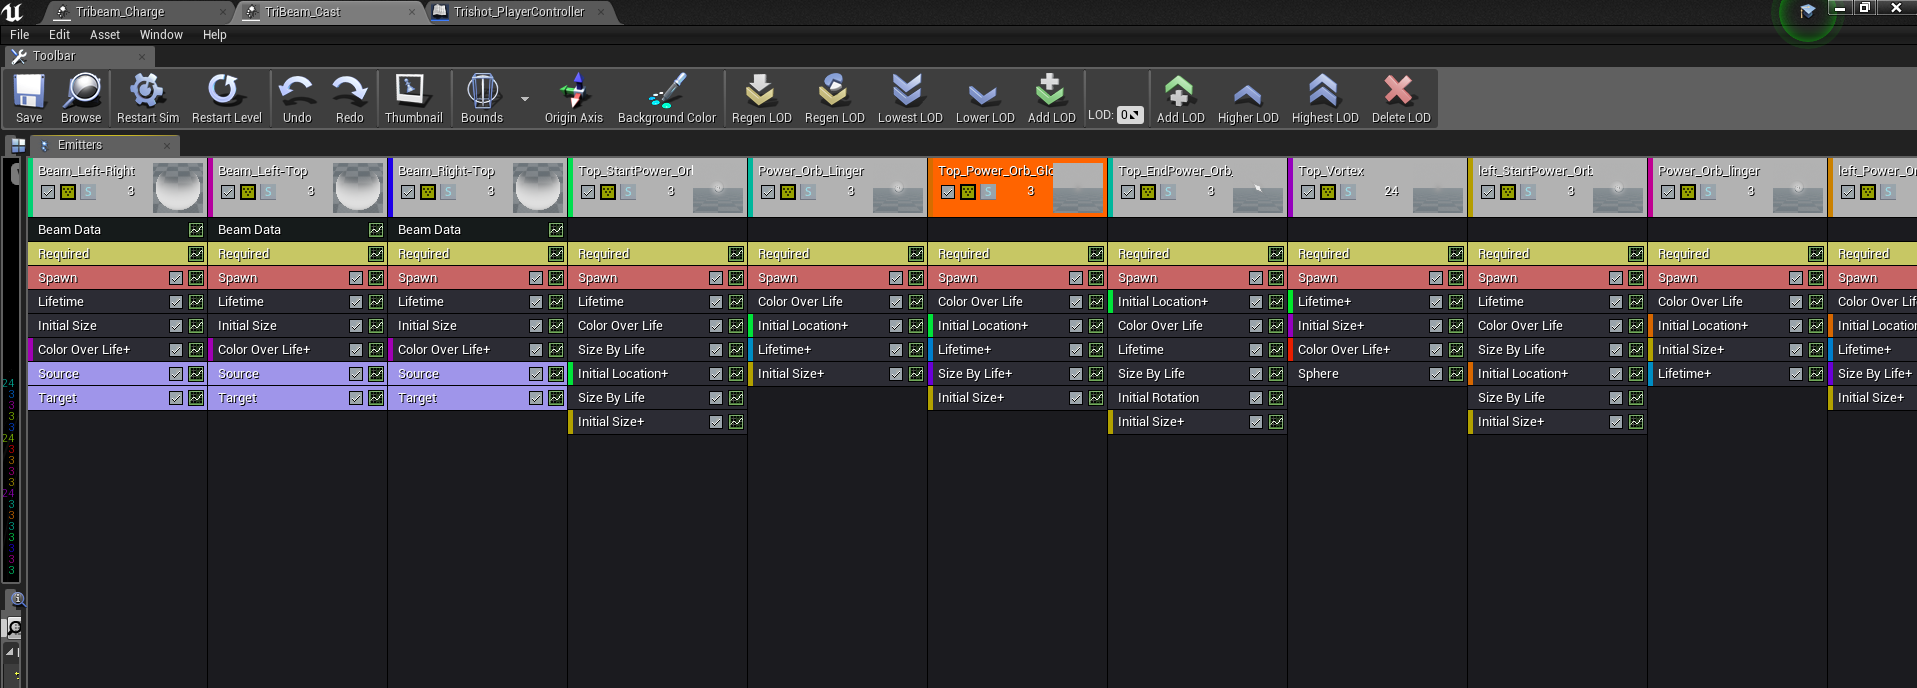
Each of those 3 orbs has:
- A growing animation
- A flash animation
- A lingering animation
- A vortex
- A beam connecting to another beam
I used instanced modules a lot for it to make sure that changing one emitter carries the changes for all 3.
The Main orb material uses a procedural swirl that I picked up from a Reddit post.
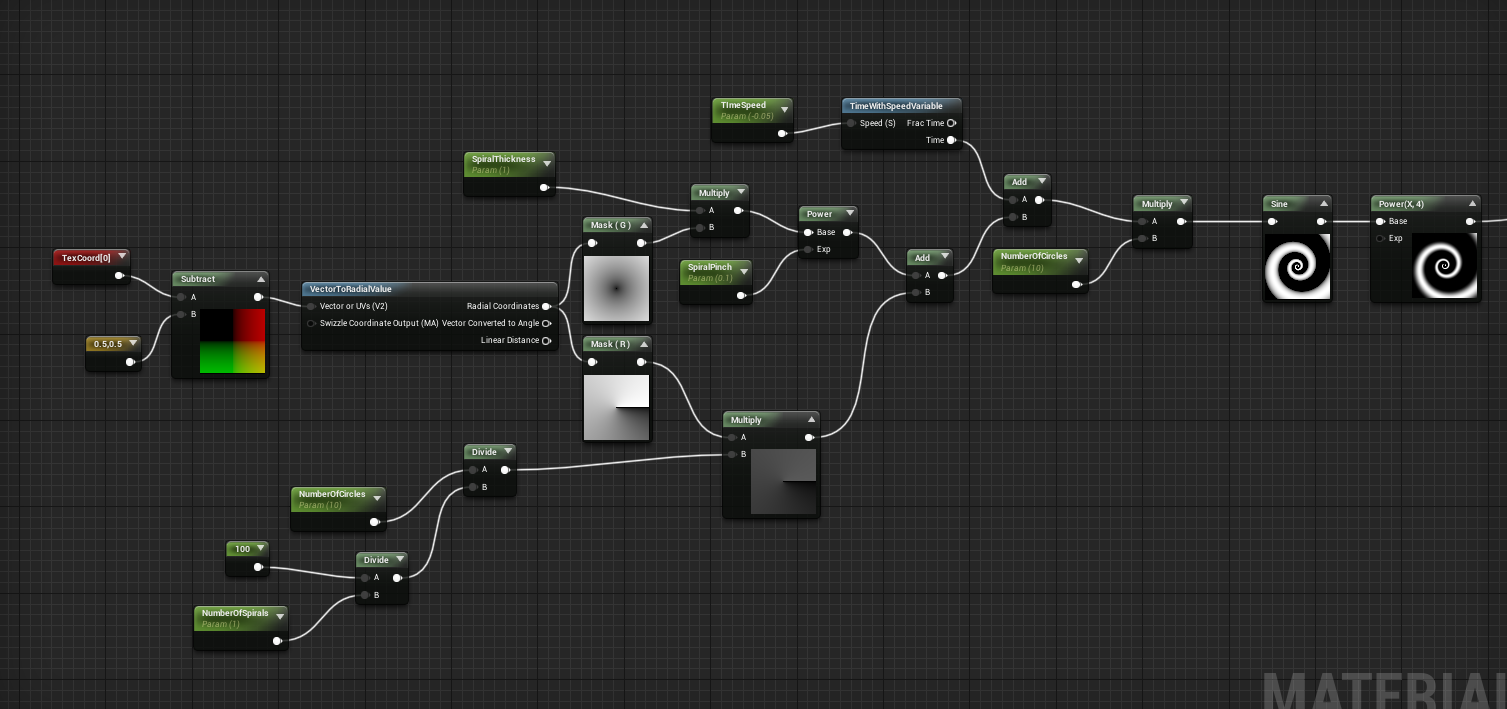
It works by moving a texture coordinate to 0.5/-0.5 space and deriding a radial value from it. then after adding some variables I plug it into a sine wave and use it to make between two colours.
The flare uses a fresnel to hide a more powerful flash depending on the view angle. I wrote about that effect in my blog here: https://www.richardstokes.tech/blog/7-techniques-i-learnt-from-deconstructing-the-materials-of-paragon-effects
Upgrade Stage 4:
This area had two focus points for me.
- Improve the look of the beam
- Make the beam appear more powerful looking.
The new beam had a lot of the weaker elements stripped out and is now made with 2 mesh emitters one output the main beam and the other outputs a subtle airflow over the top.
The main beams material uses 3 noise textures at different levels of bump offset all connected to world coordinates and a frame texture mask to give the prism edges.
The border is using the same material as before but I had to fix the UVs on the prism so the frames fit for the interior, which as an added bonus improved what the material looks like. That was one happy accident.
All of that got me to this point:
It was still missing any power behind it, however. It needed something that made it appear like it was affecting the world around it. I grabbed the soulercoasters (Sorry but sometimes you gotta stand up for what you believe in) from the Jet beam and stuck them onto this effect. I then edited the material so that dot is going over a texture. Next, I added a smoke effect that was supposed to go out the back but I liked how it was looking so I left it at the front and made a second effect at the back. The shaders for those effects were both stolen from the sea of thieves project I did on my blog last year.
“I ShOuLd bE AbLe To qUicKlY CoLouR ThE BoOlEaN BorDeR iN HoUdInI”
Upgrade Stage 5:
With the completion of this stage, I can now call this effect finished!
The impact had 3 major areas worked on -
-
A highlighted emissive around the edge, which if you didn’t get it earlier I was not able to do quickly in Houdini, in fact working out a solution/dirty hack took me most of the afternoon.
-
A regular sphere beforehand with a targeting highlight.
-
Some supporting effects.
What I was hoping to do for the highlight was put in some vertex colours in Houdini and export it out to use in the shader. The VAT ROP had other ideas. No matter what combination I tried I could not work out how to get vertex colours included. If anyone has the answer to that I’d really appreciate it.
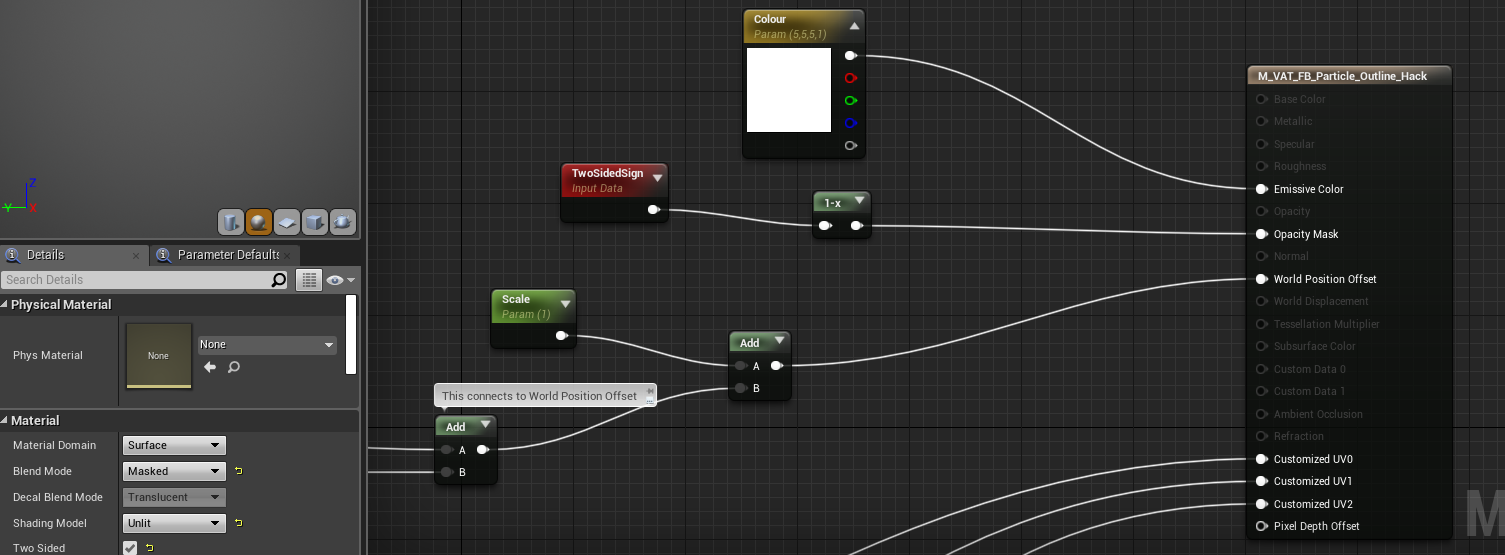
What I did instead was a dirty hack. I took the VAT shader, stripped out a lot of the top nodes, made it unlit, translucent and two-sided. I used an inverted two-sided sign node to reverse my normals and then added a scale to the WPO which increased the thickness of my line. Amazingly it worked and I got something close to what I wanted.
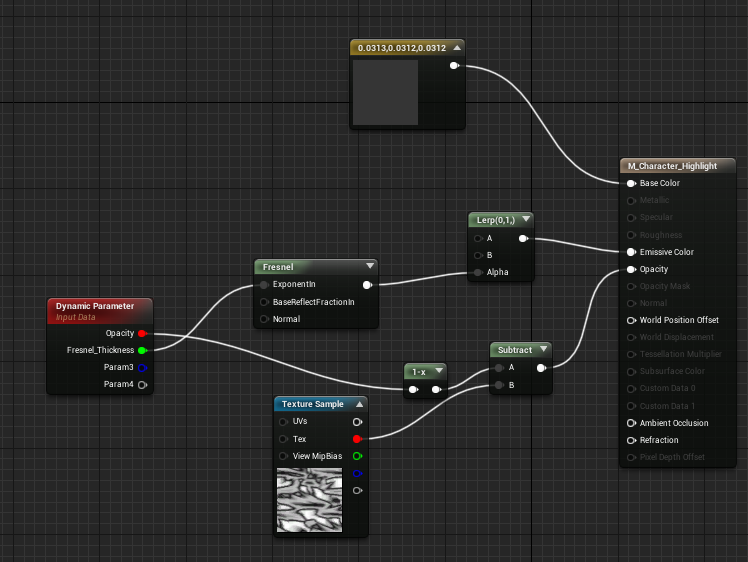
The targeting highlight is driven by an alpha erosion to fade the particle in followed by a tight fresnel that gets thicker over the particles lifetime.
The supporting effects are a smoke tuft that I stole from the beam and a shockwave refraction effect that I made doing an ImbueFx tutorial when I first started learning.
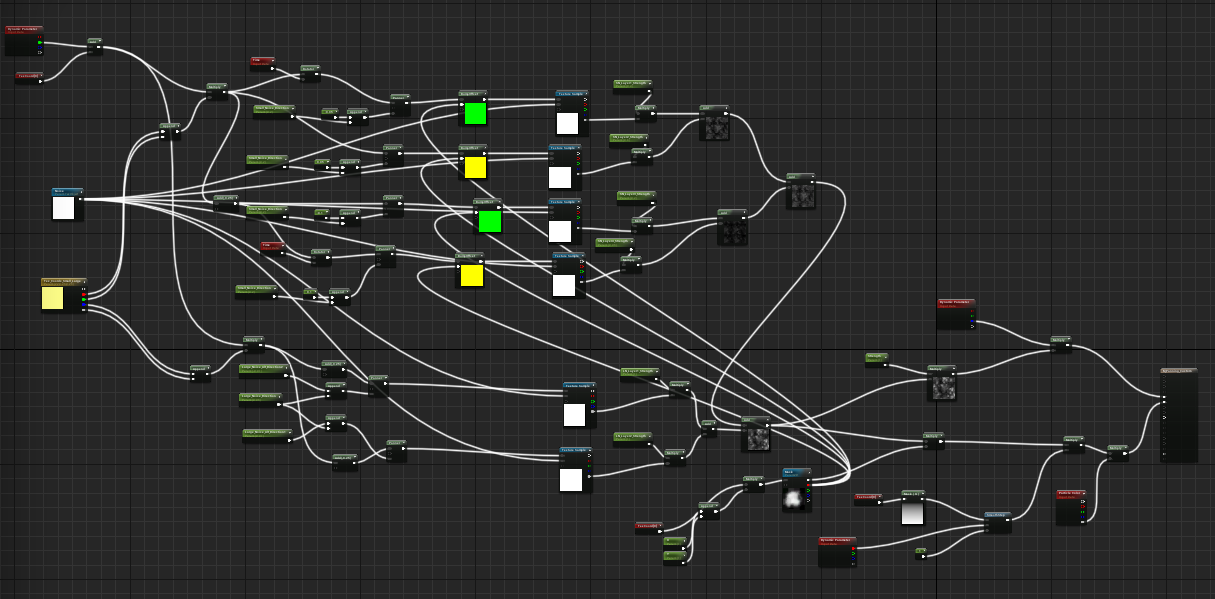
I did also put in some UI elements like a timer and a targeting reticule but it made the impact really busy. I might look into it again another time but, for now, I think I’m happy to leave this here. One thing I’m not sure about however is how optimal my effect is.
My knowledge of optimizing is pretty limited all I do know is the amount of red and white here doesn’t look too good. If anyone knows how I might be able to improve on this I’d really appreciate some advice!.
The final effect:
Thanks for following along anyone who made it this far. I’m wrapping up here.