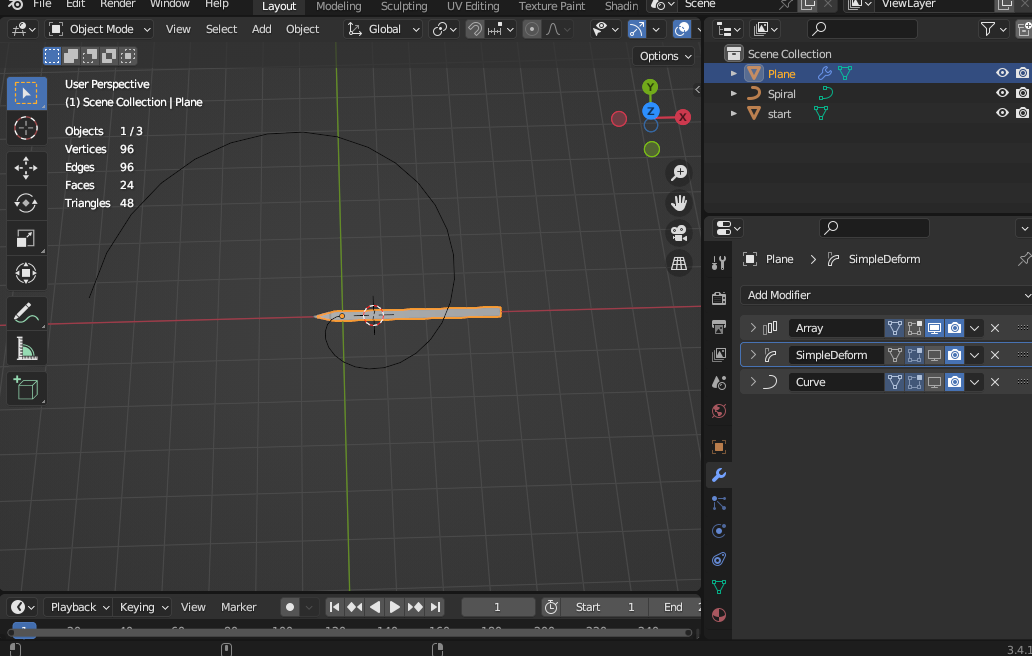
Heyo! Who doesn’t love a good energy swirl across a ribbon-style mesh particle? While I normally do these types of meshes in Houdini, I quite like Blender and was wondering if anyone knows a good workflow for creating the same in that software. This is my current (fairly desctructive) workflow in Blender:
- Create a curve for the ribbon profile (typically just a single line or an “X” in this case)
- Create a Bezier curve
- Use the “X-curve” as bevel object in the Bezier curve
- Convert the result into a mesh to edit taper towards the end

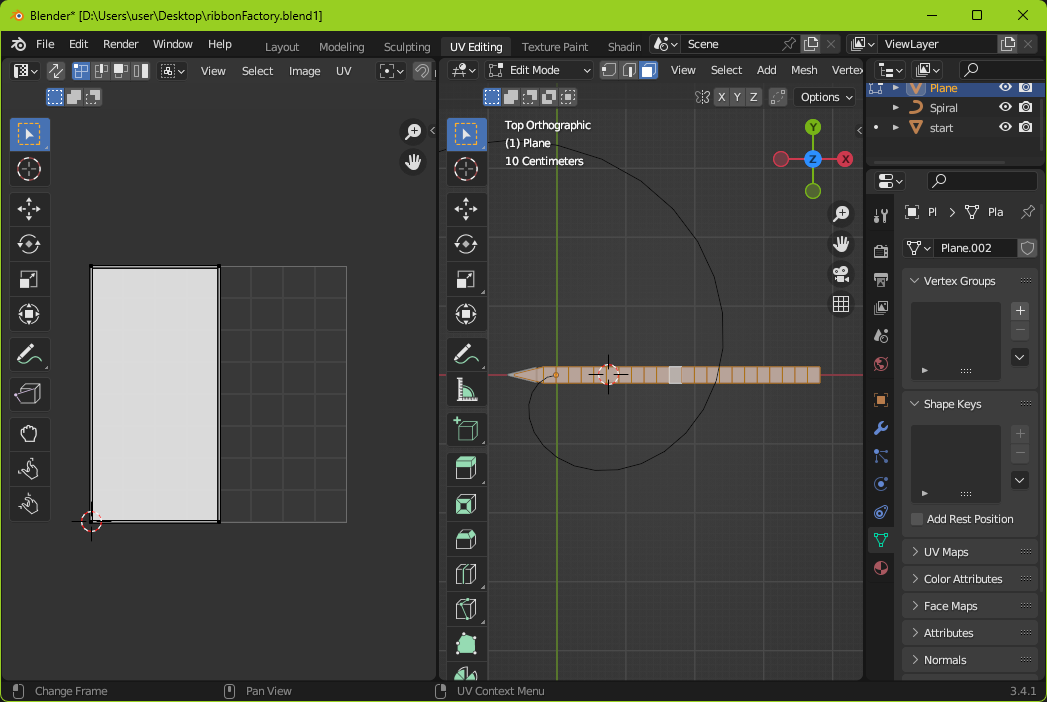
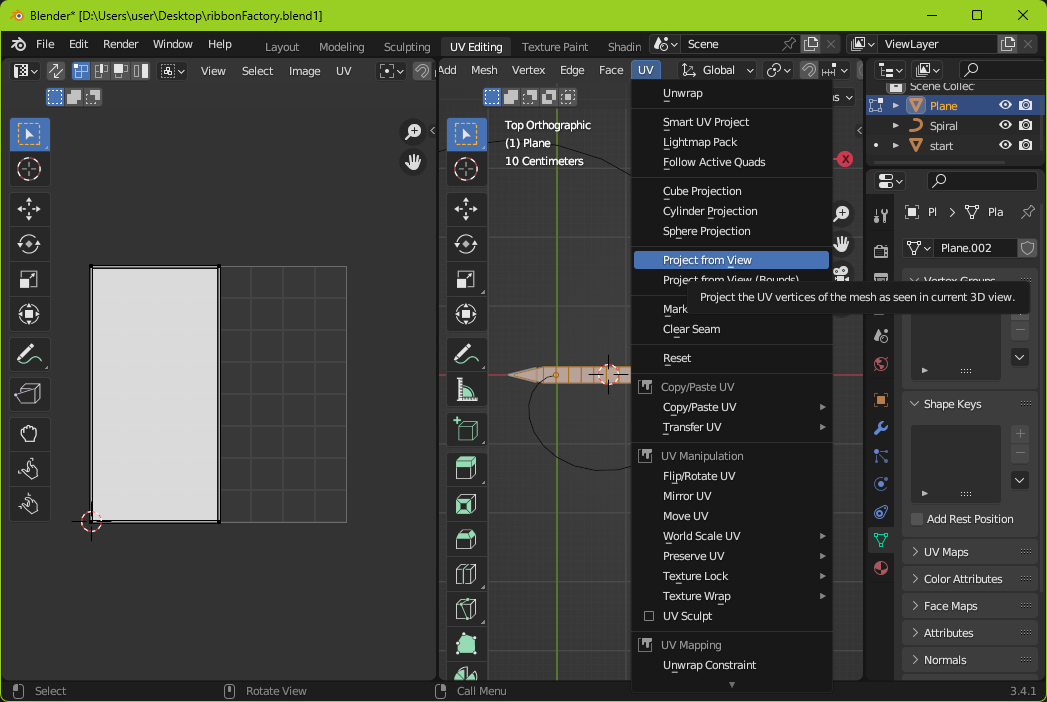
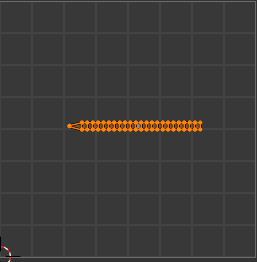
Unfortunately, converting from curve to mesh means losing the curve controls and having to manually place the UVs, which are tricky to evenly space out when dealing with curved shapes like these and UV projection. Not to mention the repeated work I’d have to do if I ever want to change the flow of the curve.
If anyone has a good process for this I’m all ears!