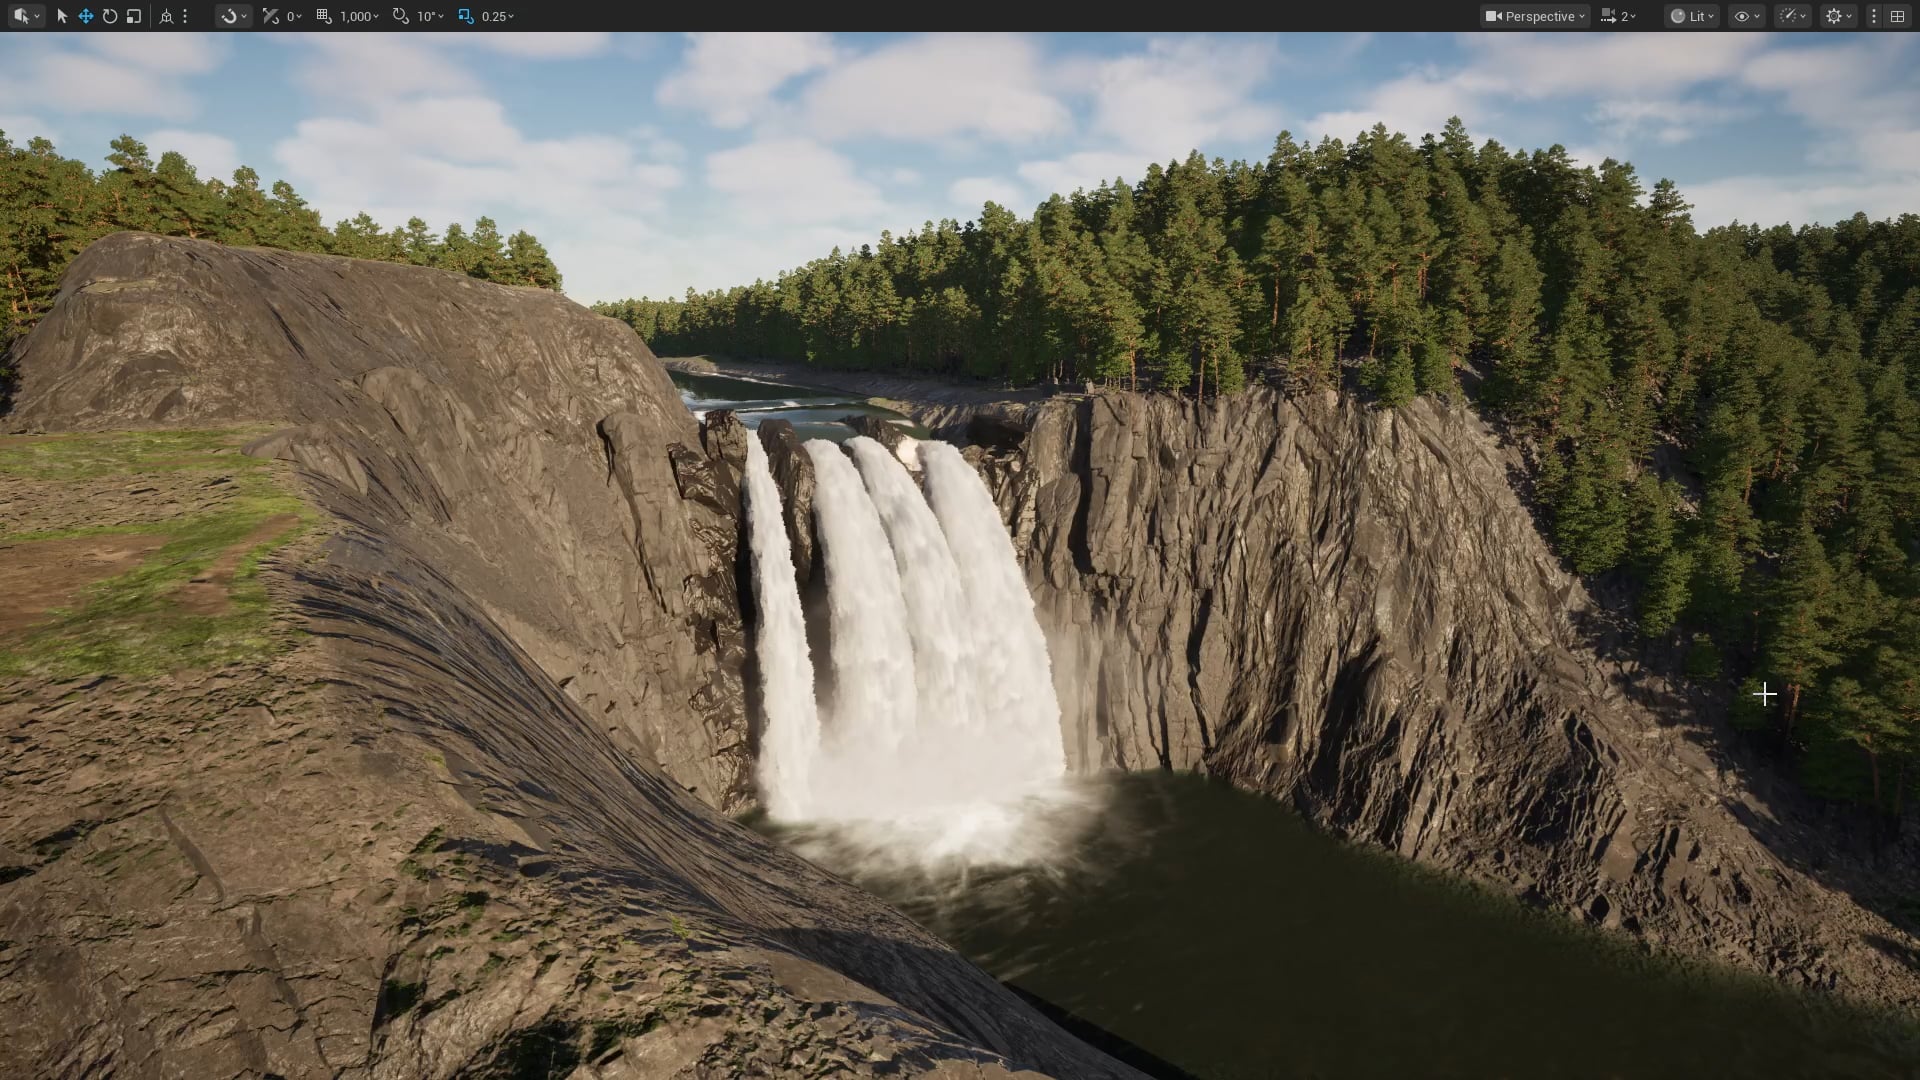
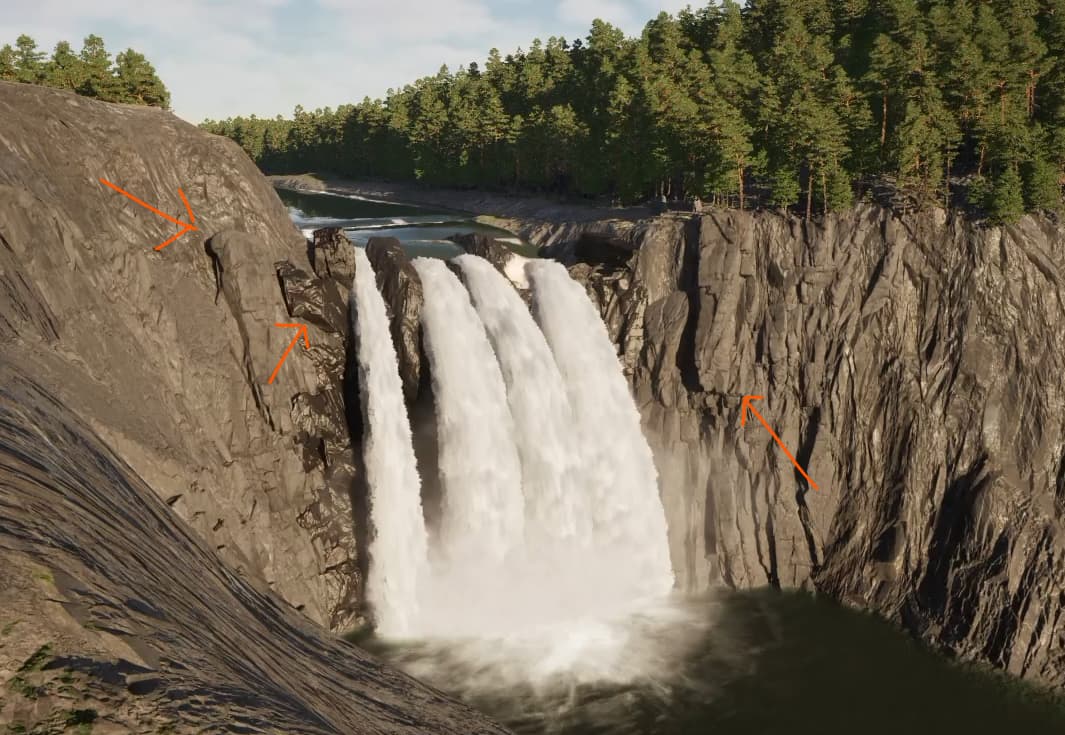
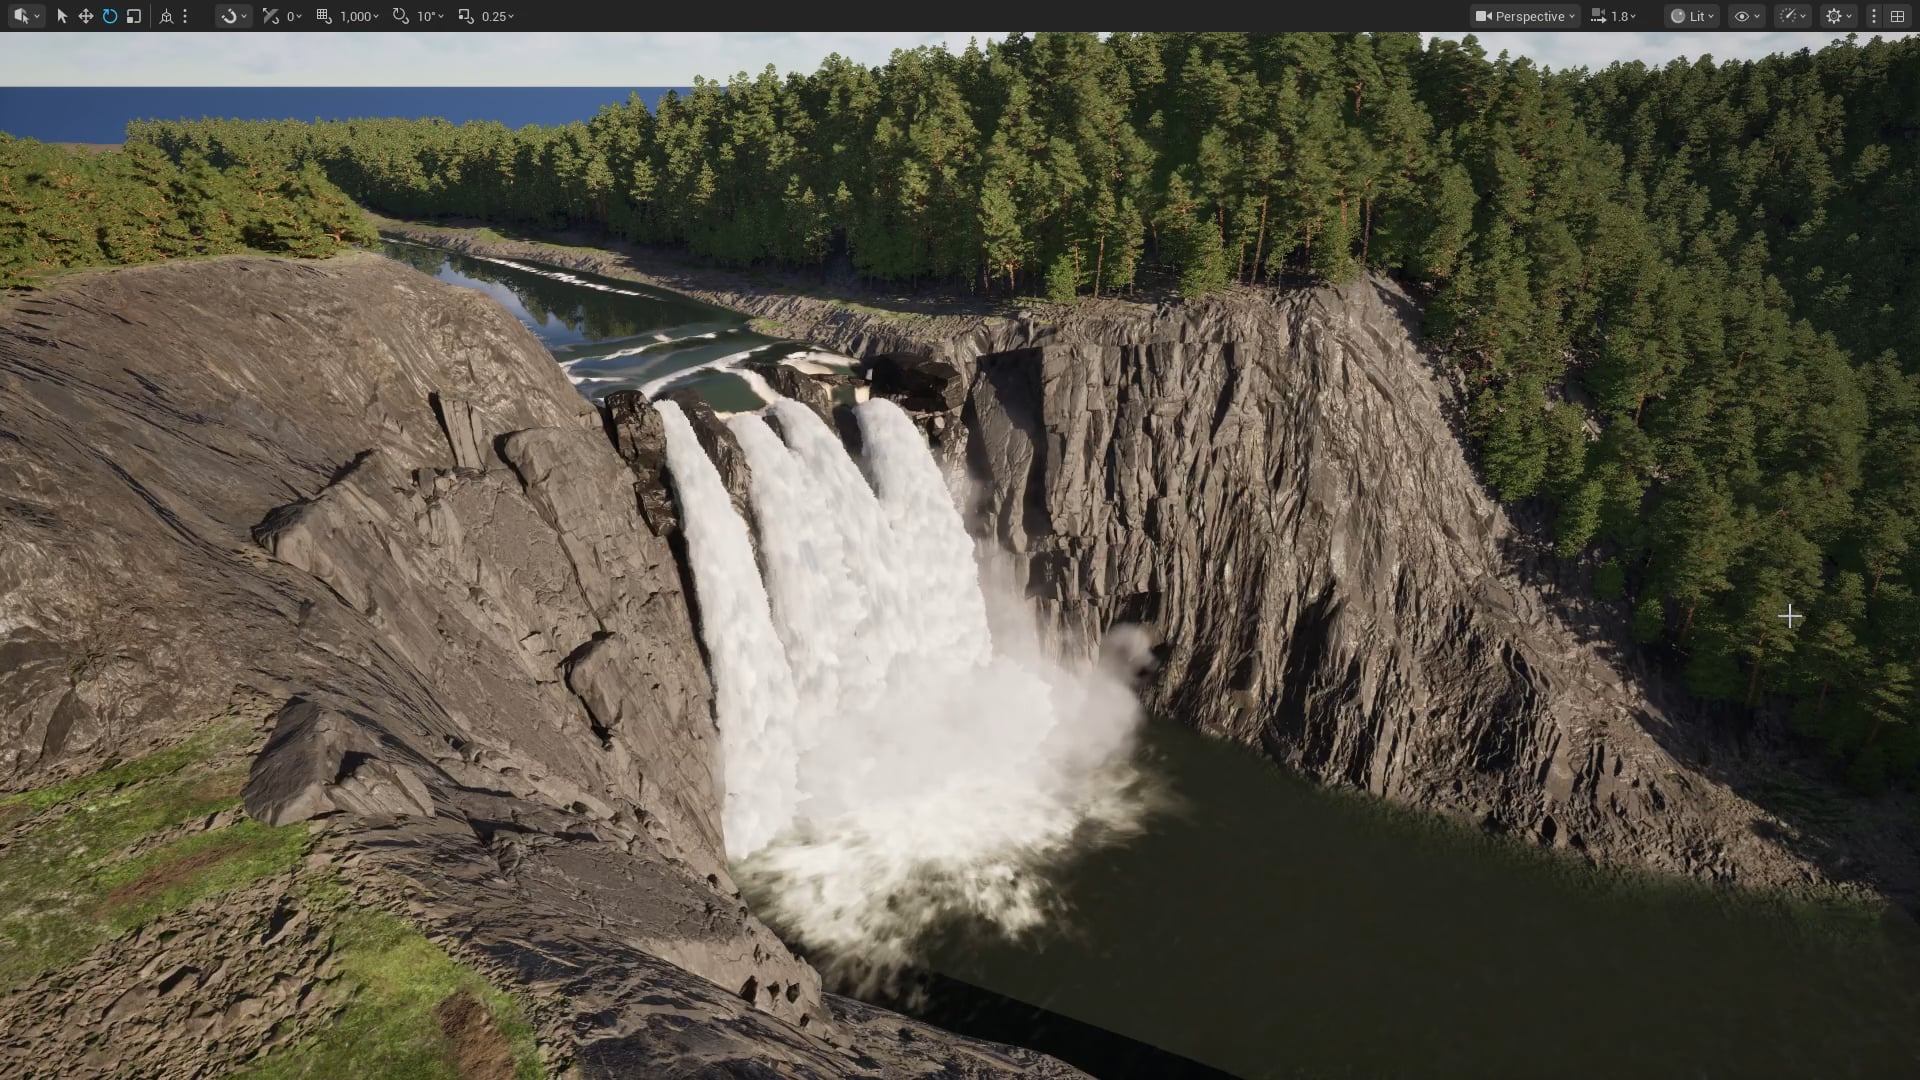
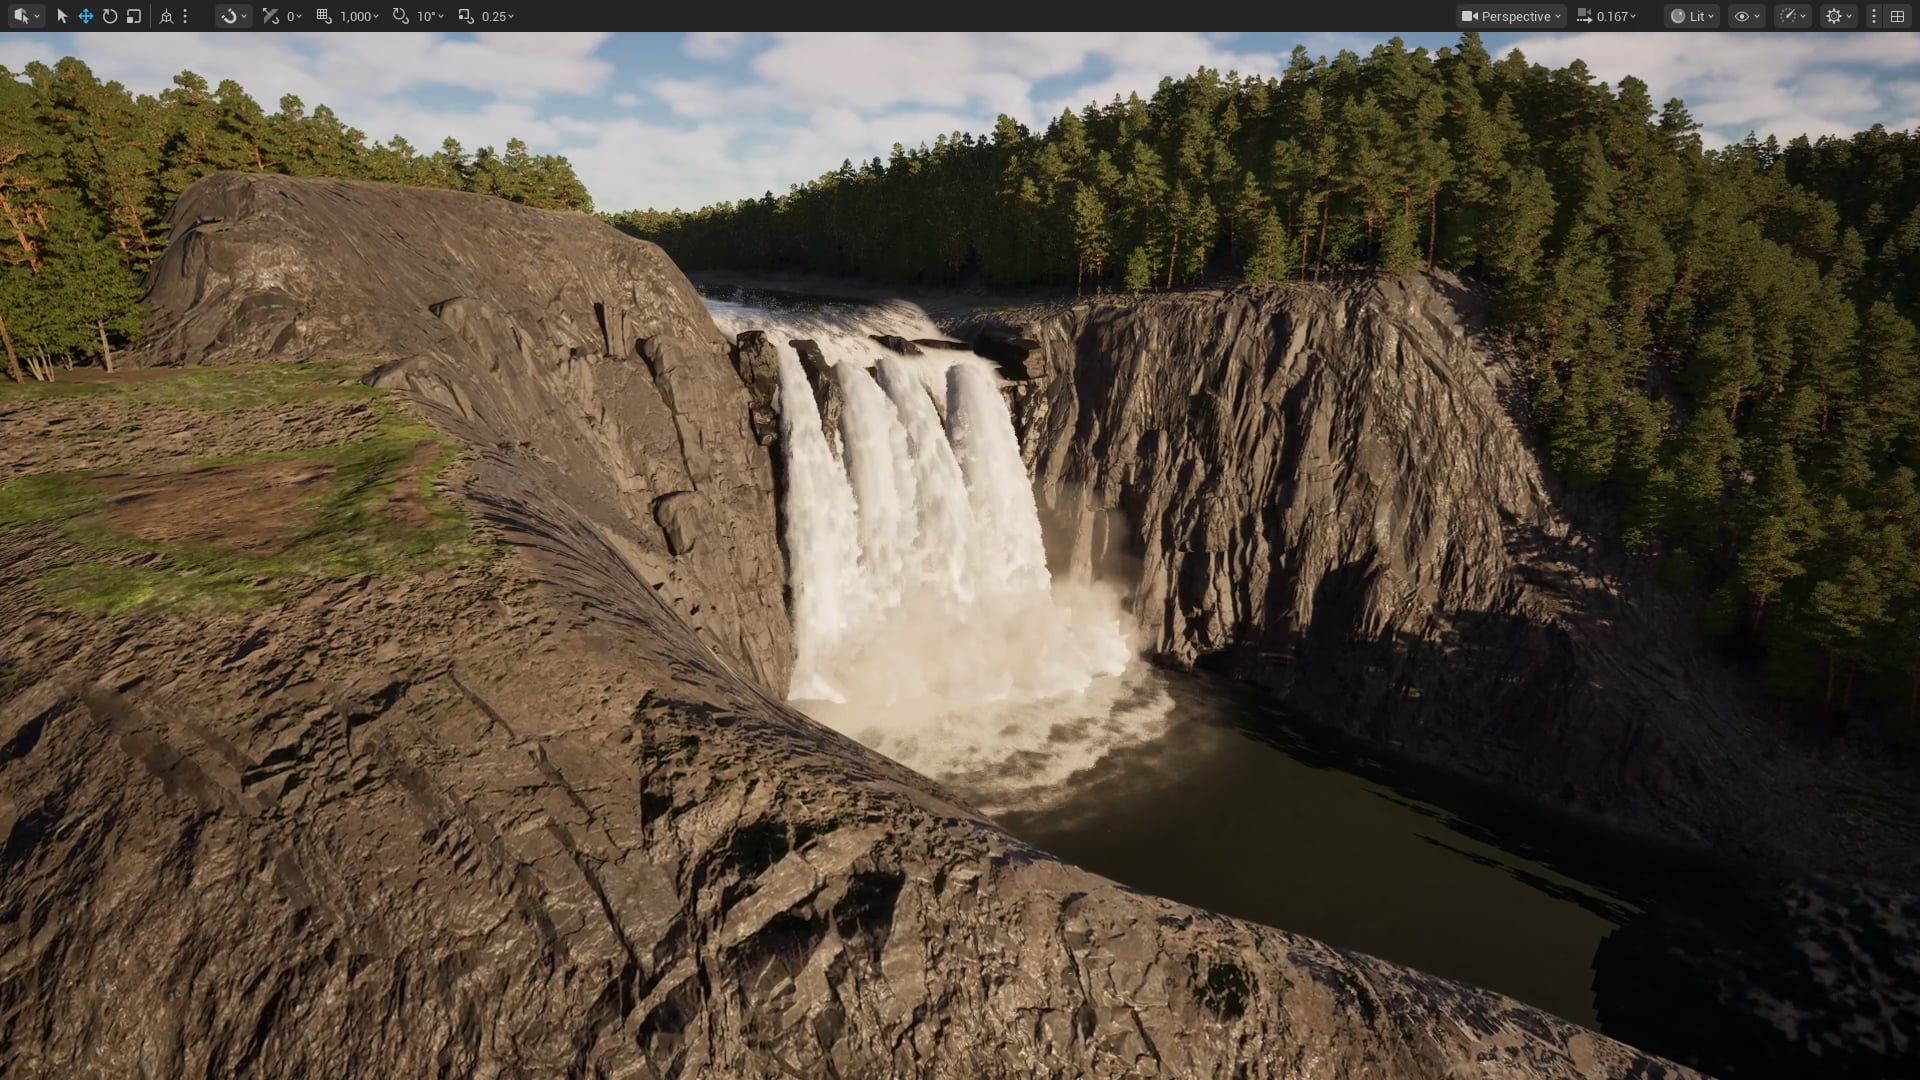
Realistic Waterfall based on Snoqualmie falls

Most up to date progress:
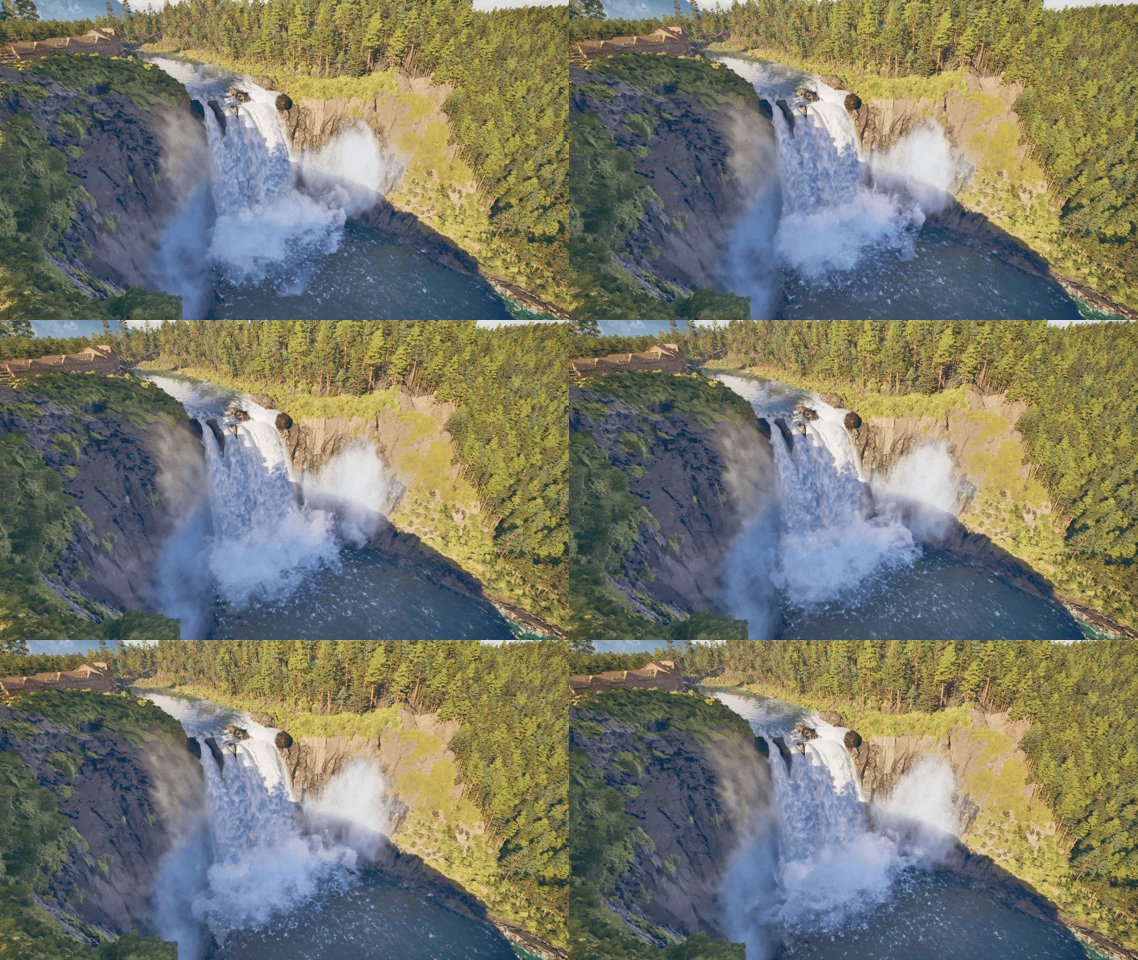
WaterfallShot2

If you want to skip all the nitty gritty details below you can skip ahead to the finish project here:
https://www.artstation.com/artwork/yAbnd8

Hello everyone, this project came from an unlikely source of inspiration. The 2026 FIFA world cup took place in North America. This resulted in a series videos being posted across social media where non-Americans were showing excitement about things in the USA.

I happened upon a video of a European girl visiting Snoqualmie falls, which is a location I have visited before as well. I really loved the shapes being created by the water and mist coming off the falls in this video and wanted to see if I could replicate these things.

Most of my professional work over the last few years has been more in the stylized realm, so this sounded like a good opportunity to work on a more realistic personal project, which I haven’t done in quite a while.

I’m actually quite far along in the project at the time of me making this post, but since I took progress pics and videos along the way, I’ll do my best to share how things developed, from start to finish.

And of course, feedback, questions, and critiques are all welcome!
10 Likes

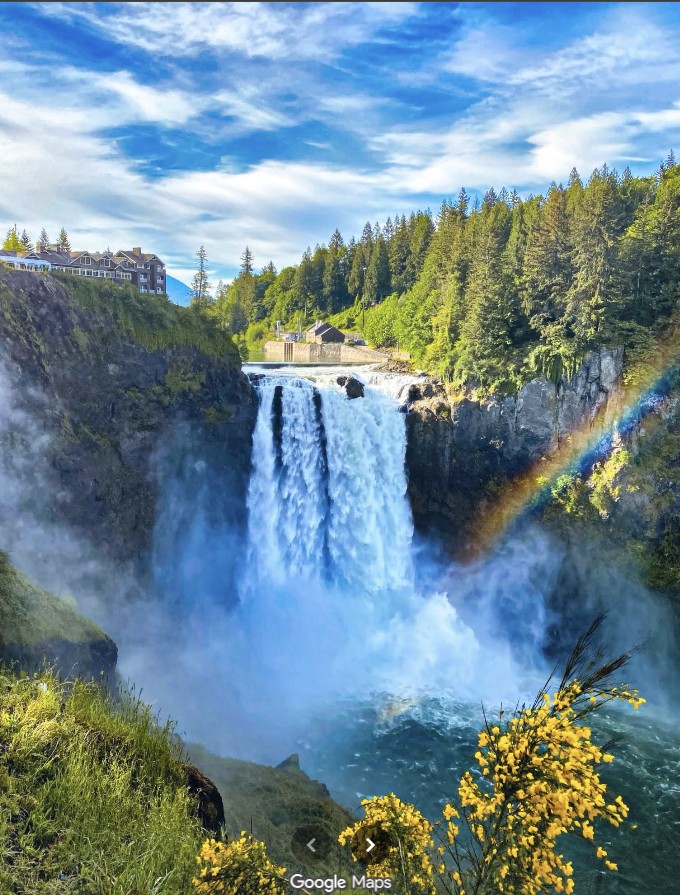
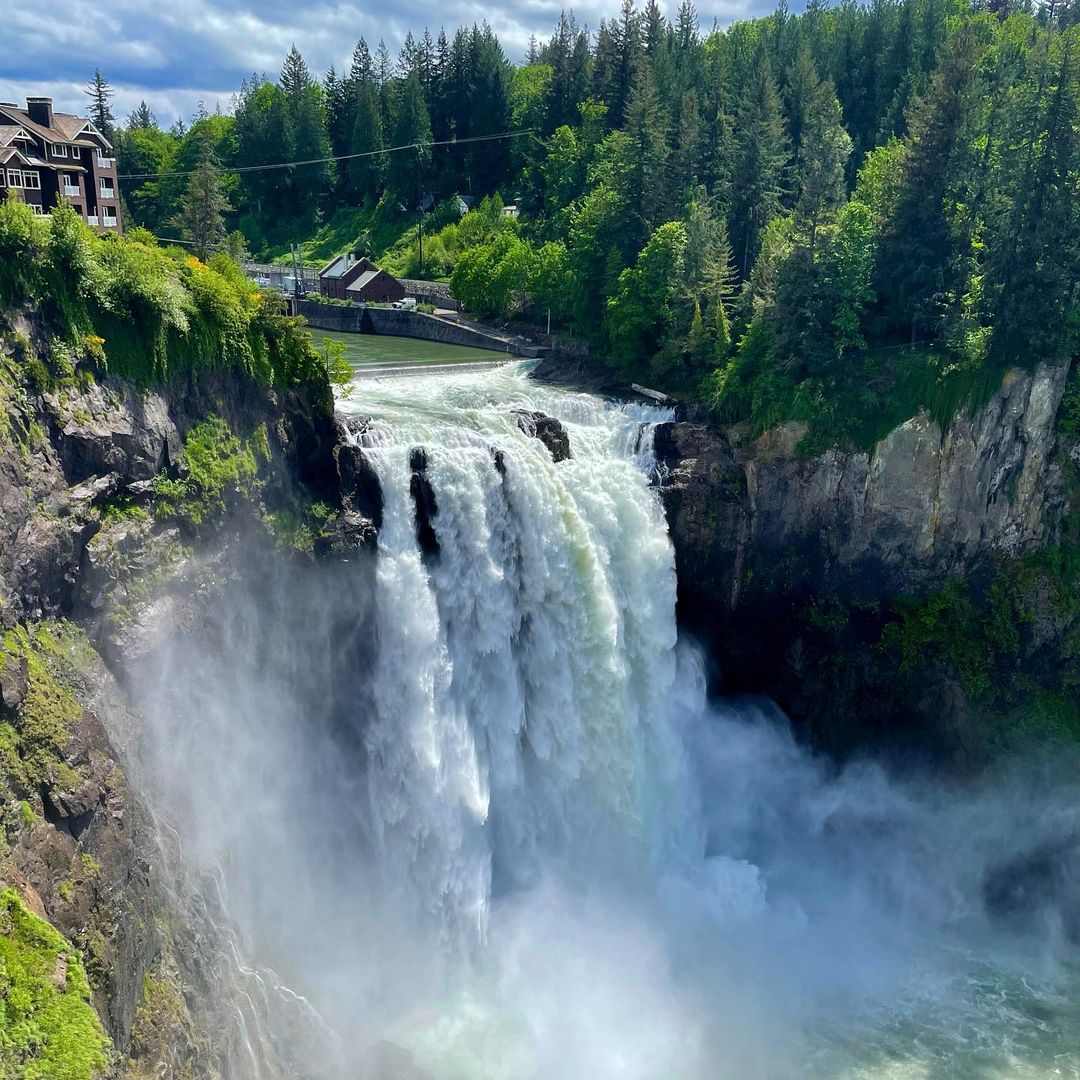
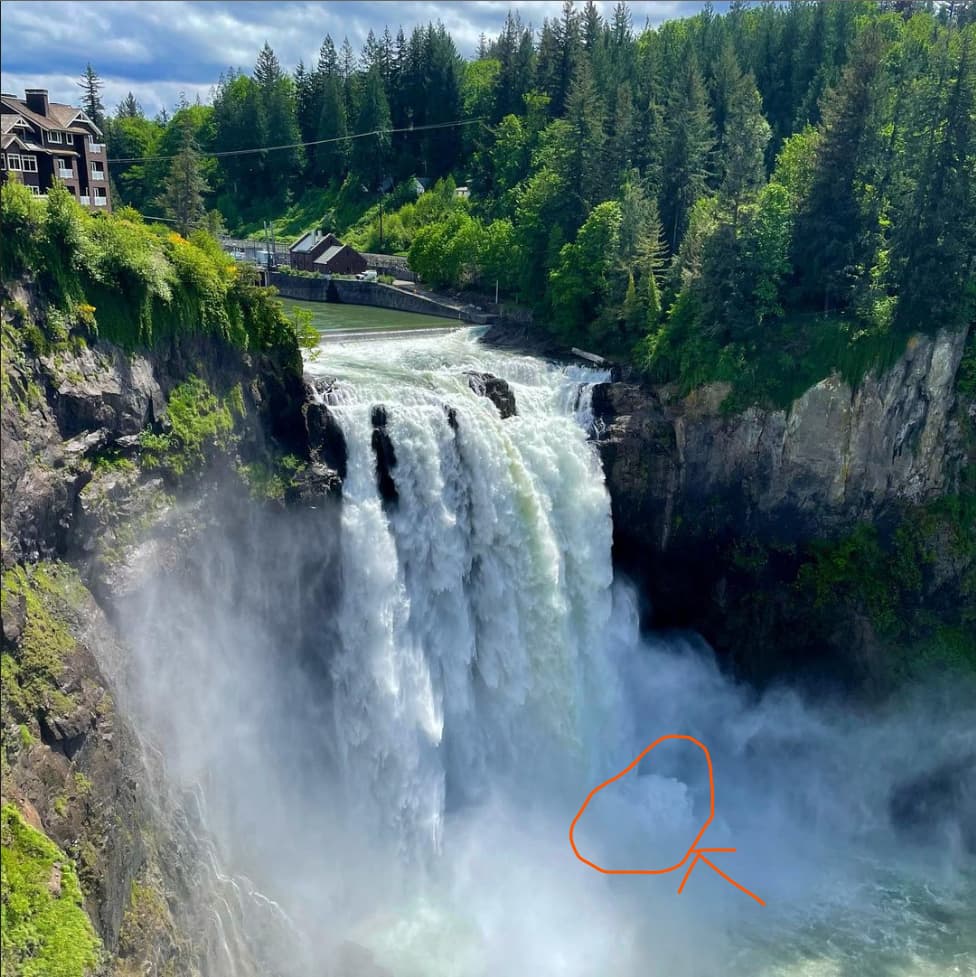
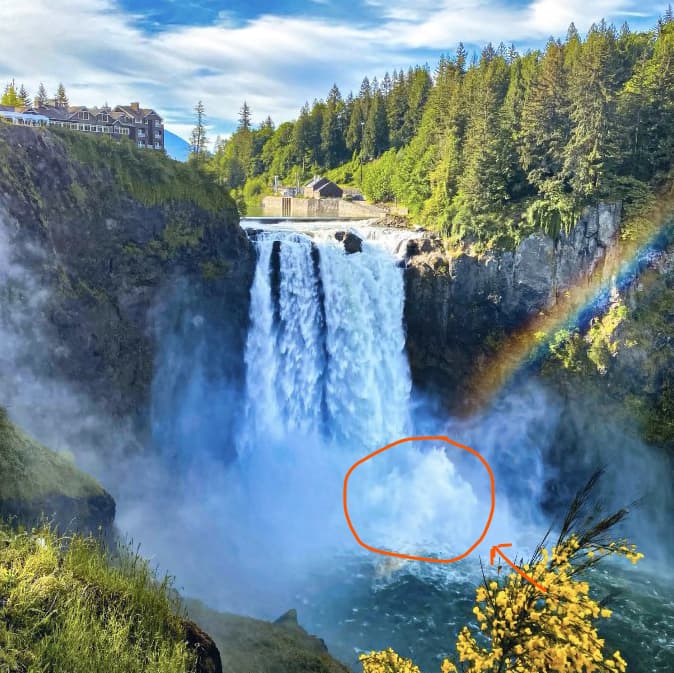
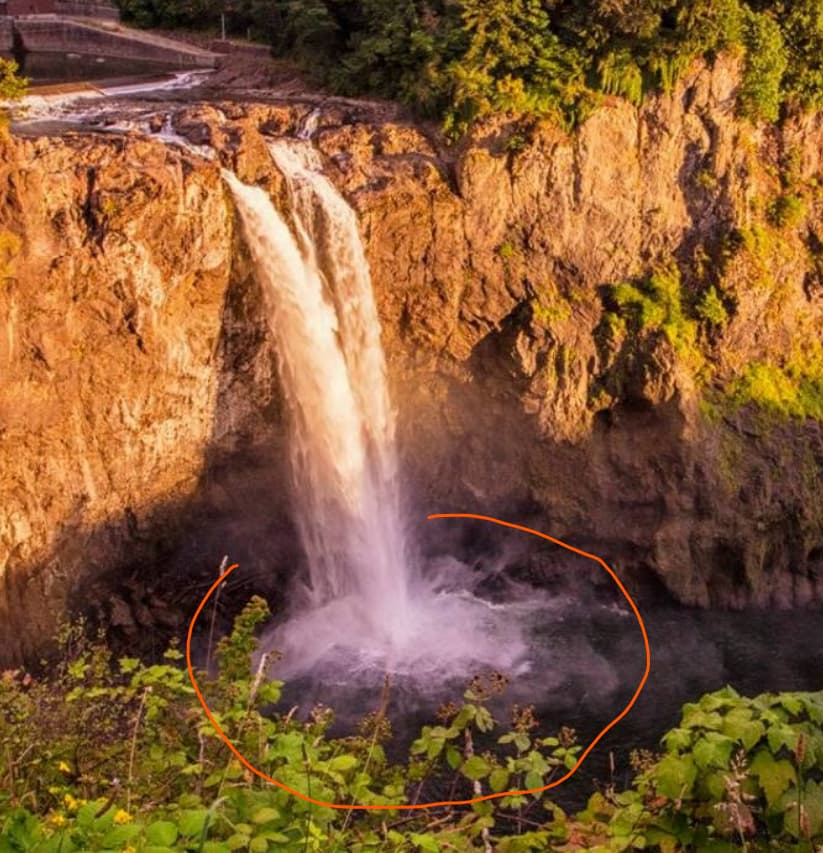
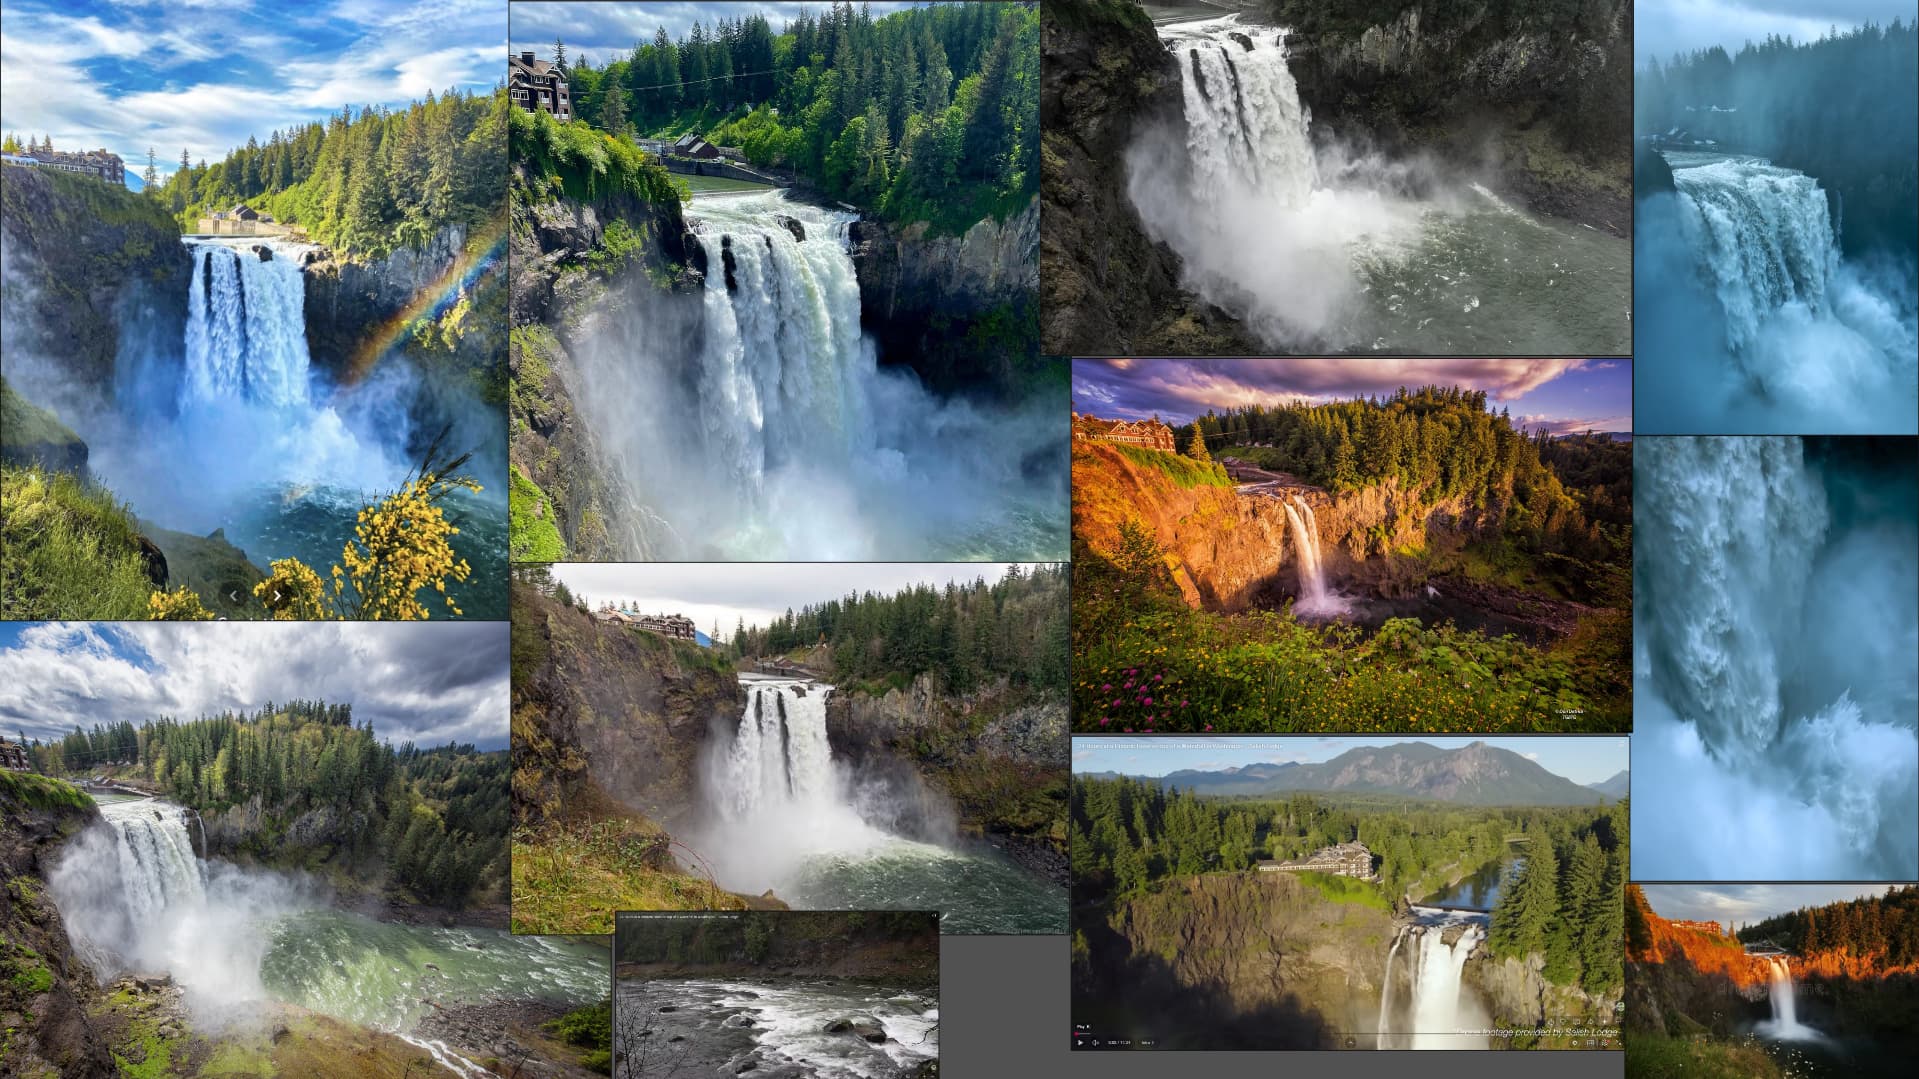
Here is a capture of some of the photo reference I was working from for this project. I also have many videos of the falls saved on my computer.

In my reference search, I really fell in love with the composition and overall look of this photo and decided to base my project around that look.

In order to accomplish this, it also meant I’d need to do some environment work and couldn’t just focus on only the waterfall. Since I was planning to use Unreal for this project, that meant I could use things like Nanite, Lumen, and Nanite foliage, so that gives me quite a head start over the old days of how time consuming it can be to optimize environment assets, make lightmap UVs, and bake static lighting etc. So I decided to jump in and see what I could do.

So, in order to get started I needed to create a quick environment to start blocking out my waterfall and the river. I knew that I could possibly just sculpt a landscape in unreal to match my reference images, but that would probably take a good chunk of time, so I decided to see if I could pull real-world heightmap data online from Snoqualmie falls.

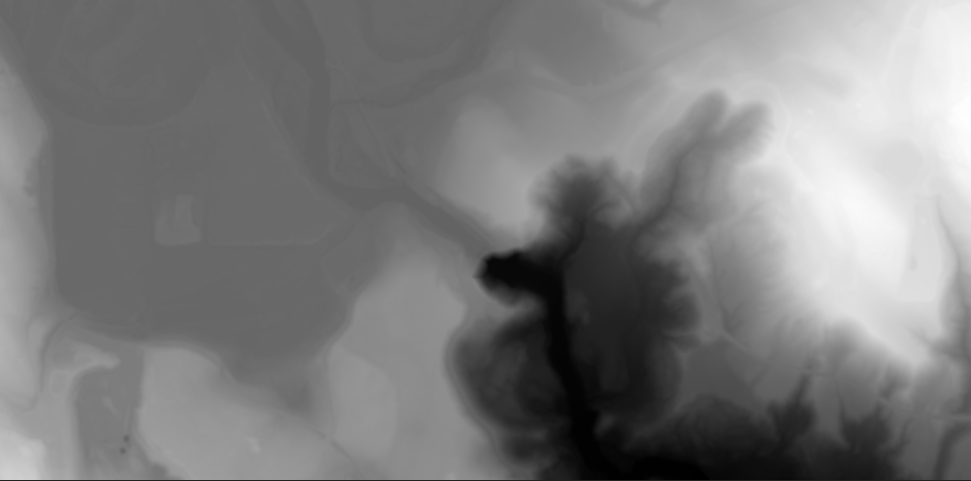
So, after some research, I found Tangrams heightmapper, lined up the image with Snoqualmie falls, and exported a heightmap.

It looked something like this:

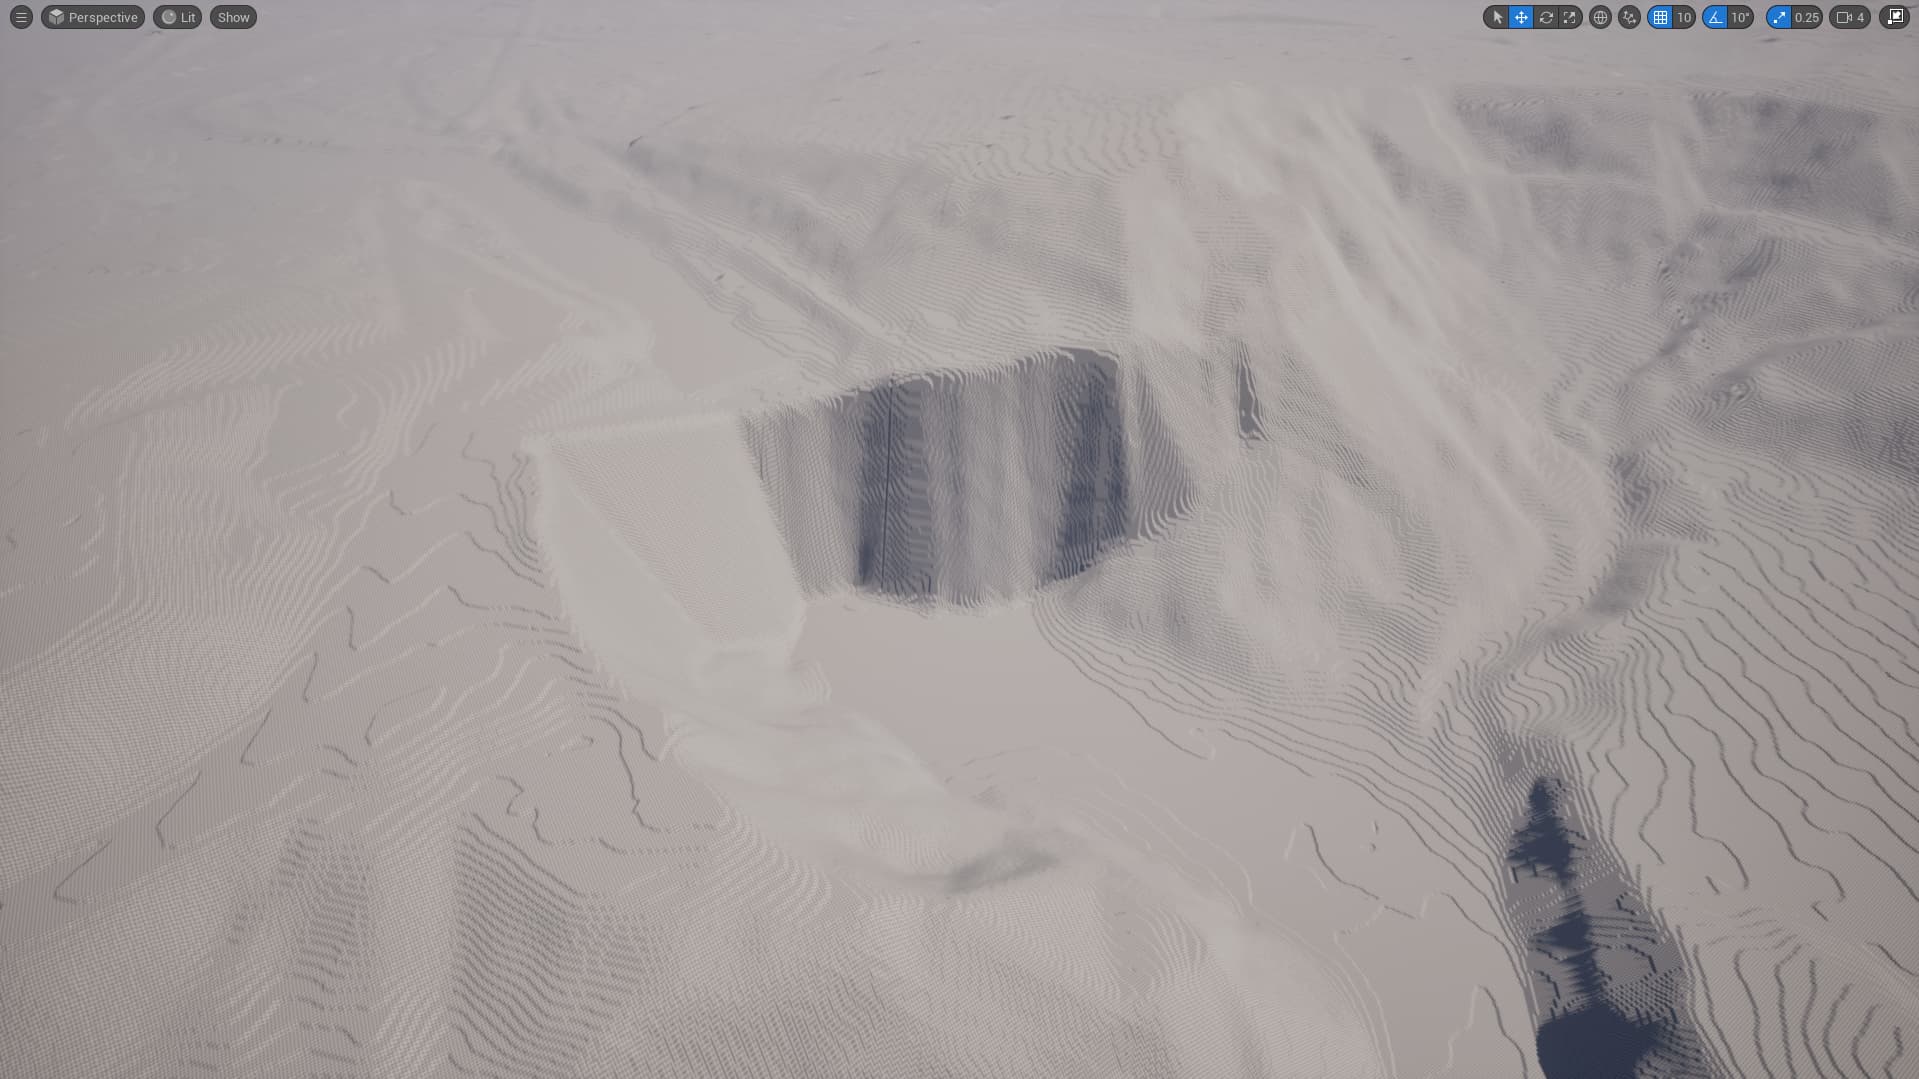
Then I used that image to create a landscape in unreal that looked like this:

This required a bit of manual smoothing, but that went pretty quick.

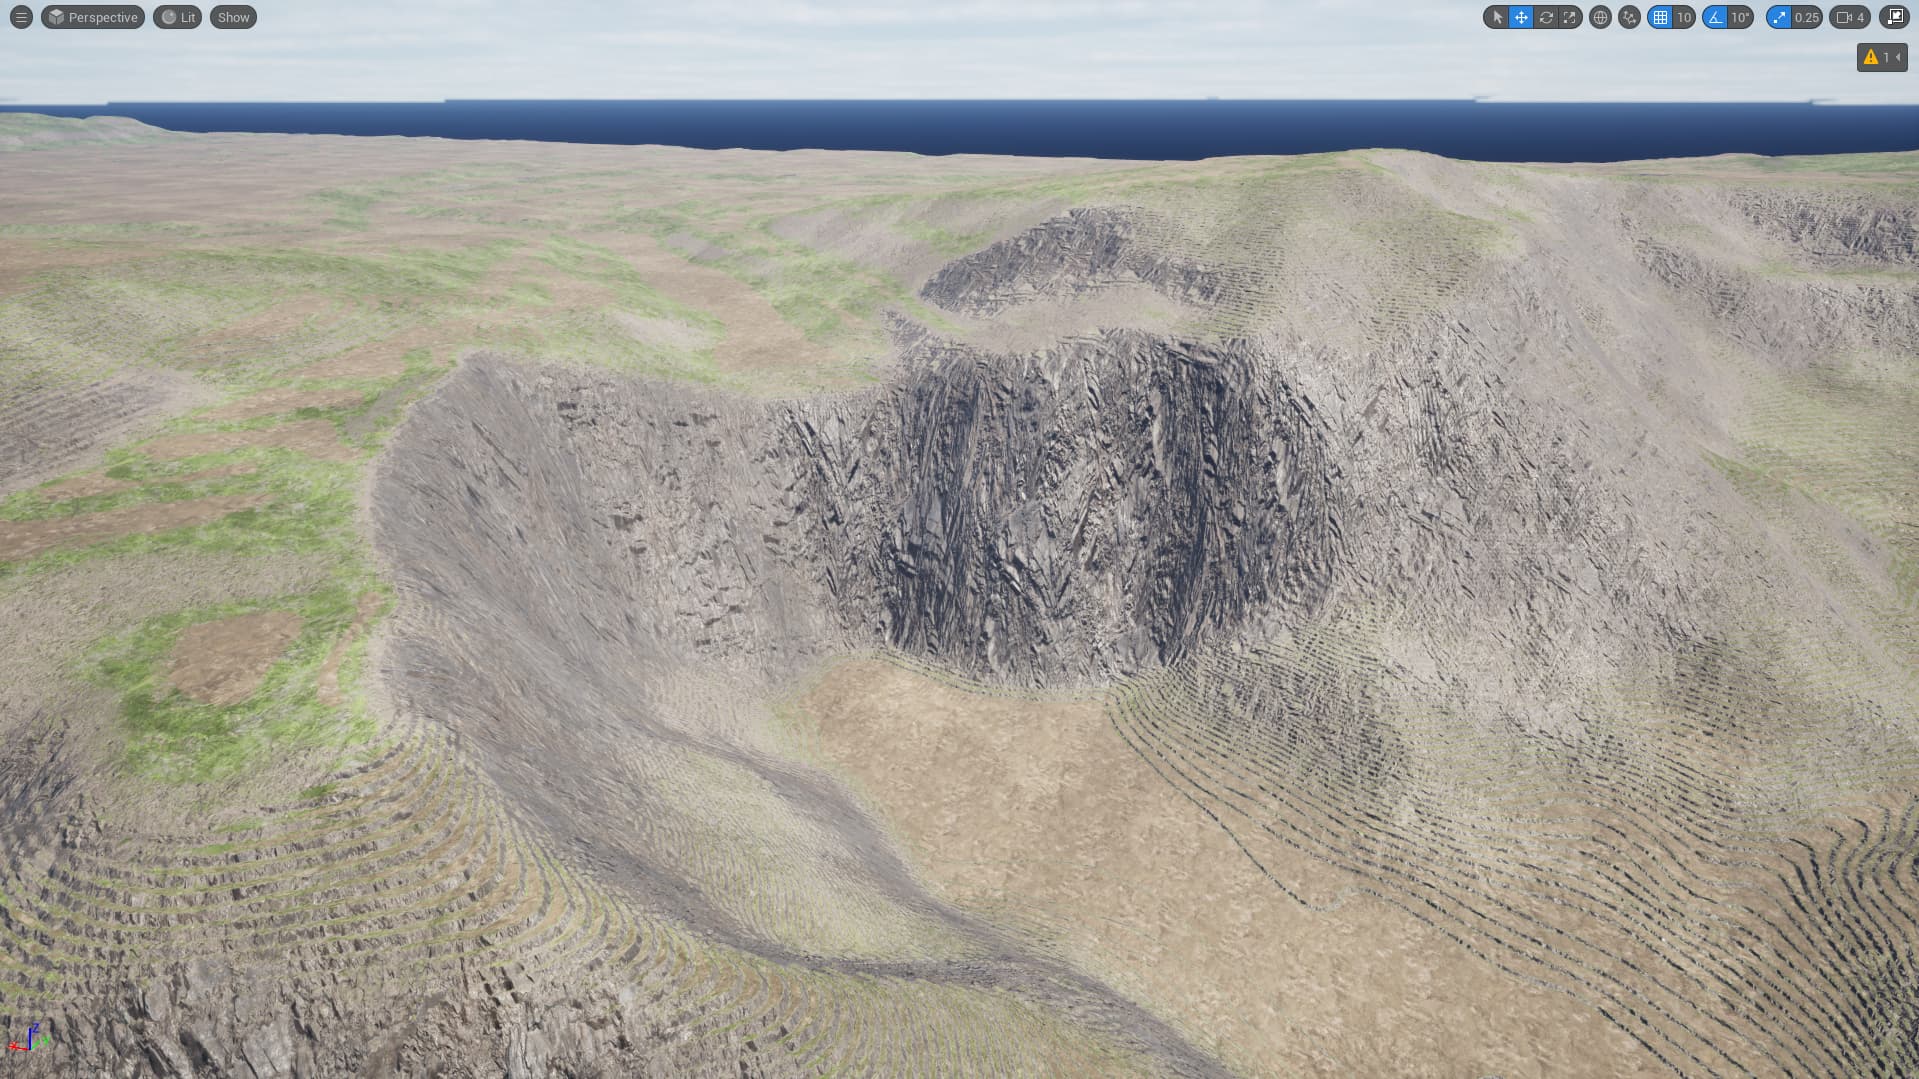
I didn’t want to spend too much time on details at this point, so I grabbed a free landscape auto material from the Fab marketplace and that got me to where things looked like this.

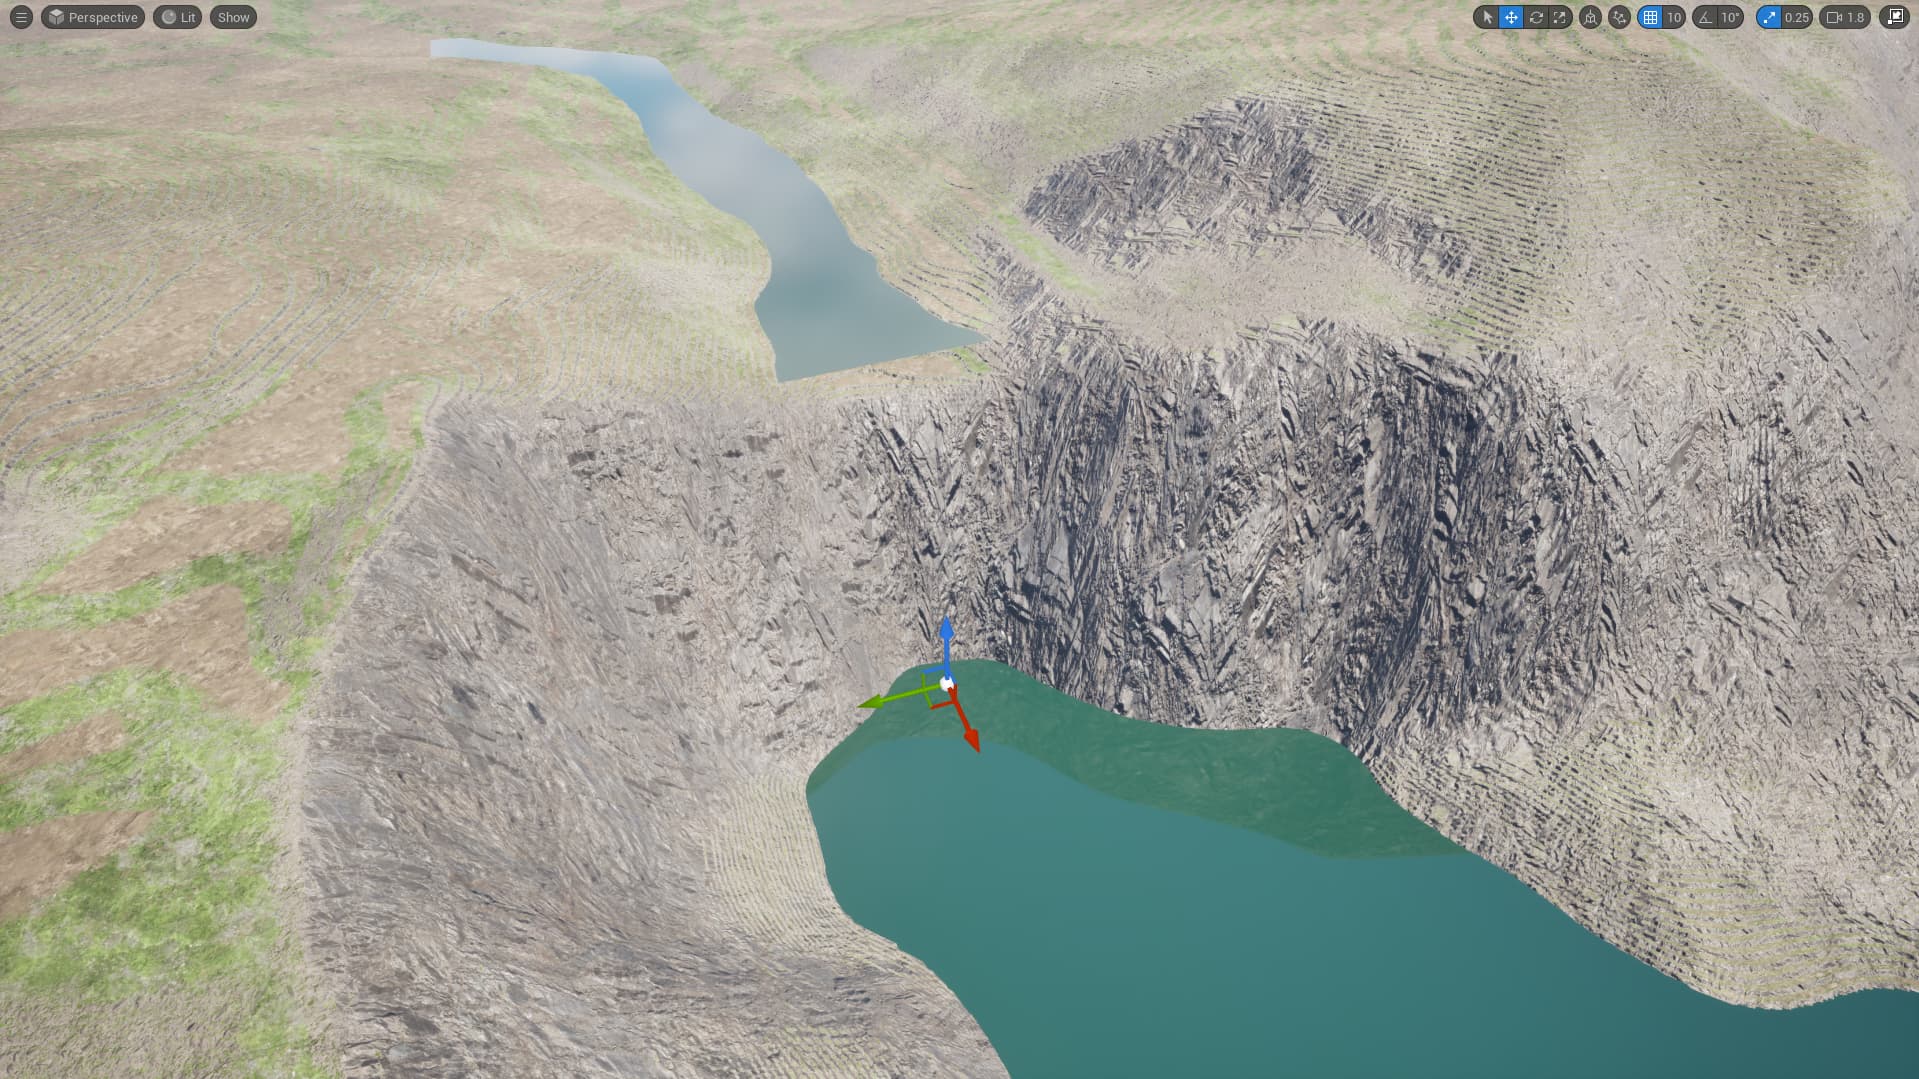
One thing that I was mindful about, was that heightmaps don’t usually result in particularly accurate sheer cliffs, at least not in unreal. Snoqualmie has what appear to be some vertical drop offs. So I knew I’d need to go in and do some manual sculpting to tweak things to better match my reference.

At this point I was able to get started on the waterfall and river setup though.

2 Likes

Looks absolutely gorgeous Justen! :clap::clap:

1 Like

So, at this point, the wise version of me knew that it would be best to translate the landscape, such that my world origin would be oriented right around the base of the falls. Something like this perhaps:

This sort of setup helps immensely if you need to move multiple assets back and forth to a DDC like blender and preserve their position/orientation with one another and easily being able to orbit around them in the DCC. Also, this generally just makes it easier to move things using the world position gizmo in Unreal.

The further into a project you get before making this change, the more painful it becomes to try to move everything in your level, without accidentally messing something up and needing to spend time tracking down what went wrong.

Unfortunately, the wise version of me must have been on vacation that day, and I ended up forgetting to do this and just powered through the rest of the project without this extra quality-of-life step. Often times you don’t have the luxury of modifying the world origin in a real game anyway, so I’ll just call this some extra practice that I gave myself, haha.

At the beginning of this project, I also sought out references for realistic waterfalls in games. These are super common game assets, so it’s interesting to see the various ways waterfalls have been made. Simon Trümpler wrote an amazing article and breakdown that covers waterfalls and splash vfx from Jedi Fallen Order and Death stranding. I highly recommend checking it out.

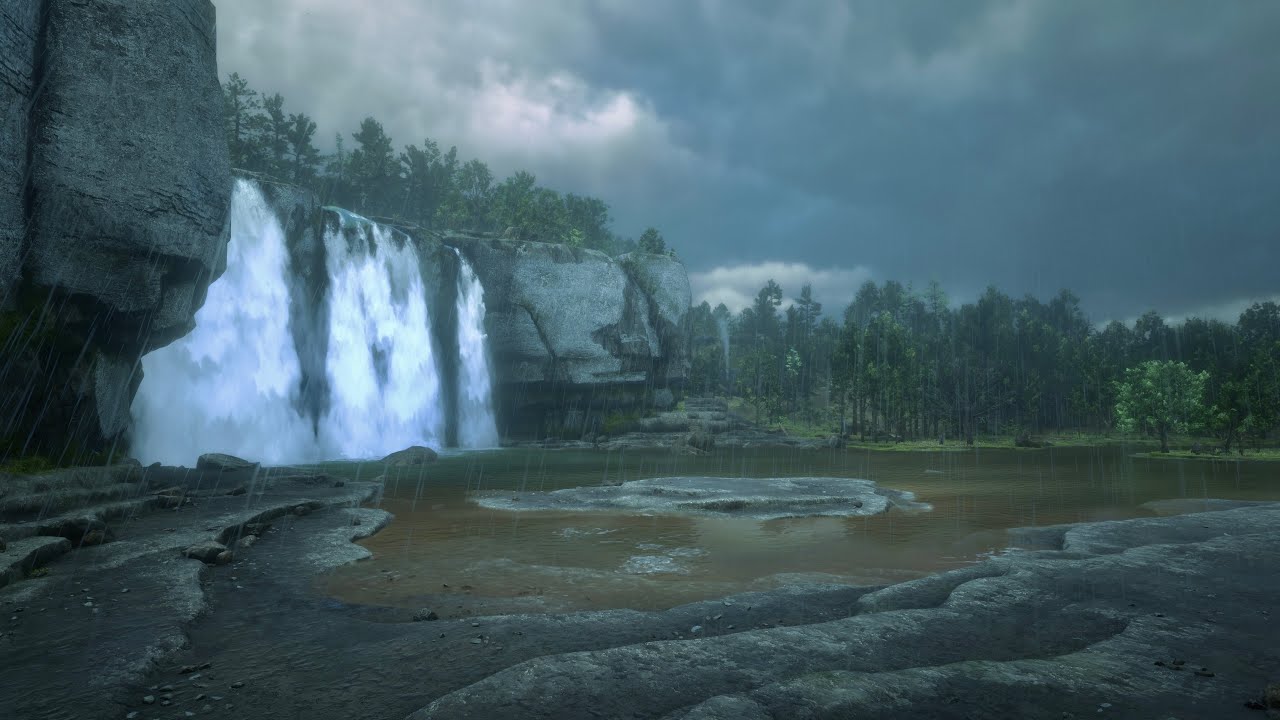
In my research, I felt that the waterfalls of Red Dead Redemption 2 stood out as really exceptional. The Kamassa river waterfalls ended up being my favorite, and potentially the closest to my Snoqualmie falls reference:

With that said, there were also many other waterfalls in the game that are a quite beautiful and inspirational from Red Dead 2.

One thing stood out to me in my research though, is that most waterfalls in games, tend to look like a planar shape with a scrolling material, and not much volume. That doesn’t make them bad, in fact the death stranding waterfalls that Simon showed are absolutely beautiful.

That said, my references for Snoqualmie have quite a bit of volume to them, and so I really wanted to take a stab at doing an effect that felt more volumetric when viewed from various angles.


So, this meant taking a mesh-based approach.

Also, most of what is visible in the water columns of Snoqualmie is essentially opaque whitewater. So instead of having this big mass of overdraw from translucent materials, I wanted to see how good of a result I could get using an opaque material for the water columns.

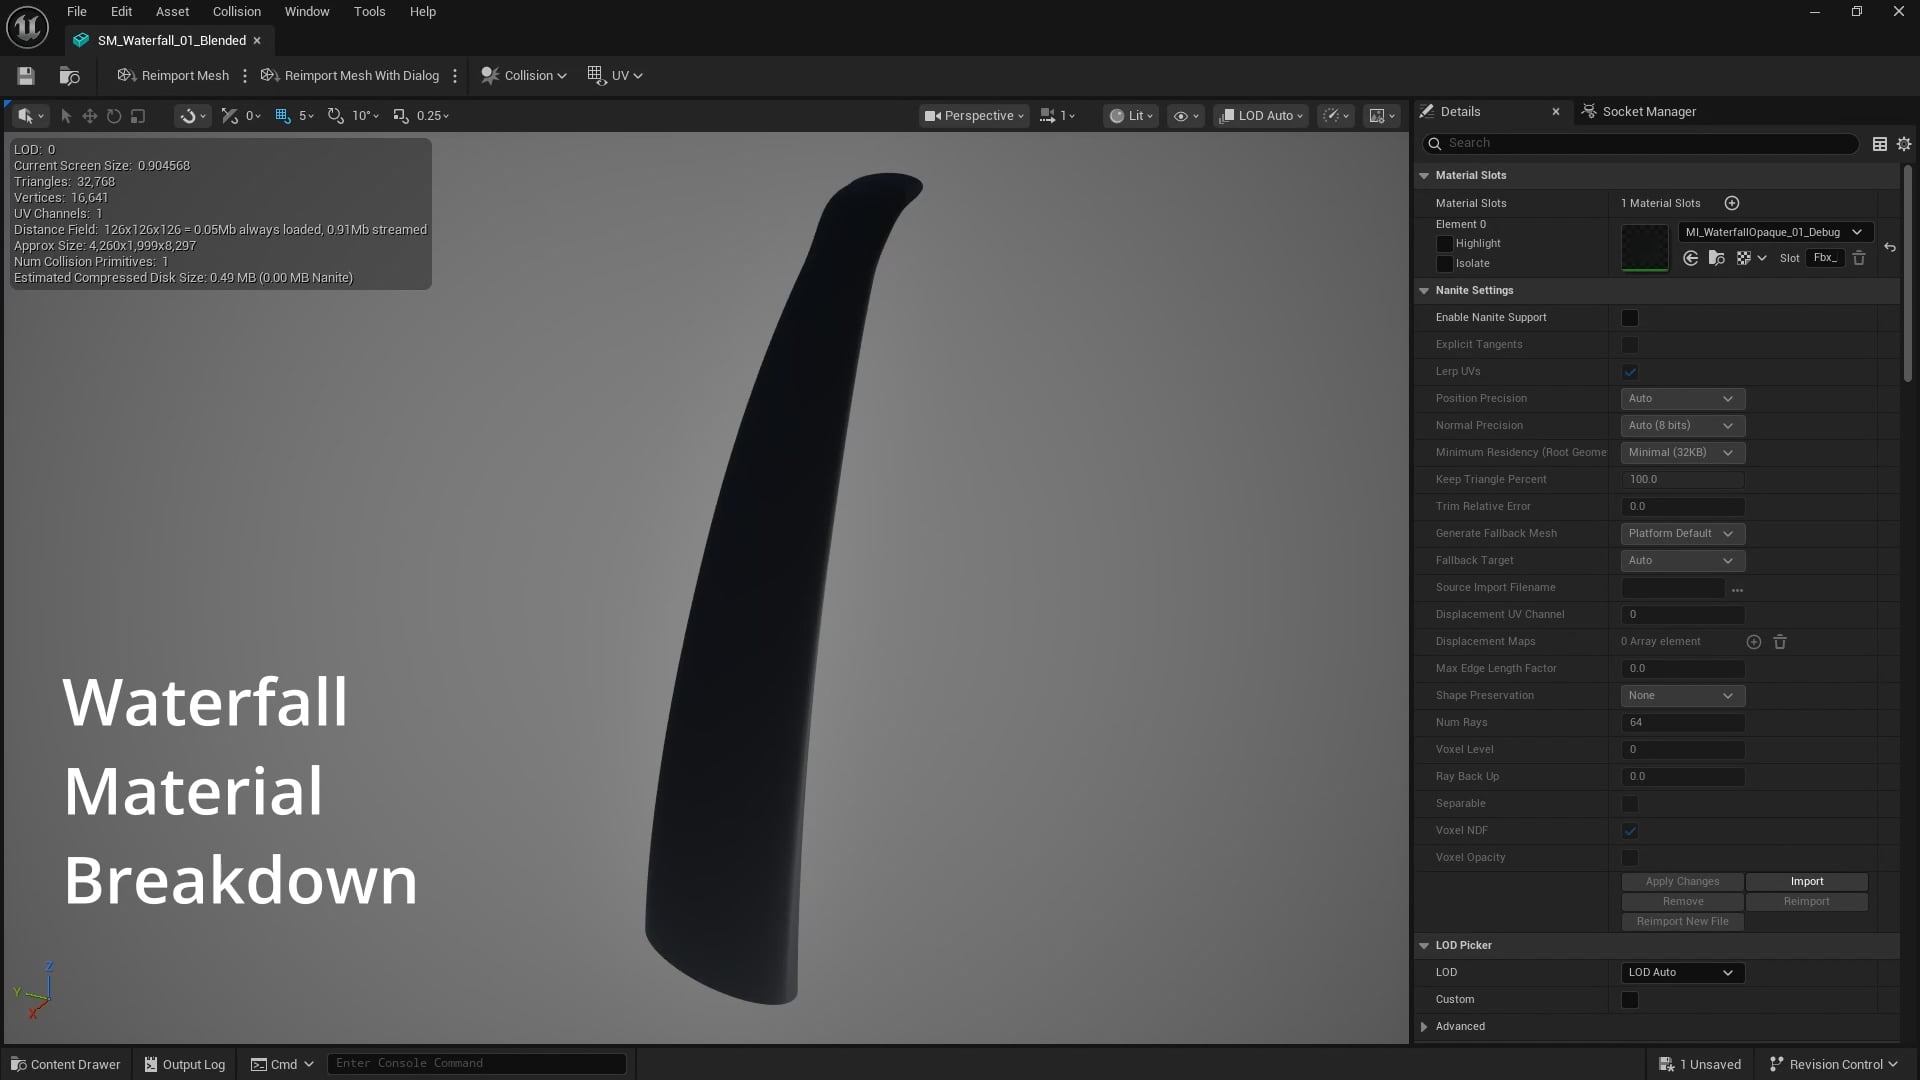
So, with this in mind, the first thing I did was block out the waterfall column material, which ended up being very close to the finished result.

I honestly don’t have a lot of video captures from this part of the project, so instead I will share the breakdown of that waterfall column material.

1 Like

Once I gained some confidence in the waterfall column material/mesh being an approach that could work, I started blocking out other elements in the environment to start getting a sense of all the elements in relation to one another.

Here is my earliest video capture from the project:

Initially, I wasn’t quite sure how I wanted to handle the upper and lower river elements. At the time of making this, there was a whole lot of excitement going around on Youtube about the new shallow water river tool that Epic games had recently included in Unreal.

I decided to spend some time with this tool to see if it would make sense for this project. In my video above, the upper river is using this shallow water tool.

While I found this simulation impressive, I ultimately decided not to use it. The tool was not yet fully stable, and I was getting a lot of bugs, like holes being cut in the landscape mesh in parts of the landscape that weren’t anywhere close to the water body actor.

That particular issue was something I might have been able to work around, but I ultimately felt like I wasn’t able to get the type of control I wanted for generating whitewater rapids, in an art directable way. The tool generates these rapids from collisions with rocks and uneven ground below the water, much like how things happen in the real world.

I did play with creating these sorts of obstacles for the water, but ultimately felt I was going to need to create a hand-authored solution for the top of the falls no matter what, and the river simulation was hitting my framerate pretty hard, even after baking the results, so I eventually removed this sim from the project entirely.

In the video above, I was working fast to get things blocked out, so I grabbed a flipbook texture from engine content for the mist and the outward rapids at the bottom of the falls were grabbed from Thomas Harle’s free water materials asset on the Fab marketplace.

I also grabbed some free megascans trees and setup some simple PCG volumes to place the them.

I also grabbed some free megascans boulders/rocks from the marketplace and then tweaked their materials to better match the landscape material. I also began to play around with matching the look of some of the dark wet rocks near the water in my reference.

1 Like

At this point, it felt like there wasn’t enough of a splash going on at the bottom of the falls for the amount of water that would be moving through these water columns.

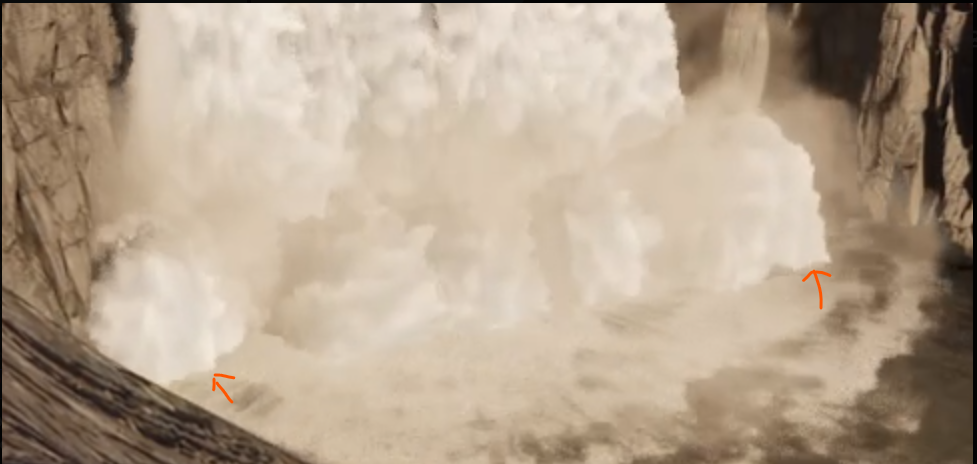
In looking through my reference images, I noticed these shapes at the base of the waterfall.


This video was also a great source of snoqualmie splash reference.

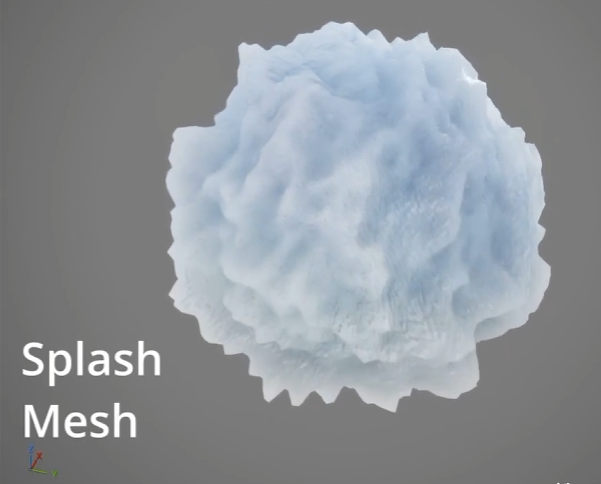
I felt like I could probably create something similar using sphere mesh particles with World Position Offsets in the material to break up the shape. Ultimately, this material ended up being mostly a variation of the original waterfall column material, just with a few tweaks to parameters and some custom logic added.

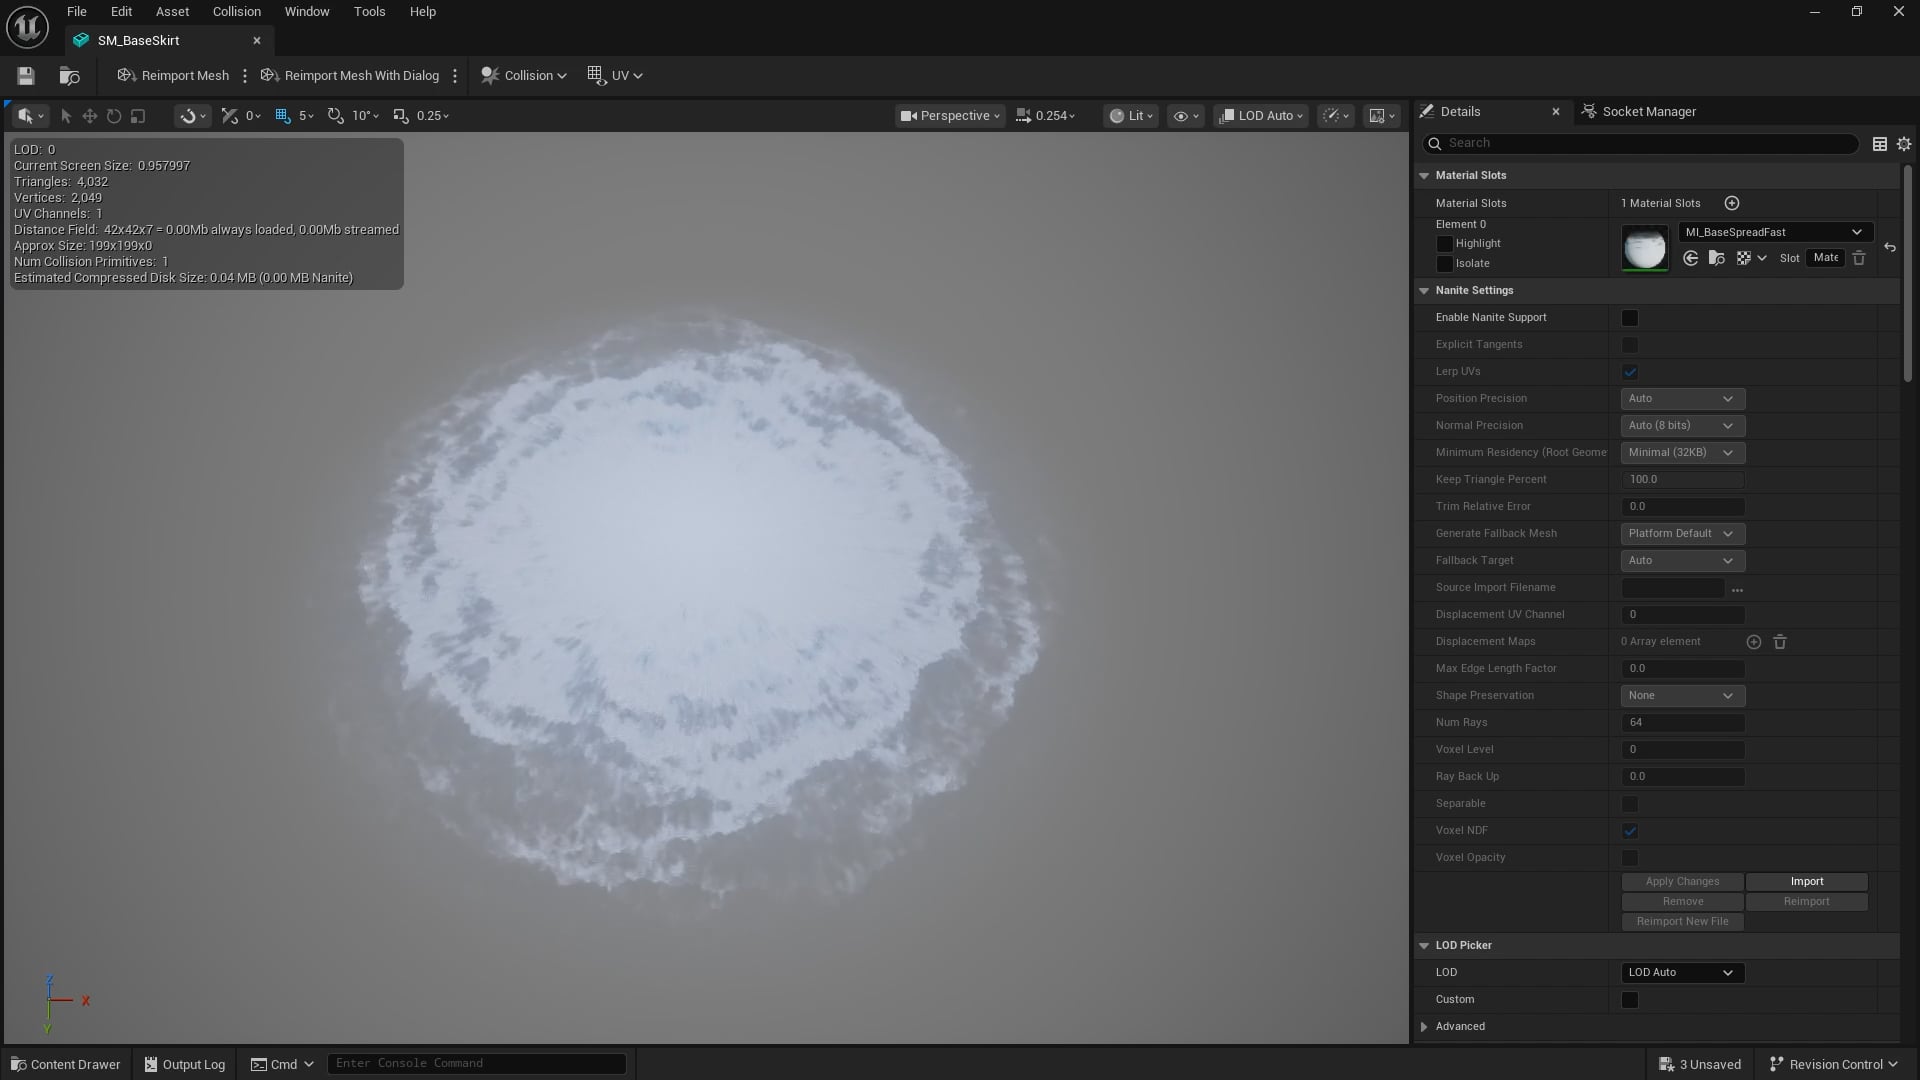
In isolation, that mesh eneded up looking like this:

And you can see it as part of a particle system at the base of the waterfall in this video:

In this video you can also see a better example of the output I was getting from the shallow water river tool in the upper river. I tried modifying the landscape mesh along with adding rocks below the water to try to kick up some white-water disturbances, but I just wasn’t getting a very art directable result.

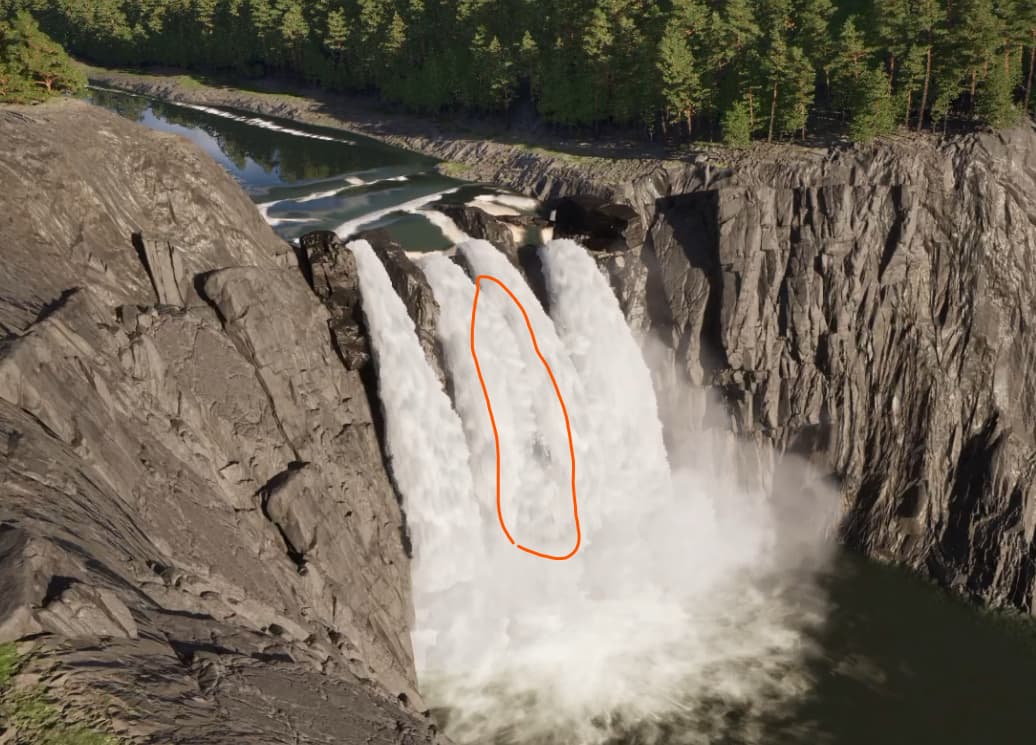
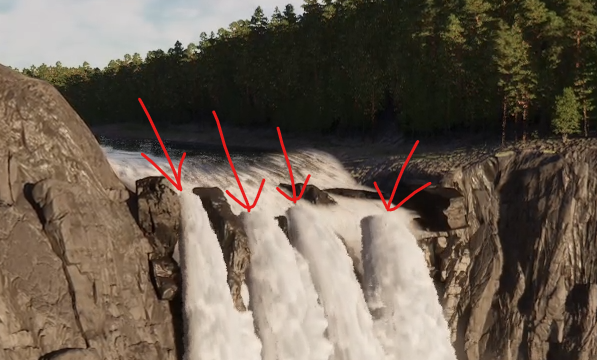
On a different topic, I felt like I was getting some pretty harsh edges on the waterfall columns and decided to test out using the same ‘splash sphere’ meshes in conjunction with a spline-following Niagara setup to make some separate water columns that masked the cylindrical nature of the main column shapes. I’ve highlighted that element below.

I kind of wrestled with whether I wanted to keep these spline-based mesh-particles throughout the project. In the end, I kept them, because I do think they helped hide the cylindrical nature of the main waterfall columns. I also experimented with a spline based setup for sprites at this point, but didn’t build confidence in using those until quite a bit later in the project.

So, with a solid understanding that I needed to manually setup whitewater at the top of the falls, I scrapped the shallow water river setup, configured a basic water material, and created a skirt mesh for the rapids at the top of the falls. This video shows the output of my initial pass at that.

You can also see that I replaced placeholder rapids at the bottom of the falls that I had borrowed from Thomas Harle’s free water materials, that I previously mentioned.

In most of my reference images and videos I was seeing shapes at the base that more closely resembled this shape. Though admittedly this shape was often obscured by mist.

Since this appeared to be mostly a radial shape, I knew I could handle it with one material/planar mesh. Given that this shape would likely have a bunch of mist particles above it, the path that the blockout system was using (spawning a bunch of flat overlapping particles) seemed like a lot of unnecessary overdraw.

I made a permutation of my waterfall column material, used all the same textures and very similar logic, and just updated the UVs to be radial, and with a bit of tweaking ended up with this material:

At this point, I started posting to the Realtime VFX discord and started getting feedback from the members about what was standing out to them. One of the things that came up was how the waterfall columns weren’t blending super nice with the rapid skirt just yet.

Another suggestion was to add more mist, which was definitely high on the to-do list.

Another item mentioned was to try to soften the harsh intersection of the meshes at the river. This ultimately got solved much later in the project, but was a good thing to start considering.

1 Like