Ribbons show some really strange behaviour, so I wanted to create a quick writeup on how I setup particle trails to work quite reliably (for now).
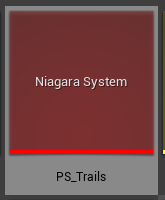
Create a new empty Niagara particle system
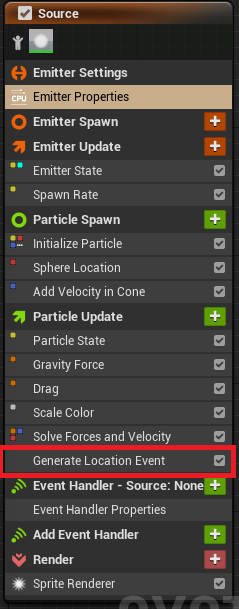
Add a new emitter from the fountain template and add a Generate Location Event Module inside of the particle update stage.
You can call it something like source. Note: This should work on every cpu particle system, not on gpu though
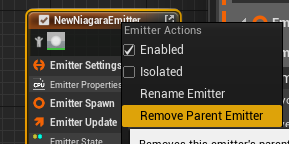
You can remove inheritance by right clicking on the emitter in the system view and clicking Remove Parent Emitter
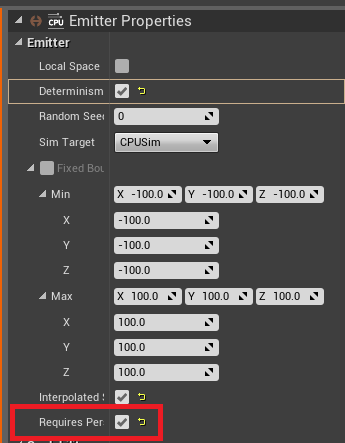
Niagara will throw an error here asking to enable persistent Id’s, so let’s just tick this box here. Under the Emitter properties module
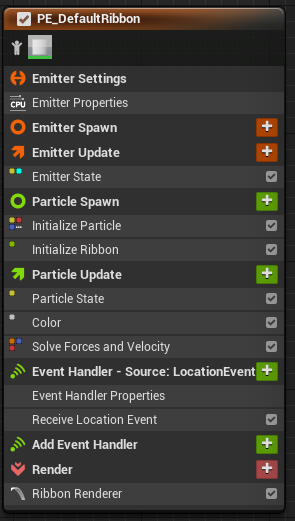
Create a new emitter empty emitter, add Initialize Ribbon, and ribbon renderer modules to the emitter. (You can use the sprite renderer to debug if you want, but for now, just delete it.)
In the event handler, press the “Plus sign” once to add the Event Handler Properties module.
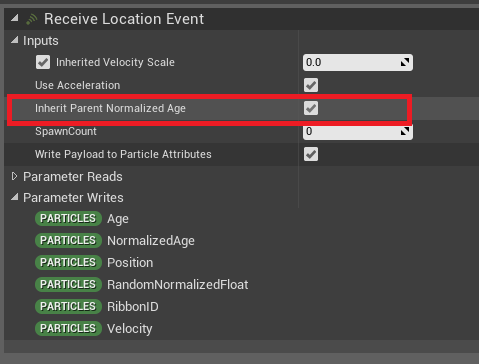
Then press it once more and add a Recieve Location Event Module.
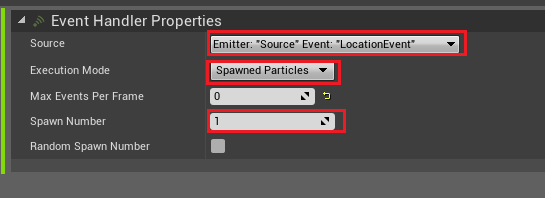
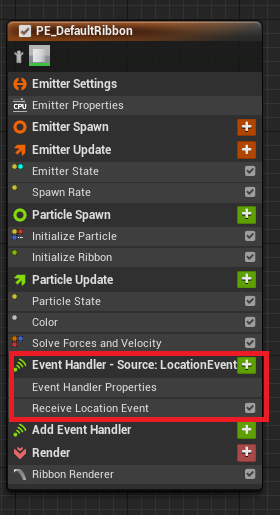
Under Event Handler Properties, Set these settings.
_You should be able to find your Source emitters location event in the drop down box.
In the ribbon render, make sure you set UV0Tiling Distance to a high number (Like 500) The default value causes the ribbons to flicker when using uv’s in your material
The end result should look something like this:
tldr: Use location event generater and reciever with spawned particles to spawn ribbon particles, make sure you UV0Tiling Distance is a large number to stop flickering.
thanks for the tutorial! <3 on nice addition would be, to fade the trail out before the particle dies so that the trail never stops all the sudden but fades out while still in motion.
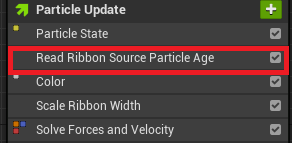
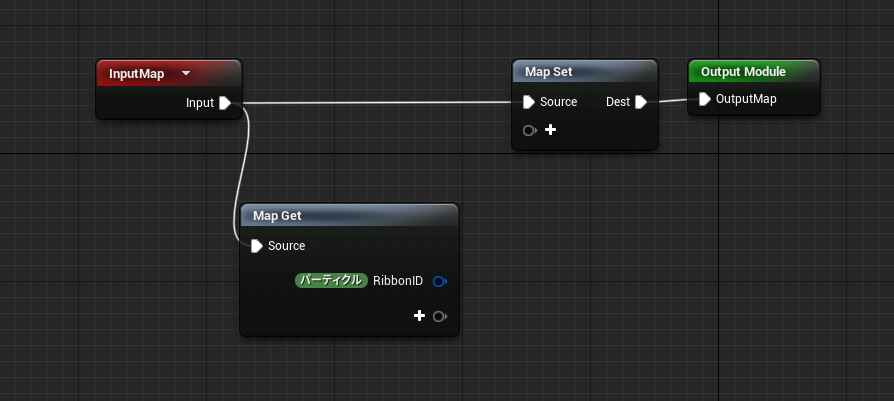
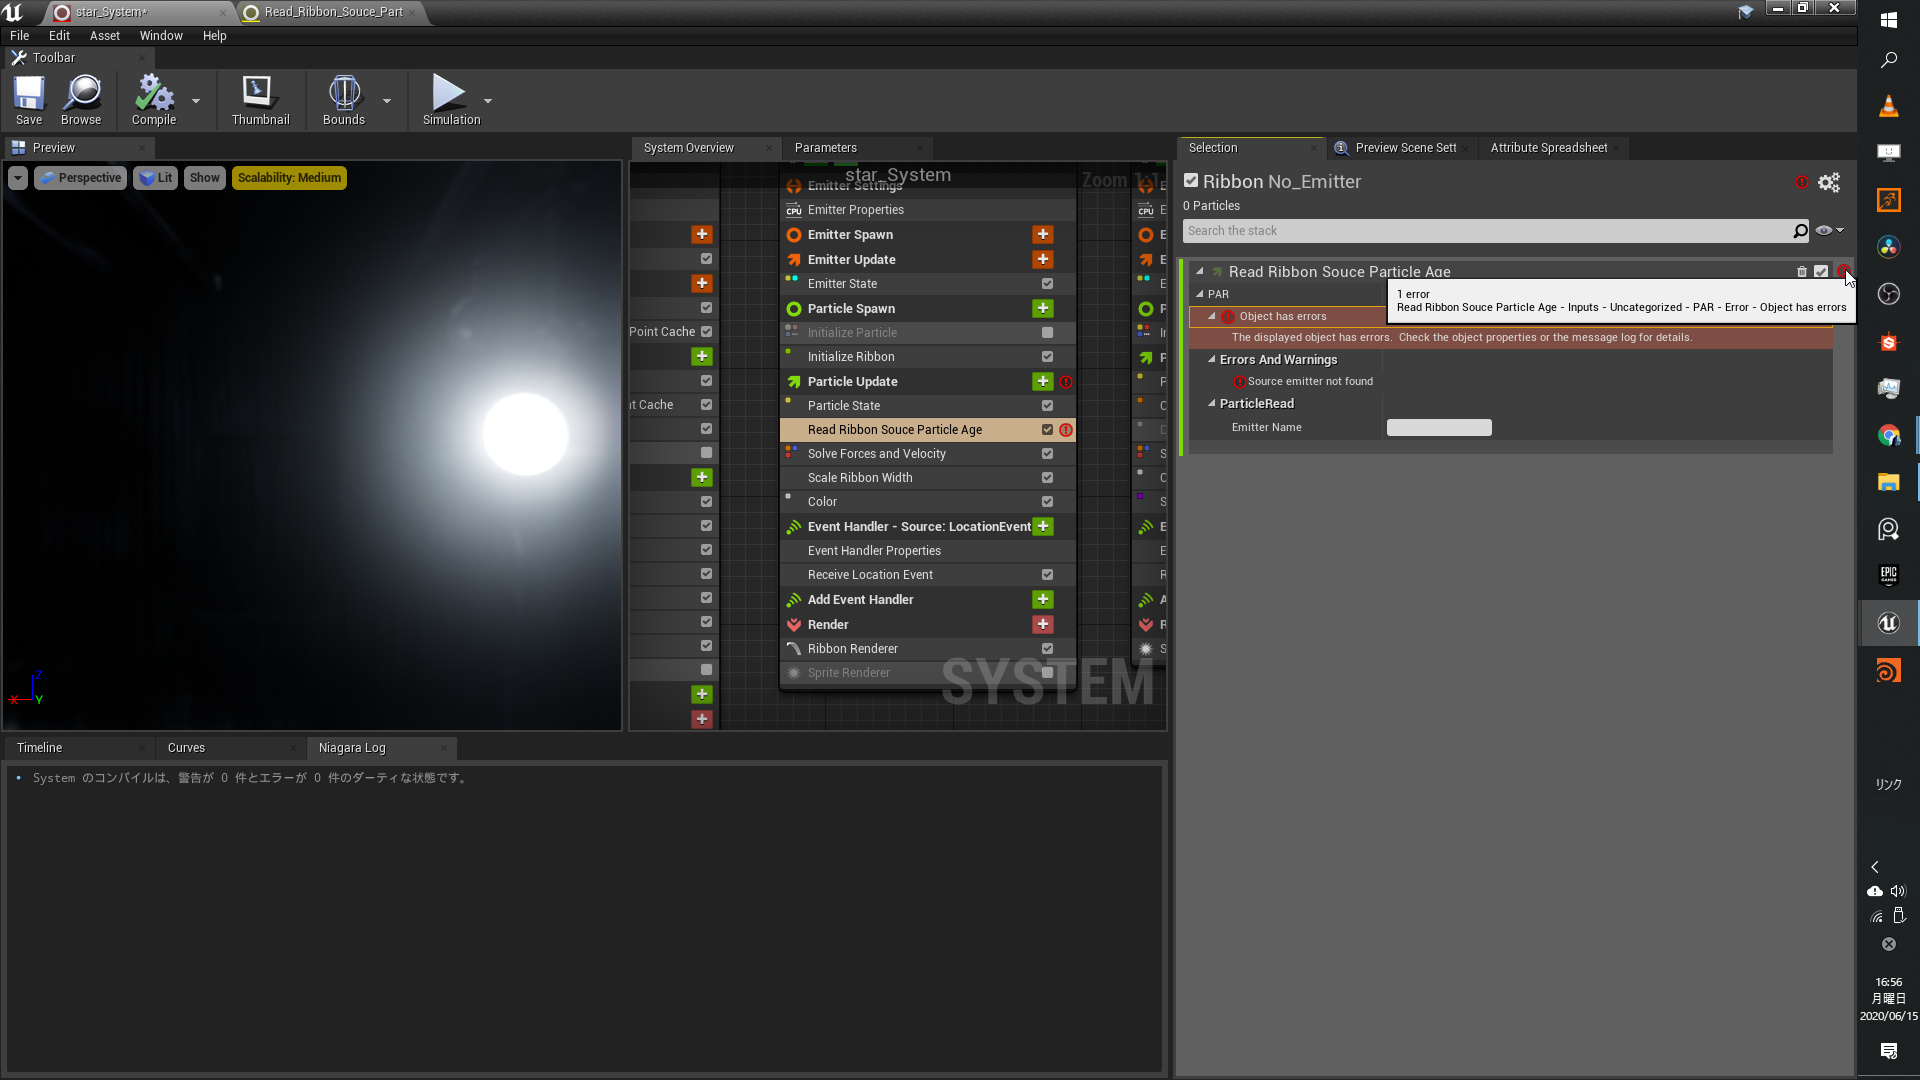
This will read the source particles Normalized Age so we can use it later.
Add the module in particle update after Particle State, but before any other update scripts (At least before any that you are planning to be affected by your source particle)
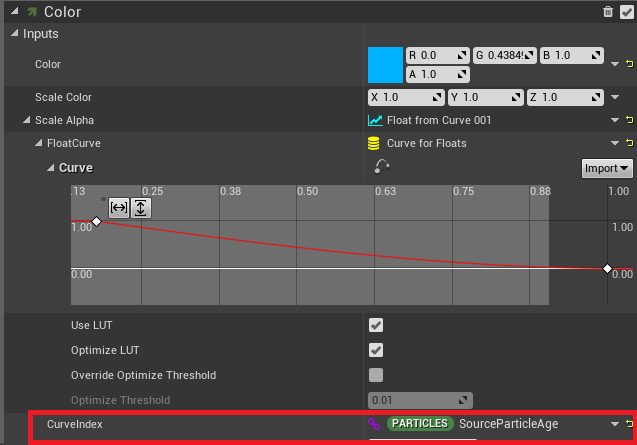
Now you can use a color module and use Particles.SourceParticleAge to animate the alpha of the trail.
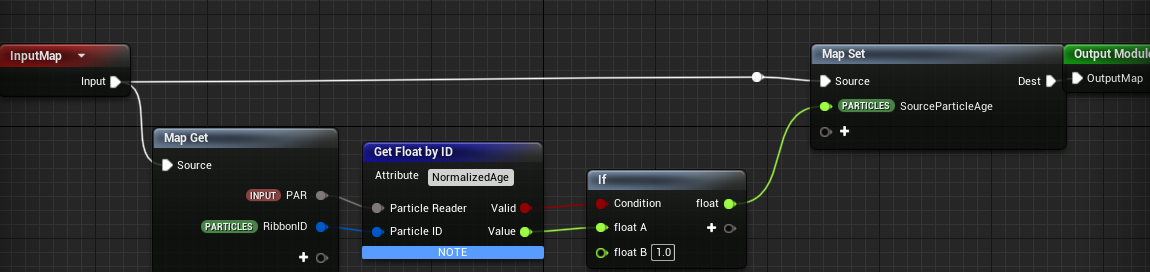
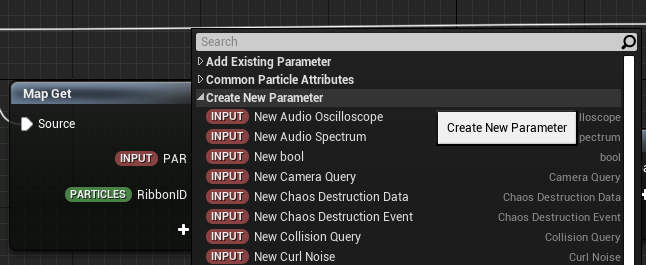
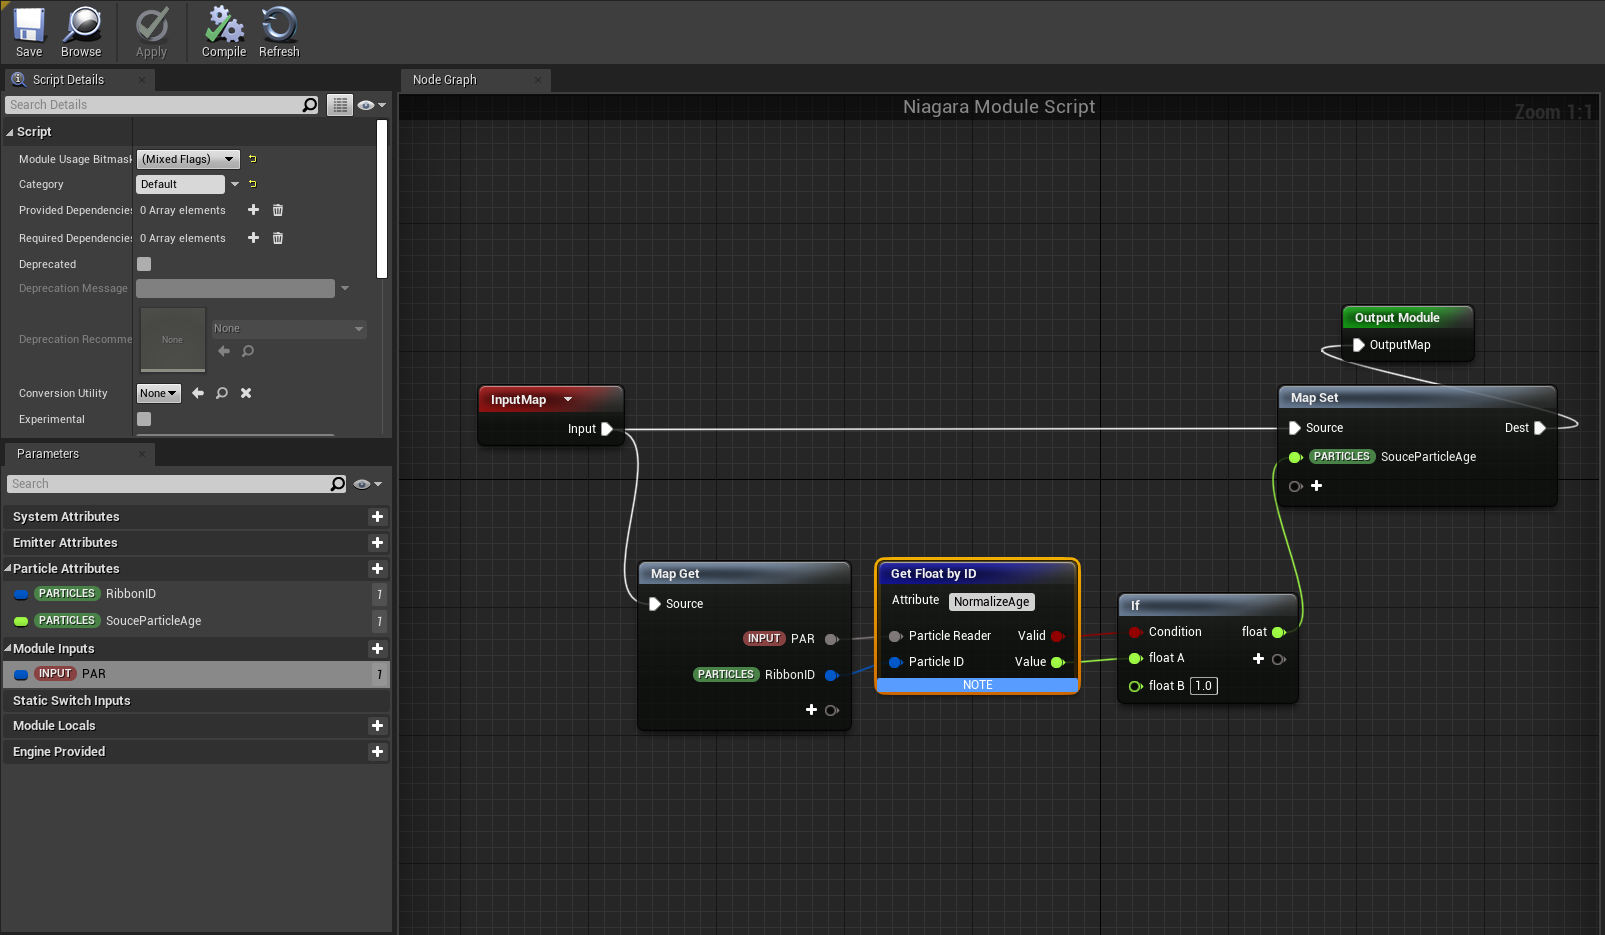
Press the plus icon, then under Create New Parameter, choose New Particle Attribute Reader
プラスアイコンを押してCreate New Particle にNew Particle attribute Readerを作ってください。
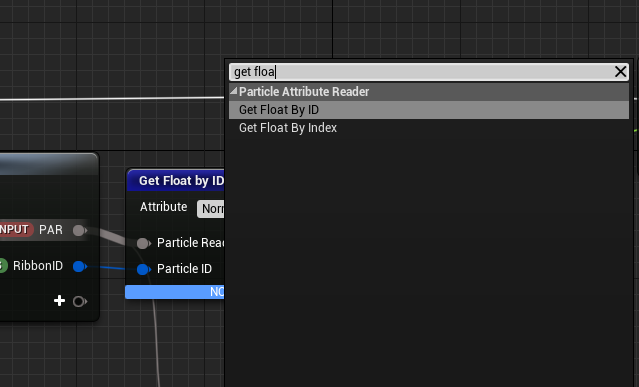
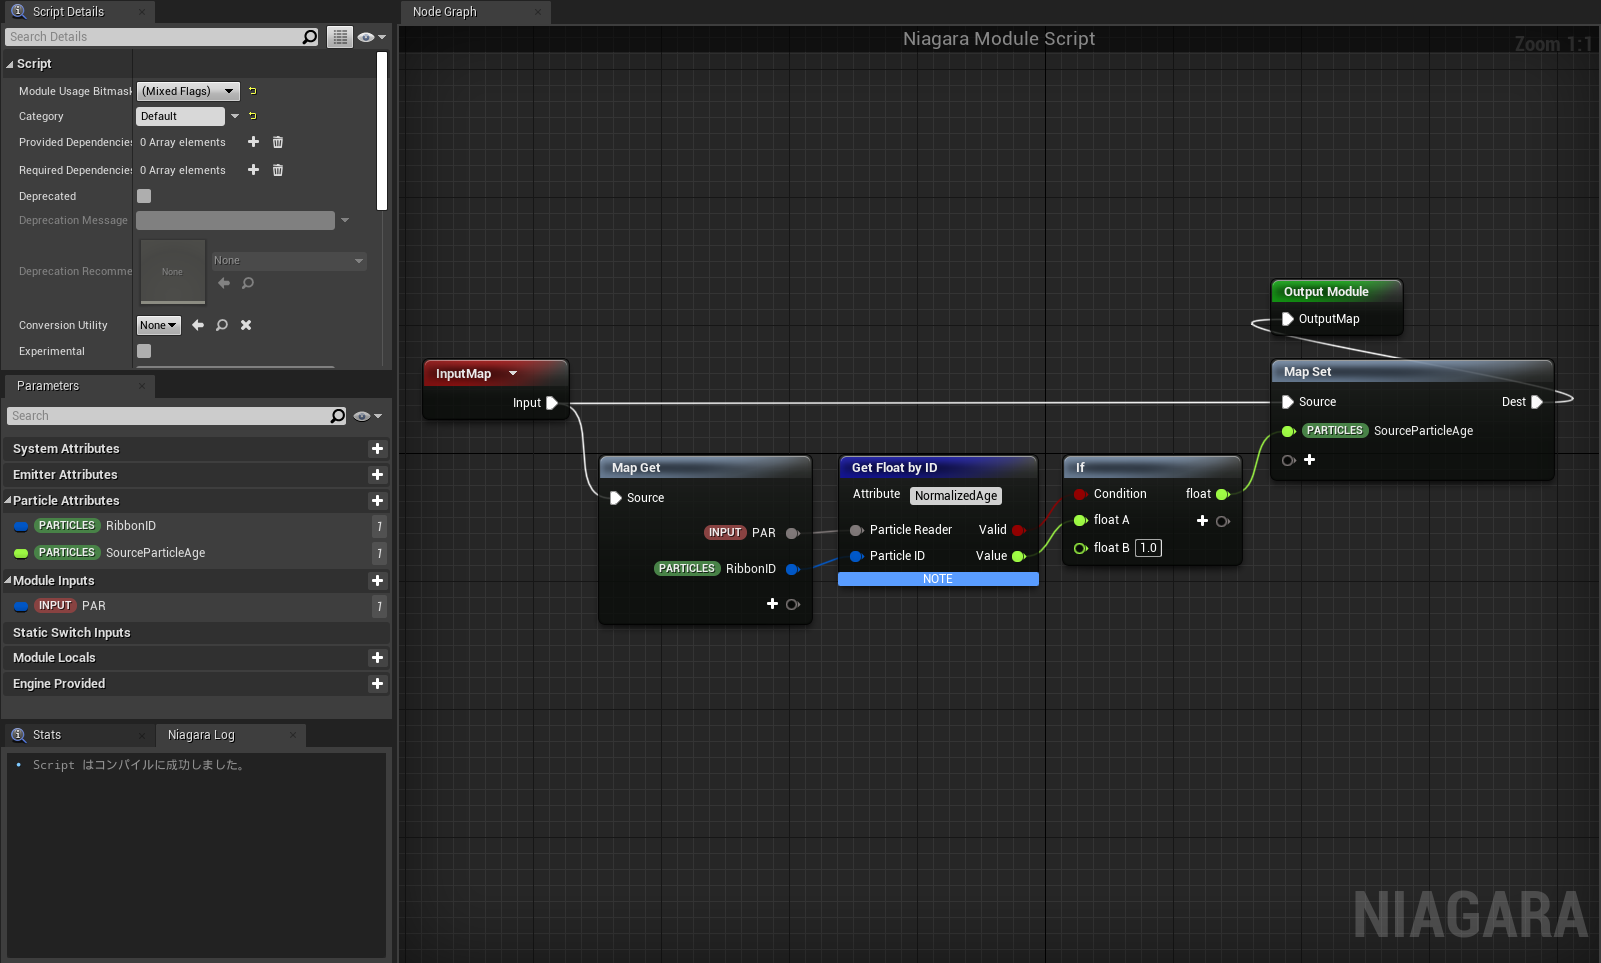
Then pull a line from the new parameter and choose Get Float By ID under the Particle Attribute Reader section
そしてそのParticle Attribute Readerから線を繋げてGet Float By Id を選んでください。
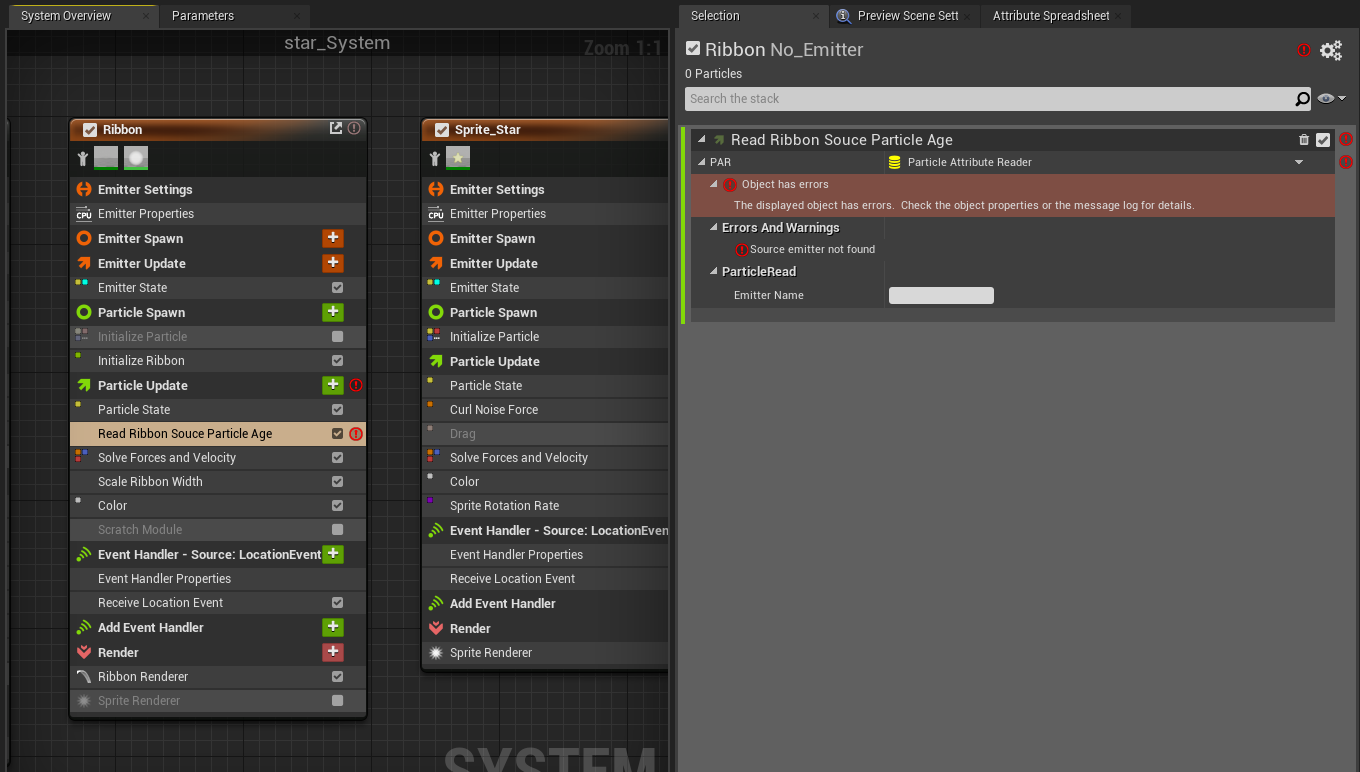
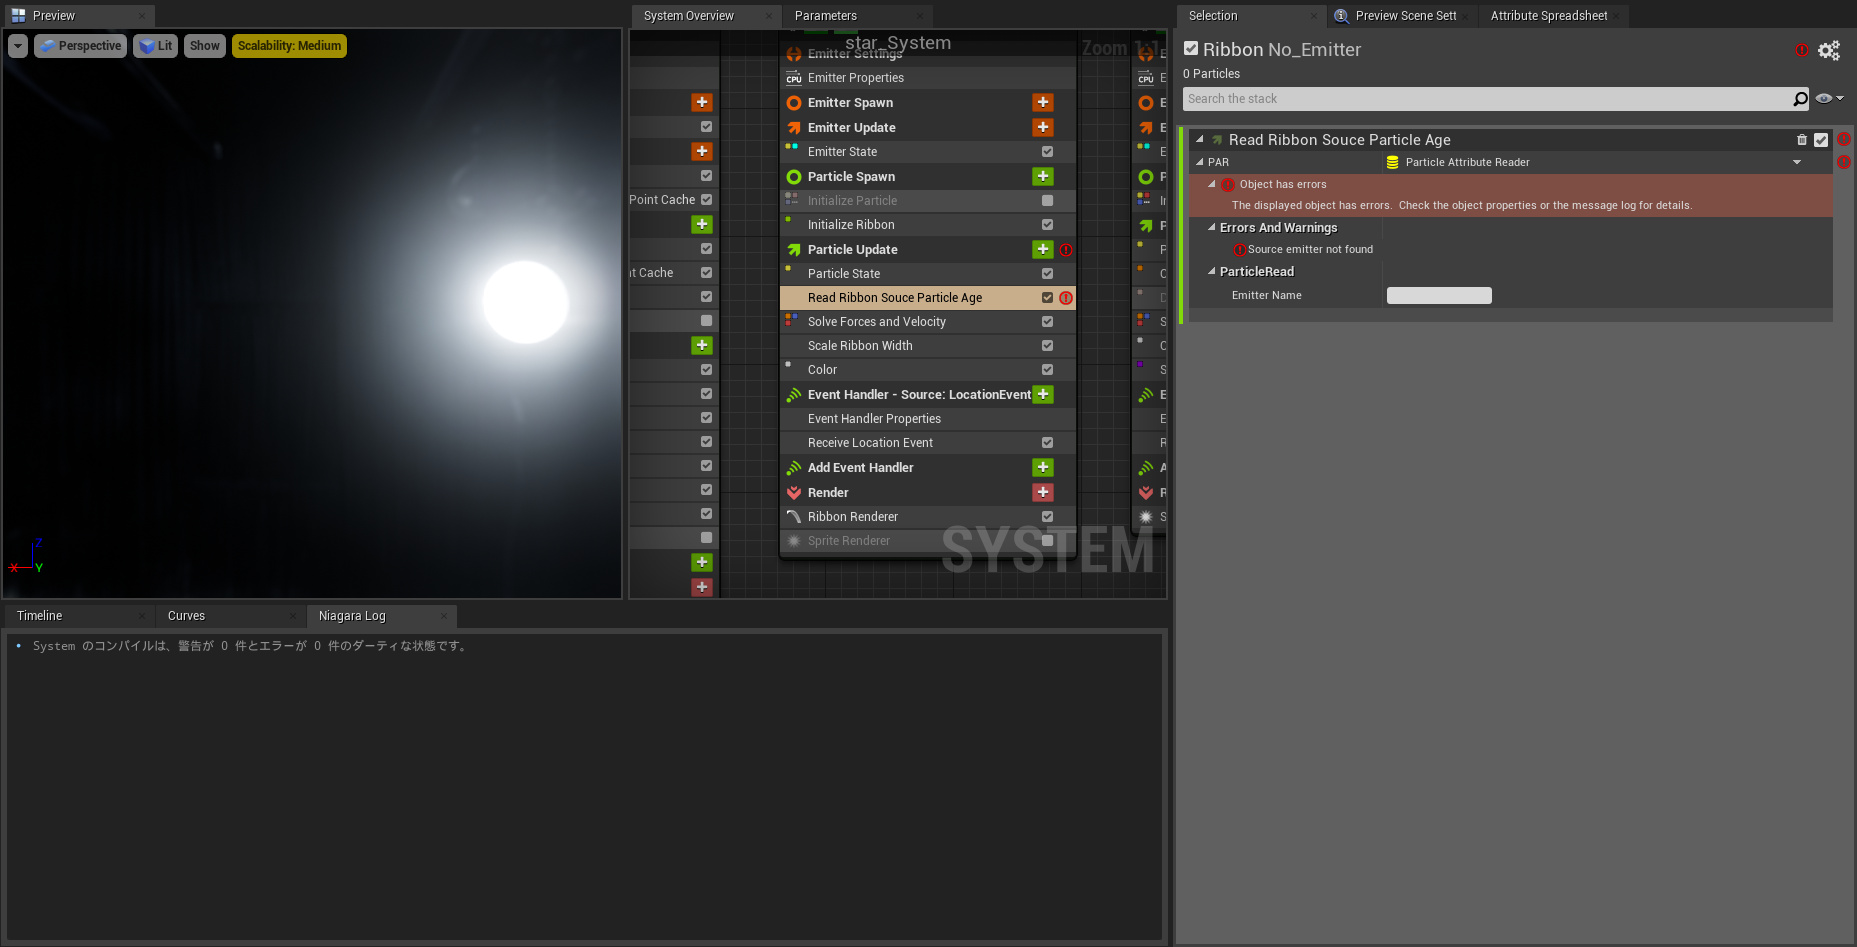
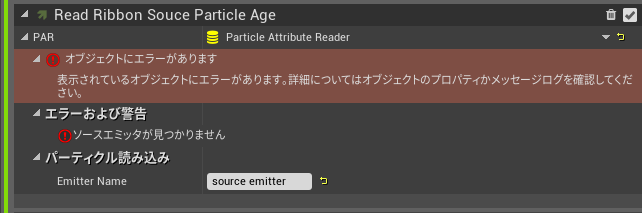
In GetFloatById, you typed [NormalizeAge] instead of [NormalizedAge], It probably doesn’t find the attribute because of that.
If that doesn’t fix the problem, could you pm me the message log?
Really appreciate you taking the time to do this Wyvery, this is invaluable as we start to amass more group knowledge about these basic processes and take them to advanced uses. Arigato!
As far as I remember, ticking it will cause it to flicker at the end.
However, if your tiling distance isn’t set, and you have a lot of trails, that might also cause it to flicker in some cases. (unless if they fixed that allready)
Yeah I’d need to experiment around with it more. Setting it up the way you show gives me occasional flicker (and it seems like it’s the trail flickering specifically, and only after a certain period of time). But ticking that box eliminated the flicker for me. I need to basically turn everything off and start adding elements to pinpoint where the issue begins. I know I’ve been several complaints about flickering ribbons in the last few months, but am not sure what the 100% definitive answer is.
This is a brilliant tutorial thank you so much for posting! I’ve found the best results with this come from declaring a colour in spawn, then in a scale colour module multiply the alpha by a curve based on the ribbons life and a curve based on the output from the module.


 Thank you very much.