Journey towards a portfolio

Hello, everyone, I have decided to document the journey of making my first proper portfolio here as a way to keep myself motivated and hold myself accountable while also sharing whatever small findings I might stumble upon that hopefully might be of use to anyone in this wonderful community. especially after I knew how big of a hurdle I was going to face since I am an international applicant and so on thanks to the recourse that Nicolas (Cool Cat VFX) recommended which was a great help.

I will be using a setup similar to Pawel Margacz’s stylized effect course but I decided to make it on my own … and it took my a couple of hours (4 hours :smiling_face_with_tear:) to make it but hey at least I learned a lot about animation montages and how to implement it without crashing the engine anyway.

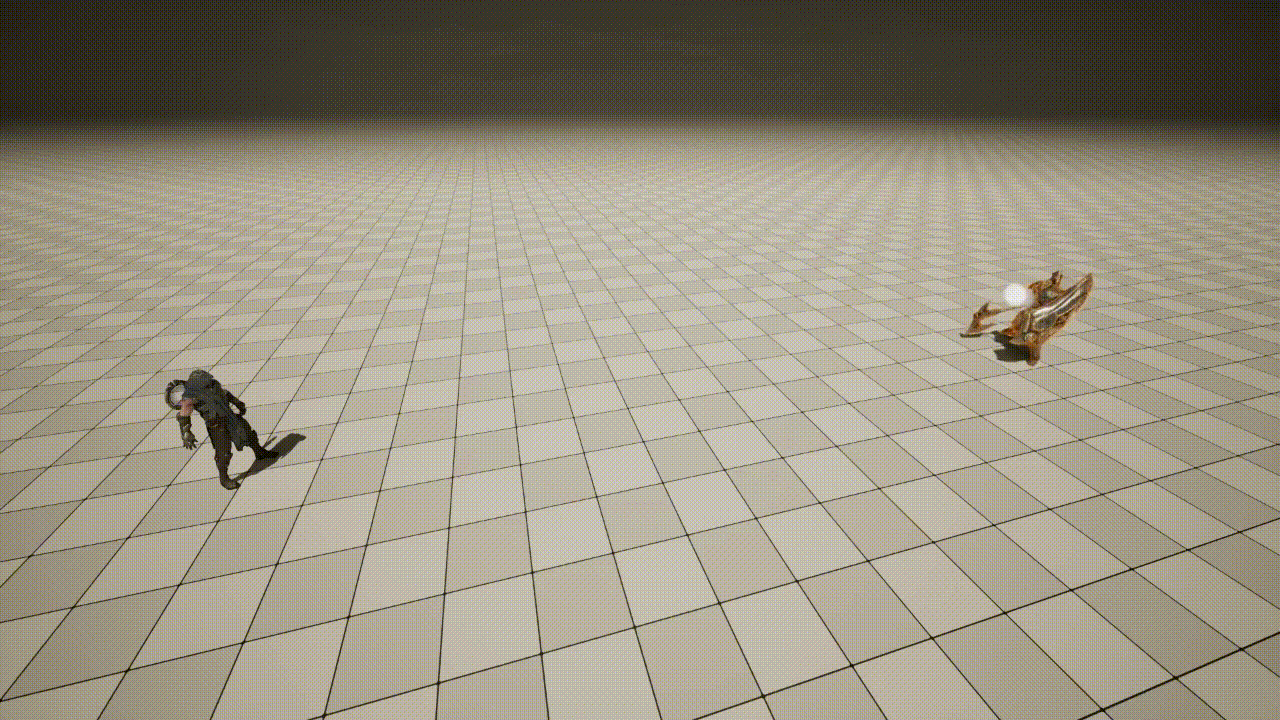
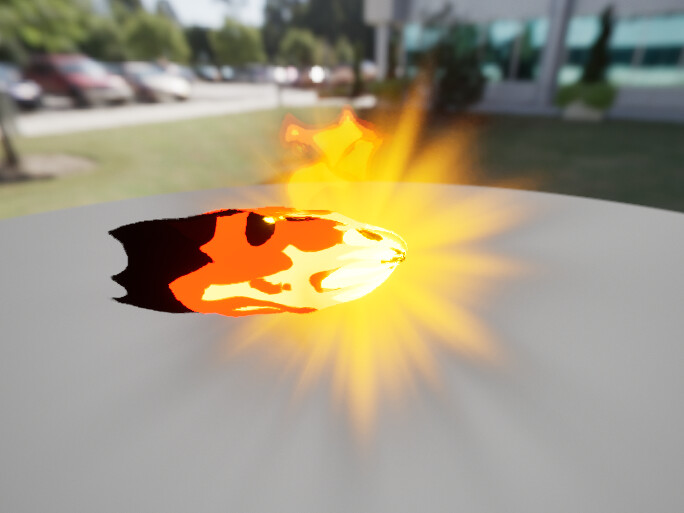
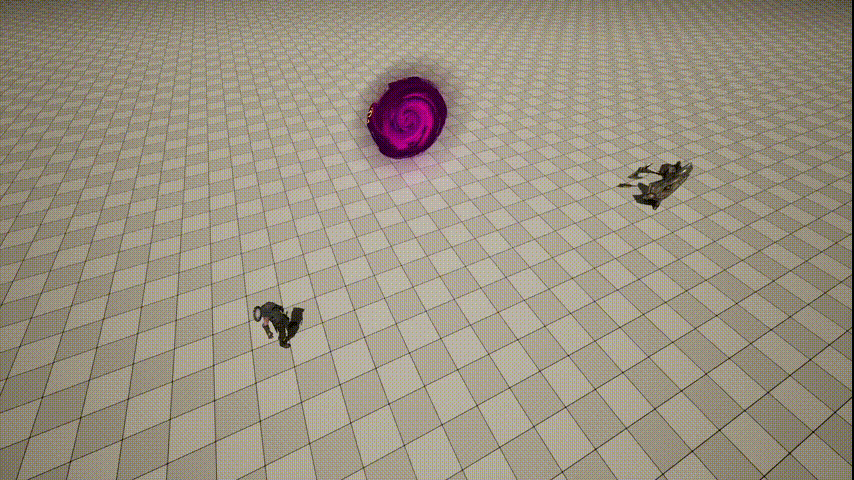
The result of day 1:

Untitled-Video-Made-With-Clipchamp-30

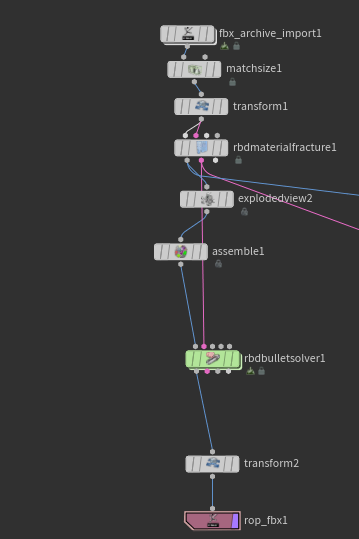
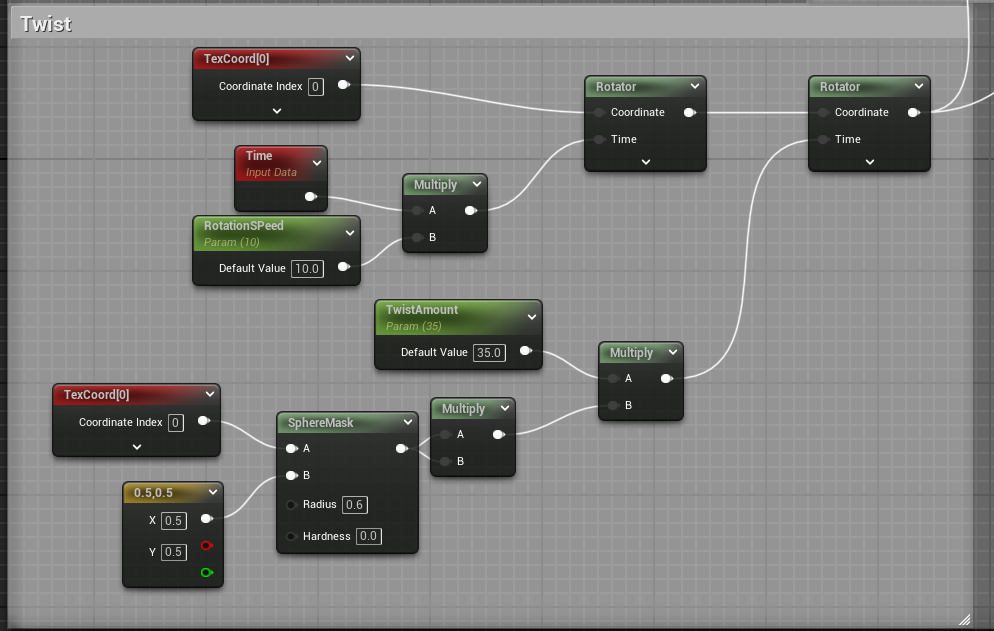
Implement a basic projectile BP (will have to rework it to be more flexible)

image

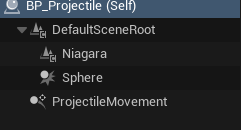
no logic just some setting adjustment in ProjectileMovement (correcting direction and Adjust the initial direction)

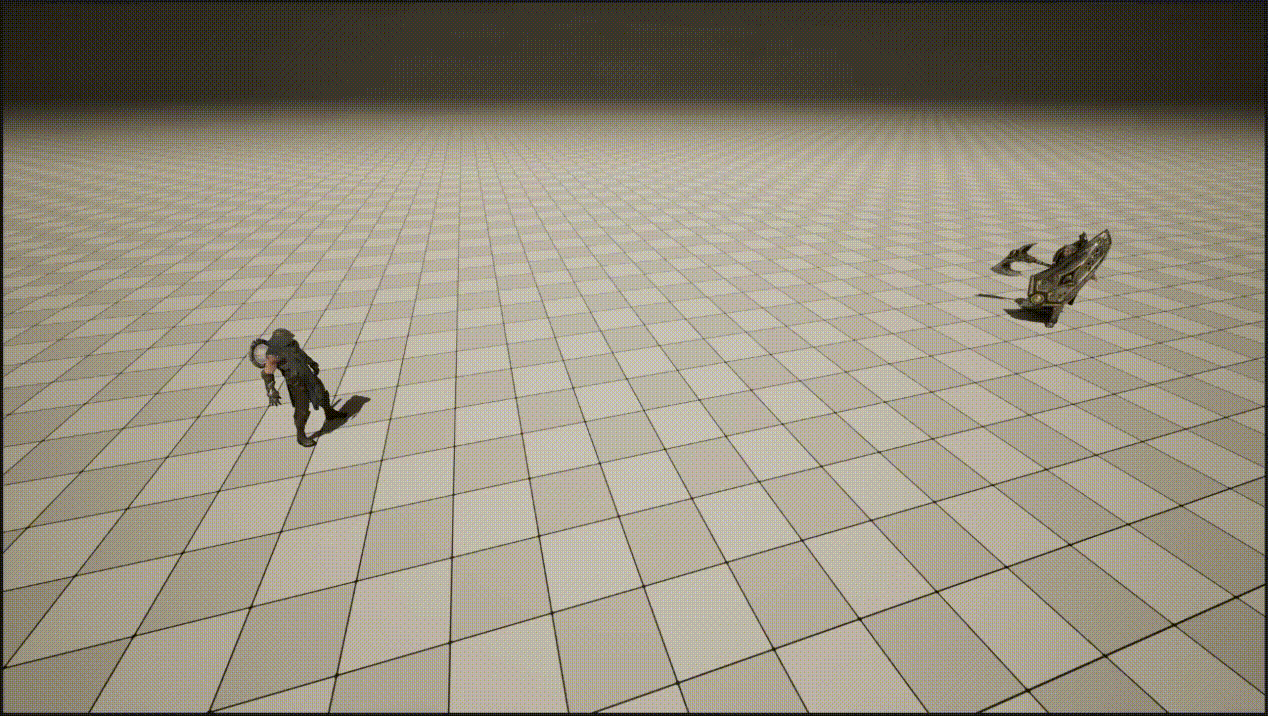
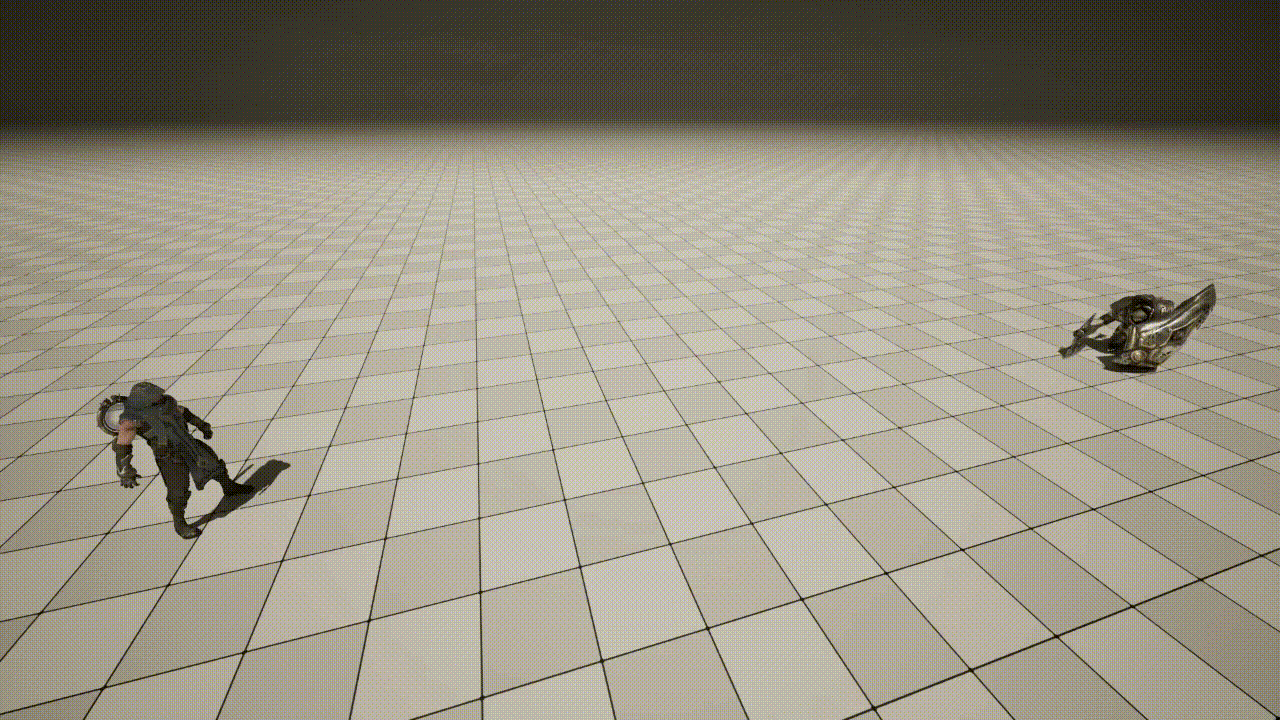
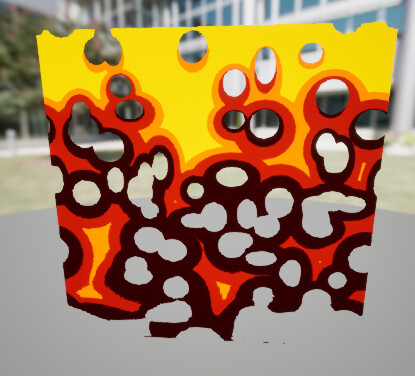
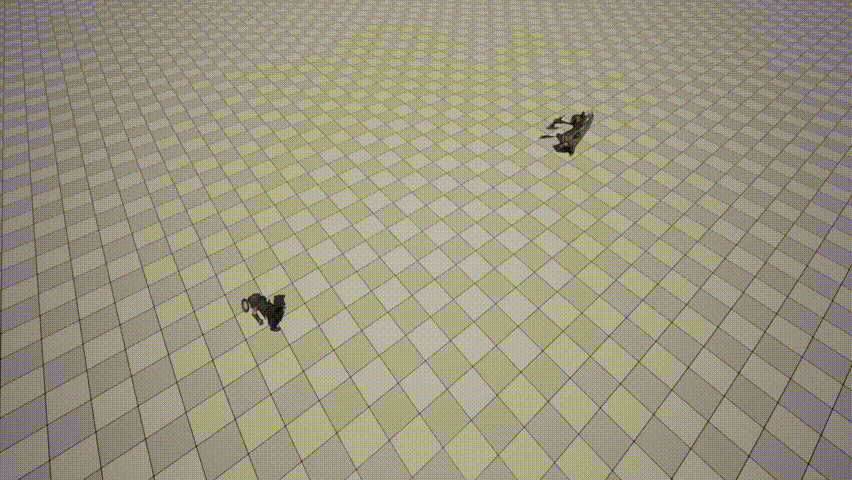
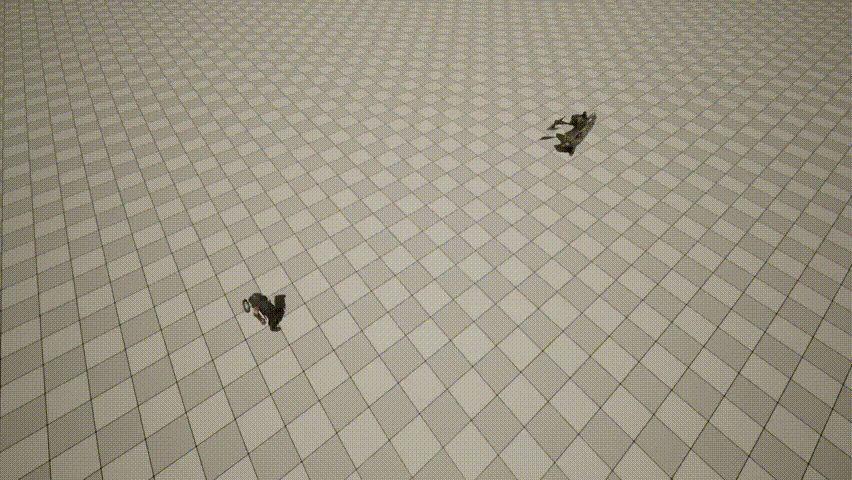
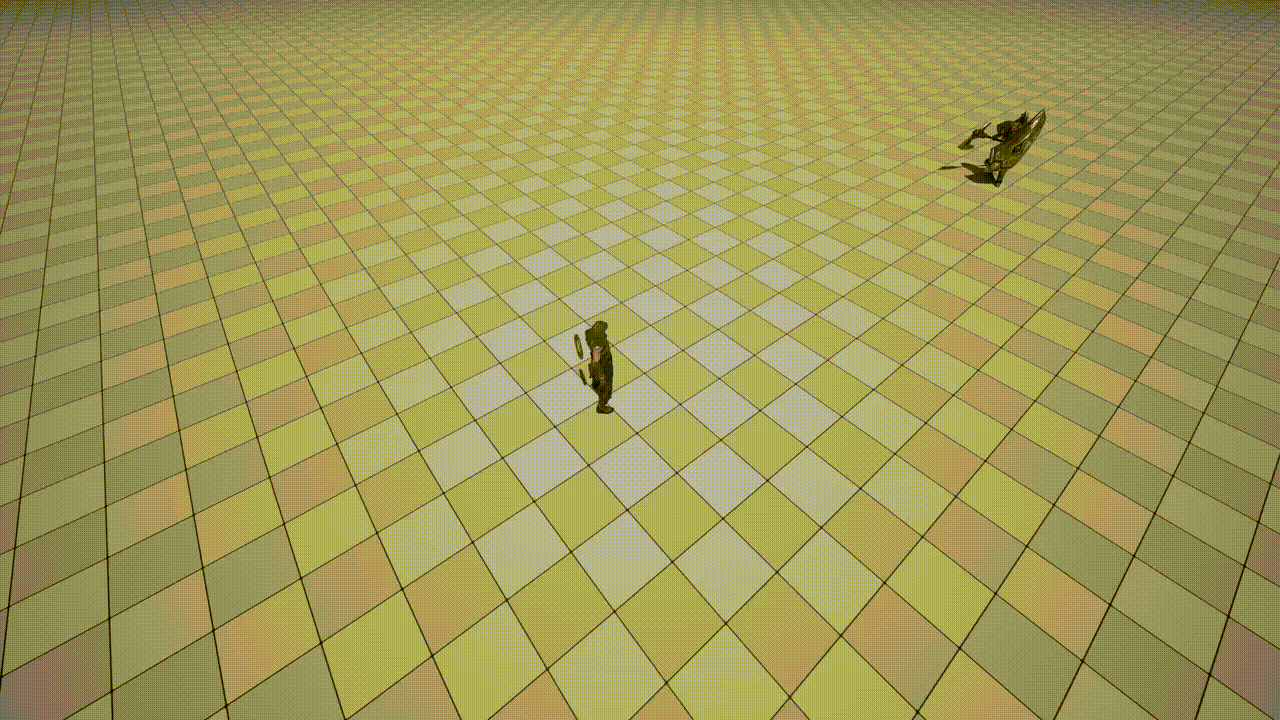
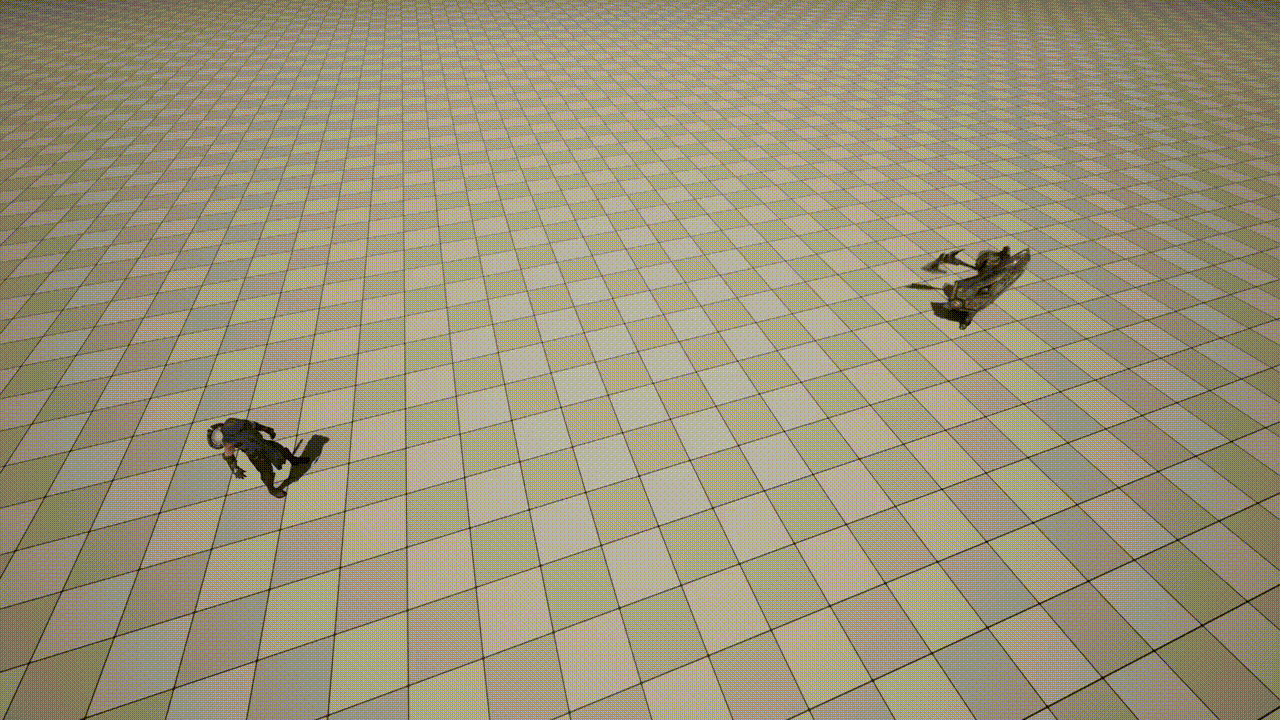
well most of the work went to the dummy aka Terra with a whole lot of trial and error

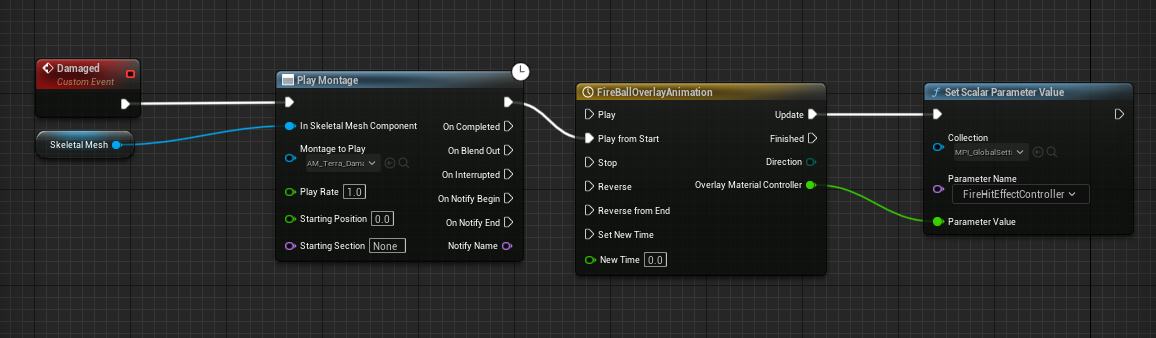
the issue here with using the play montage function was the engine simply kept crashing and I didn’t understand the issue so I went and looked up how to use animation montages and eventually I realized the issue was that I forgot to set the animation blueprint to the skeletal mesh in the dummy blueprint

so I created two one for the caster blueprint and the other for the dummy

(behold complexity)

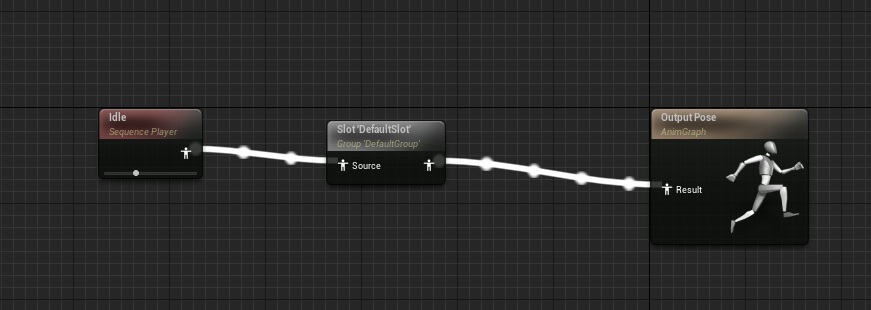
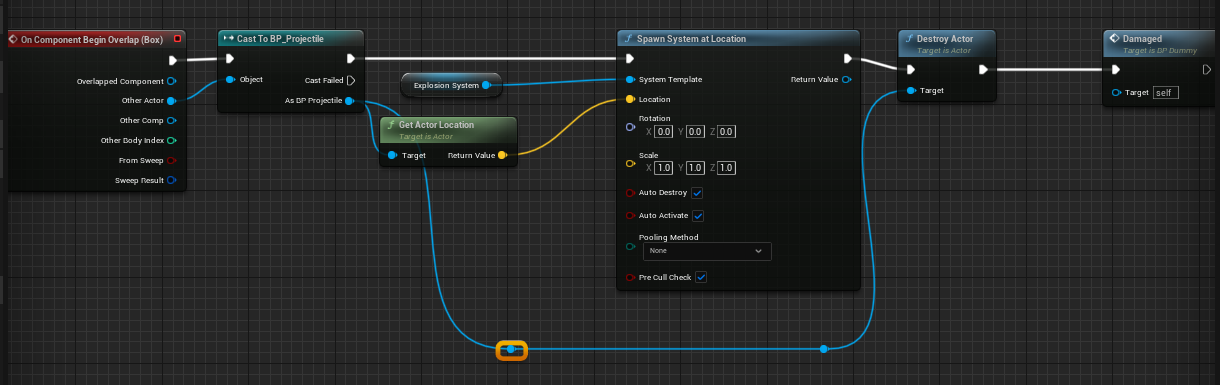
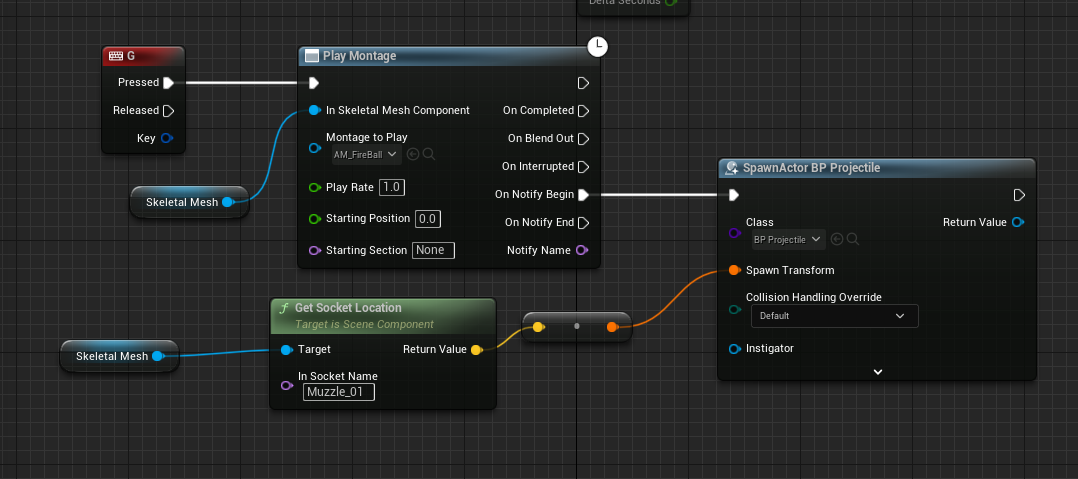
about the caster, I simply took what I learned previously and added a notify to control the spawn timing

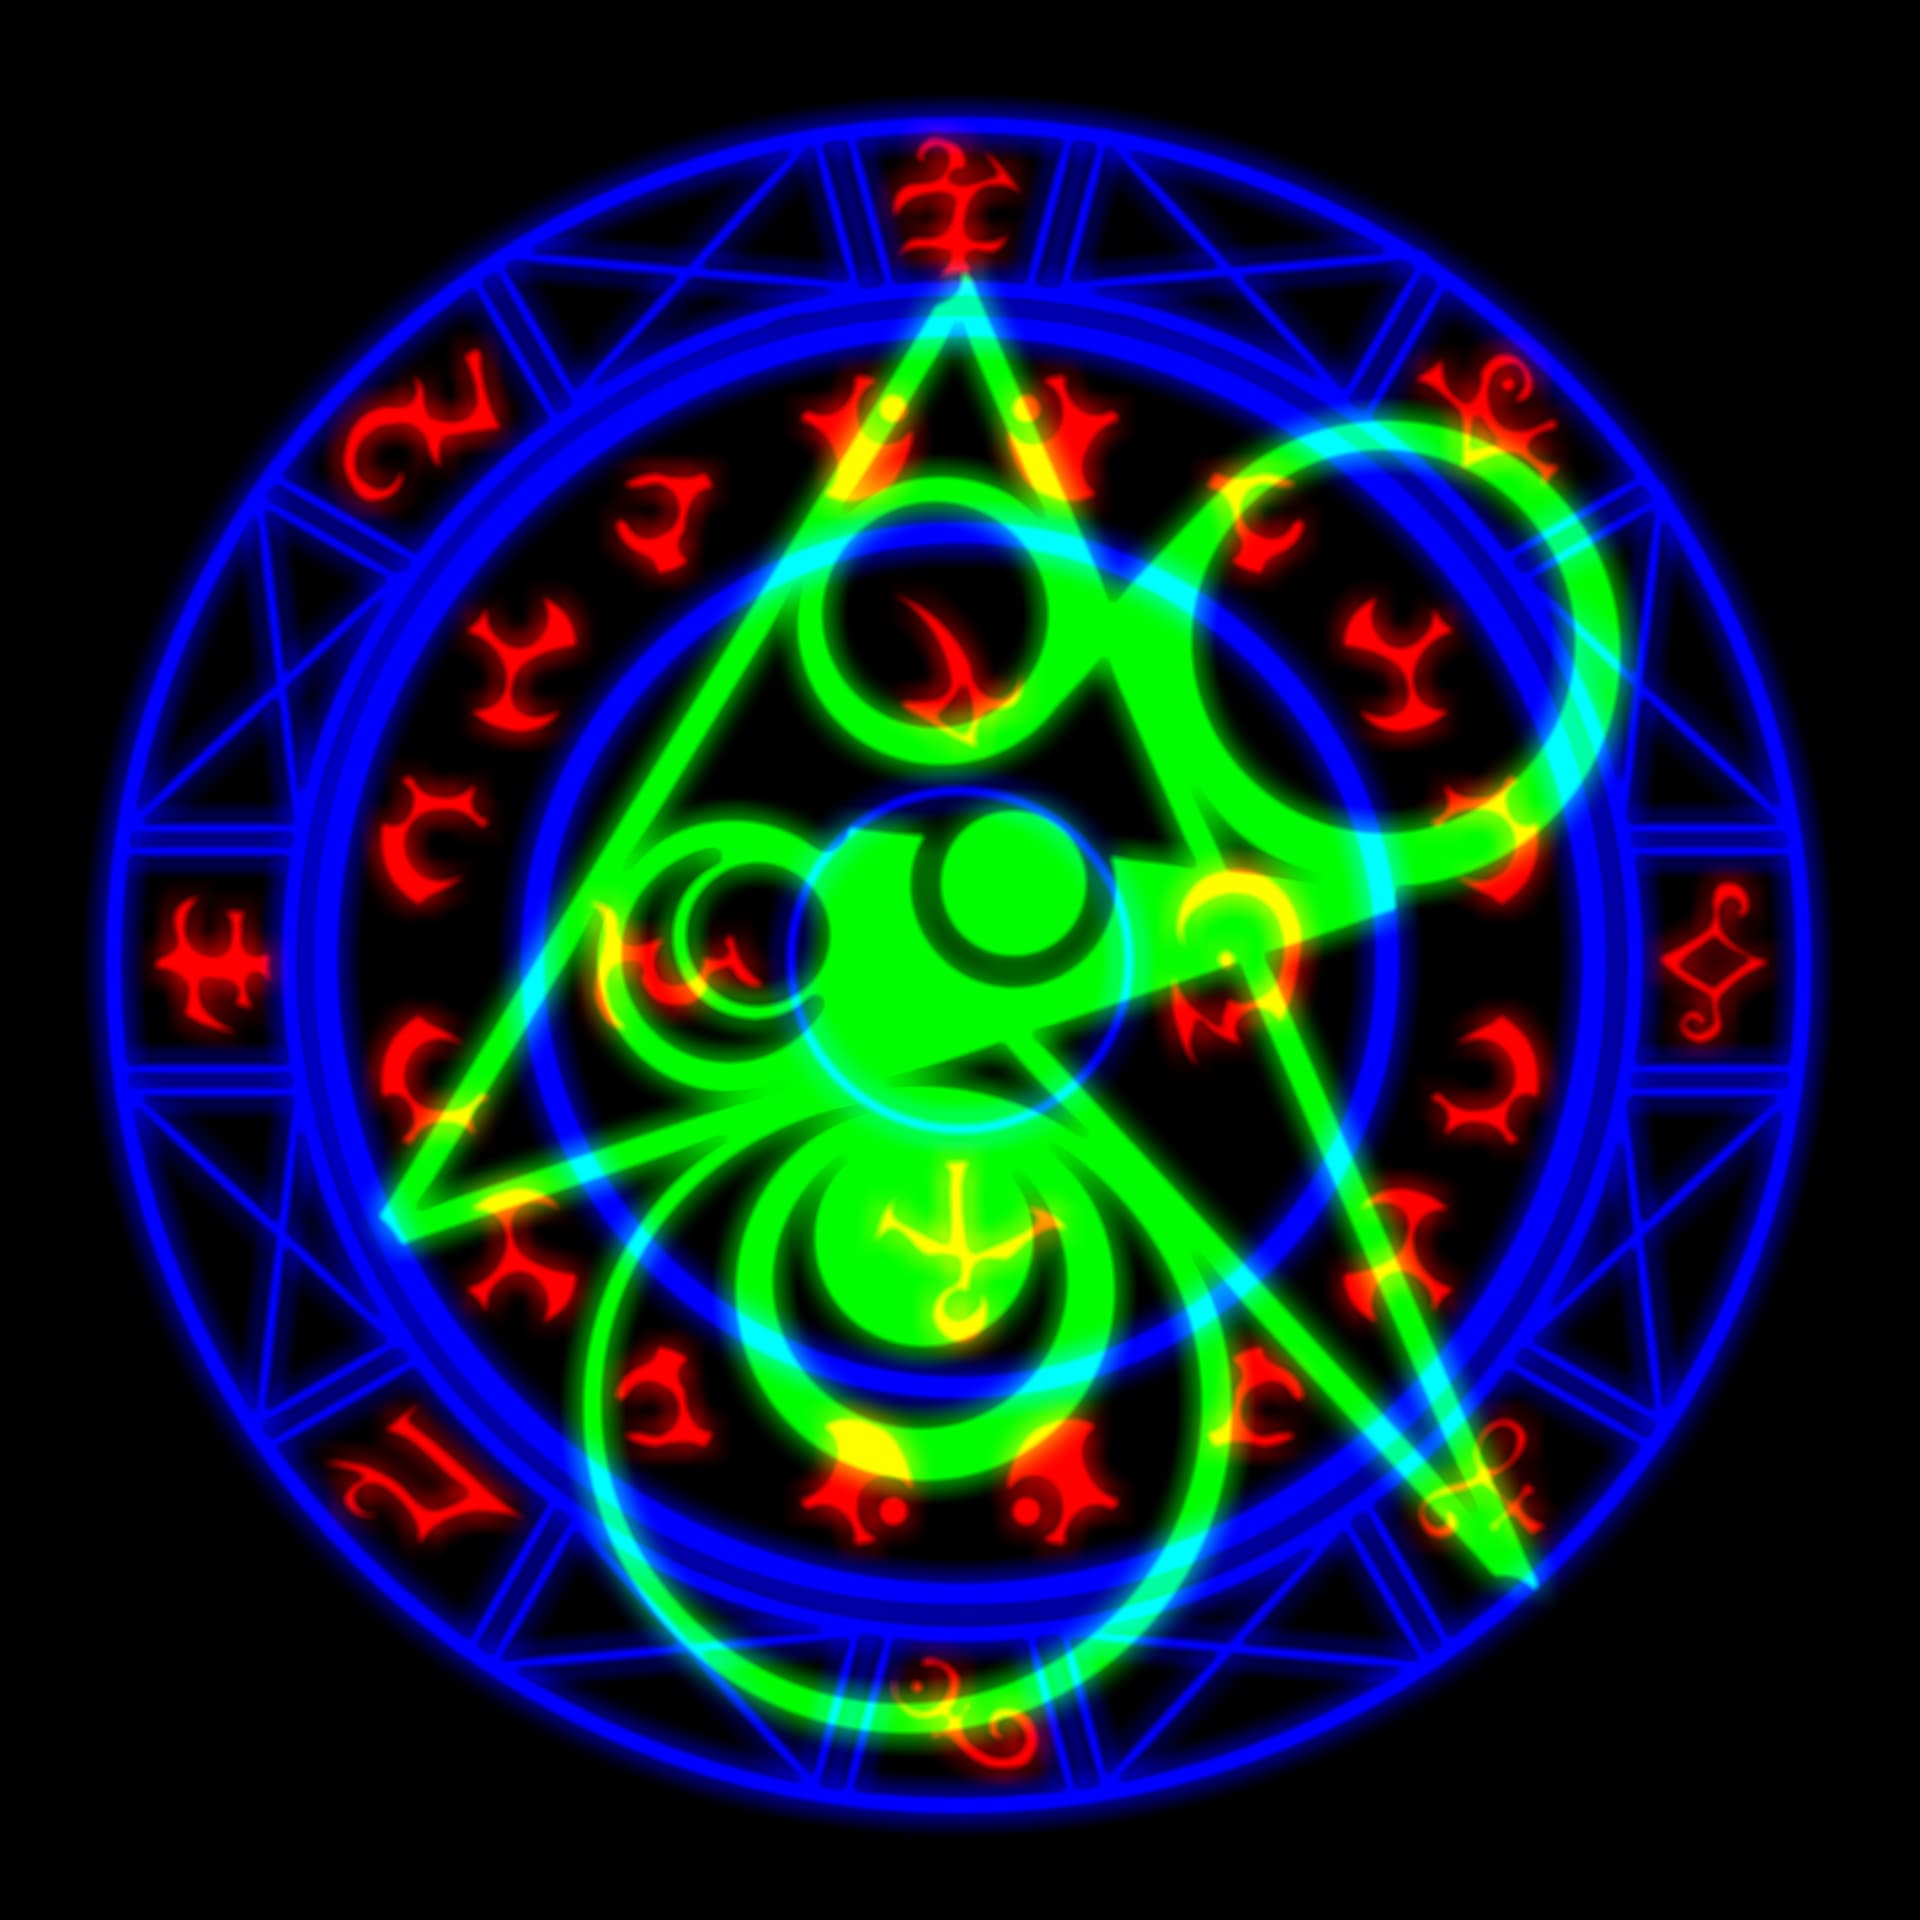
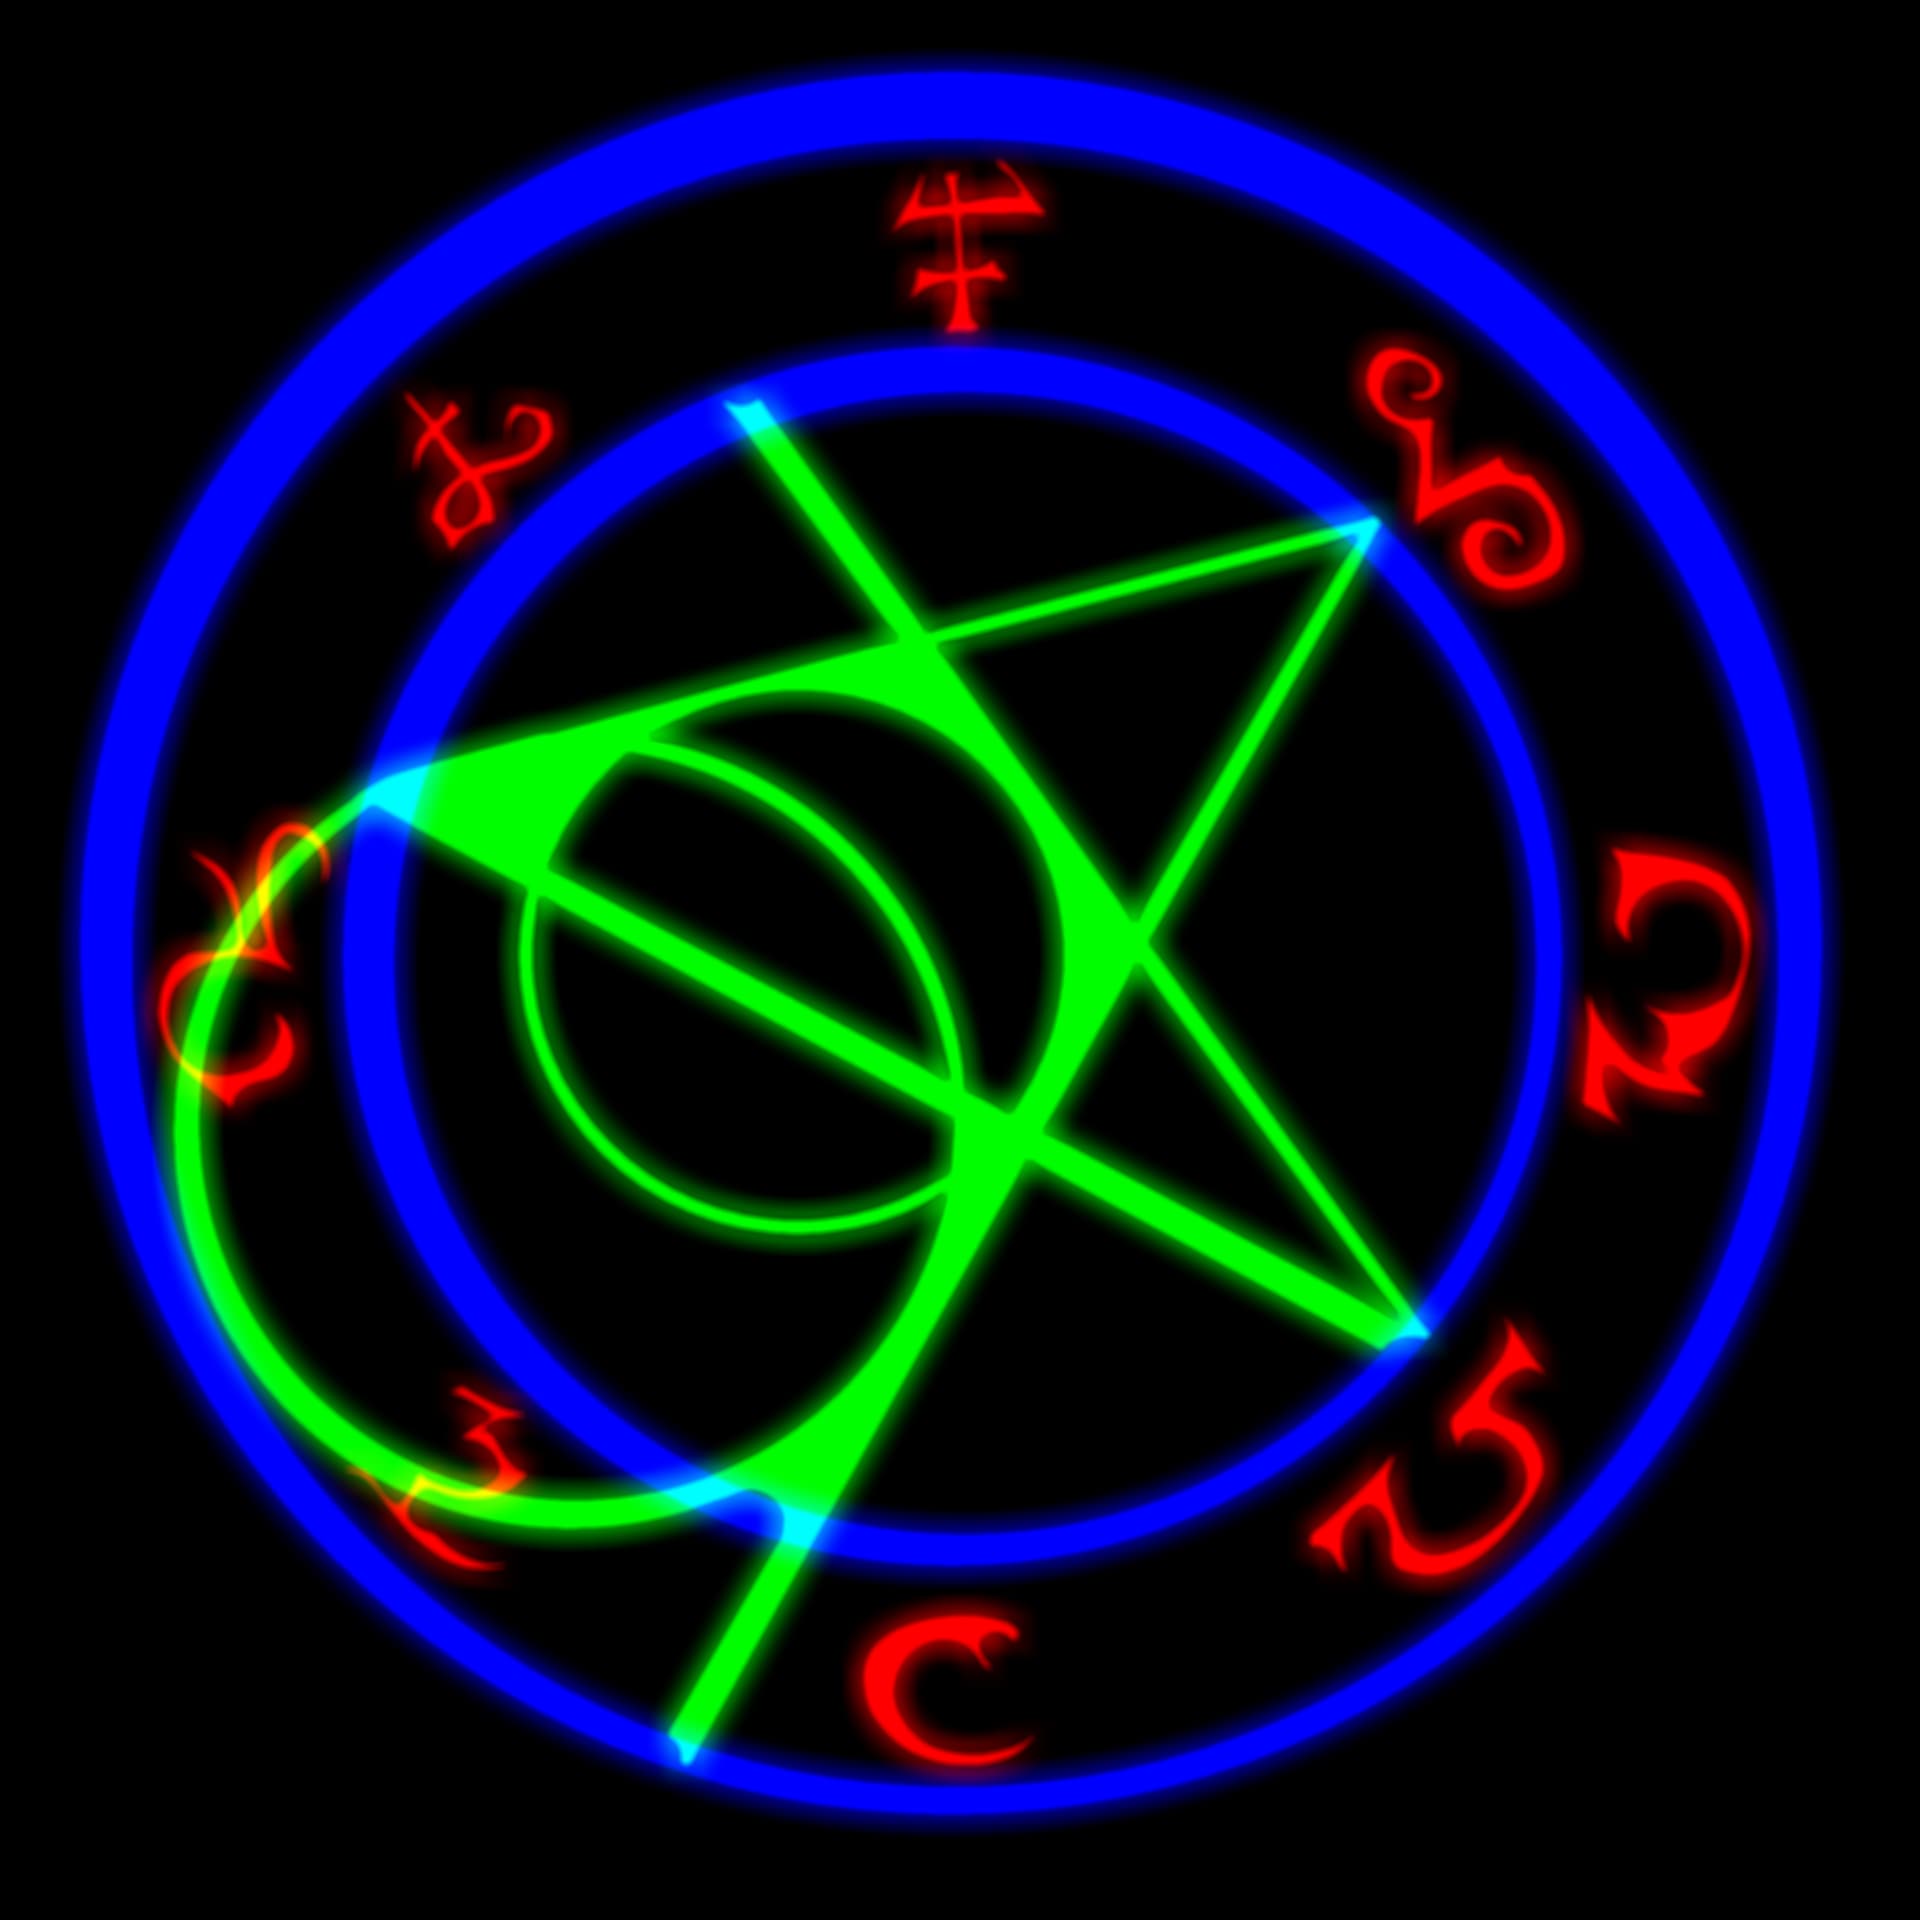
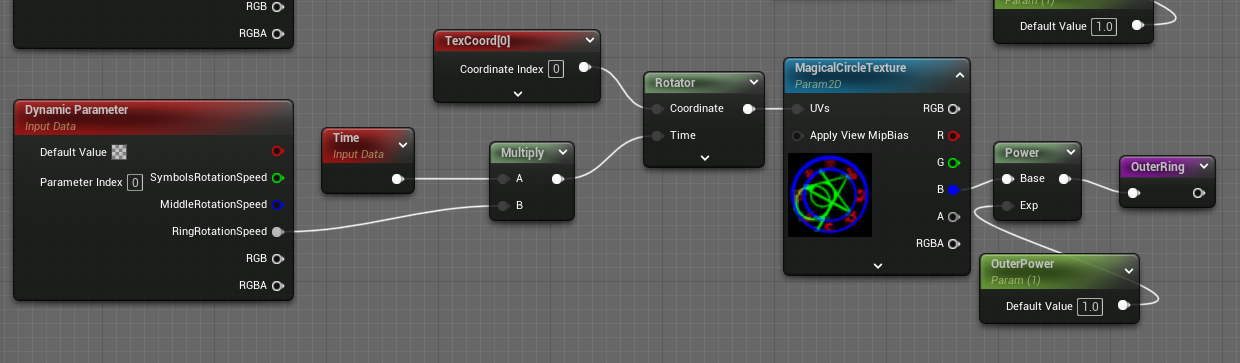
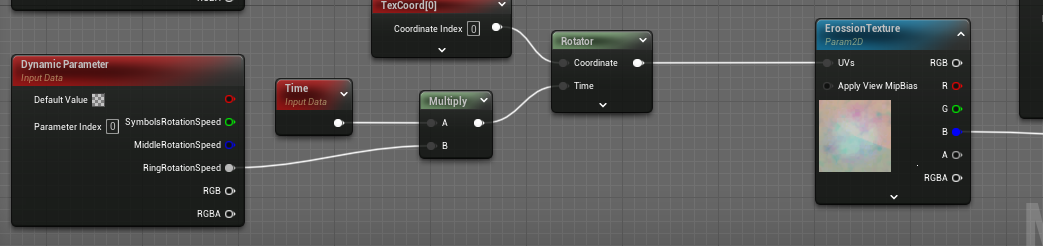
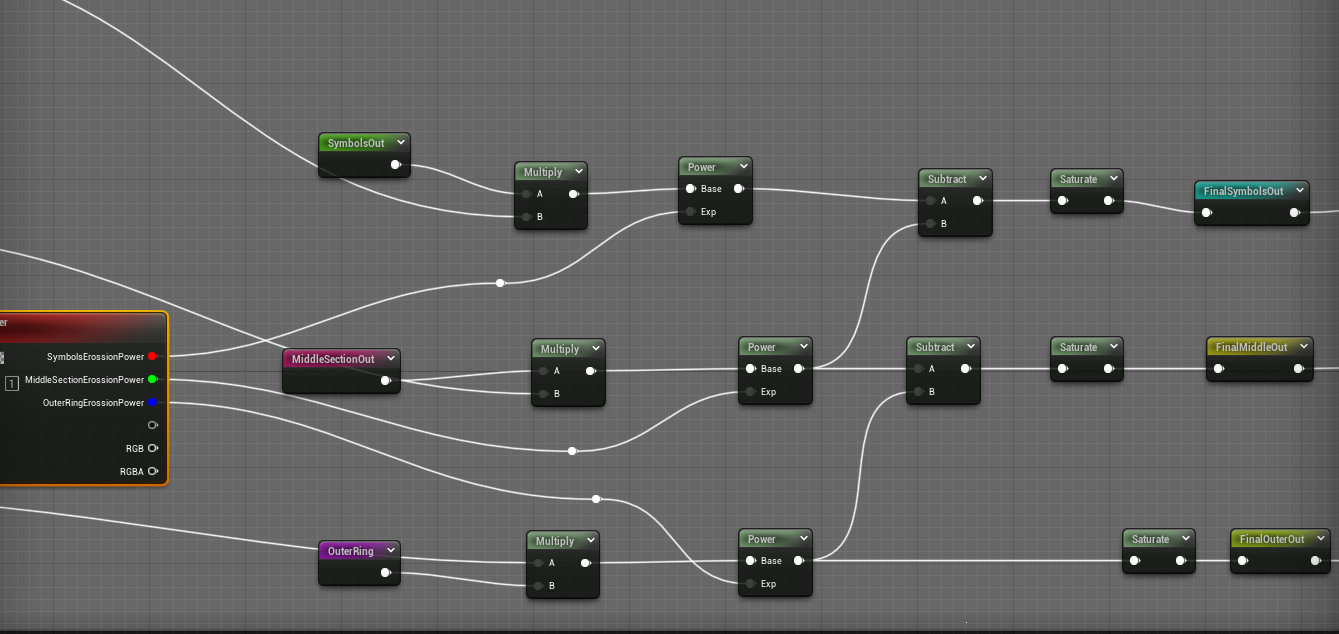
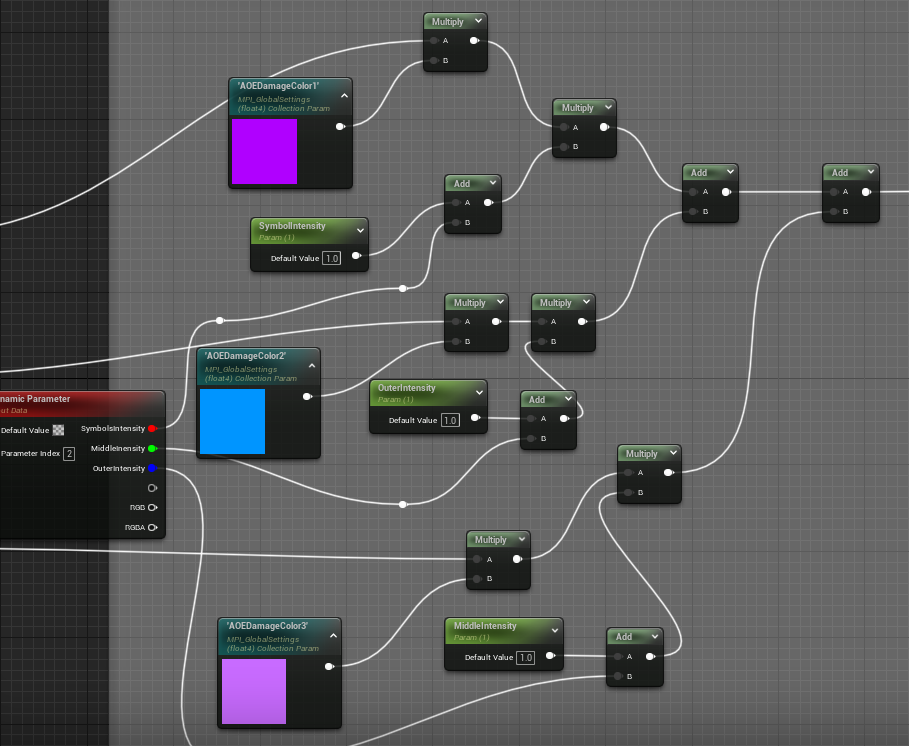
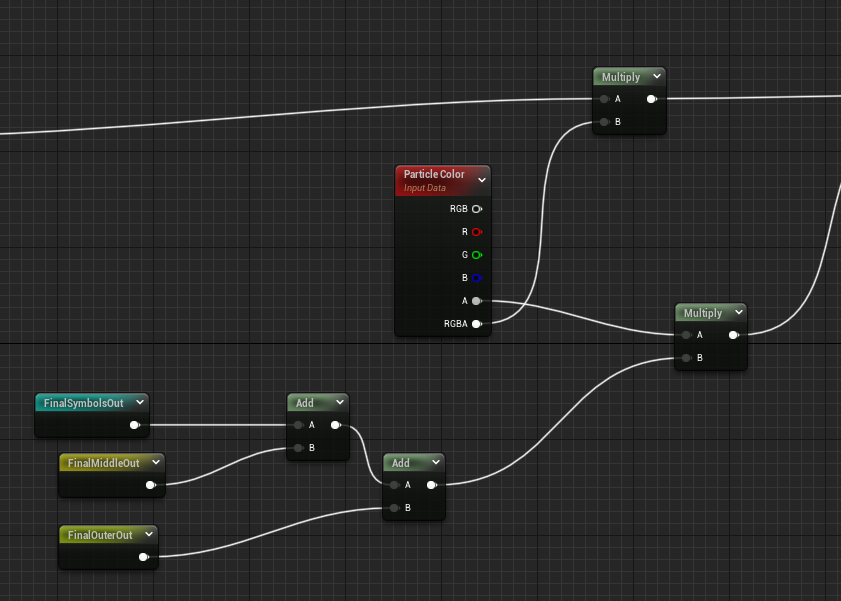
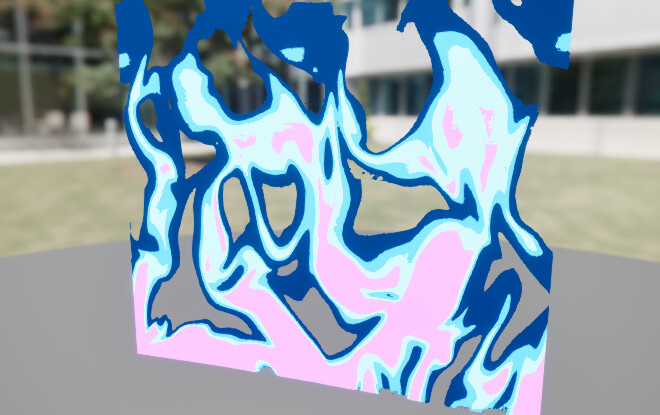
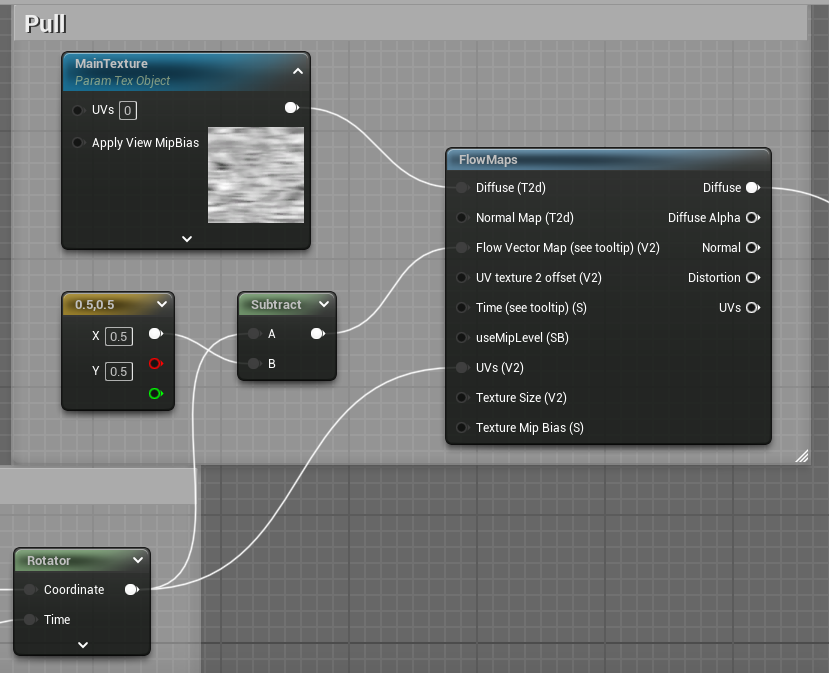
the hit flash was a simple overlay material using Fresnel but I didn’t know that I needed to have a material parameter collection to be able to manipulate the overlay material properties so I created one and adjusted the material accordingly.

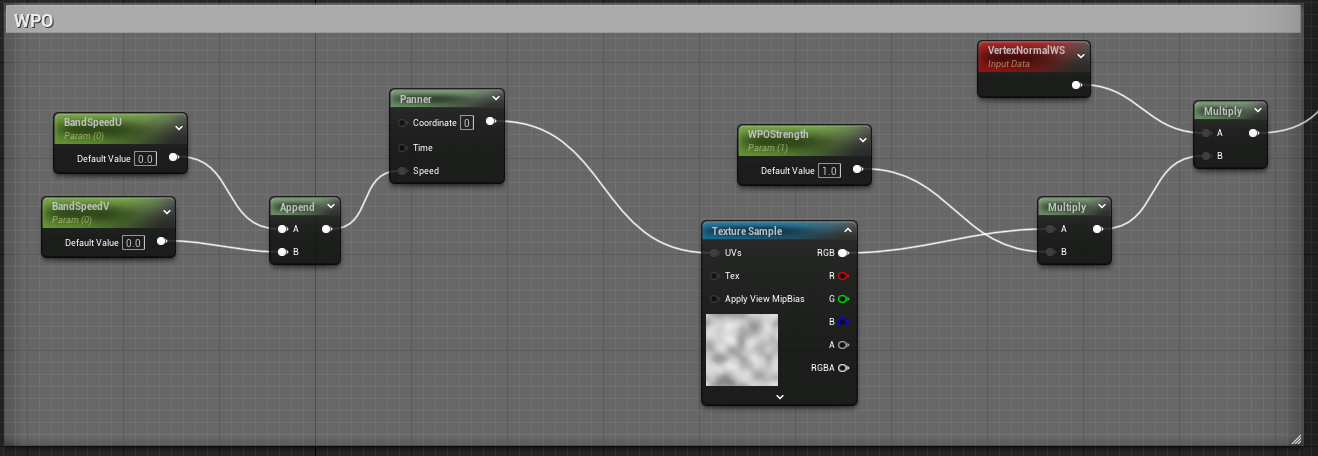
Finally, I can start creating the projectile effect starting tomorrow since it’s 3 am over here hehe.

wish me luck I would need it :face_holding_back_tears:

1 Like

Untitled-Video-Made-With-Clipchamp-31

progress today was extremely slow since I was studying elemental magic and was breaking down elemental lux while finishing up so courses I had started.

Today was a productive day after some blendering, kritaing, and substance designing I finally finished the base look of the effect tomorrow will be polishing

Untitled-video-Made-with-Clipchamp-33

Hello, Again I was thinking of deleting this thread as it might be annoying to other members of the community especially when I go over very basic stuff (adding nothing to most people over here) but oh well the ctrl+z button is broken here so here goes nothing.

today I pushed the effect as much as my eyes would allow me when it came to values and shapes and tried to clean them up.

anyway, the thing I am really proud of was the adjustments I made to the fire head material especially since I finally got to use Gradient mapping today which is one of the coolest techniques I got to use yet :heart_eyes:.

image

anyway, let’s get to the basic stuff first as the distortion effect adding it to the coordinates of a panning texture, opacity mask, and the most basic WPO.


now to my favorite part of the material since I was using Gradient mapping what about Using a linear gradient to to increase the values at the start and decrease the values at the end while having a constant gradient it will still stylized (man gradient mapping is so cool)


(subtract to use turn the lower values to negatives)


(adding the base texture and the color adjusting out)(multiplied with opacity to make it be effected by power control in the opacity section and still maintaing the full range of the gradient)

(hopefully, I am not reinventing some kind of wheel here I mean at least I had fun)


using it only in the head of the projectile :face_holding_back_tears: but a similar setup was implemented in other elements

(The mesh is the same as the one created by 1MaFX in this Video)

anyway, these are the only things that I think are worth mentioning otherwise it’s simple erosion magic and a ring a mesh with a vertex coloring at cast and explosion.

anyway this is the current progress (yes, I have no clue what camera angle to use how could you tell I wanted to test it to see its ugliest points)

Thank you for reading and have a wonderful day.

Hello, there once again the last couple of days were a little bit too busy for me to post (and I didn’t want to make a short post like the previous 2)

So I worked a little bit on the Fire Bolt increasing its speed and decreasing the brightness of the miniature sun on the tip showing off the material I was proud of making.

534d8e8b-9afb-4d81-a70a-f36751ec55b6

So about the second VFX, The AoE Magical Attack well It was frustrating on so many levels :smiling_face_with_tear: like nothing was going together as intended reworking many elements and I should rework multiple elements but first I will need to identify them (the fire feels wrong still even after rewroking it multiple times :face_holding_back_tears: ).

583b97af-17b1-49ec-ae36-97b5d5b80a98

this is what I got so far yeah the character animation bit was well not the easiest part but to be frank it was fun :sweat_smile: like I know I am complaining but this stuff is so much fun.

anyway, the character animation is a simple animation montage with multiple Niagra notifications on each hand and I decided to make the flash on its own system to time it using the montage instead of the system.

now about the magical circles, it’s a simple material wanting each element to have its rotation speed and timing to make it more interesting with also three different erosion textures correspondent to each channel creating greater difference in the in and out (drowning myself in dynamic parameters)


(Despite many iterations it still looks like graphic design is my passion quality T-shirt)


(repeated for each channel (really why didn’t I just create material function at this point))


(makes the erosion textures follow the circle since a texture sweeps the symbols and it looks weird while being fixed)


(dictating which would be on to which through the power of simple mathematics (using saturate to dodge the negative values creating dark patches where overlap happens))


(simple coloring and yes I finally started using material Parameter Collections (less flexible when it comes to creating material instances and reusing the materials for different effects with different themes though :face_with_diagonal_mouth: ))

finally Adding the last stuff together

and I ended up using the fire capsule material for the Beam just using different Gradient and textures made it possibly the easiest thing to implement (thank you past me)

image
While using dynamic parameters to adjust stuff per emitter.

well overall I am happy with the progress so far and this is probably the most fun I had (struggling) with a thing

I want to thank you guys for reading and hopefully, it’s not a boring read :sweat_smile:

1 Like

Hello, it’s me once again coming at you with a new update since I am currently working on the 3rd effect (a healing effect with a druidic flavor) and trying to figure out some stuff. I reached a point I am okay with but still, some things need to be ironed out

00d07f4d-a67e-4980-856f-bd32dfb77924

it should have been a small/simple effect that should have taken a couple of hours but oh well I apparently suffer from oh I want that syndrome so while I going through references I remembered a growing root effect I saw so I tried to gather it ended up watching a tutorial on making the roots grow so it ended up in the effect as I totally planned anyway I had so much fun working on it so far

I feel like there is something still something really off but I am currently a little bit stumped as I went to ask everyone I know for feedback and I worked out through their suggestions but I still feel like I am missing something major not minor at all like something starting at me but I have been staring at it for a little bit too long

oh well the fourth effect is a slash and I haven’t made a slash-type effect before so I spent more than I would like to admit on it and much of it is simply adjusting and tying the effect to the animation.

265a8f35-bd30-48d2-bbf7-cb9867ec44e0

well, I went with a simple mesh route with a tiny ribbon and also created a custom FX_muzzle in the animation montage other than that it’s a simple and straightforward effect.

1 Like

The journey is great!

1 Like

thank you so much for reading and for your kind encouraging words.

Well, finally at the final stretch of the first draft of the portfolio. The portal effect is the last on my list. I was like hey it would be a nice calm ending for the portfolio with simple and nice effects… at least that’s what I thought it would be.

2edfa8ac-1d35-4ba8-8a0f-e02903600222

well, as you can tell I have done the forbidden act of the Houdini for the simulation and the idle animation using a simple fracture material into a bullet solver. well, the problem here was the implementation part and for some reason figuring out a couple of things like exporting the path and how to write that into the fractured geometry using the assemble node.


image
image

implementing the portal was also a sort of a small challenge since I want to play the animation destroy montage and it to stay destroyed and not build itself back up. thankfully I was able to find an easy ( solution turning off the auto blend out in the montage setting) and was only left with implementing the portal blueprint which was simple and straightforward using timelines and animating the Niagara system dispiation and portal mesh glow.

well + the simple timeline magic while the swirly material is one of the interesting things I made

the most challenging part of the material was finding a way to make the textures move towards the center instead of just rotating around like I found how to make the twist in a couple of minutes but I was stuck at making it getting sucked I thought of creating a custom UV flow and tried it but didn’t get the results I wished for. 1 hour of research later I found the flow maps node (don’t ask why it took me so long to find it but hey at least I found it) using the output of the twist node system finally getting the desired look

Hello, I have made a compilation of the effects I made for the portfolio to start asking for feedback with

1 Like

ayo added some background and adjusted some lighting with some post-processing effects also replaced couple of textures

Im sure this took a lot of effort and the output looks pretty cool! I cant wait to try and do something similar :slight_smile:

Keep sharing more such content, Im sure there are other folks who look at this and feel inspired to do more!

1 Like