Hmmm, thats a very good point. However, the material is currently masked. Do you mean I should paint on some lighter sections onto the texture? Or should I swap my material to transparent. I found transparent textures were not quite as sharp or crisp.
Still working on adding more of those circular shapes CG textures doesnt really seem to have any sadly. Off to google!
Sorry it took so long to get back to you on this. While you could use a 3d package to sim, I think the core concepts of the greyscale layers to eroding, and creating a normal map from the greyscale texture can still apply to a hand painted texture. If I had to guess at the process, I’d say: paint your initial spray/texture first, and then keeping the surface tension in mind (and how blood breaks at the thin areas and consolidates at the thick) you could drop the initial layer’s opacity very low, and take a low opacity brush to build up on it. I think you could then take the final greyscale texture and make a normal map out of it.
The newest texture added to my blood material. Having a really hard time retaining any shape with this blood erosion stuff. The first flame looks good. However, as soon as the texture starts to erode even a little bit , it kinda breaks up into confetti. Ill probably need to paint the alpha like you guys have suggested. That or I can just separate the stringy bits and the spotty bits into a separate texture.
Oh right, also goes brighter over life now. Not sure I like the look, but ill give it a chance. Also managed to strip 3-4 textures from the original material through channel packing my textures
have you seen this video? some really nice reference for thicker fluids in slow motion.
one trick i’ve had some success with for good shapes in fluid erosion is to author 2-3 good fluid shapes then overlay them in additive mode in photoshop but at about 50% opacity - that way as it erodes it’s to shapes that you’ve specifically authored. Similarly adding a 5-10% opacity noise or radial vignette on multiply can help remove large solid shapes and ensure that your sprite erodes to the centre.
iirc Fran used a really nice technique on the blood in Gears Ultimate that used fluid meshes with vertex offset animation and used a frenel term increasing over time for the opacity which made them erode really nicely.
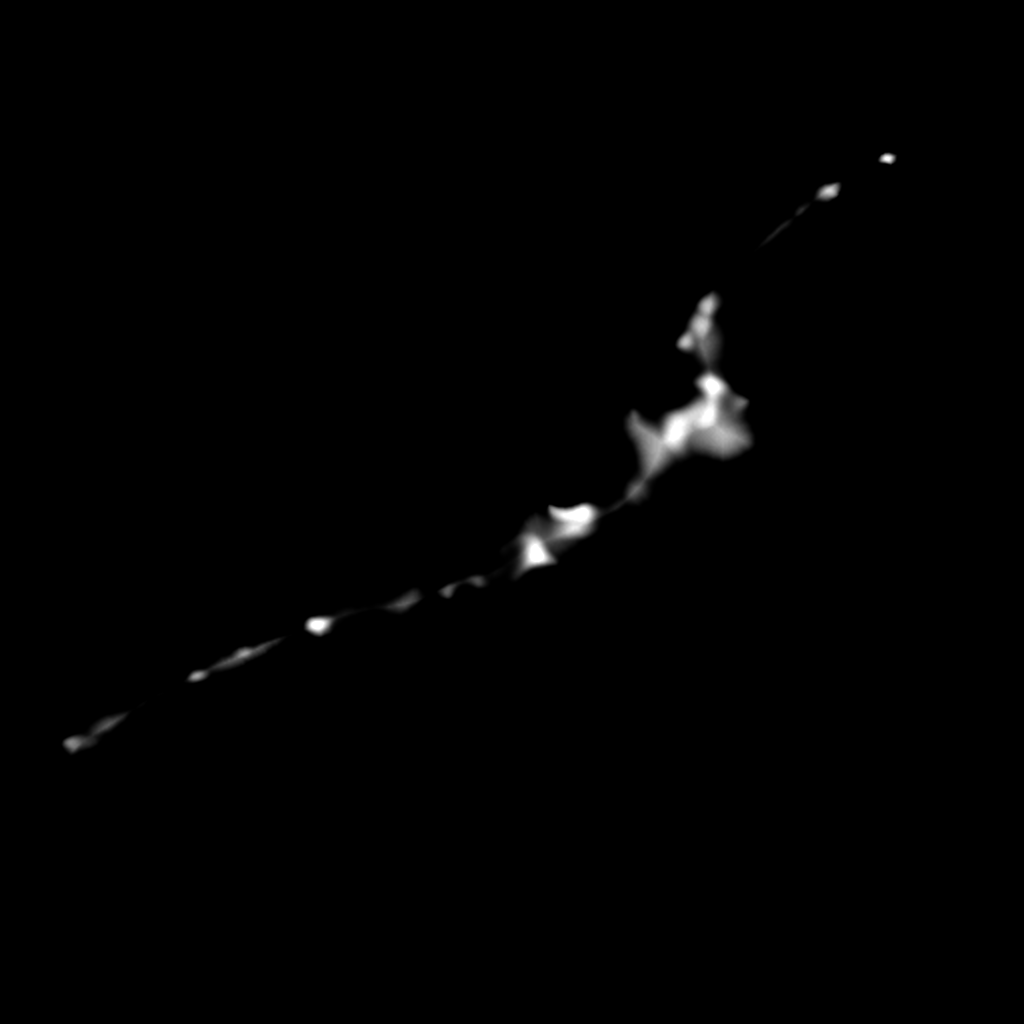
If you start with a nice stringy paint in mid-air texture like this one (not splattered onto a surface, you want it before it hits something and expands),
Then you use alpha erosion to go from opaque to transparent over the lifetime of the particle (the curve of that transition will be something you experiment with). Expand the size of your quad evenly over time. Don’t use too much gravity. Tint as you like (just a tiny little variety in hue can be nice). Be conservative with the rotation unless you have several different textures and they don’t have enough detail on them to stand out too much (like only one strand). I would shy away from highlights/specular on it unless it’s only for still images. You don’t really notice them when blood spatters. You only notice whether the curved sheet of fluid is getting light or is in shadow, so if you can make each sprite face a different 3D direction (slightly away from camera-facing) and have it be lit by the same lighting as the scene, you should get that look you are going for where it has lit parts and shaded parts and doesn’t look too flat.
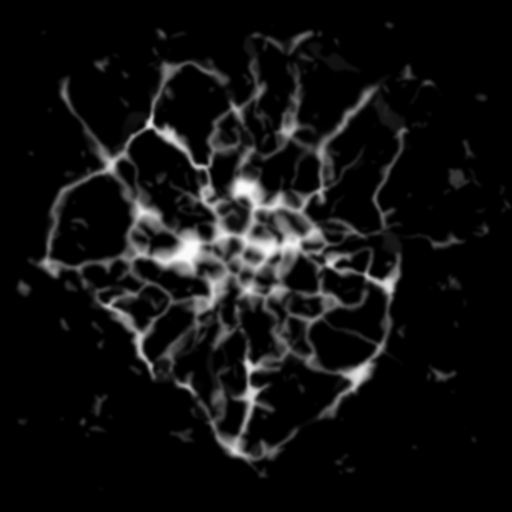
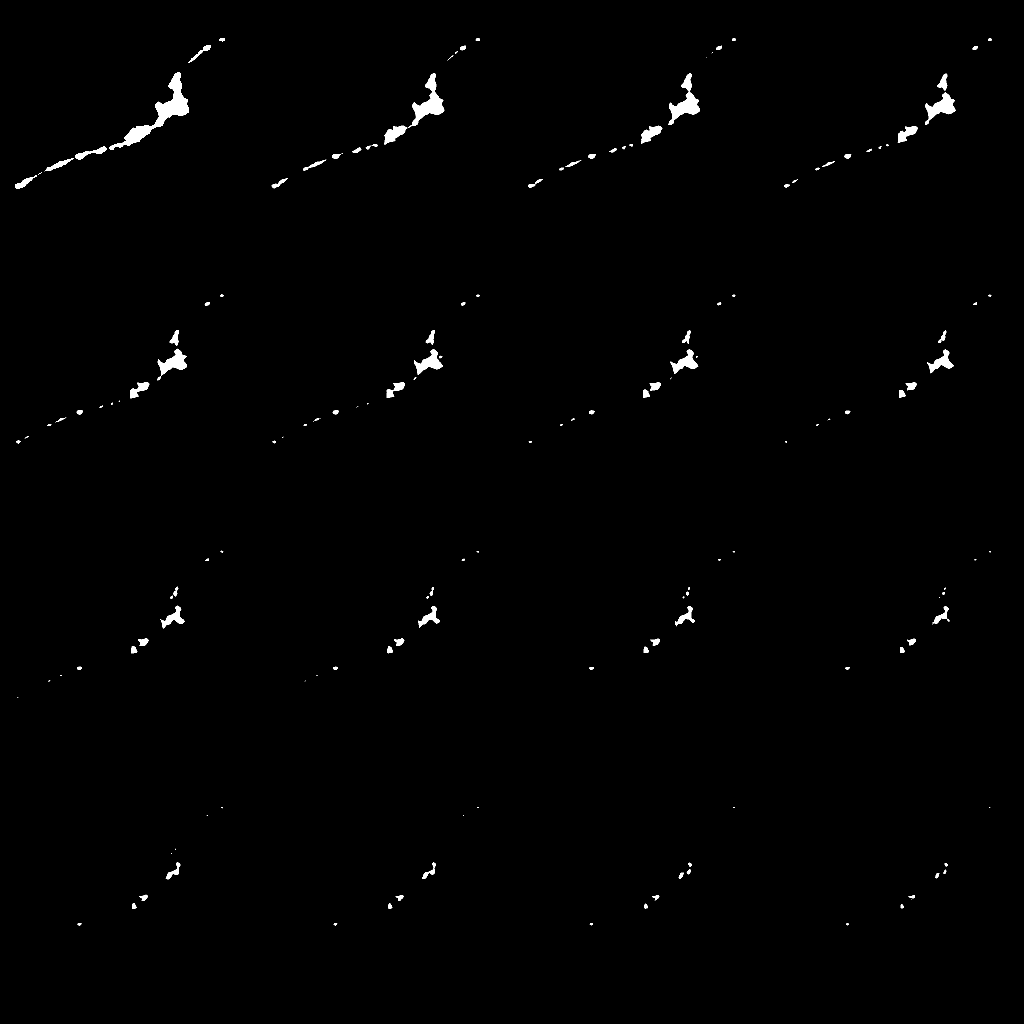
The “Threshold” progressions for this texture look like this (rough sample using every 32 levels of grey):
Thanks for the extensive write up. Ill paint up a texture like this tonight, Did you have a translucent or a masked material in mind for this? Im guessing the idea was translucent . Ill post what I come up with tonight : )
The material I gave would be the alpha channel. You can put whatever you want in the RGB channels. Maybe you can make some of the areas where the strands are lighter and some darker or a slight darkening around the edges. I think you get more bang for your buck randomizing the hue of the tint slightly rather than what you put in the RGB channels. When you make your alpha erosion channel, use Photoshop “Threshold” slider to see how it would animate over time.
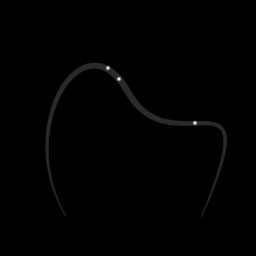
It’s looking awesome so far, Russel!! When it comes to making sure the blood clips out into nice round beads, I like to work backwards. Well I guess I work backwards and forwards, haha. I draw the result of the clip - a few dots/globs - and then I draw the initial splat/silhouette. Kinda like this (just a quick sketch):
I generally like to start with each “frame” on a different layer, and I use a greyscale texture to color pick each step. But eventually I flatten it out and just use normal painting techniques to blend it all together into a nice clip texture.
That’s just my personal technique! I know lots of folks who prefer to simulate it instead of painting it.
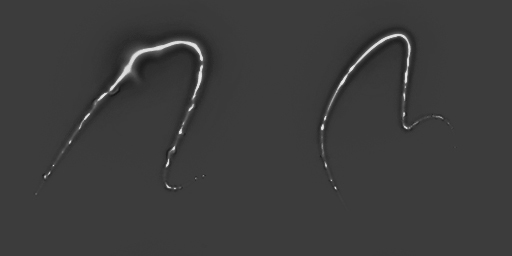
Another thing you might want to consider is adding a separate “blood string” effect that clips out similarly, but with some heavy uv distortion. Gives you a little more variety instead of having the strings in the same texture as the goop/splat. Another quick example of how I’d start (these are super fun and quick to pump out with the pen tool in photoshop):
I took a crack at this and failed. I think I know why though. Ill take another crack at it tomorrow night.
Ill show you guys my result so you can laugh.
sad trombone
On the texture it looked alright. However in game it eroded pretty bad. Thanks for all the advice Smgrisson : )
Totally keep at it! It’s a real good start! Don’t forget UV Distortion; you can get a lot more mileage out of one texture that way. This was from a quick test a while back - string textures like the one above with a grit texture and a mist texture. (I don’t personally go for the super shiny looking blood, but you get the idea!)
Good work man. I like where this is going. I’m glad we share this obsession of working in blood vfxs
Remember the little time we were together at work, try to get the normal maps directly from the mesh, Using B&W masks gives good results but not awesome.
As we’ve talked few times, I’m using Blender more and more lately. I don’t want to depend on any commercial software that’s not available in some companies. Getting fluids directly from Blender and editing the mesh to get more “liquidy” look it’s definetely something that can be achieved within Blender.
Here are some tutorials to achieve the thickness you are looking for:
I haven’t had much time to test all these things in Unreal but I can see this working in my head xD
Also I’ve been testing lately to apply a fresnel material in 3dsmax to get a B&W texture to apply the erosion and it kind of works as a base.
As Tom mentioned, in Gears of War one of the things that helped a lot the look of the blood was using the Modulate mode.
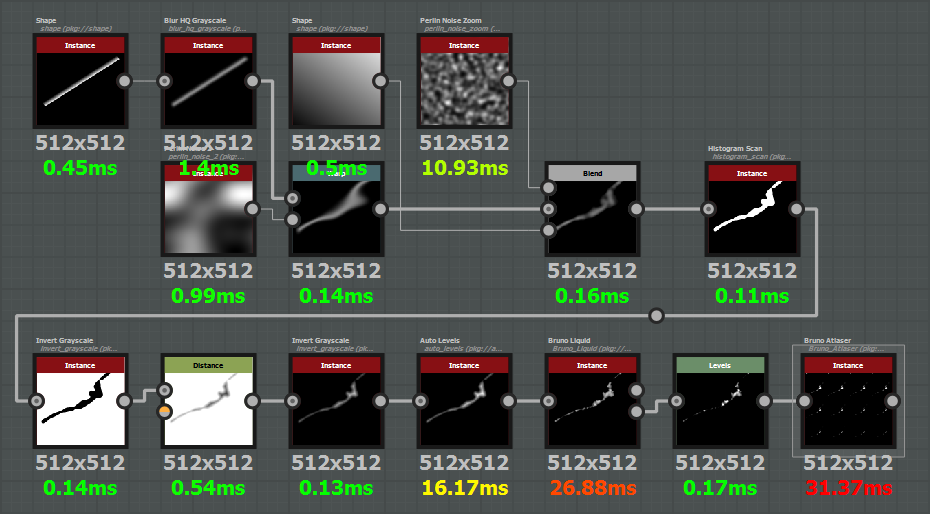
It’s kinda crude at the moment but I’ll certainly rework it in the future. I made a quick 10 minute texture to show you my proccess. Here’s pictures of the substance graph, threshold texture and a flipbook made out of that texture:
Thanks heaps and heaps for all the feedback. Im just taking a little break from this effect to play around with something else at the moment. I think a chunk of my textures are going to need a redo. Someone brought it up at work that a lot of my shapes are fading in a concave way instead of convex. This very quickly destroys the shape of the blood splatty textures and makes them look very confetti like. Ill look into picking up substance designer (because that example above looks frigin wicked!) and look into blender again. 60% of this effect is already using blender (and blender normals). The only issue is I couldnt figure out how to work it properly. So my liquid shapes are all quite meh. Ill post somthing up by this Sunday I promise! Your feedback is not going to waste : P
Ill check out those blender tutorials over lunch tommorow at work. Get some renders going on the faster pcs. Thanks for the links
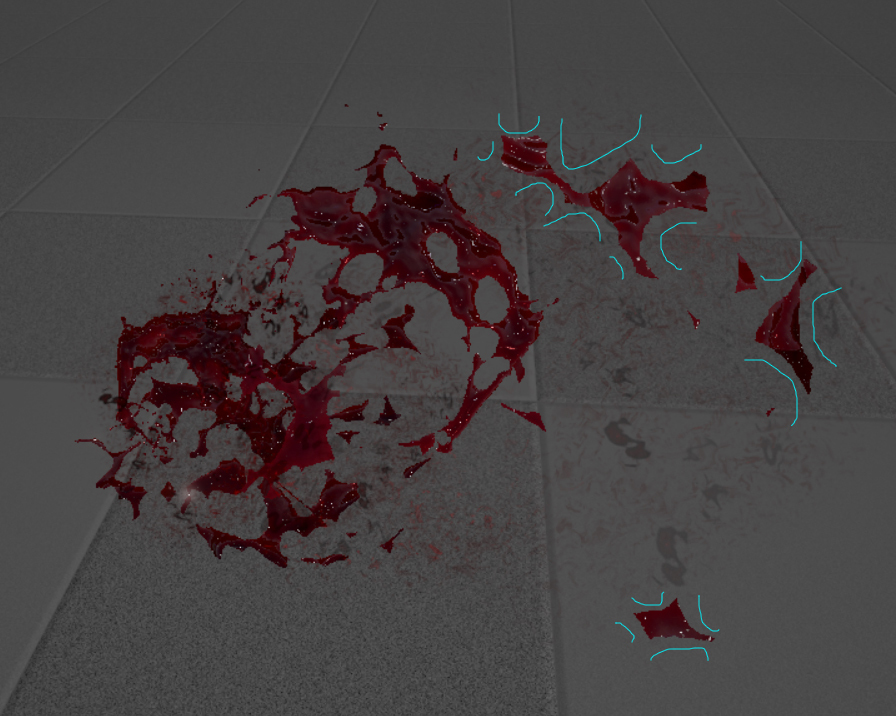
Below is a snap shot to show the bad concave shapes
Yeah, those ones. The shapes just to the left and a bit lower, with the holes in them, look great though! Just gotta watch out for those pointy corners
Alright, so im still having issues with these stringy bits. They currently look like red crowbars. Im going to start building an effect instead of whatever this currently is. Its hard to be pationate about random blood particles emitting with a spherical velocity.
Yesh, iv seen slideshows with a higher fps than this gif
Russell if you removed those stringy bits I think the effect would still look awesome! Sometimes if I run into a texture that’s not eroding i’ll multiply some difference clouds on top just to break it up. Remember, blood is about as organic as it gets! It’s looking great!
Good researching, Russell! I recommend you show us your references for better understanding what you want to achieve at the end. And it’s always better to make such VFX with a character with an appropriated animation. That help you understand dynamic, shapes and timing better.