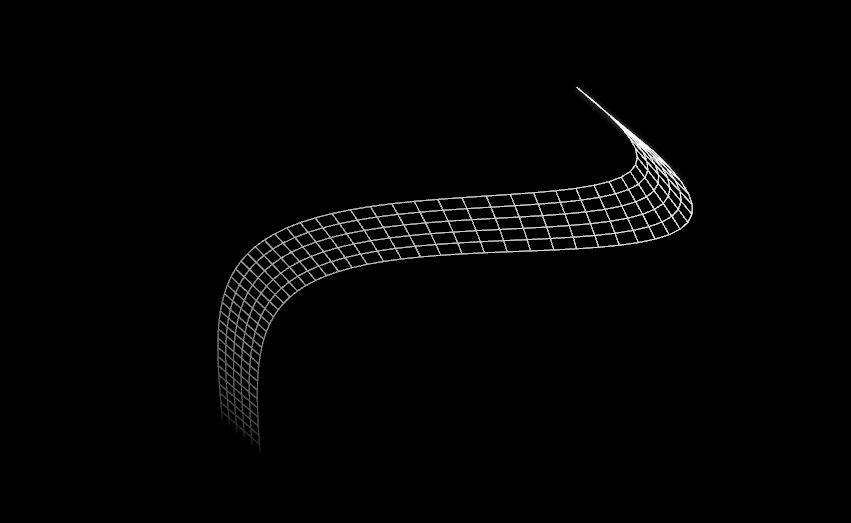
Hello, for various Alpha Erosion and Smoothstepping purposes I sometimes need to create a “path” and I need it mapped from black to white by following the path direction.
For “linear” stuff it’s no issue since it’s just a matter of overlaying a gradient with a certain angle, but i’m puzzled regarding how I can make this gradient follow the direction of a path.
I’m adding a terrible drawing I hastily painted, in hopes of making my question more understandable.
Maybe I misunderstood your question, but as far as preparing a curve for game VFX, you need to uv flatten your uv-s before bringing it to a game engine.
I think you want to create a gradient that follows a pen curve path?
You can do this easily in Illustrator by following this tutorial. Just do it in black and white.
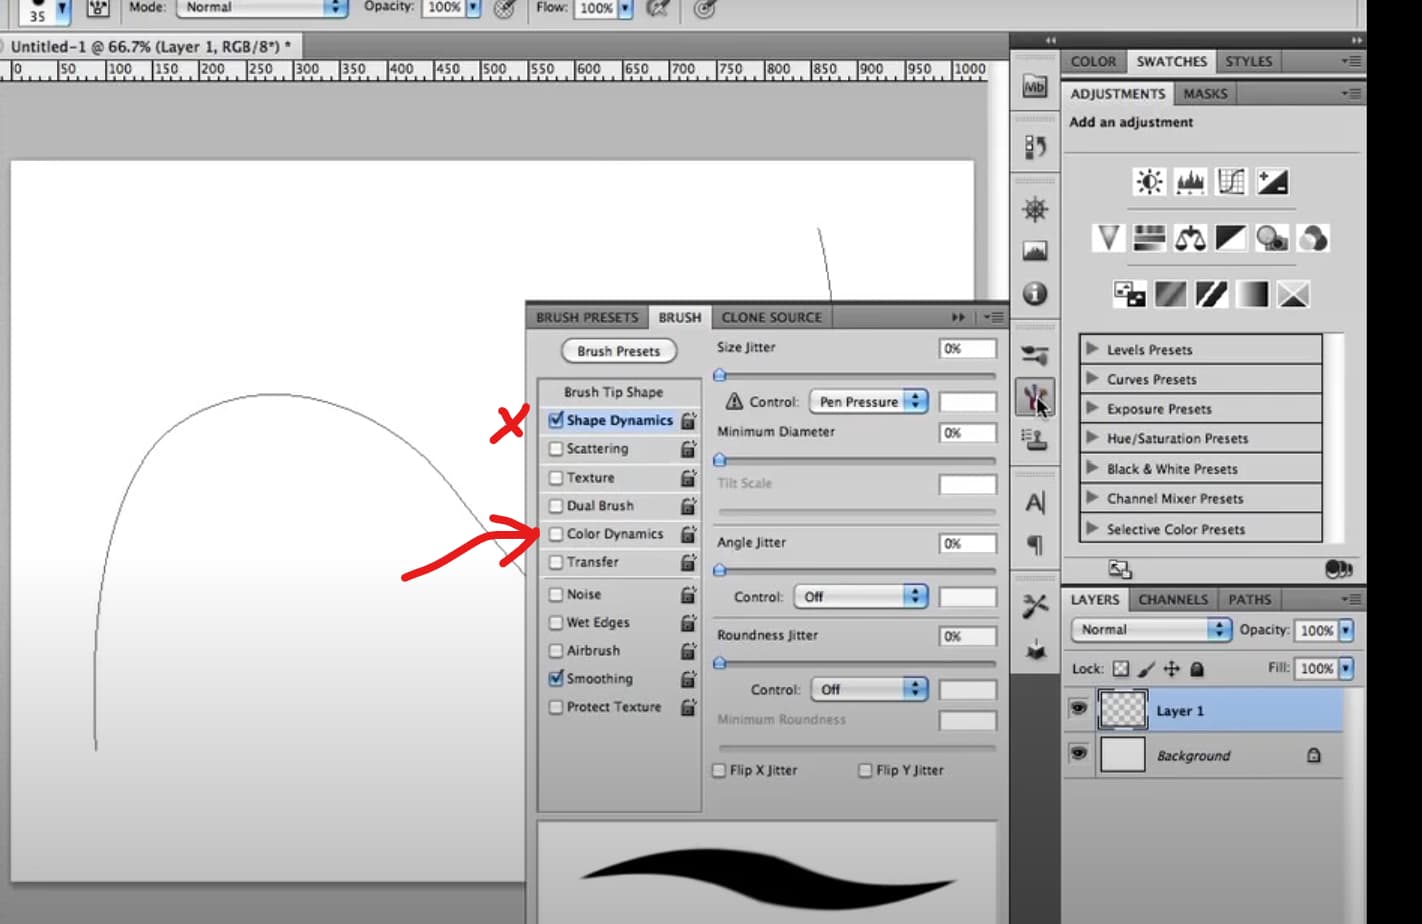
If you want to do it in Photoshop I would follow exactly this tutorial using a black background. But when you hit 4:12 do everything he says to do in the shape dynamics but do it inside the ColorDynamics instead. Color dynamics controls the opacity while in the video he is controlling brush size inside shape dynamics.
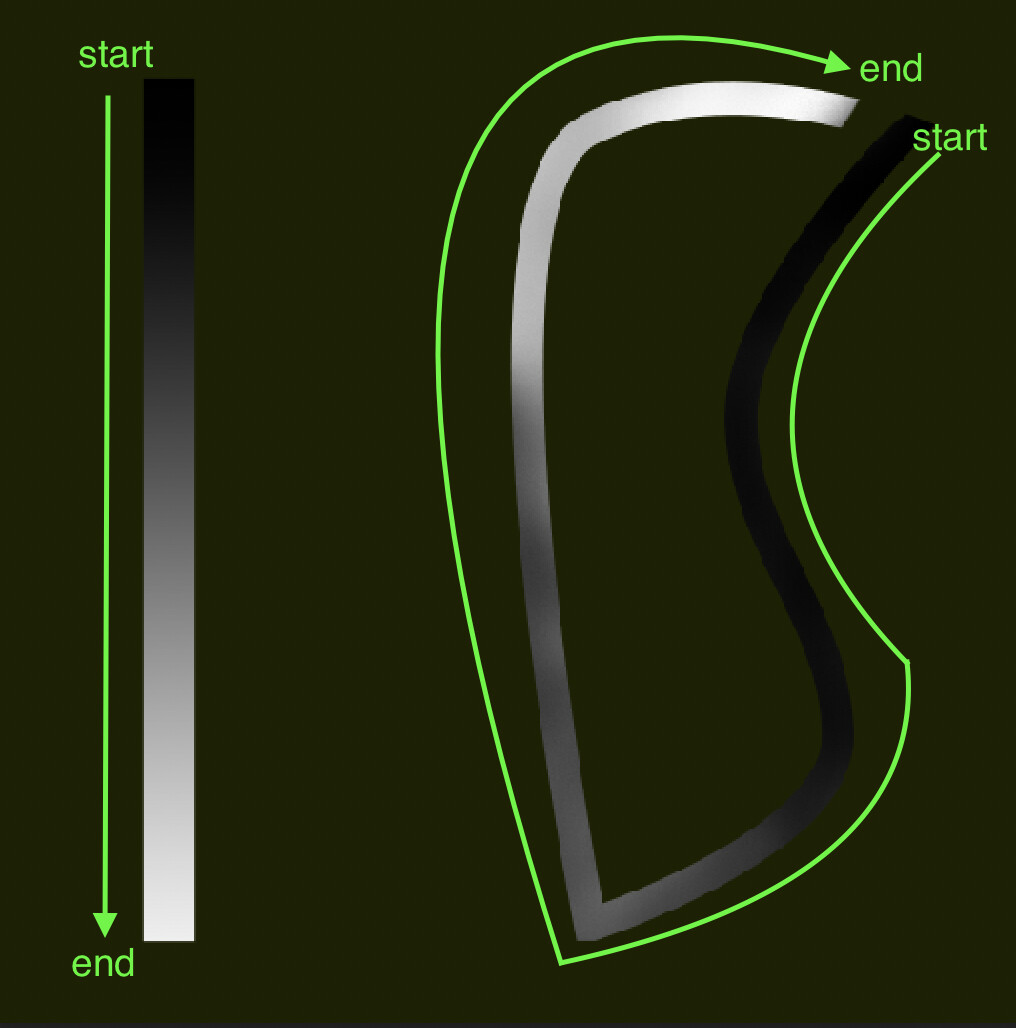
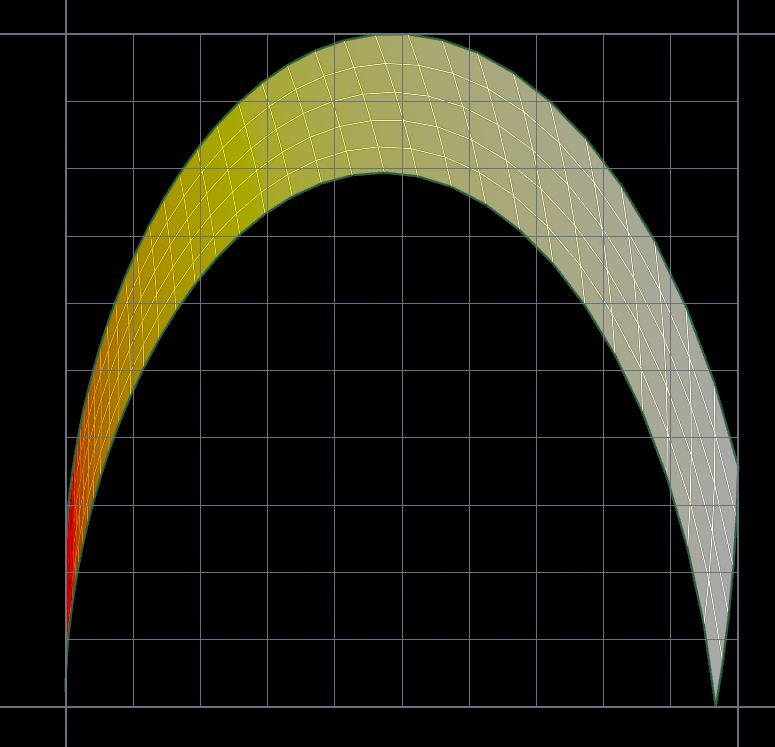
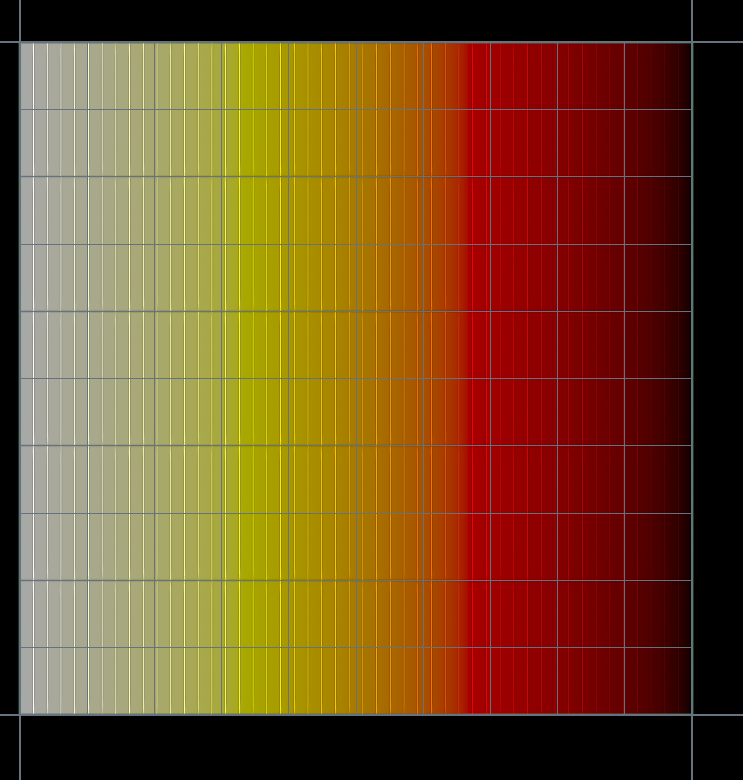
Sorry for misunderstanding your question, here is my workflow for a similar problem. I use a texture image brush in Affinity designer, you can also apply it on a curve.
Make a specific gadiant shown on the left of the recording, then use that as the gradiat for the brushes.
@towi1max2 oh I wasn’t aware of this “Replace Spline” option! very handy indeed!
@Ivan.J.Grba I’m so glad there’s a way to do it in Affinity Designer as it’s always my first preference over Illustrator when possible and it’s good that it’s a “brush” since I usually need this sort of gradient mapped over a path/stoke to add some 2d motion to my material!
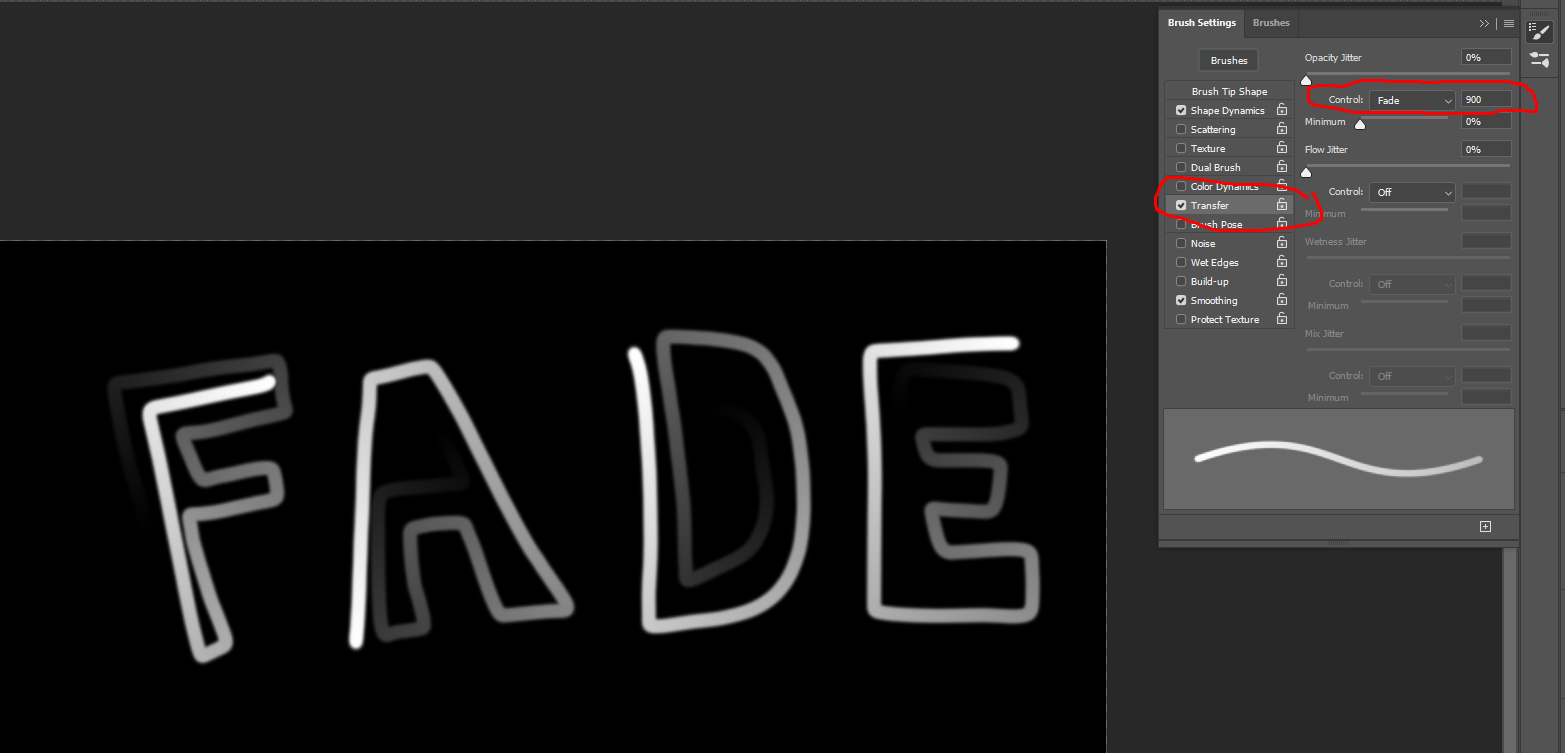
Just Use the Fade Setting in the Transfer section of your brush settings in photoshop. It’ll slowly reduce the opacity from 100-0 over the specified units. I use this to paint erosion maps or path textures


")