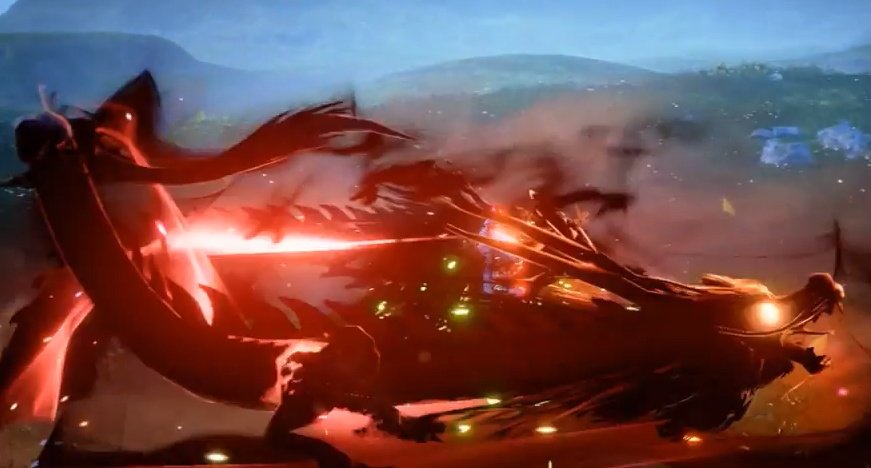
Is it possible to make the movement of the dragon’s body after the head moving only the head? Yes, the body can be made using the trail, but I want to make a mesh(mesh-trail). Can I somehow do this without animating the whole body?
I haven’t done anything like this before, but it reminds me of how I did a “snake” game a long time ago.
My first guess would be to make the head control the movement of the dragon. With each step of movement of the head, you take the direction vector of the head and ease the direction of the next bone to the head (bone 2 → head bone) until it matches the head direction. Then you’d repeat that (bone 3 → bone 4 , bone 5 → bone 4), with each bone following the vector of the one before it.
The way I’m imagining it is a chain on the ground. If you grab one end and pull it in one direction, eventually each link will go in that direction.
And beyond that I imagine you could mix in some kinda vertical sin-wave movement to make it less “snake” like. My 2 cents!
the dragon head we download from web, the body just a cylinder and use ffd to fix shape.also we made some deatil with some simple plane path deform helical line.
hope this can help you.
I did that in Blender with a different approach, making the mesh and then rigging it with a skeleton / armature.
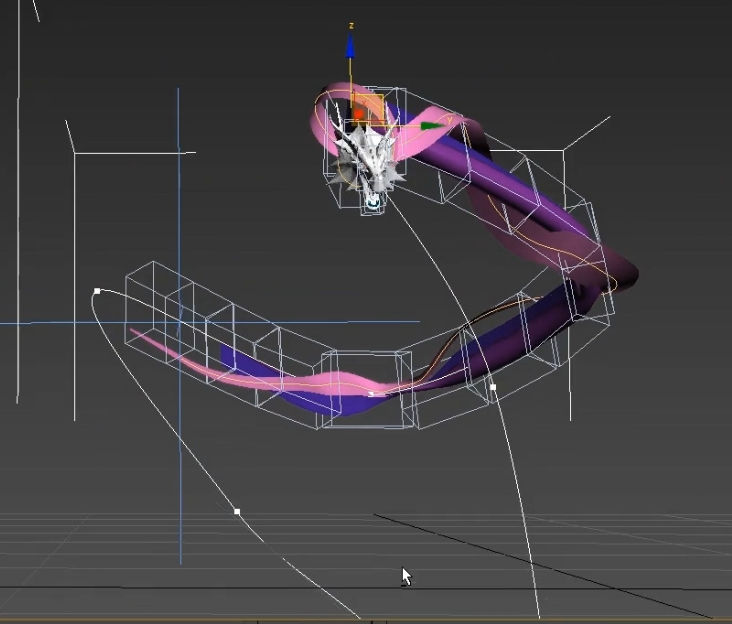
You can use nulls or empties following the curve with an offset between them and then apply some bone constraints so the bones follow their position and orientation. Two nulls needed per each bone.
Once animated, you just bake the animation selecting all the bones following that spline or curve, and then keyframing position, scale and rotation manually for each keyframe. The head bones plus those extra “juice” or “feeler” bones can be keyframed to your liking.
Can’t really show the .blend file as it is owned by the company I’m currently working in.
If anybody has any doubts or questions on how to recreate this, feel free to ask hehehehehe
If you are using Niagara you should be able to write particle position+rotation into a render target and read that data inside material to apply deformation. You’d have to bake bone weights and indices into UVs. (https://twitter.com/RE_Evolution_X/status/1399361269396742151 sort of like this but should be a bit easier)
Alternatively I’ve been trying to render mesh trails in Niagara
bumping this… I feel like a chain rig could work but idk about that. I came up with a way to do it in houdini where the mesh follows a spline and is exported as a skeletal mesh animation but that’s too rigid…
Hi, I am not using anything clever for my solution ^^’
The basic requirements to render spline mesh are Start/End position and Start/End Tangent. I am relying on ribbon code to generate that for me and replaced quad rendering code with the one that uses mesh instancing.
It’s a custom renderer, hybrid of Niagara’s existing ribbon and mesh renderer
I haven’t tried this but I think it should be possible to store that data in RT and use MaterialDynamicParameter to store offset in texture and use that in material to apply deformation :? But this won’t be robust.
I think using ribbon is vital as it makes sure that particles are sorted so that I can just offset InstanceId to get the next particle. Also provides proper UVs so that I can apply scrolling textures etc.
TL;DR
This is a very tech heavy solution for the problem and requires changes in Niagara. Don’t think I’ll ever use this in production code, just something to play around
If you are interested in details how its implemented in code let me know
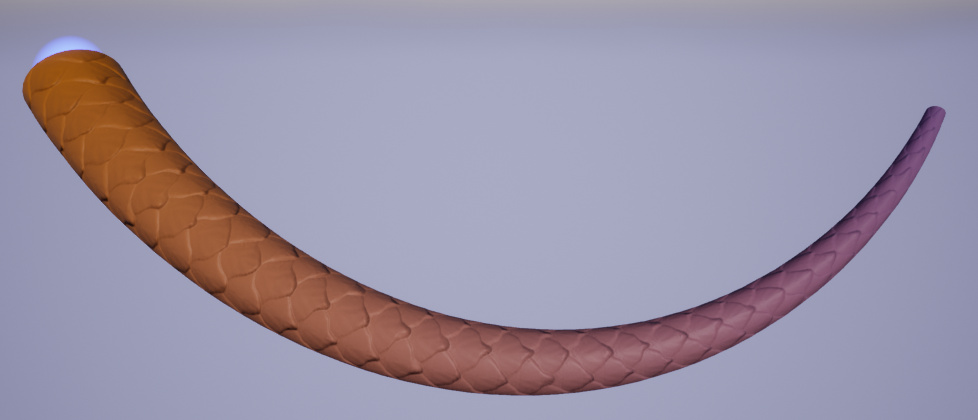
Some tests I did. They are pretty simple setup ^^’
It is exactly how you’d expect SplineMeshComponent to behave, just that the “spline” is generated from Niagara particles.
Niagara UI, for exposing parameters that you can set for Renderer to use:
Engine\Plugins\FX\Niagara\Source\Niagara\Private\NiagaraMeshRendererProperties.cpp
Engine\Plugins\FX\Niagara\Source\Niagara\Public\NiagaraMeshRendererProperties.h
Look for USE_SPLINEDEFORM in this file, that should help you figure out what’s needed for rendering spline meshes.
Engine\Shaders\Private\LocalVertexFactory.ush
Have a look at these files, you should get a feel of what needs duplicating.
It’s pretty difficult to isolate it from Engine code and my entire setup is too messed up to put anywhere atm ^^’
I added an alternate implementation which can be used to render splines by stretching/deforming mesh. I think it would be a use case for rendering things like dragons.
Its not traditional ribbon setup so not too flexible but uses GPU sim