Sorry for the delay, here’s the process explained.
I’m not sure if they had two parts inside the real game but I went like this:
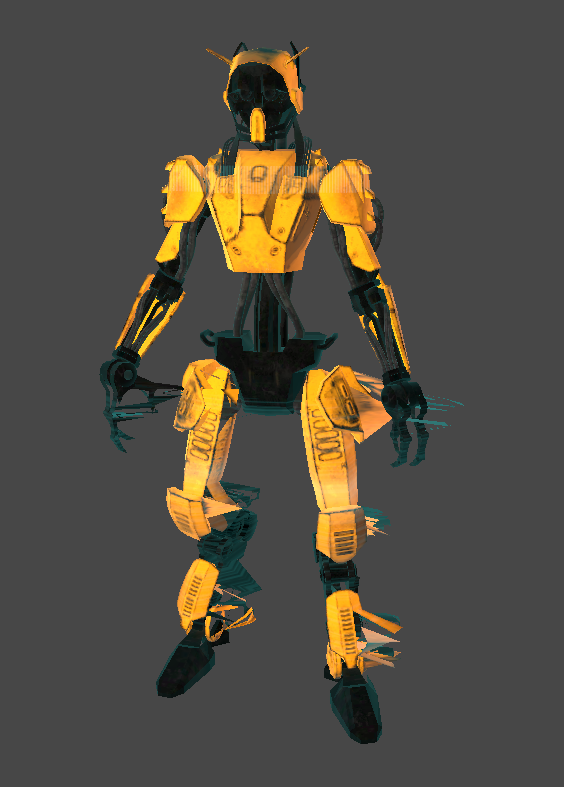
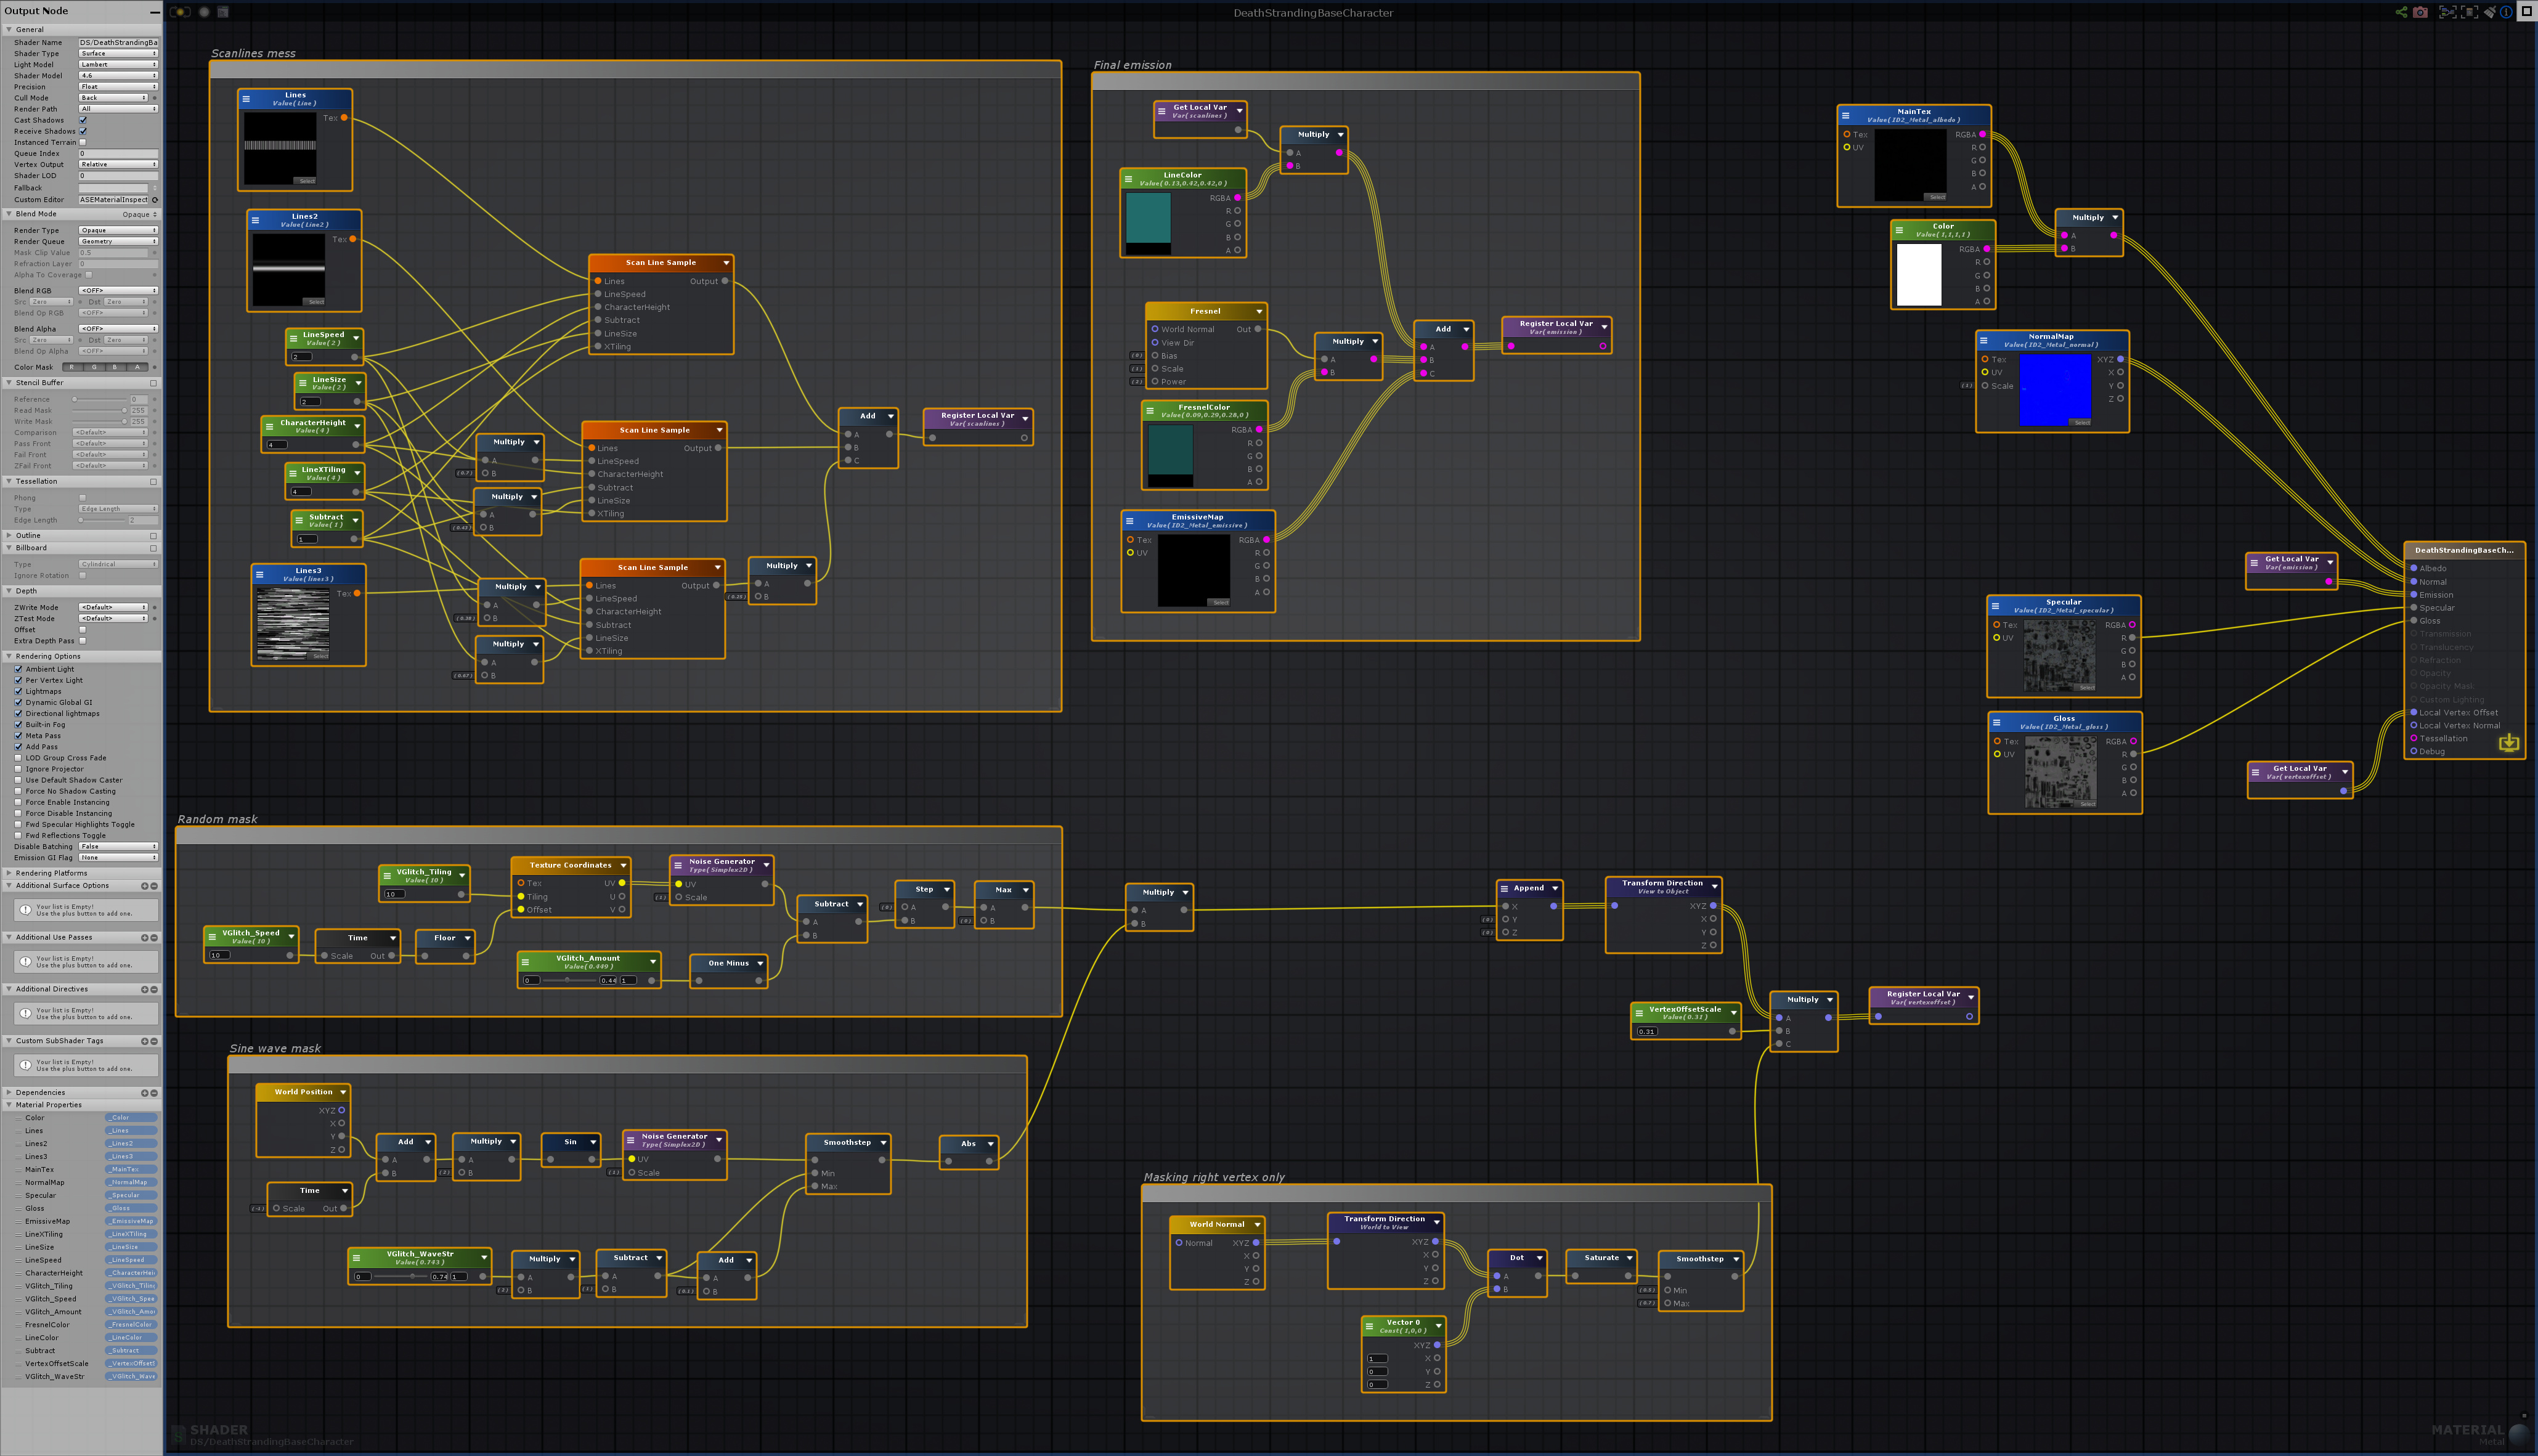
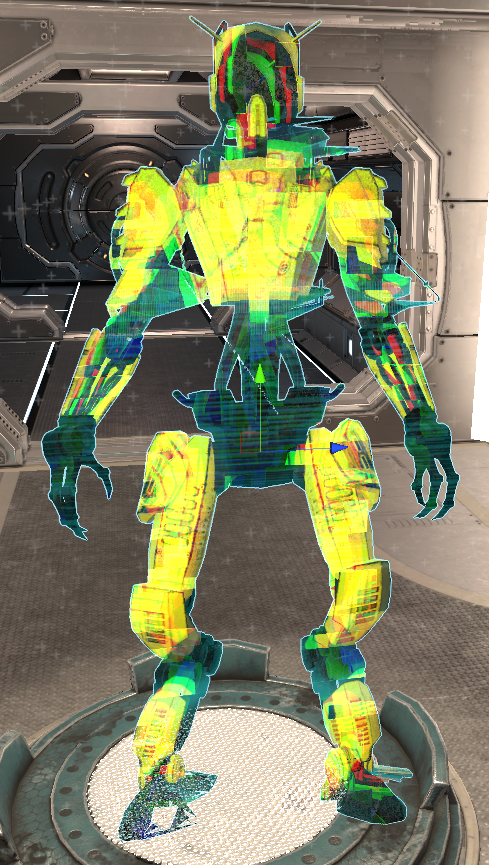
- First there is a 3d model somewhere in the world, viewed by a camera, rendering the result into a render texture. In this 3d model I have a special shader that will do the vertex noisy offset (which can be seen as transmission issues), and scanlines. Scanlines felt to be part of the 3d model, so I added them at this step.
3d model:
shader (the scanlines are messy, there should be a better way to do it) (big file, open it on another tab to zoom into it):
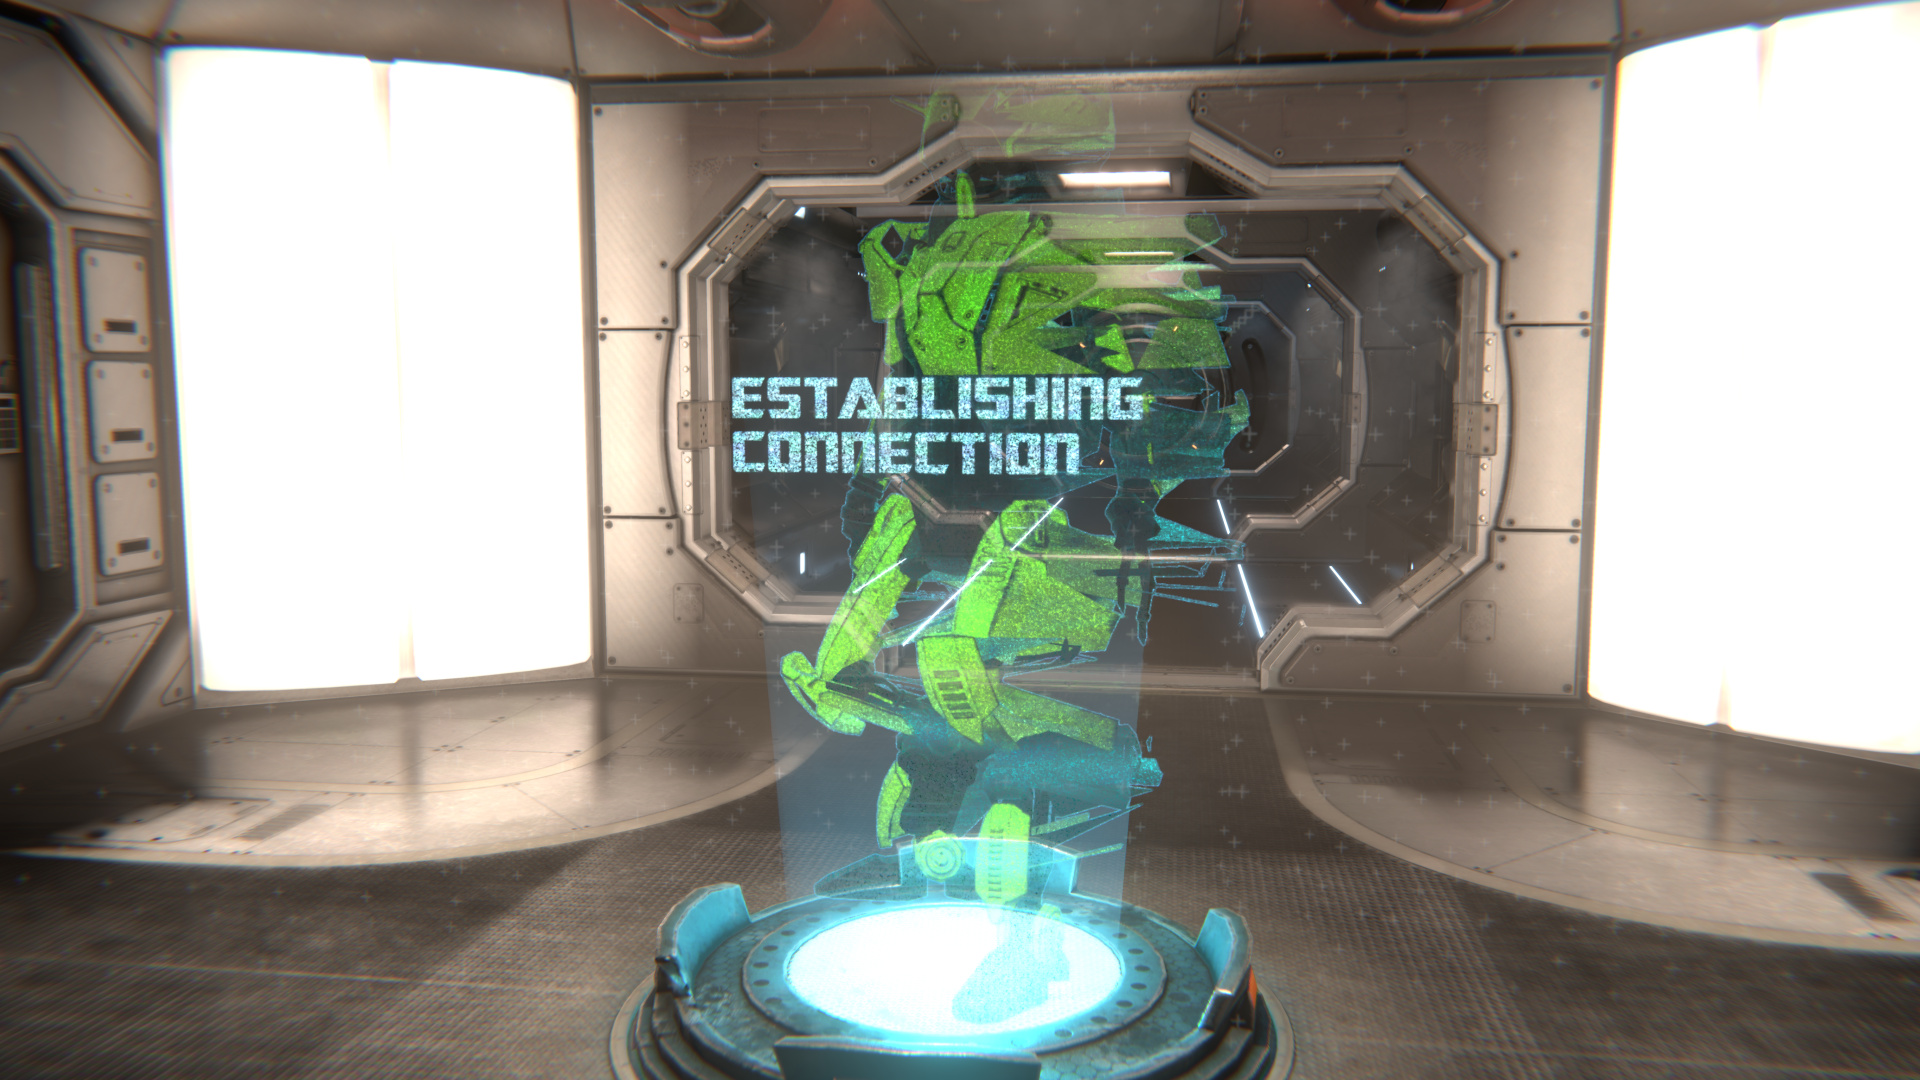
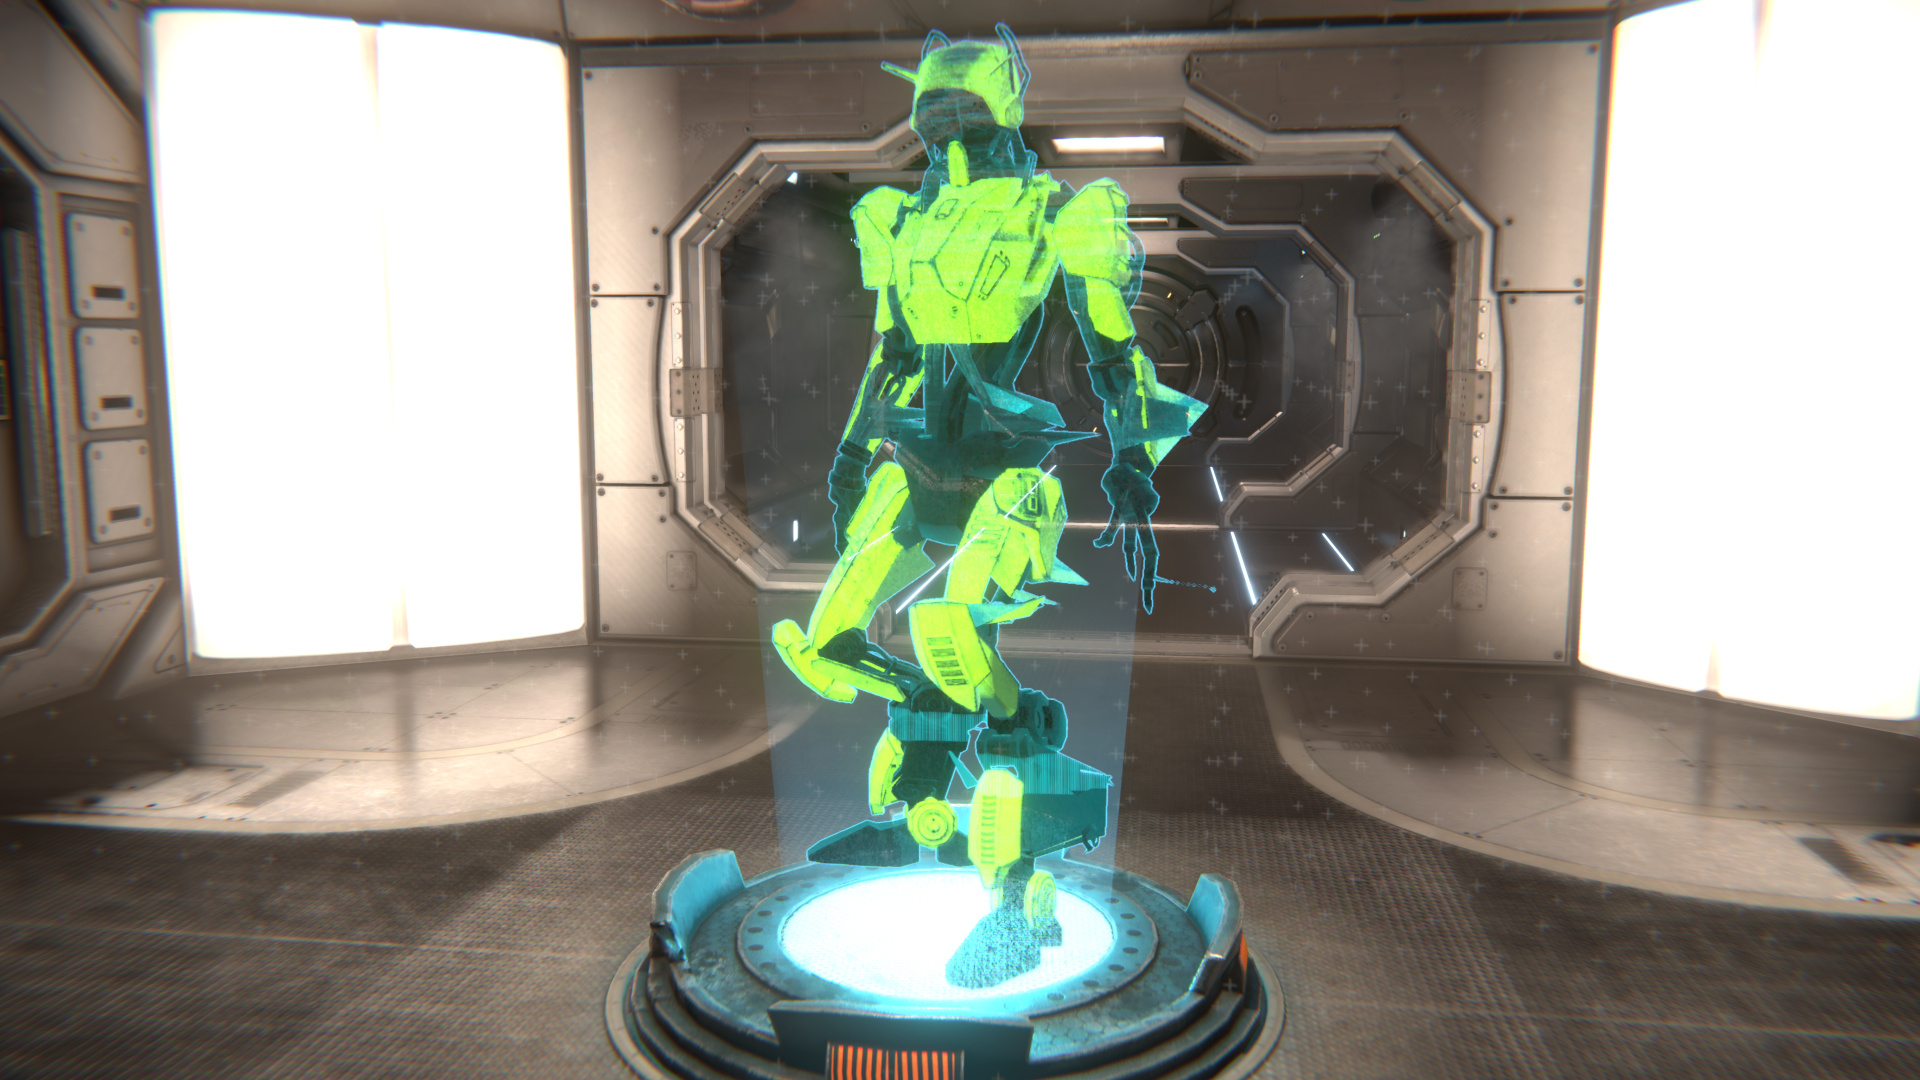
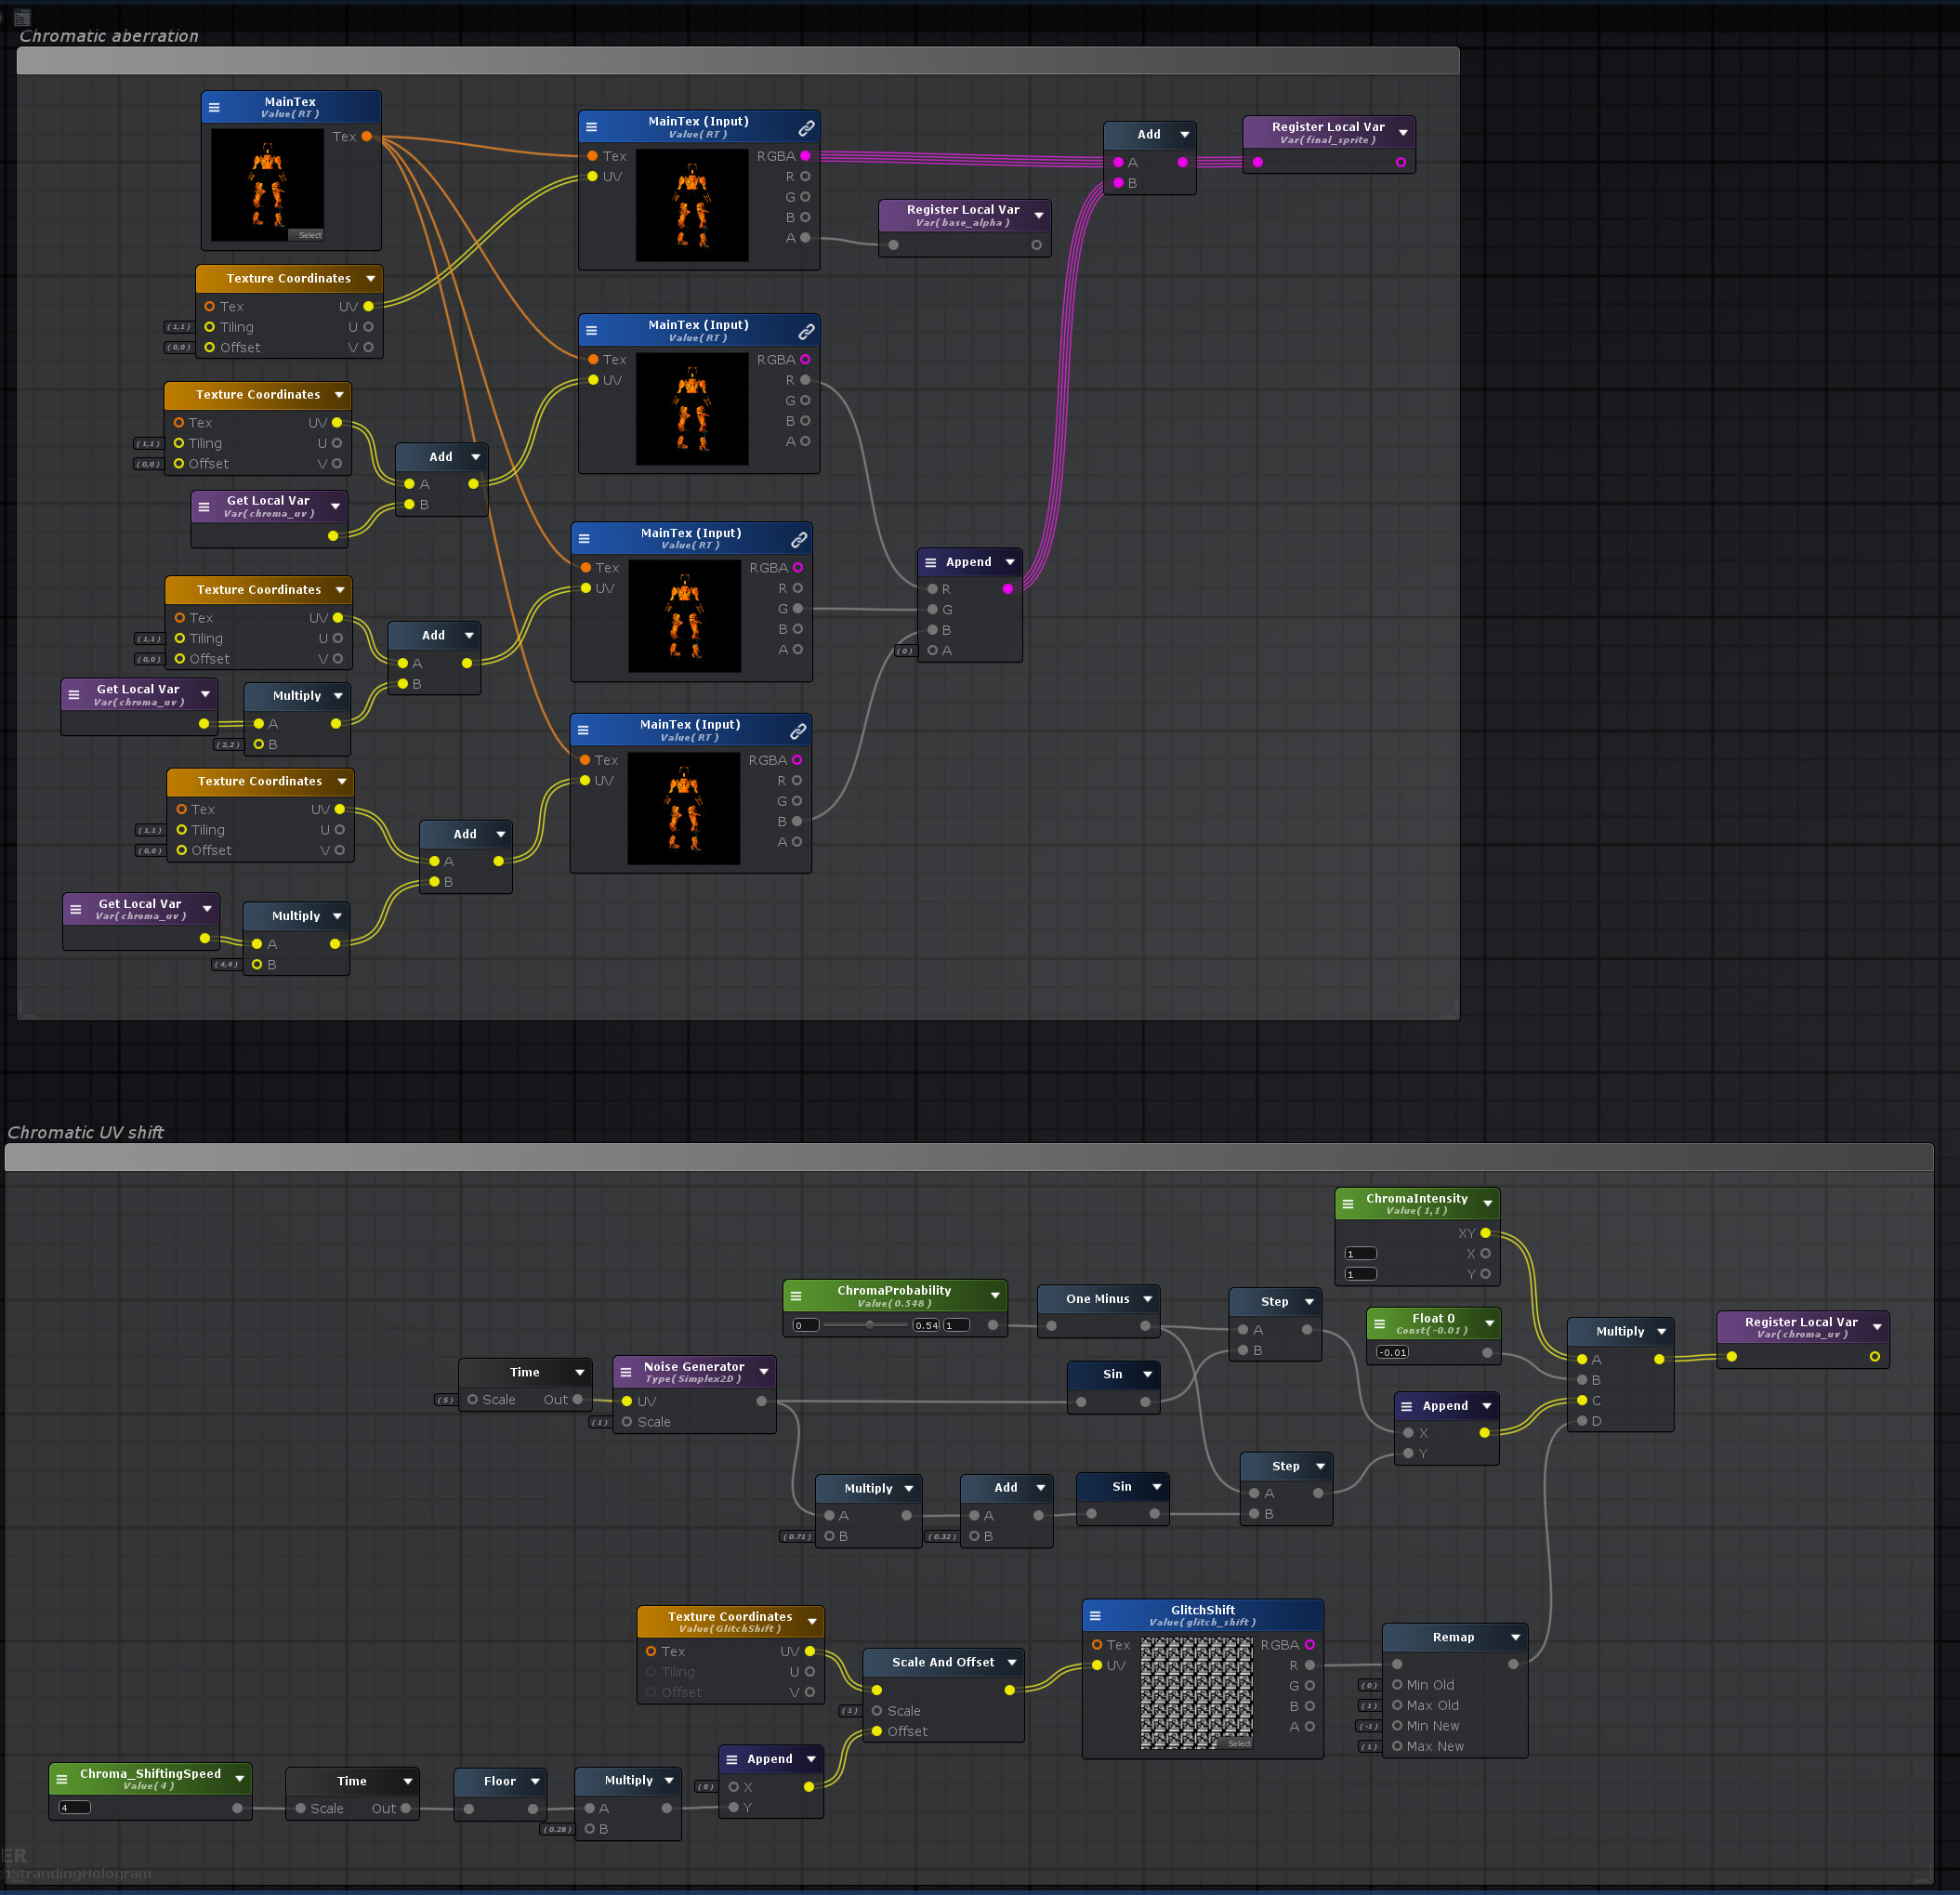
- The second part is the hologram itself. I use a simple quad with a custom shader on it. The shader will use the render texture as a base, and will put different things on top of it:
- an outline (I think in DS they did it differently, as the line appears inside the 3d model as well)
- color correction
- while noise effect (I’m not sure about this one, in DS it looks like it’s also put on the 3d model)
- chromatic aberration (which is not on DS, at least on this hologram, but I love doing it ^^)
The outline is a multisampling of the texture with a small offset in 4 directions, that will give a thicker version of the texture, subtracting by the alpha of the base texture will give the outline.
float finalA = 0;
finalA += tex2D(_MainTex, uv + float2(offset, 0)).a;
finalA += tex2D(_MainTex, uv + float2(-offset, 0)).a;
finalA += tex2D(_MainTex, uv + float2(0, offset)).a;
finalA += tex2D(_MainTex, uv + float2(0, -offset)).a;
return saturate(finalA);
I put this on a custom expression node, as it avoids dealing with a lot of nodes.
For the chromatic I simply sample 3 times the texture with an offset and extract R G and B individually, then combine them and add it to the base texture. I also have a custom chromatic UV that is shifting with a mask I made, to add some variety on the effect.
The white noise is juste a noise texture panning randomly with a mask panning vertically that will remove a part of the noise.
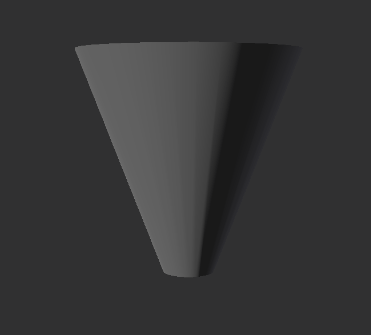
Around that I made a simple hologram fake light, with a custom mesh and a custom texture:
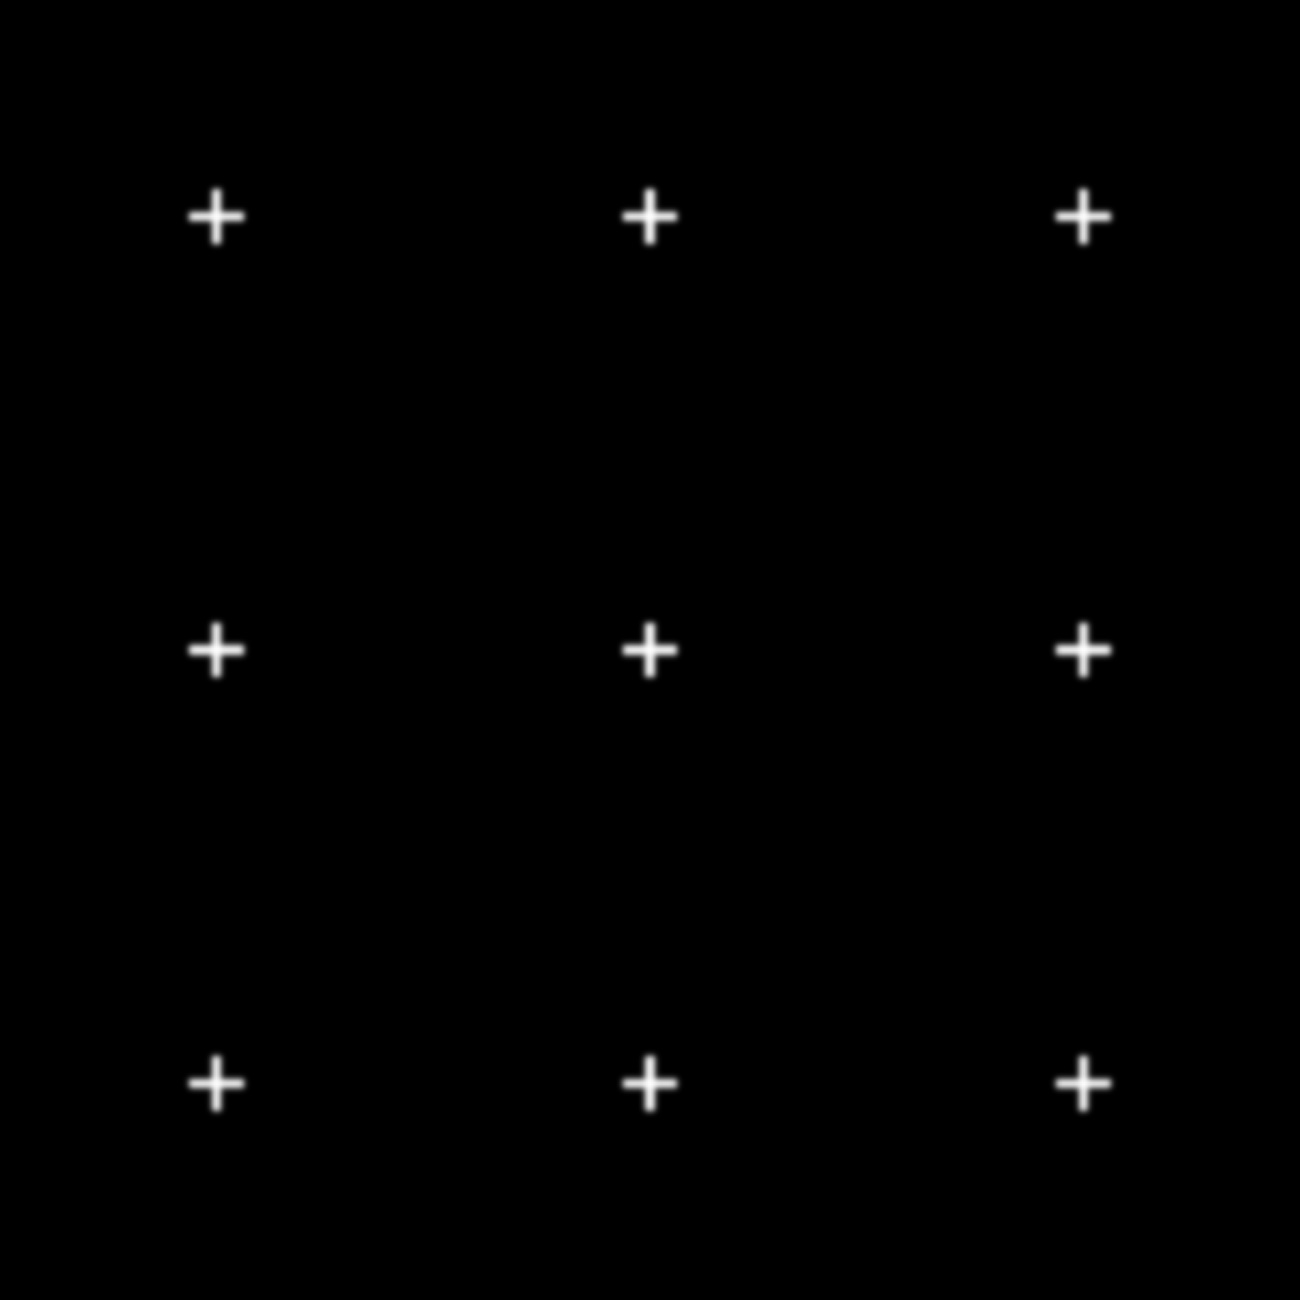
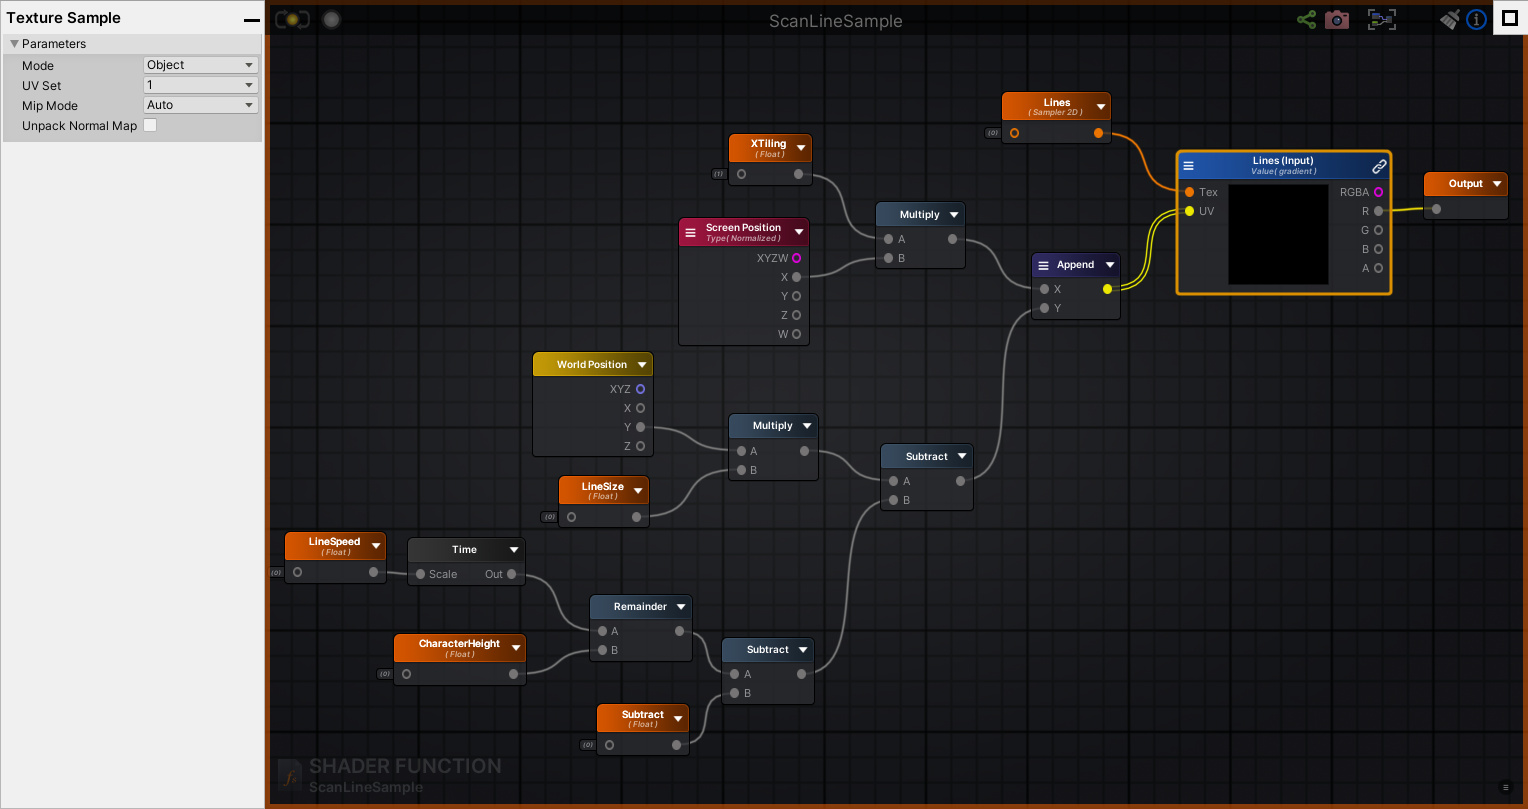
There is also some “plus” floating in the air, I used a basic tiled texture with a simple shader that will shake the UV:
Finally I used Cinemachine to add some fake random movement and add a bit of life, and made a animation to trigger everything for the last shot.
Feel free to ask me more questions if you want more details on a specific point.
Cheers!