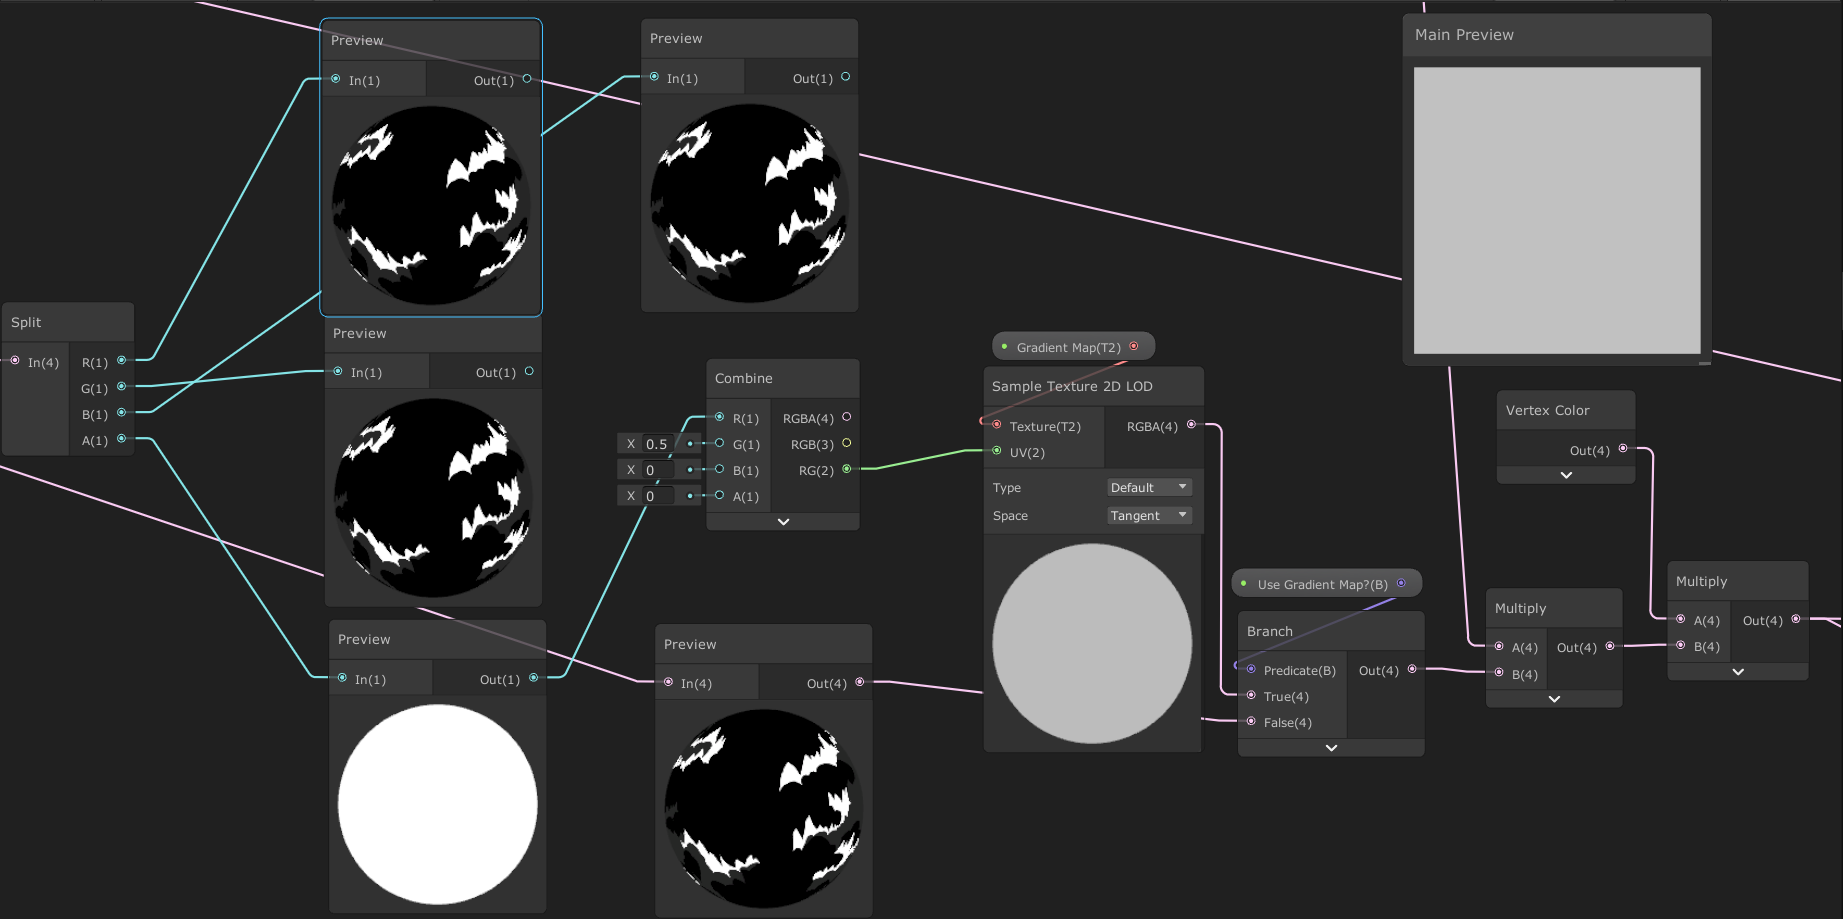
I think the biggest thing here is your choice of gradient. If you want the white values to pop, the key is contrast, but the yellow you’ve chosen is very close to white. It’s hard to even spot the highlights in there!
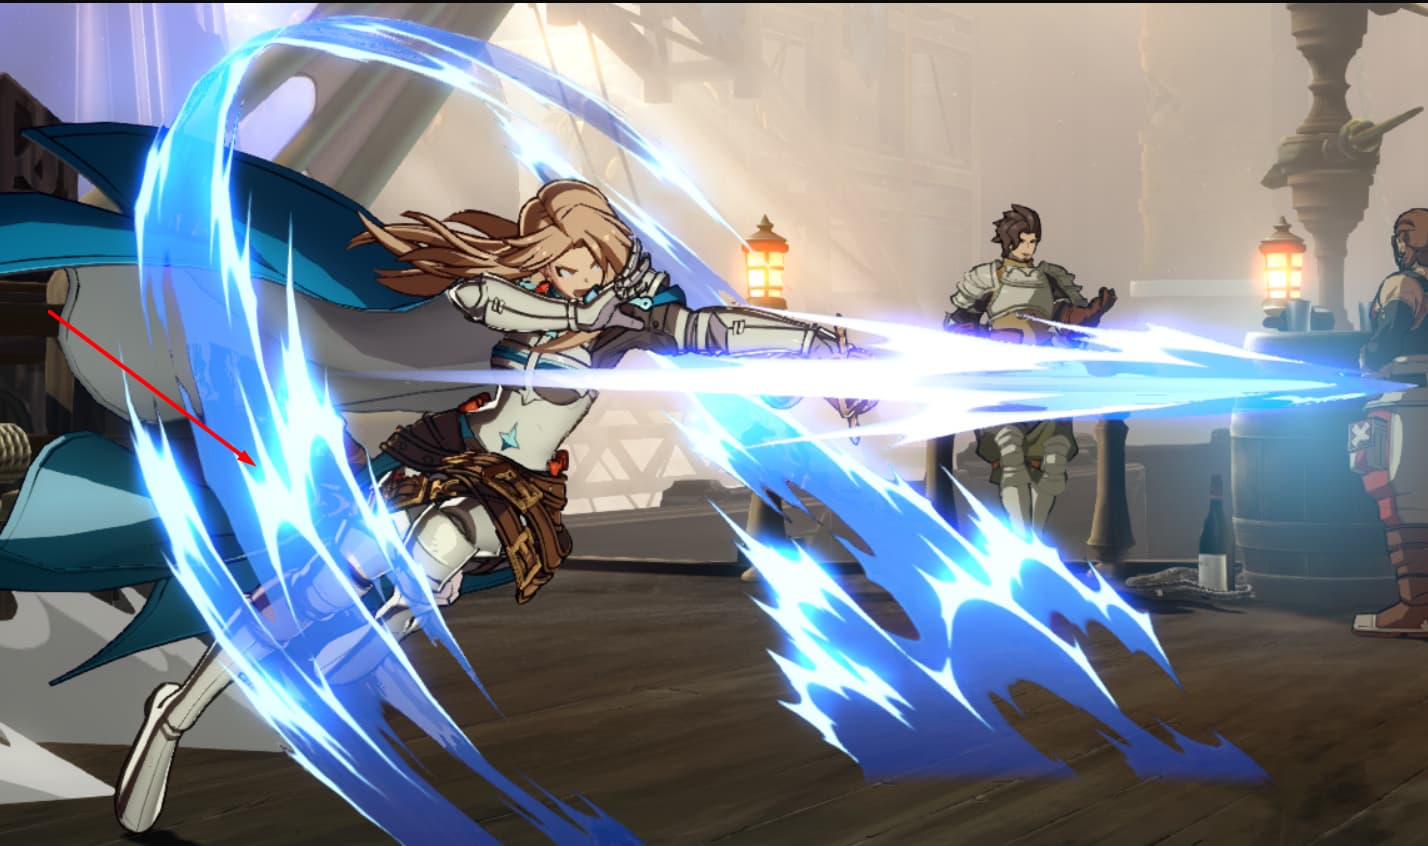
Looking at the reference effect, I’m seeing a few things:
- Its mostly a dark blue with partial transparency; the transparency lets the background contribute slightly to it and makes it less solid feeling
- On the upper left edge it starts to tend towards cyan, I’m guessing controlled by a Fresnel term. That gives it the impression of adding upon itself, like the effect has some volume and it’s stacking when the path of the effect is towards you.
I think the biggest thing you need is a darker fill colour. Since dark yellow just turns greenish, you probably want an orange or reddish tint. The darker it is the more your highlights will pop. Bloom will help with an appearance of intensity and can add colours to the fringes, but it won’t solve your issue until there’s a dark “background” to see the bright stuff on!
You may also want to vary that colour to a lighter, more intense shade towards the edges like in the reference effect, adding variance and “volume” to the outside of the effect. Probably still a darker orange or red colour, because it also needs to supply contrast.
With all that red in there, to keep the effect reading as yellow make the highlights HDR with a slight yellow tint. Tuned right, the bloom should capture that yellow and spread it out to the sides.
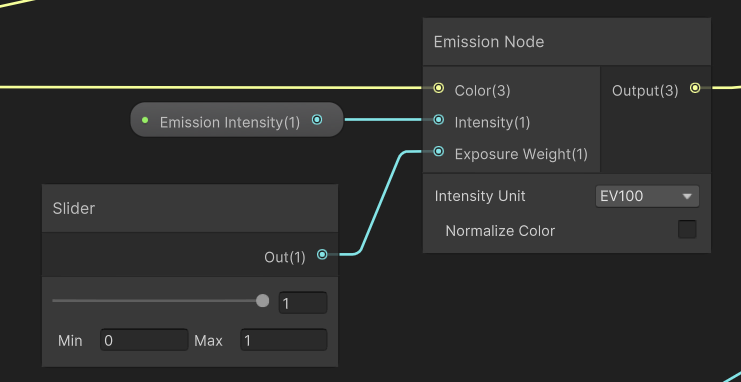
You could add that Fresnel gradient into your existing setup, but it might be hard to tune alongside the highlights. Therefore, I’d also suggest abandoning the gradient/LUT approach and instead building it up in layers as it’ll be easier to tune. Here’s my first thought on how to implement that:
In your texture put the highlights into the R channel and the fill into the G channel. Then, your main parameters look something like this:
- (HDR) Highlight Colour, which you’ll multiply by R; tint it slightly so that when you crank up the HDR the colour comes out in the glow. For a poor man’s bloom, some low-value reds painted in will pick up the colour at low intensity.
- (HDR) Fill Colours (Inner and outer). You’ll colour the fill by lerping between the two based on a Fresnel node, then multiplying by G.
- Fresnel power: Feed it into the Fresnel node to tune the gradient curve
Then you composite it together, simplest way being by adding the highlight to the fill.
A benefit of splitting it into layers is it’s easier to elaborate on later; for example, you could have the fill and highlight respond differently to vertex alpha; the fill fading with a multiply, but the highlight dissolving so that it keeps hard edged intensity as it withers away.
Hope that’s helpful! BTW, really digging the motion of the particles! Has a really nice energy and snap to it.