Chaos and Shooting, Houdini and Niagara Forever

Hello everyone. I recently spent some time studying the Chaos destruction system and wanted to share some of the things I managed to learn.

Most of it is fairly technical and probably more relevant for a technical artist than for a VFX artist, but I plan to combine it with shooting effects, so it might turn into something interesting.

Destruction in Unreal is not very well documented. There is very little information that quickly helps you understand how the system works or how to solve seemingly small issues that actually have a strong impact on performance. Most of the material I found focuses on workflows that do not use the newer Dataflow system.

I had to go through all the official talks on this topic, as well as forum discussions and examples created by other users. The most valuable resource turned out to be the ContentExamples project — I spent a lot of time there simply analyzing and testing things.

This won’t be a tutorial. It’s more of a portfolio piece accompanied by some of my thoughts and observations.

Planned tasks include creating a destructible column, impact effects, and shooting effects.
Additional effects will appear during the destruction itself. The idea is to slightly extend the visual complexity by adding small lightning discharges that briefly appear inside the breaking object.

The destruction will not be fully simulated. The goal is partial destruction, where only certain parts of the object break.

And another task with an asterisk. Most likely it won’t work, but maybe I’ll be able to figure it out. The idea is to place interactive elements near the column that explode when hit and cause part of the column to break as a result.

3 Likes

Before starting this project, the goal was to prepare a level with pleasant lighting and a third-person character that already had a working weapon and shooting system inside a default Unreal project.

The first thing I tried was GameAnimationSample, and I immediately liked the animations there and the Paragon character. I spent about a week — a fairly difficult week — trying to understand how the animation system works and how to quickly assemble a prototype like this. My first attempt was to build everything directly inside GameAnimationSample using the animations that come with it, but that turned out to be quite inconvenient. There are some tutorials that show how to do this.
UE5 Game Animation Sample 12 - Aiming Down Sight

At first the idea was to assemble the animation setup and then build the weapon system afterward, but it quickly became clear that this alone could take more than a week. So I decided to try another project where most of the systems were already assembled and the effects were connected. Removing the effects and keeping only the animation took some time, because there were many dependencies tied to the main blueprint, which was a bit frustrating.

Discover over 50 free Niagara systems ready to use in Unreal Engine 5.7

In the end I wasn’t very happy with the animation itself or with how the character looked after retargeting. Retargeting was another thing I had to learn along the way. After that I thought about improving the animation and adding animation from one good free project.
How To Migrate And Use Animation Assets From Project Mega Sample
Download Almost 1,800 Unreal Engine 5 Assets FOR FREE!

Once everything was assembled, the result still didn’t look as smooth as expected. When the camera moved, the character and the animation started to jitter. It felt like I was still missing some understanding of how the system worked — there’s usually some checkbox somewhere that fixes everything.

After some more searching for a better way to add the animation I needed, I found a project that is publicly available and already built on an older version of Lyra from about three years ago. I tested it, but there were still a few things missing that I needed.
Updated Lyra Locomotion Project File (Free Download)- Unreal Engine 5.1

Essentially, what was required was a simple example based on Lyra animations that provided movement, aiming, shooting, and a weapon with projectiles similar to the standard first-person template — something simple enough that working on effects would not become unnecessarily complicated and with beautiful animation.

After some time I found a tutorial explaining how to import Lyra animations into a default project. With that knowledge, and knowledge that I got during week a better understanding of how animation blending works inside the animation blueprint , it became possible to use Lyra’s weapon animation layer to set up aiming and shooting, and then add the weapon system from the first-person template.
Lyra Clean to new project

frame

1 Like

I managed to get started this week and spent a couple of days troubleshooting an issue where, after hitting an object, it would eventually be removed from collision. I had to try a lot of things, but it turns out this is now a normal behavior after updating to version 5.7.
UE-358545 Unable to interact or collide with geometry collection after Removal on Sleep or Break timer finishes, yet unbroken piece continue to render
forums.unrealengine.com - 5.7

So, I simply took the projectile from the content example and used it as a base.
I’ve started with object destruction and haven’t added niagara (fragments) or smoke yet.

frame

It’s certainly not fun, but it is what it is — this is how the collision situation currently looks. At one point I considered removing all the pieces and relying only on particle-based optimization, but the collision issues didn’t allow me to do that.

frame

At one point I even managed to cheat a little: I made three levels of collision and deleted only the very last, third one, but there were still several pieces remaining in memory.

frame

Oh yes, just in case, I made a backup and added an additional collision for impact in the blueprint to be on the safe side. This is a reliable option for this type of destruction I would say.

2 Likes

Added Niagara and the Niagara Data Channel to the Blueprint. There are large chunks of Niagara and many small sprites that create the bulk of the fragments.

frame

4 Likes

I’m done working with the column, I guess. I might come back to it later when I improve its performance. And I would also like to add decals to the floor after everything disappears, it becomes very clean.

The next step will be adding impact. Then I plan to convert this room into an office and see how much performance I can save.

frame
frame

After the first stage, when I assembled the dataflow and added Niagara, I tinkered with the Blueprint and Niagara a bit more, which allowed me to improve the result a bit. I also liked a picture of a column I found online, so I decided to add some glass. I used a masked material for the glass; it looks cool. I noticed that ARC Raiders uses a masked material for the glass, and I was impressed with how it looked.

The first thing I wanted to update was the Blueprint. I was wondering how I could replace the legacy Write To Niagara Data Channel with the new one. Unfortunately, I didn’t dig deep and only found this option that worked.
I looked on forums and found that a lot of people were interested in how to do this. Luckily, a little later, I found official information from Epic, which was very encouraging.
new-access-contexts-in-unreal-engine-5-7

old one >


new one >

The next step I wanted to update was the ground impact. When the fragments fall, there’s no dust on the floor, but I really wanted some. I also wanted to add some dust on the sides of the column; it’s usually there when a large number of small objects fall after being destroyed.

So I first made a simple example on the GPU that, when a collision occurred, allowed the sprite sheet to be animated.
frame
frame
Here I later changed the size to more of a mix between fixed and length from the impact position to the floor.
frame
frame

This is what the result looks like with impact on the ground and dust on the sides of the column.

frame
frame

3 Likes

This week I was able to devote a few days to this project. I connected NDC to impacts and now I can customize weapon effects. I started with the impact; I wanted to do something interesting with a hit of electricity and energy.


frame

This is the main impact, I also plan to add impacts from hitting different surfaces.

3 Likes

Small update, impact decal/muzzle/animation
frame
frame

3 Likes

This post is about issues working with Chaos destruction, specifically with projectiles.

I ran into the same problem again while working on furniture, and it’s getting frustrating. There’s no clear explanation anywhere on how to properly set this up. In one example, a Master Field is used destruction-quick-start; in another, Cedric Cayo says it’s better to use External Strain Chaos Destruction System | GDC 2025.

There are two main ways to affect Chaos collision and destruction: by using fields, or by applying direct physical impact (of course, using tracing too, but that’s not the case for me).

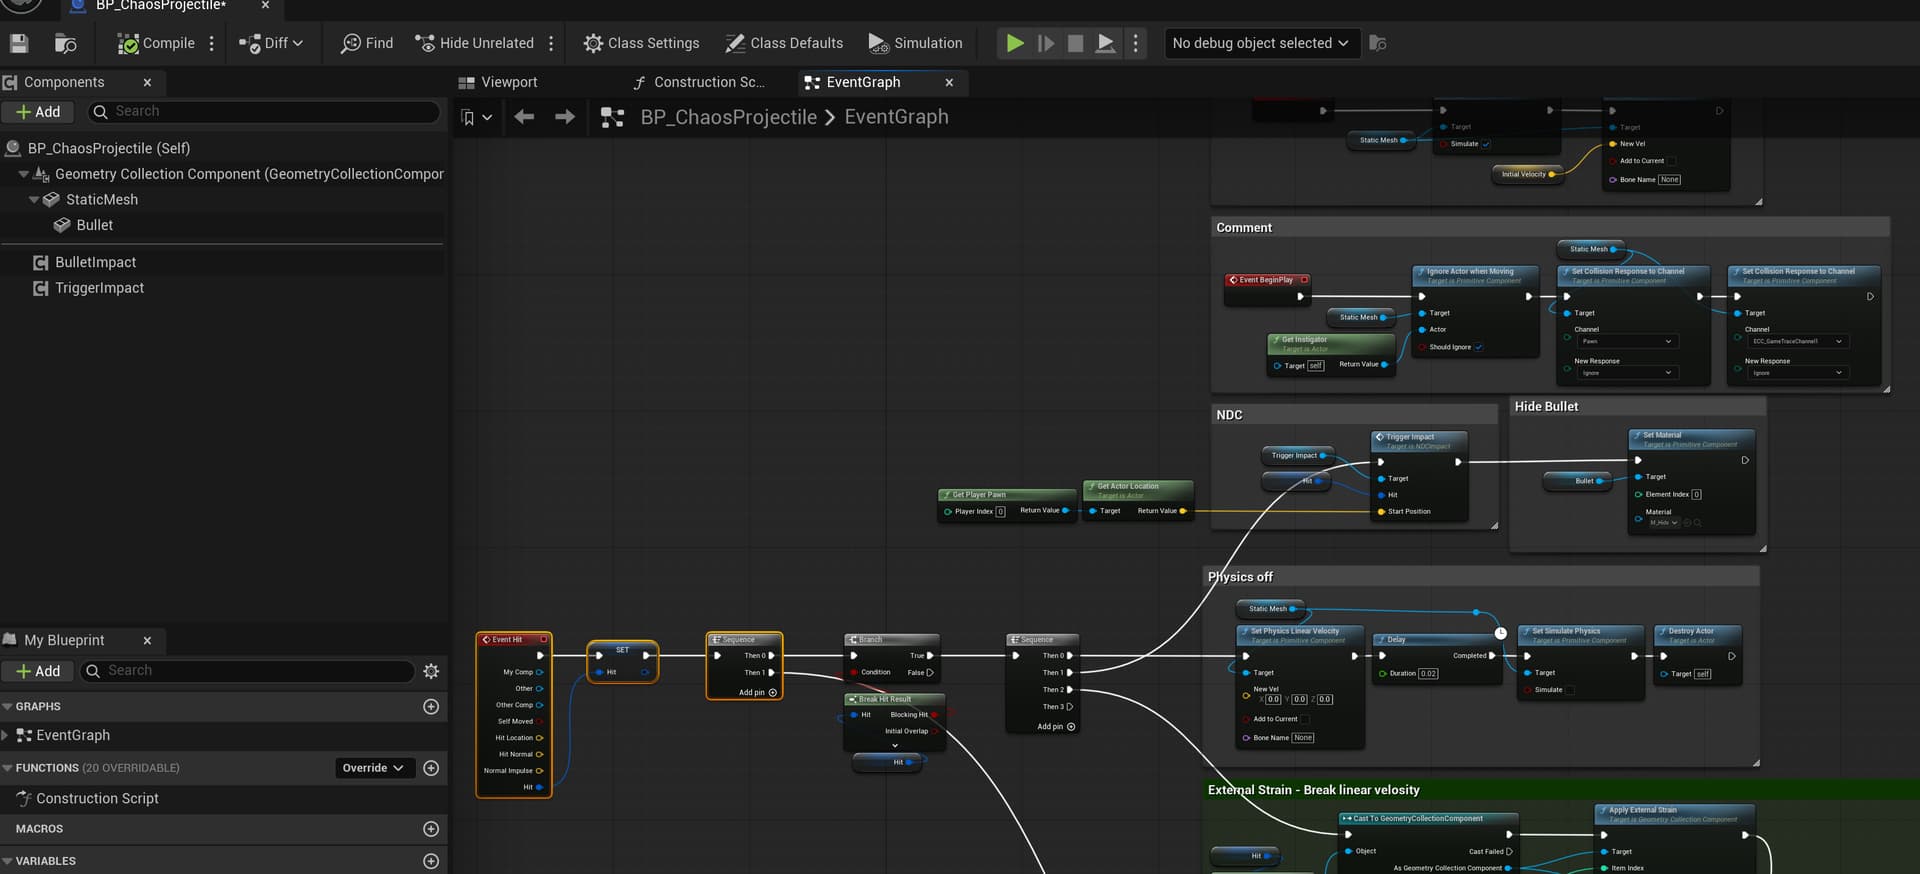
When using a projectile, the setup is simple at first. You configure everything through Projectile Movement, and it works well until Removal is triggered. After that, the object no longer blocks collision properly, either for the projectile itself or for traces.
With a projectile, it is easy to spawn the fields you need on impact and control the destruction that way. In my case, though, that is not enough because I need the destruction to continue in a consistent way.

It would help if Epic provided more control options for this case instead of effectively removing that interaction.

I would like to have more control for cases like this. There are three destruction behaviors that would be useful.

Persistent destruction — destruction that can continue at any moment whenever needed.
One-time destruction — objects that should become inactive after the first hit. There are many small objects where it is useful to see some dynamic reaction on impact, but after that it is no longer necessary, and it would be better to remove them from memory but leave the objects in the scene.
Partial removal — for example, furniture that can start breaking apart. It would look strange if the whole object disappeared from the scene after the first hit and left the room empty, but I also would not want it to stay fully active in memory forever. After the first hit and partial removal of some broken parts, it would be useful to either disable collision on the remaining object or switch it to kinematic. At the same time, I would not want that furniture to become inactive immediately.

Chaos already has three collision states during destruction: the main collision, cluster collision, and piece collision. It would be nice if we could optimize cluster collisions based on a set of boxes rather than their convex hulls, but right now, optimizing using boxes seems odd—a single box covers a single object and isn’t ideally oriented. It would also be useful to keep an object in the scene for some time after destruction, and then, instead of deleting it completely, just disable its collision and leave it in the level as a static mesh.

The second option, aside from traces, is to use a collision object with physics enabled. This feels like the least stable solution. I am not sure studios making shooters actually rely on real physics for projectile behavior, but since there is no better alternative, I am currently following the approach shown in Epic’s Content Examples.

In simple terms, that setup is: enable physics, add velocity, assign a physical material, disable physics on hit, then remove the object.

The problem is that it behaves odd. With a medium-sized projectile, around the size of a character’s head, it can take anywhere from one to four hits to reliably break part of the target when using only the object’s physical impact. If I double the size, the destruction becomes much stronger and can take out half a column in one hit.

This becomes even harder when different destructible objects need to react in a similar way. For example, a small projectile may fail to break a column on the first hit, while the same object pushes furniture instead of damaging it. If I increase the size, then half the column explodes and the furniture is over-destroyed as well.

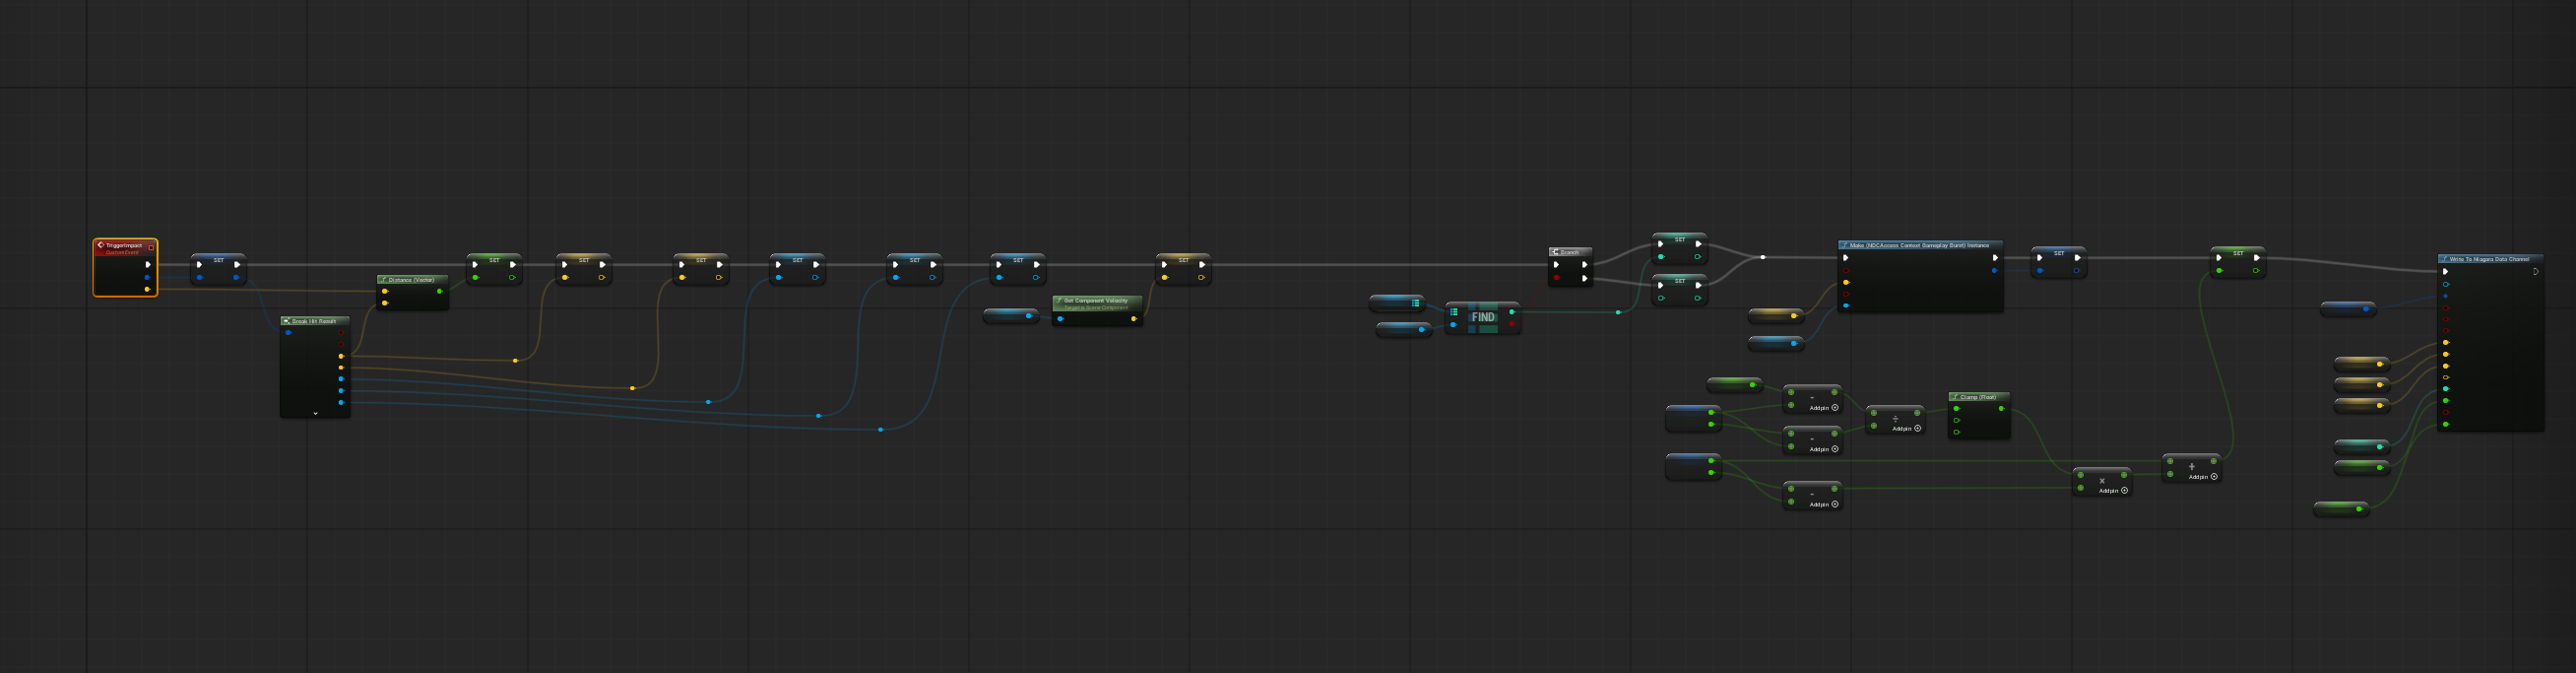
Using fields seems like the most logical and stable method, but in my tests Apply External Strain does not work correctly for a physical object on hit, and I still do not know why. FS_MasterField is also difficult to control: at around 0.5 scale it does nothing, and at 0.8 it almost explodes the whole object.

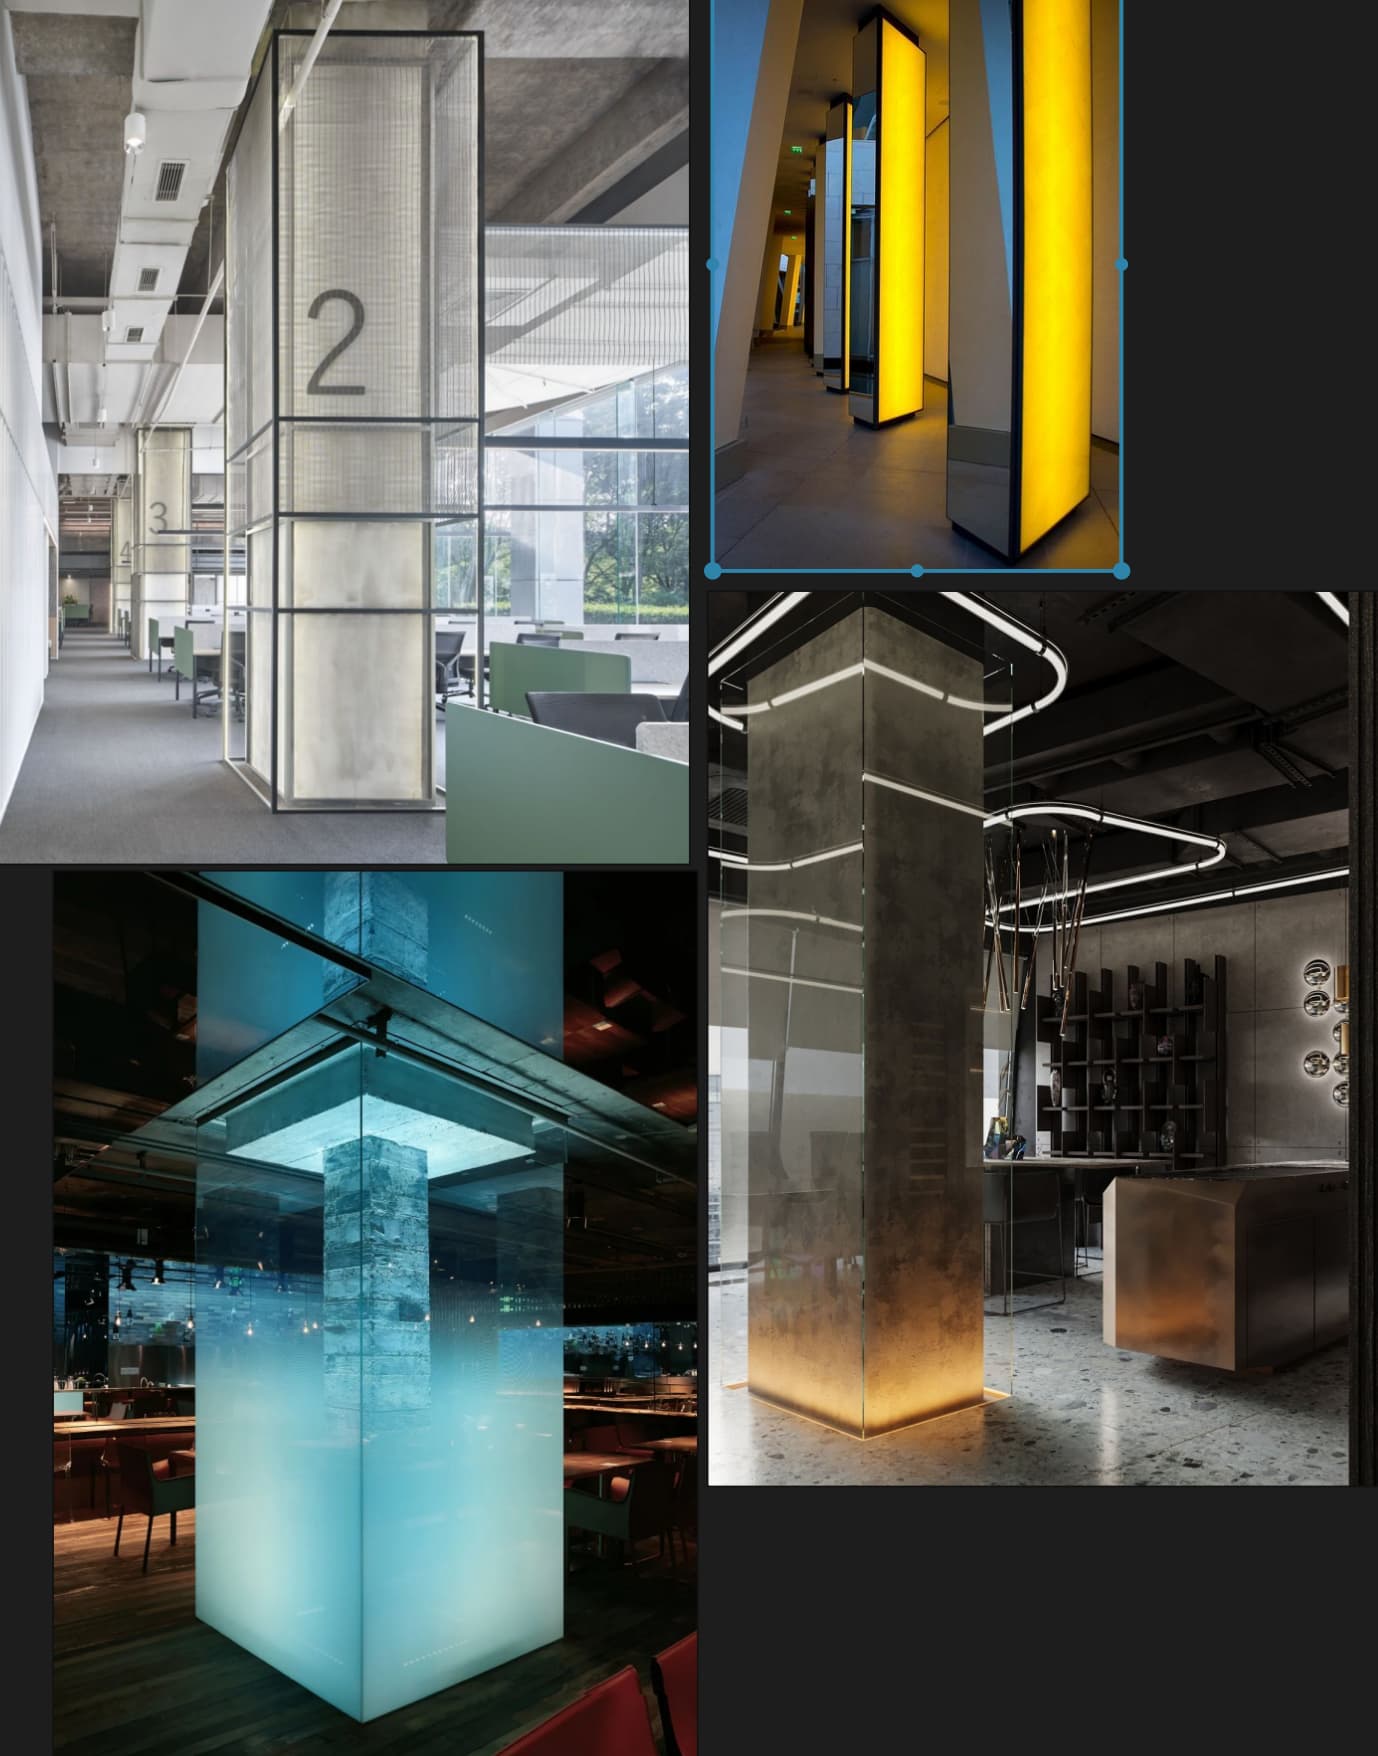
The main goal is not to make it feel like the object is being hit by a large rock. It should feel more like a blaster shot: break connections in a small impact radius, push the broken pieces slightly in different directions, and maybe tip the object a little instead of blowing it apart.

Basically, in this case, I’ll have to—I certainly wanted to avoid it, but I just need to generate as many Projectile variants as possible, including all fields, test them all, and then choose the most stable option.
For now, I’m switching to another project I’ve been working on alongside this one for the past few weeks, and I’ll come back later to continue.