updated header for new particle
Hello guys!
I´m Ati (Björn Riemann) and I´m a junior vfx artist previously working at CRYTEK and since the start of this year at Deck13. I started learning rtvfx about 1 1/2 years ago and also followed this community since then. To be honest I was always a bit nervous about showing off my stuff in here, but now I feel like I´m at least confident enough to give it a shot^^ In both of the companys I worked in I was working on “realistic” VFX (especially for Cryteks “Hunt Showdown”), so I decided to get a bit more into stylized VFX and took Rebelways course for it.
A couple of those systems I will show off in here and also give a bit more explaination on how I set them up/ the idea behind them^^ (And maybe some of the stuff I did at Crytek/Deck 13)
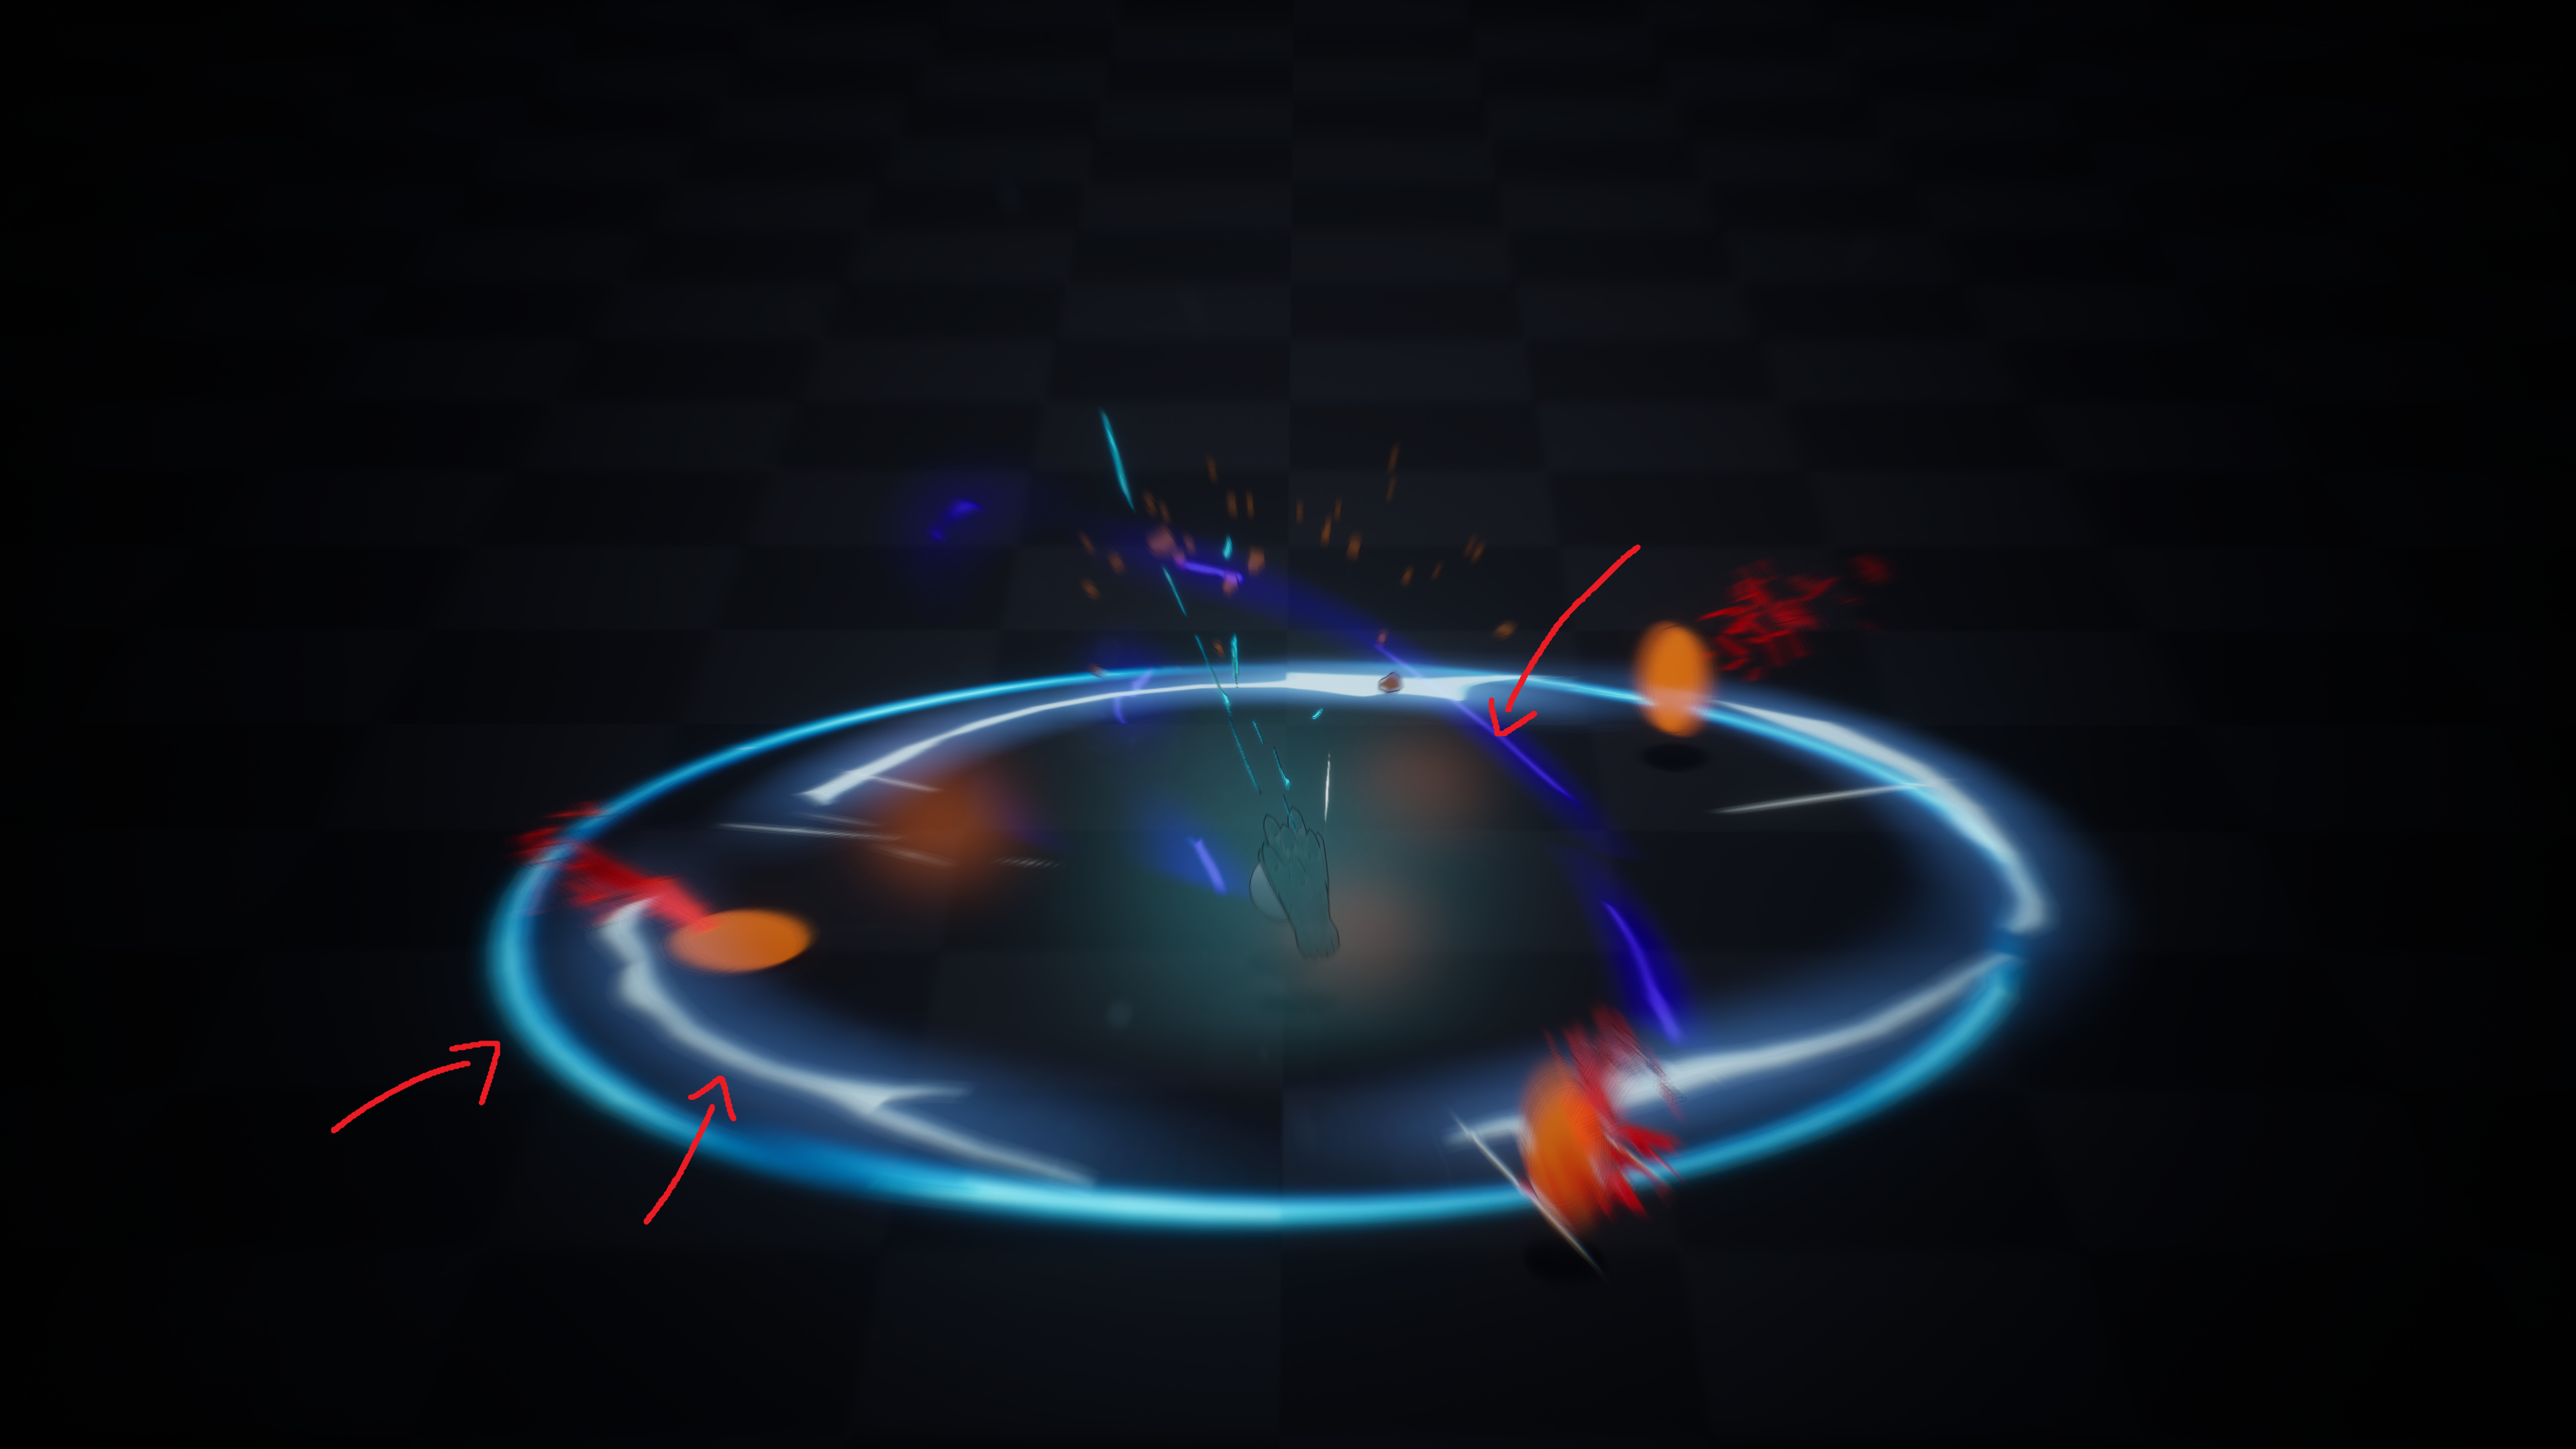
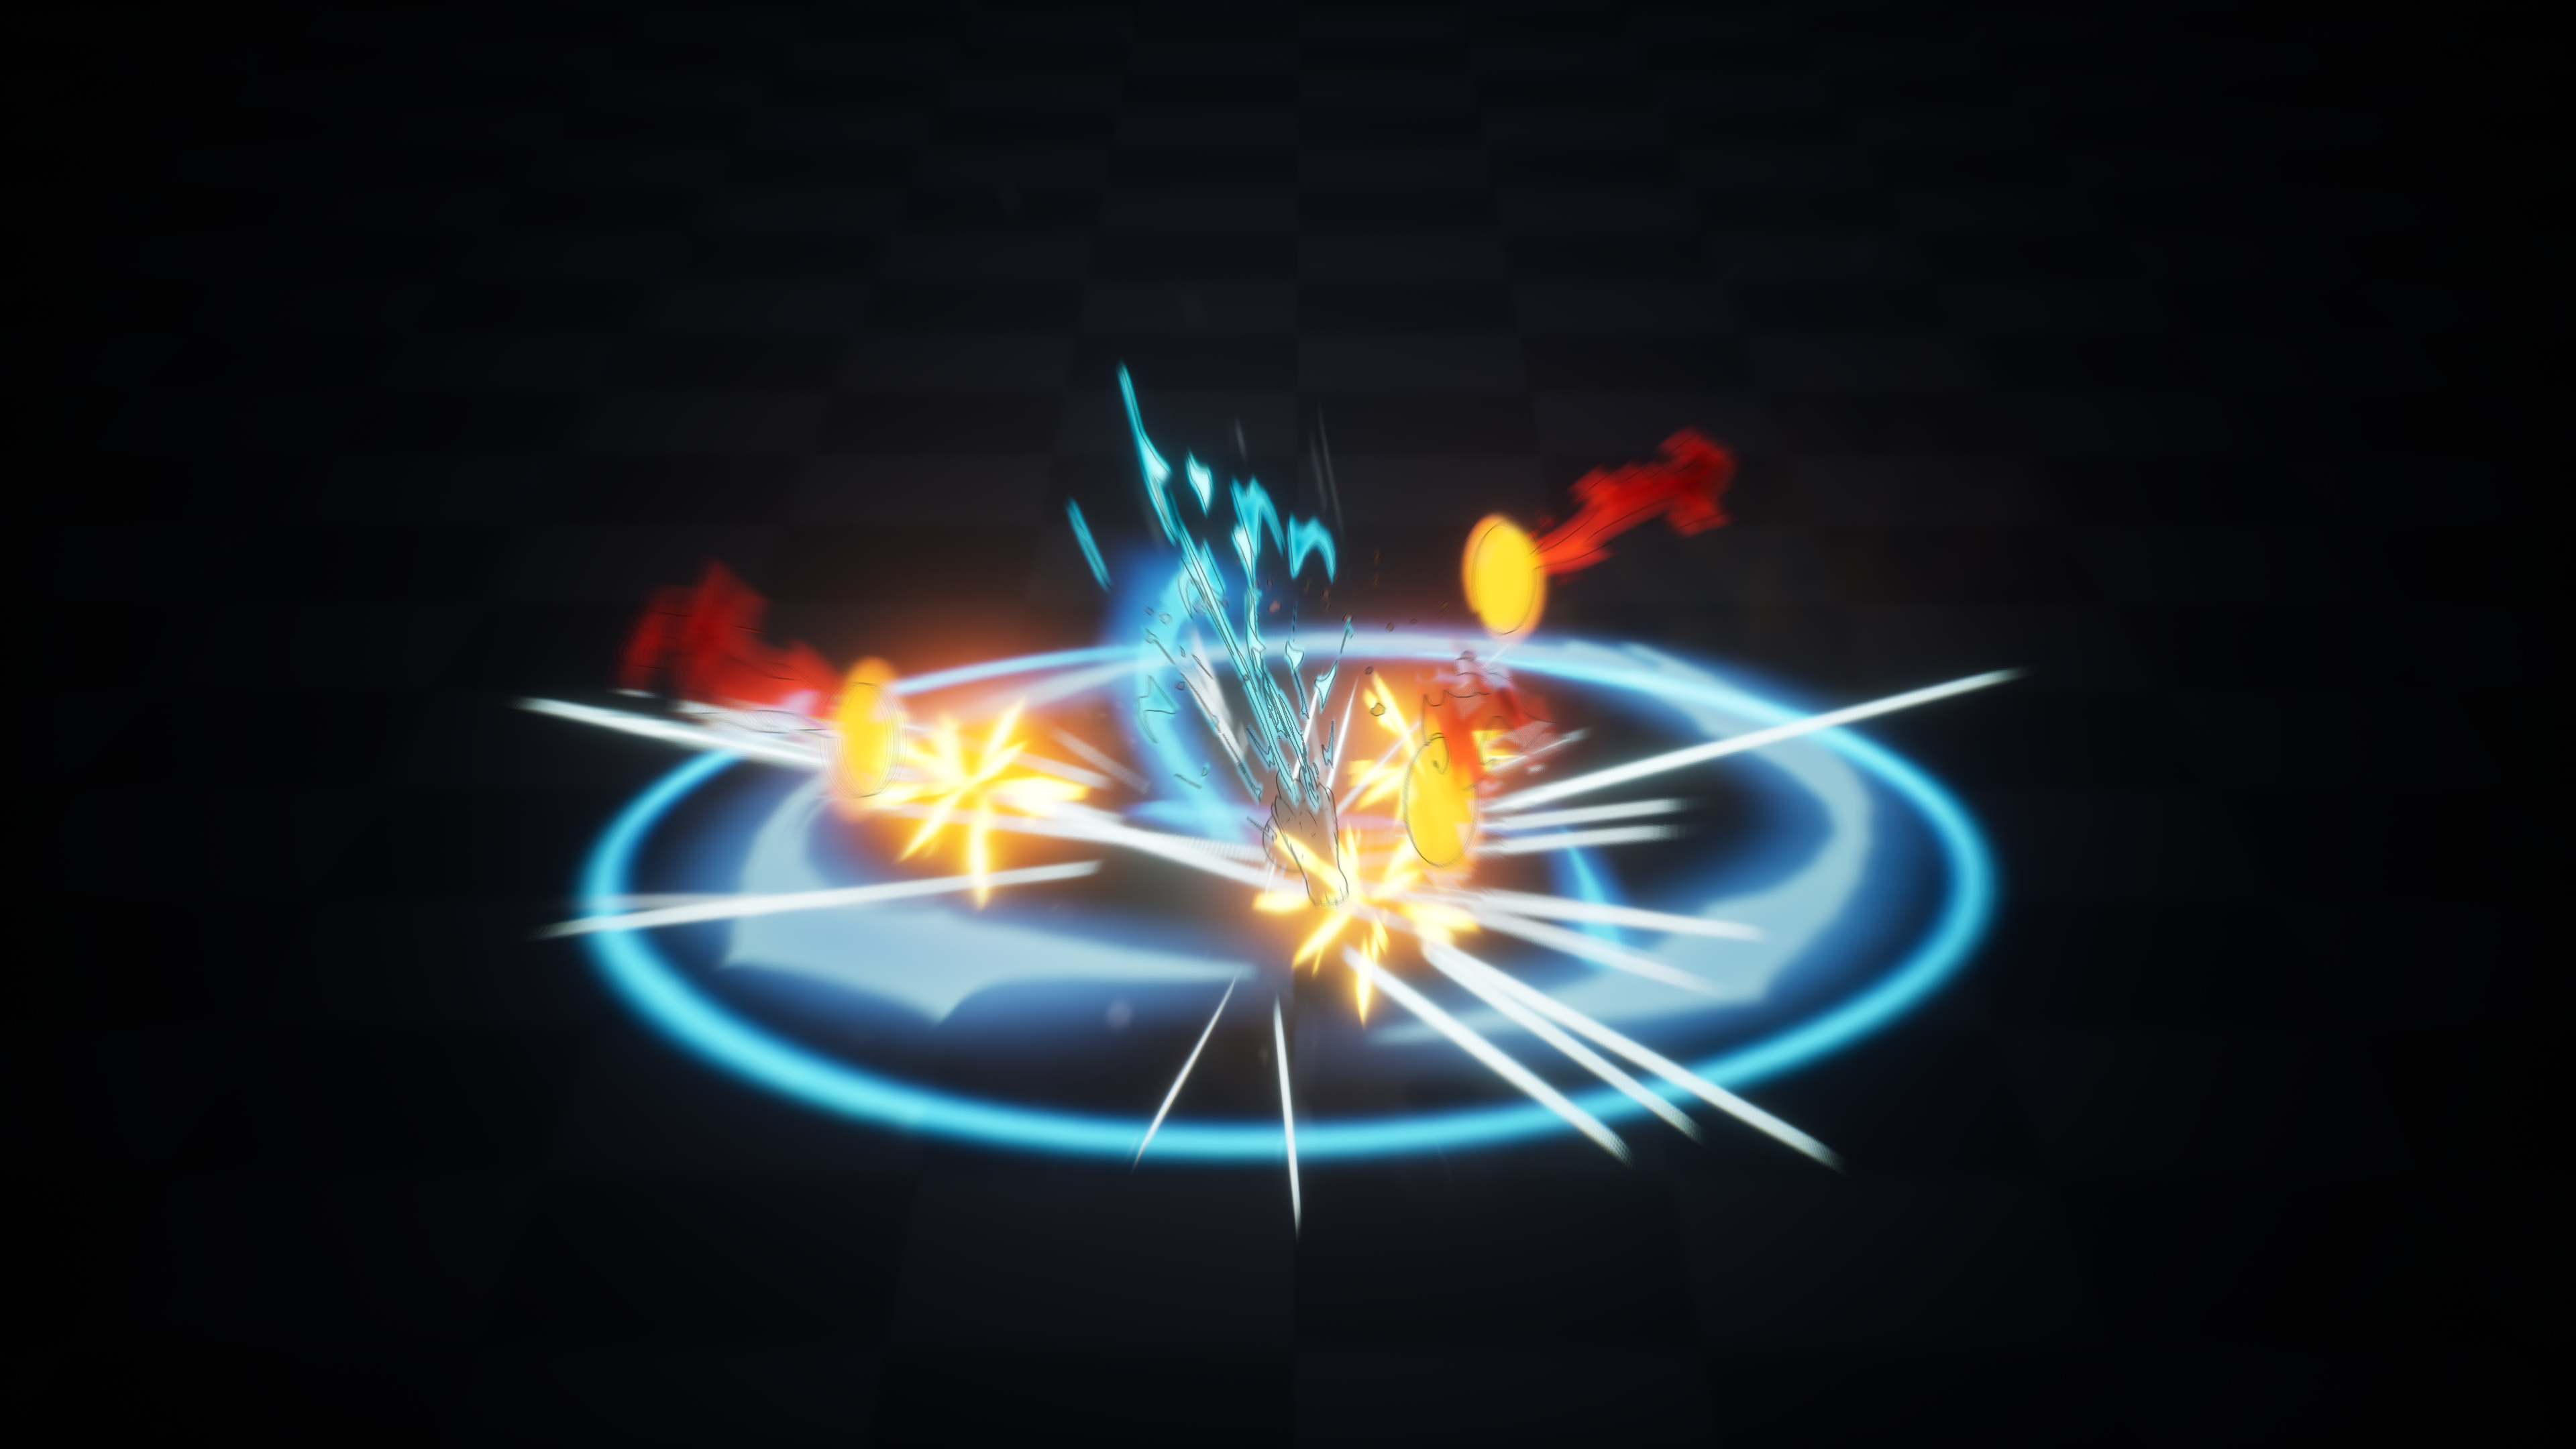
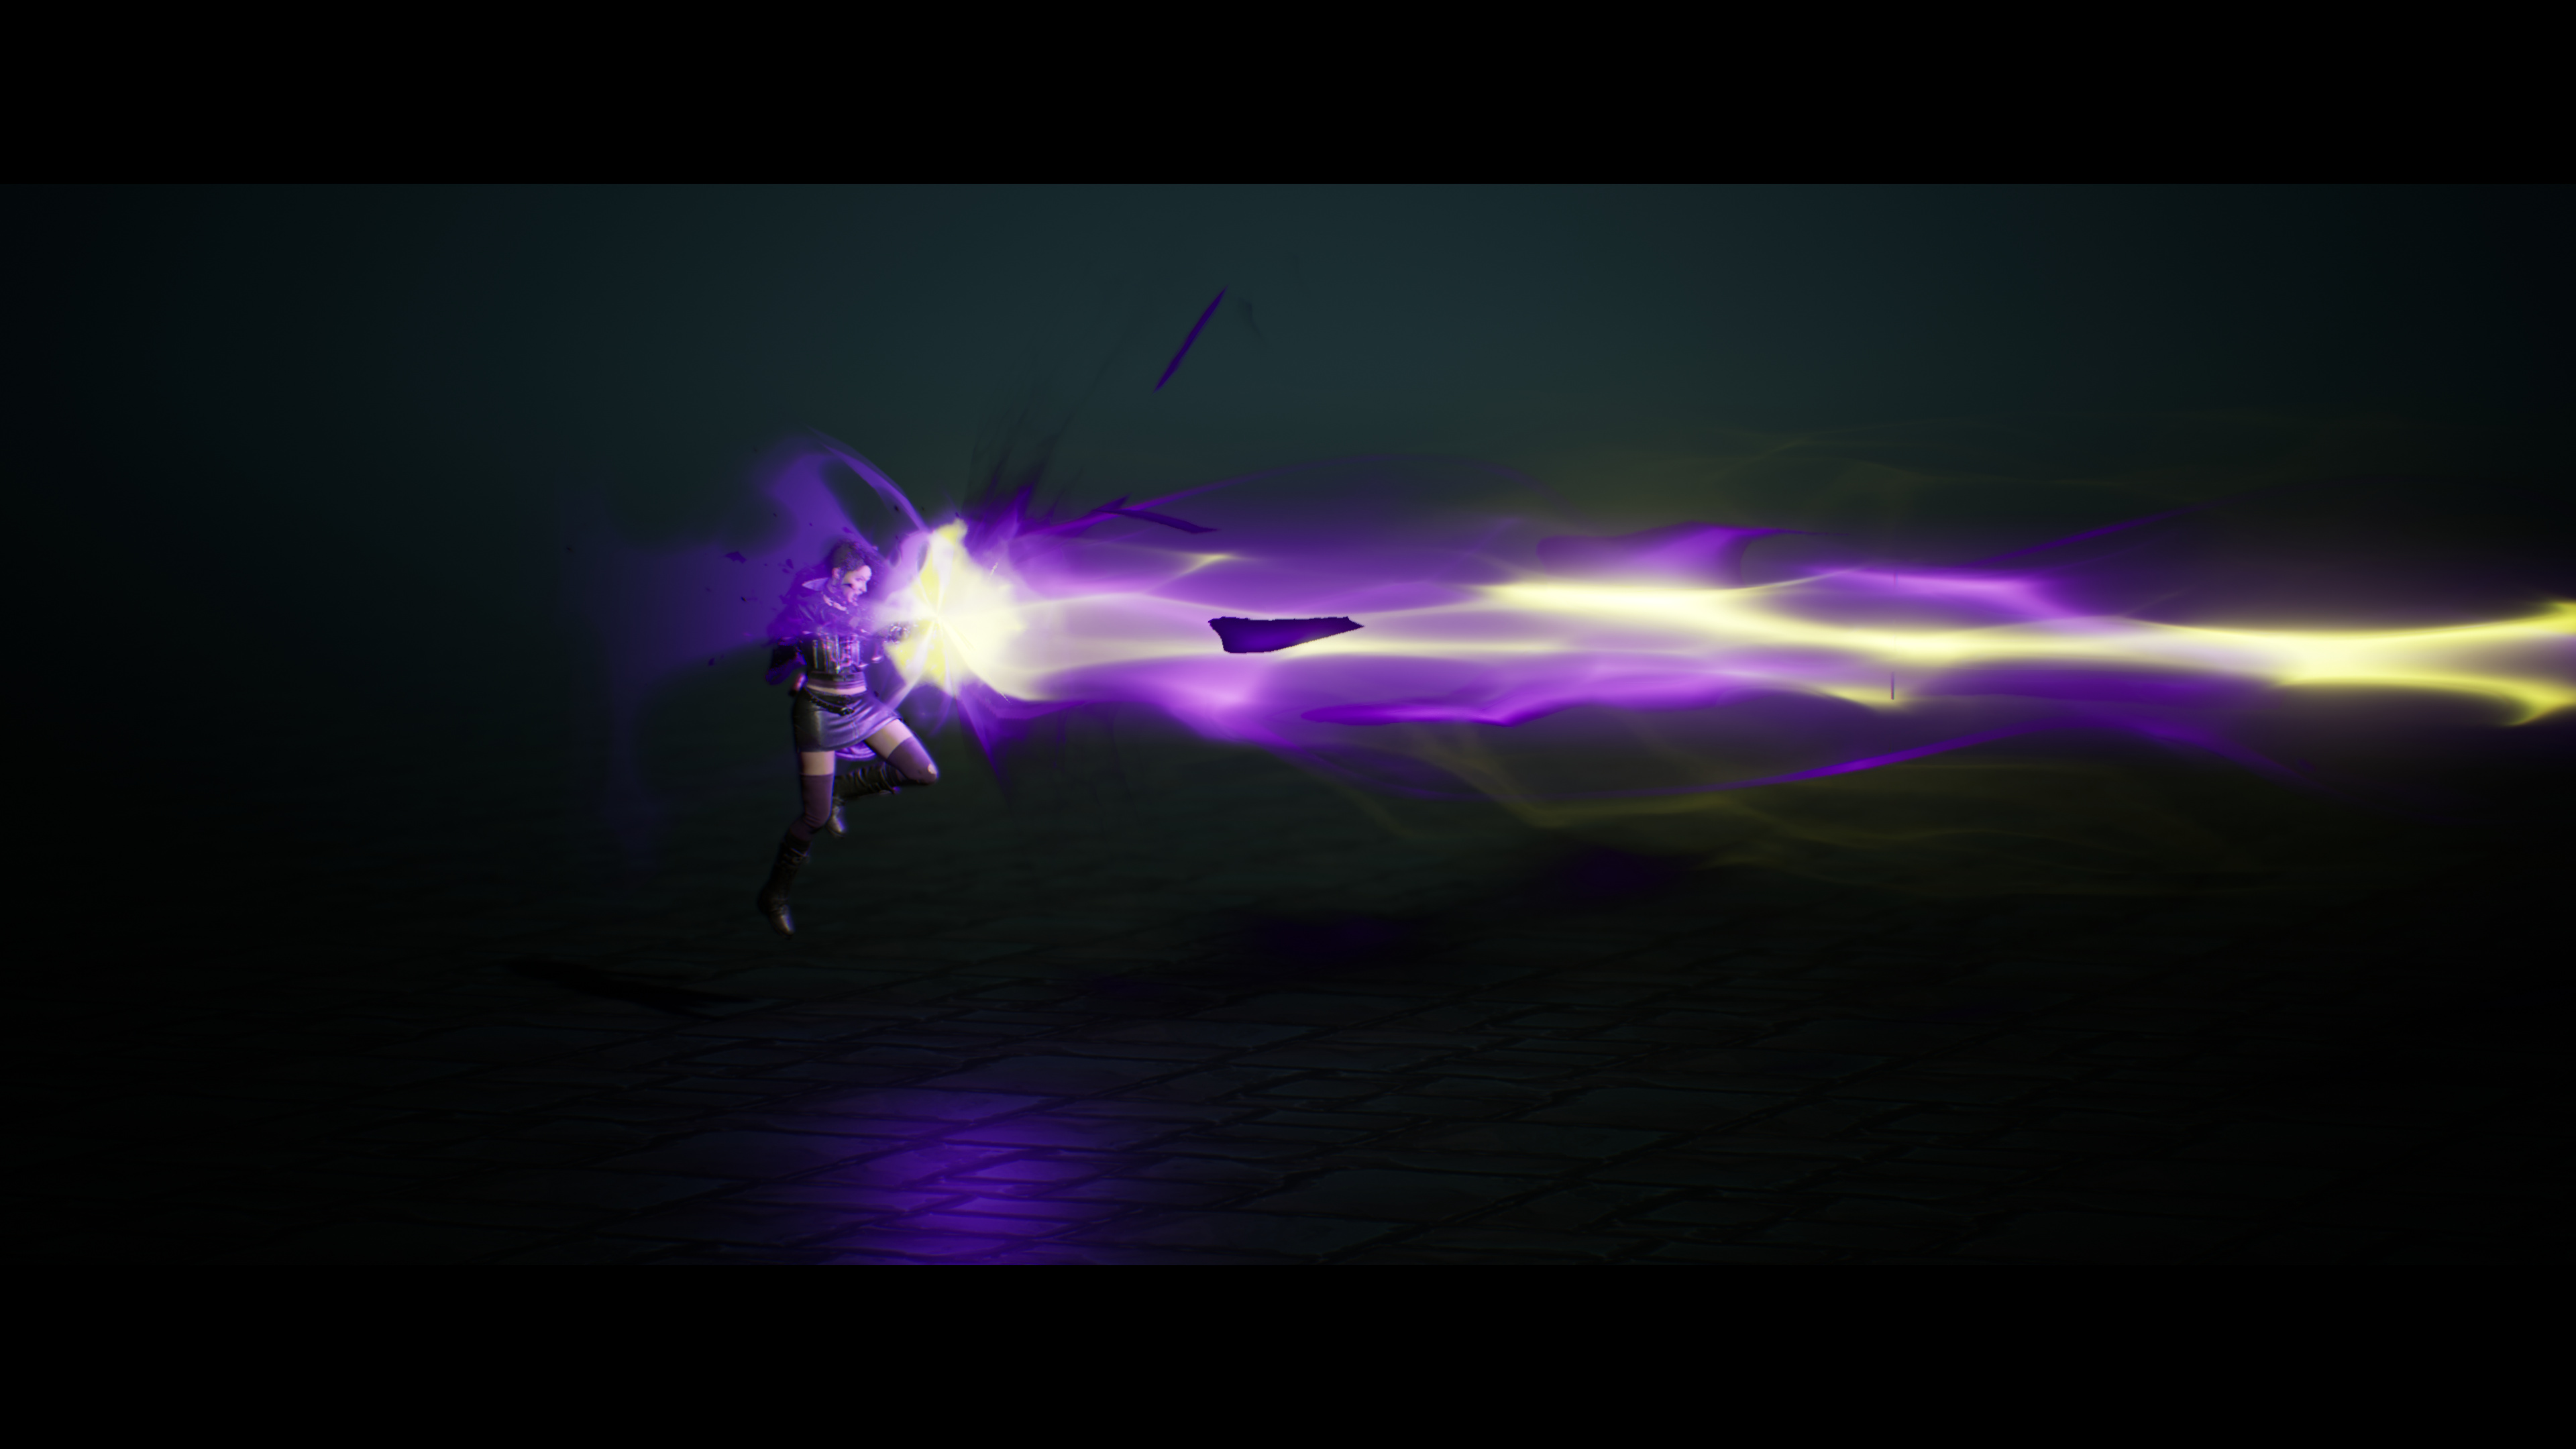
For a starter I decided on this big boy I did for last weeks course assignment “The beam”!
")
I love the original feeling Sjors beam from the course has, but since I don´t wanted to simply recreate it, I looked into a lot of different effects from games like LoL, Overwatch/ Dota etc.^^
And after some time I decided that I would like to create my own version of Overwatch Moira´s ultimate, but in a less gameplay focused manner (soft shapes, not a perfect representation of the hitbox like Blizzard is doing it most of the time) and more towards the famous League of Legends artstyle.
After analysing the skill quite a bit (and creating this reference board), I created a first version just as a basic timing blockout (don´t have any video of it anymore, gonna do this for the next effect^^). Then I created the textures I wanted to use in a combination of Designer and Photoshop. I created a couple of graphs for the trails/sparks and wispy elements and afterwards edited them in Photoshop to push them more into the soft handdrawn artstyle Riot is famous for (mainly using the smudge tool/blur etc.).
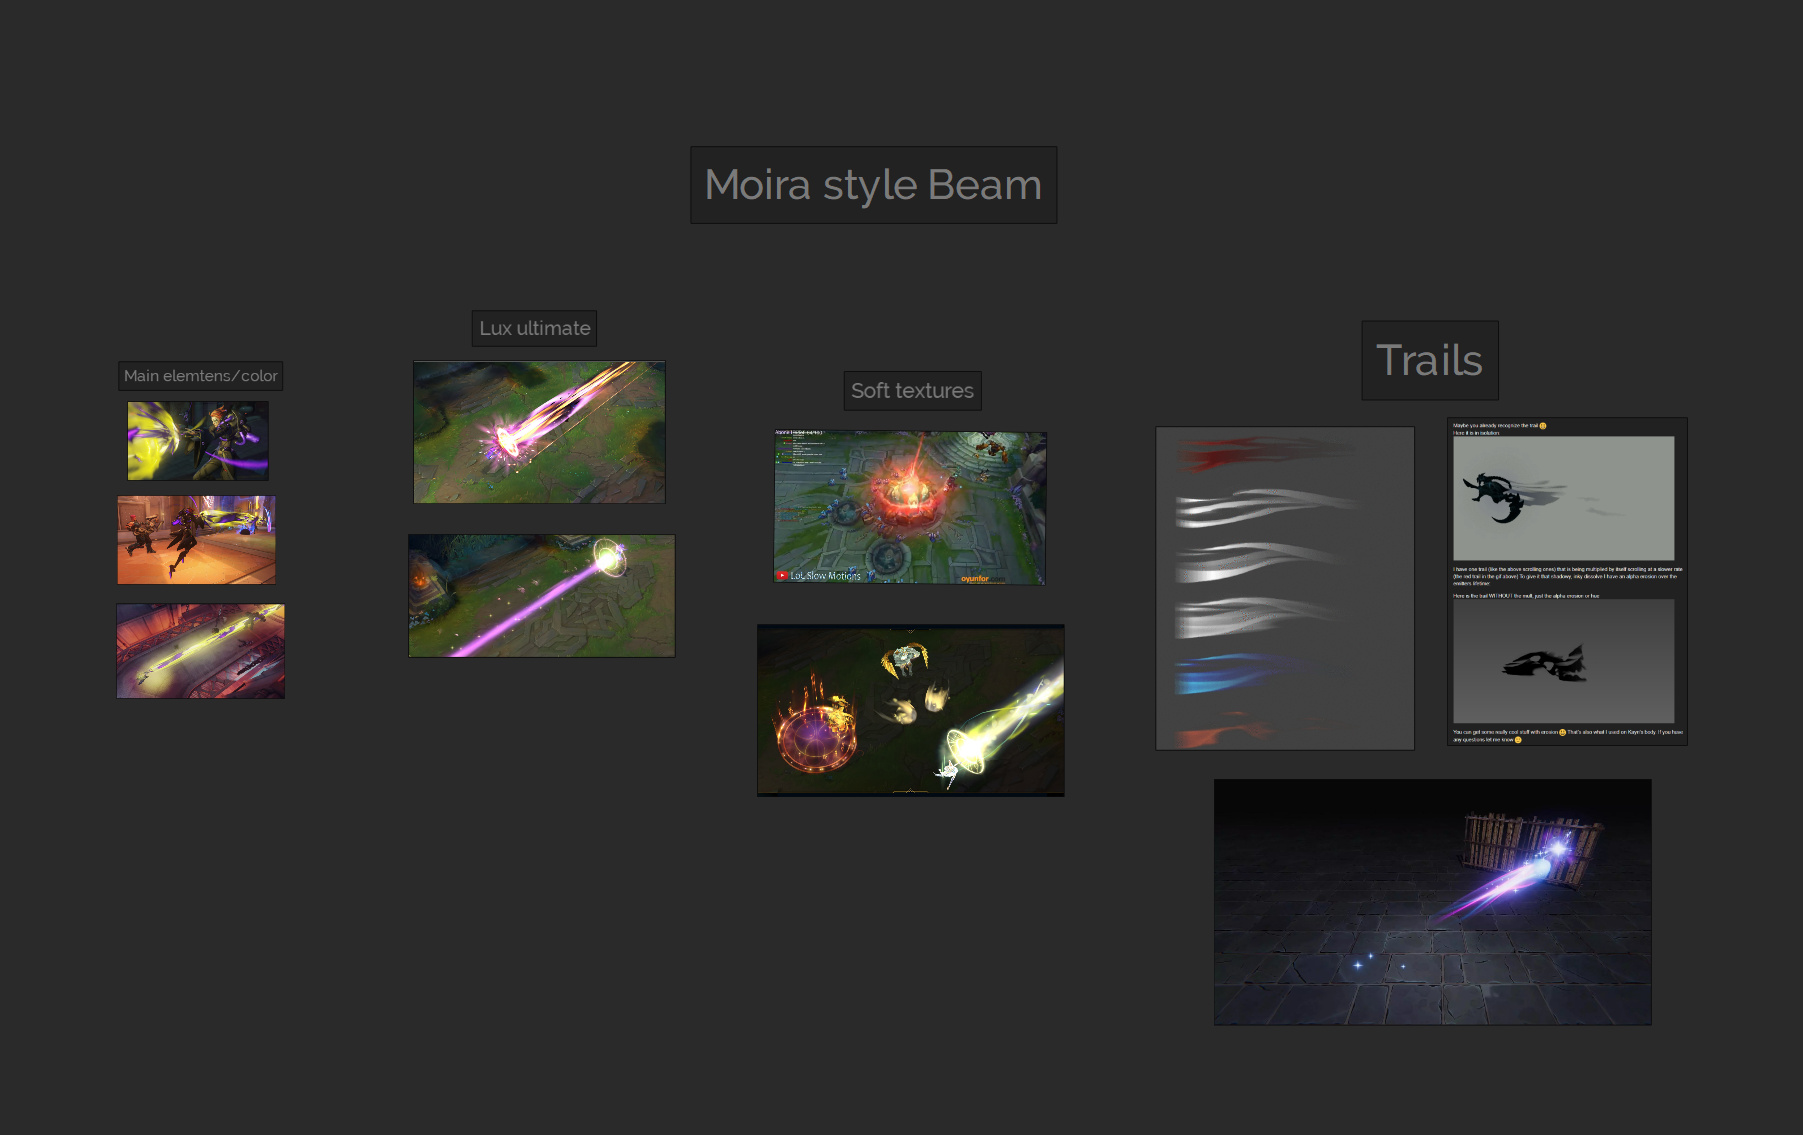
I tried to follow the high contrast “rule” which is documented quite nicely in the Riot VFX documentation (and also explained by Jason Keyser a thousand times^^), but since Moiras color palette was already pretty much perfect in this sense, I just needed to excecute it nicely on my own version.
The meshes were created inside Houdini and Blender mainly, some got created in the Rebelway course and others I created later on, when I realized, that I need some more specific parts.
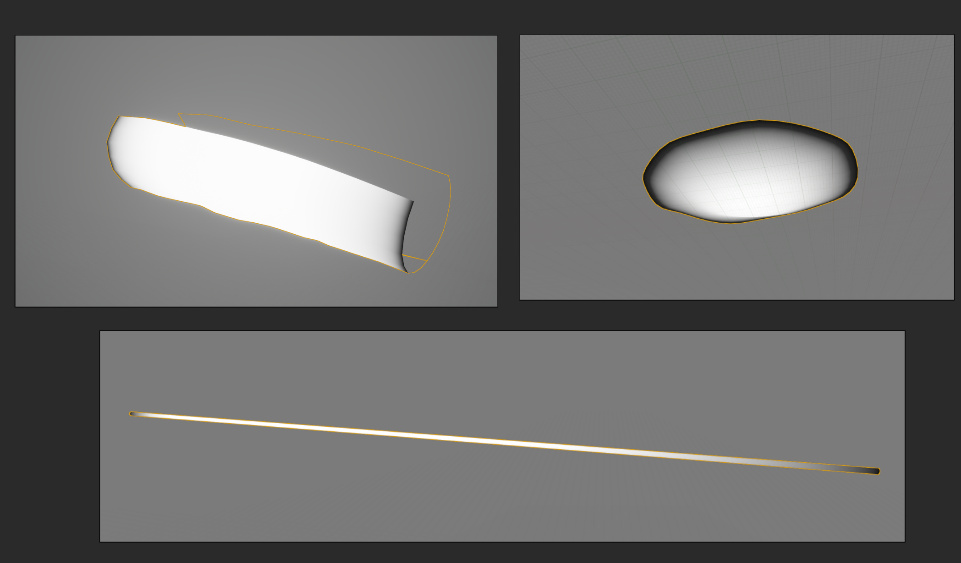
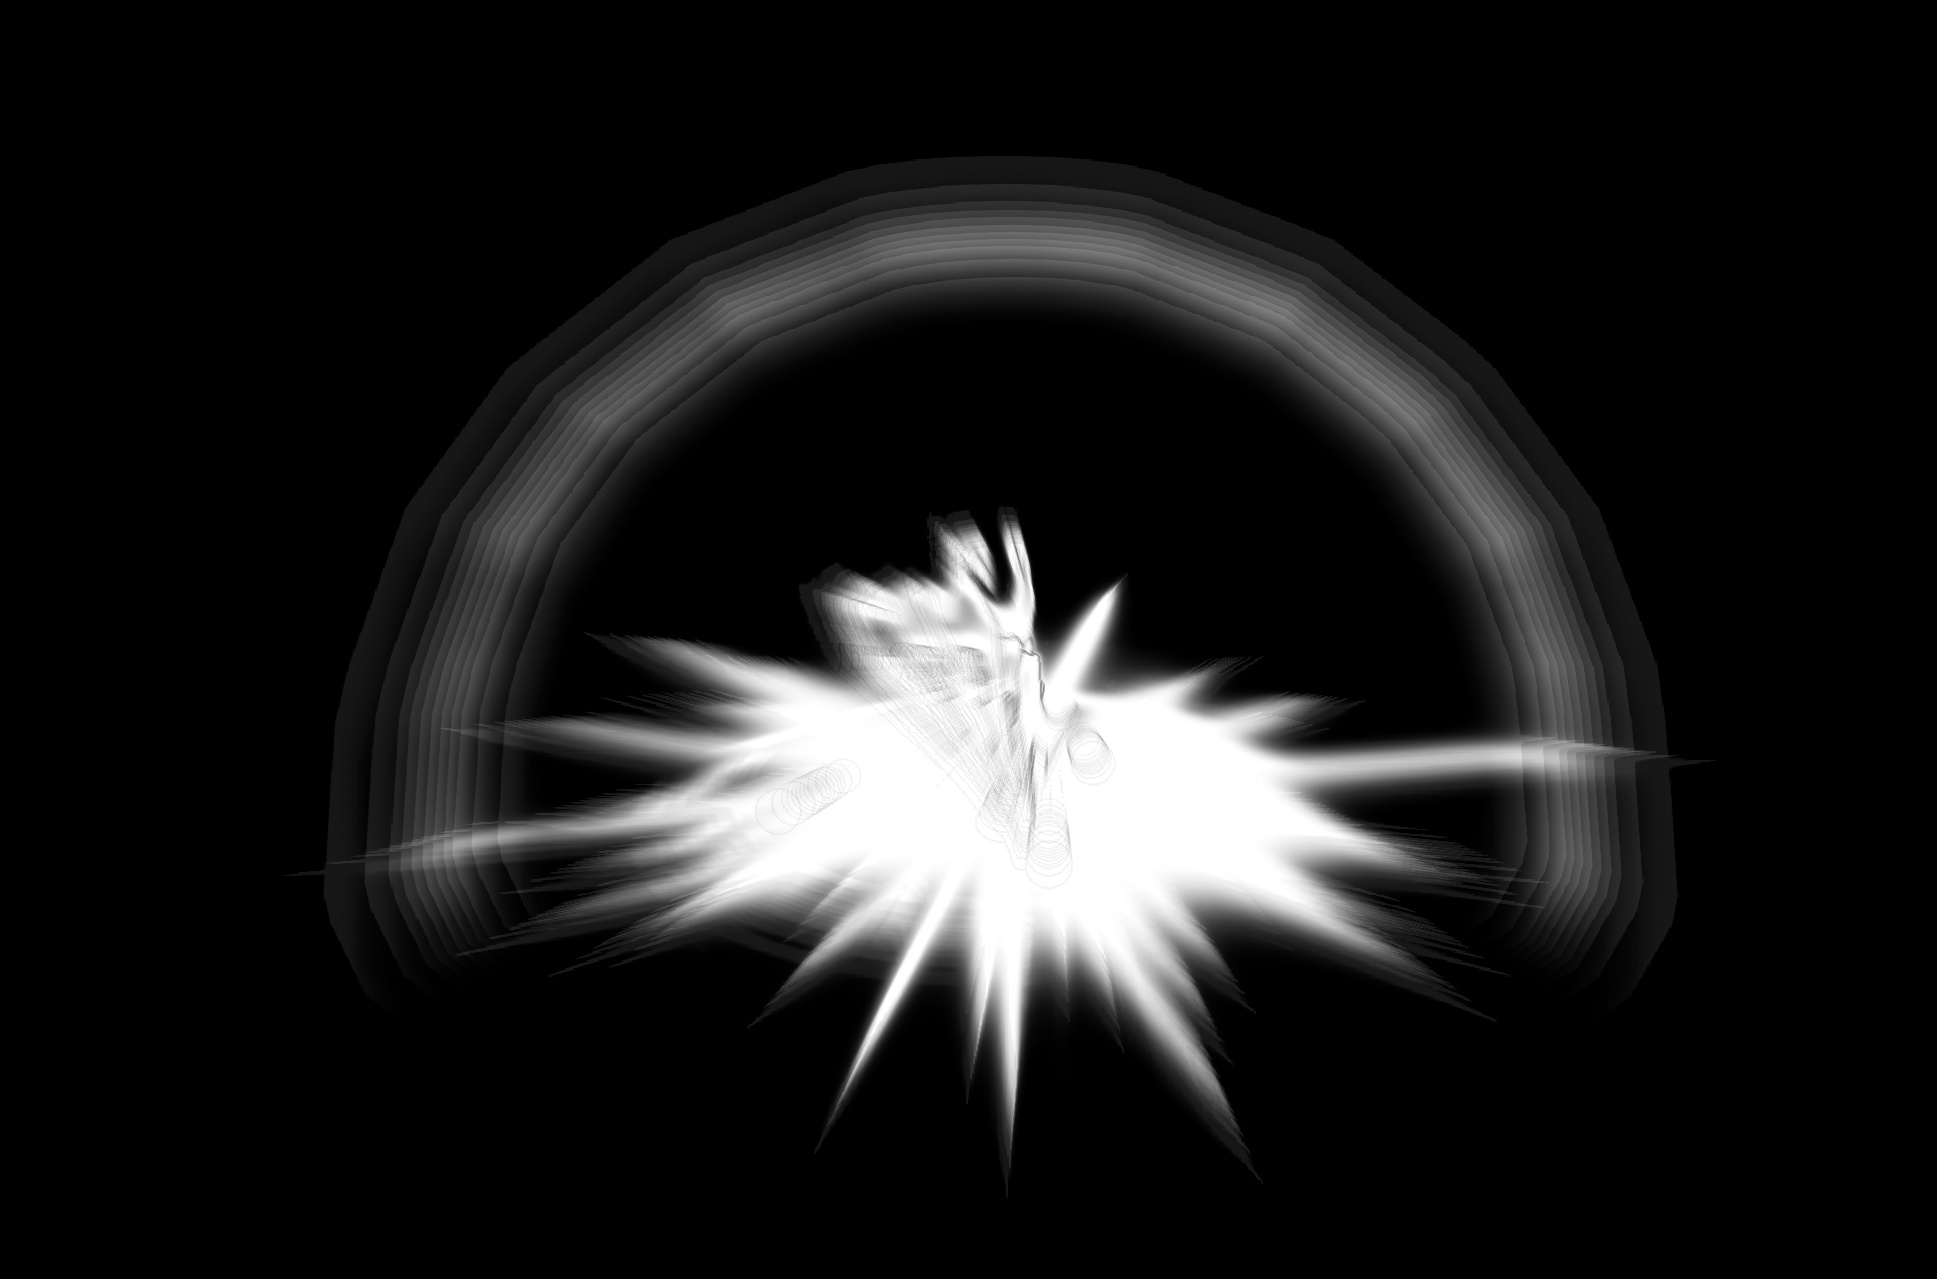
Some of the meshes created in the course
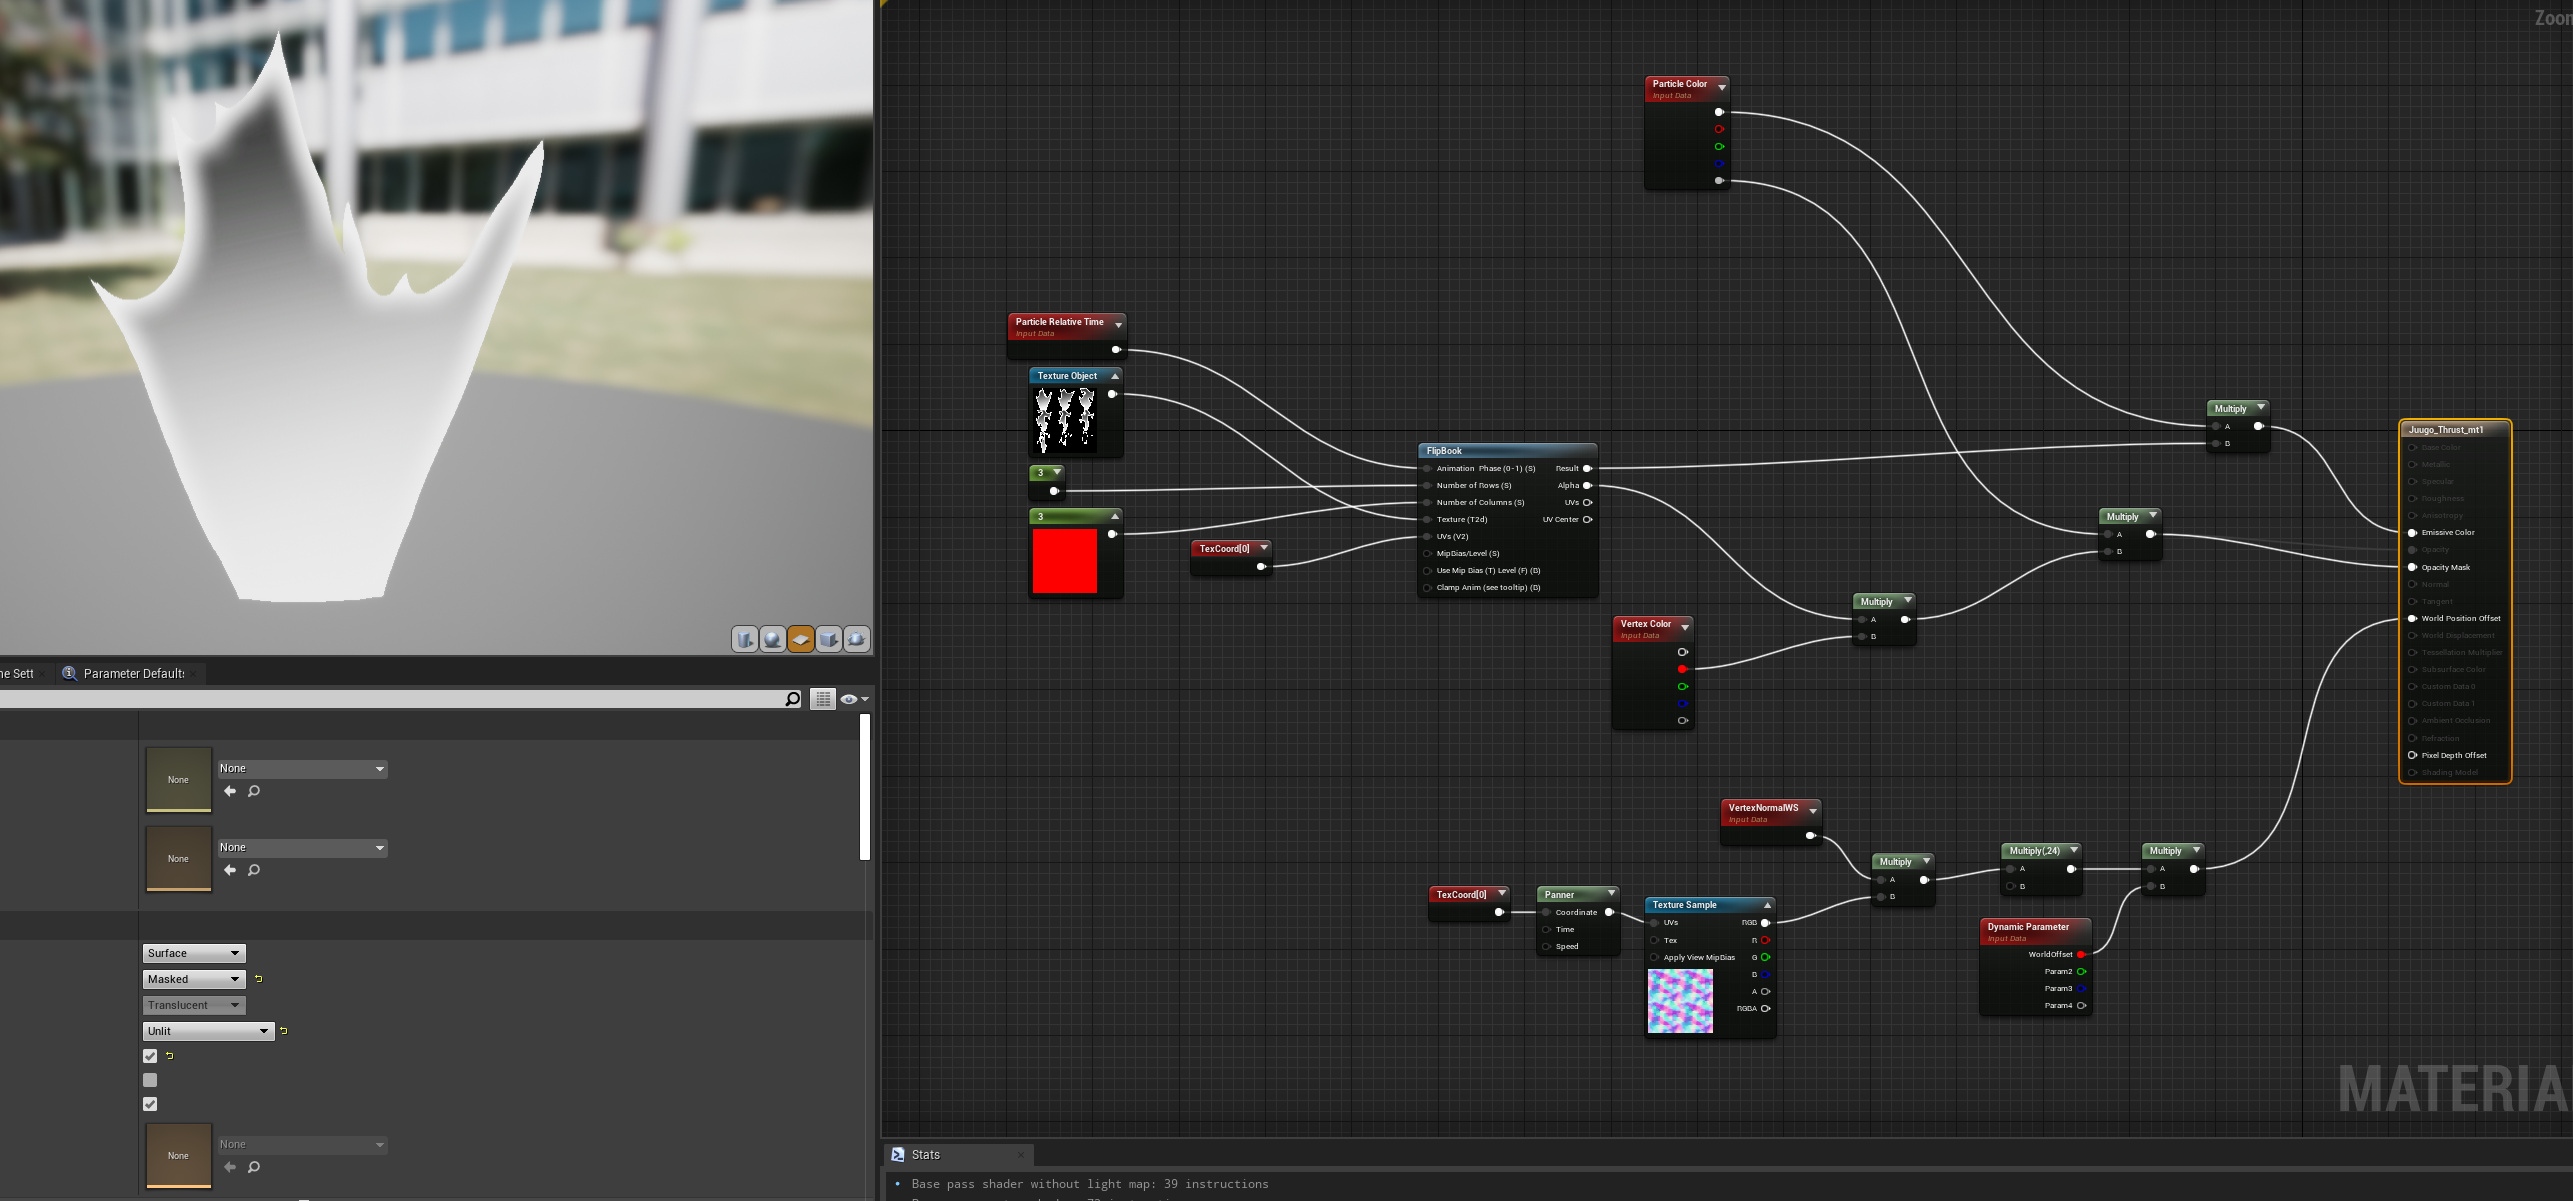
The shaders are quite simple for most parts, there are a couple “more advanced” parts in it, but they could also be replaced with simpler functions, to optimize it a bit more.

Example: Main beam material & handaura mat
Thank you for reading this already way too long post and feel free to post some feedback/ questions on it ![]()