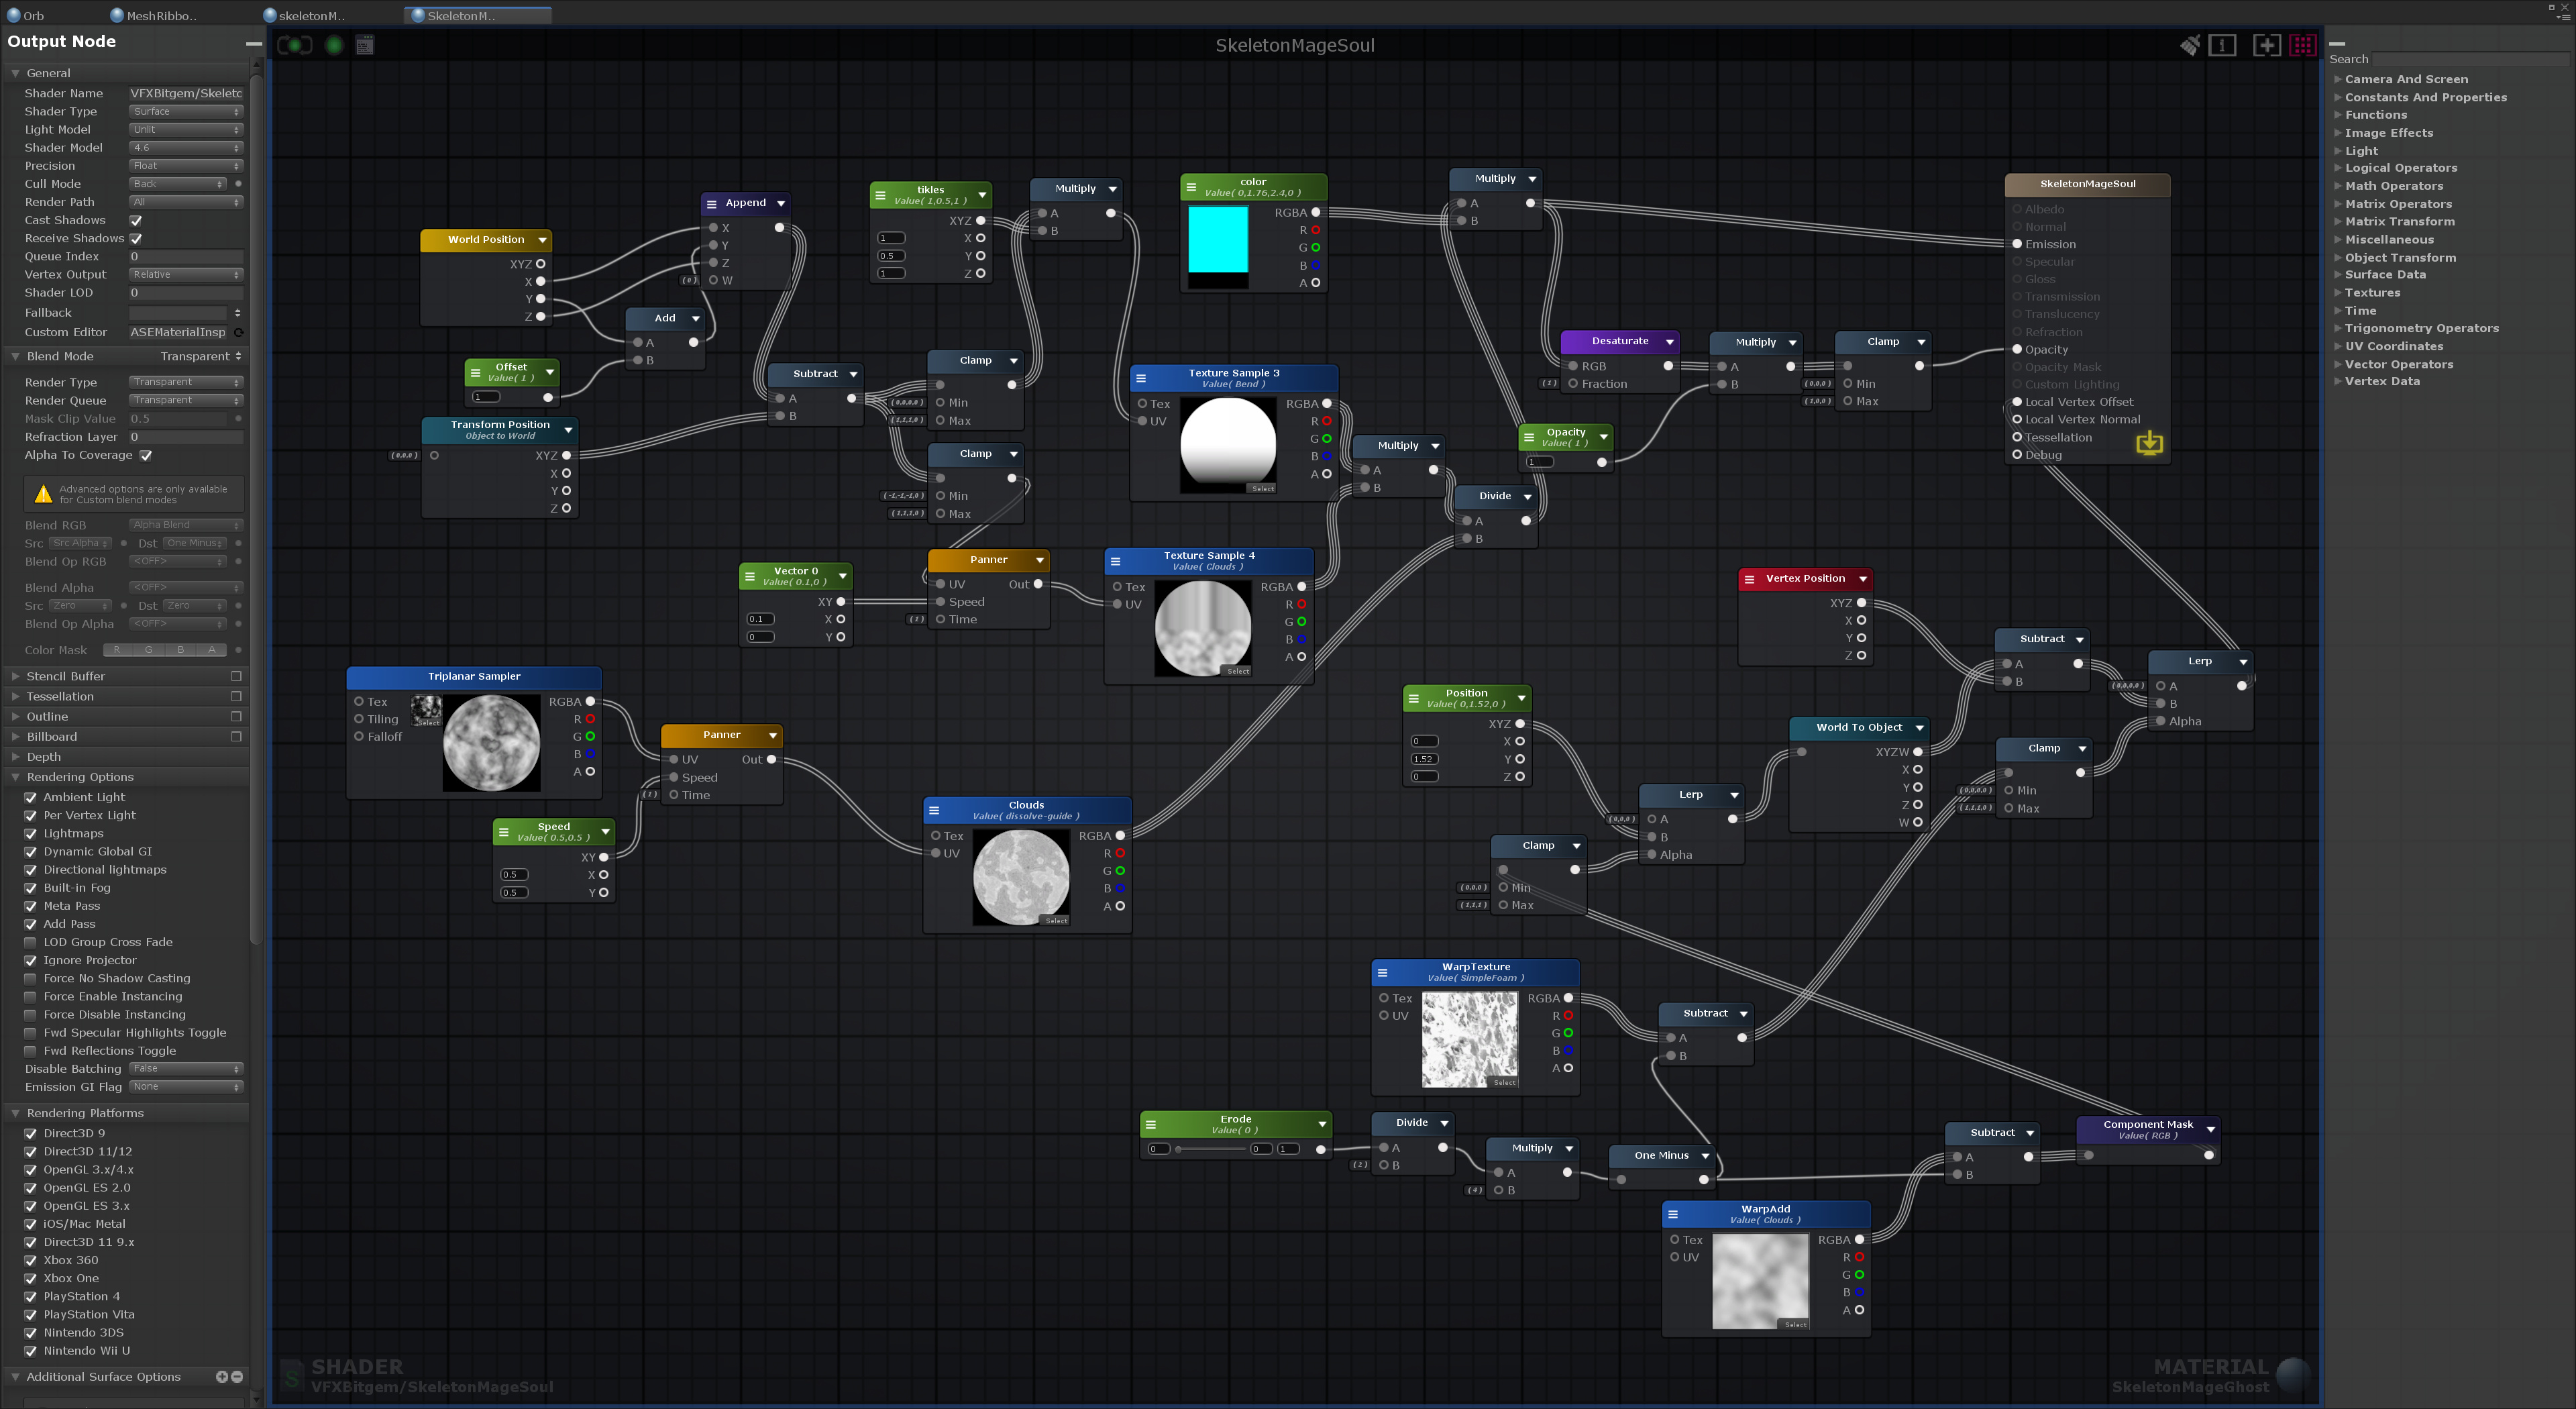
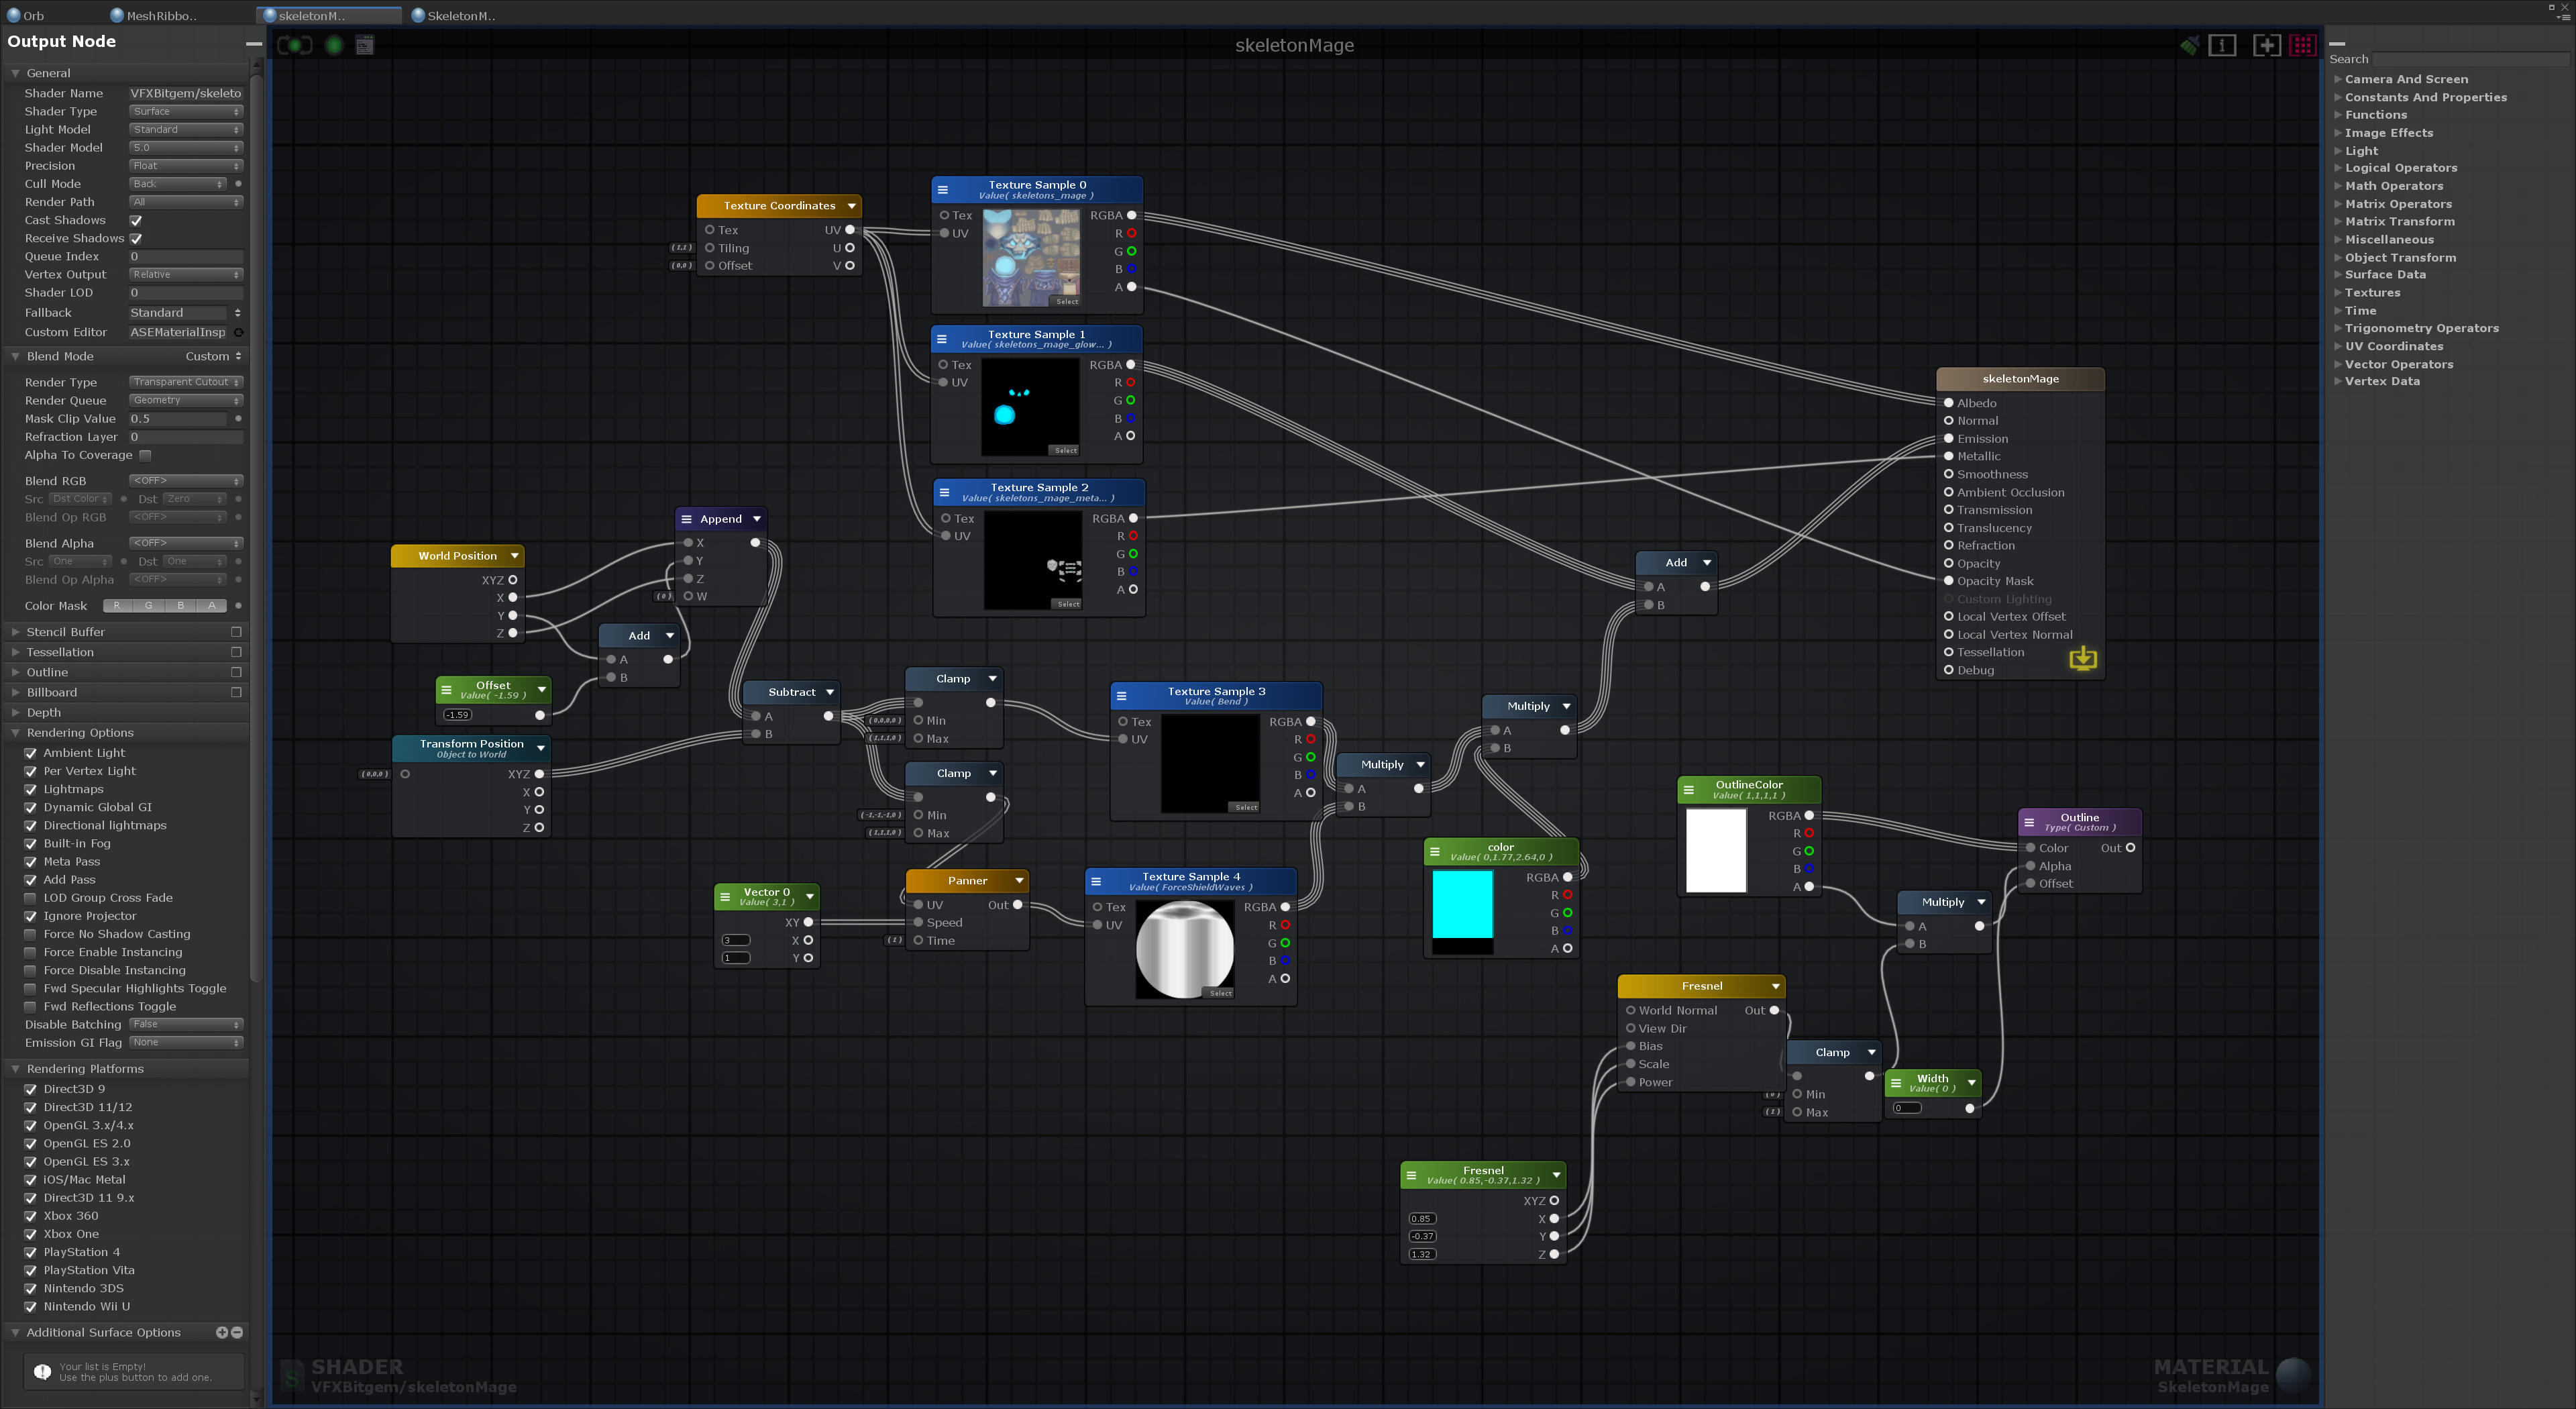
Brief set by myself, to convey as many things as possible in an elegant manor.
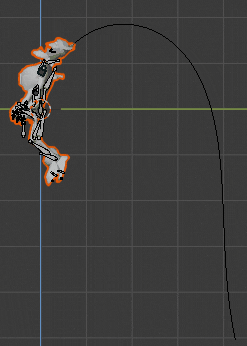
Vertex position offset to point, World space fading/erode, mesh ribbons, custom animations, event timing, vertex streams/custom data, custom textures/sprites. Please feel free to ask questions or use anything you find of mine
Very nice fx ! A lot of work for sure, and interesting breakdown, good job.
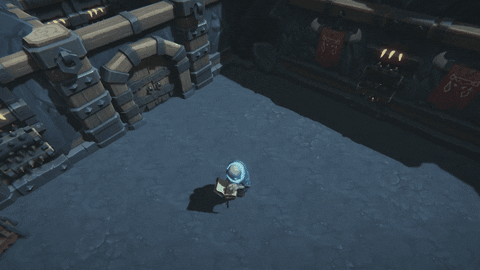
Just to be sure i understand all of it, the gif with the skeleton following a spline on blender, you used that to bake an animation you then play in unity to spawn the pet, right ?
It has it all good timing, excellent shader work, awesome context, animations that marry it all together, etc. Wish it was a challenge you would win that thing for sure!
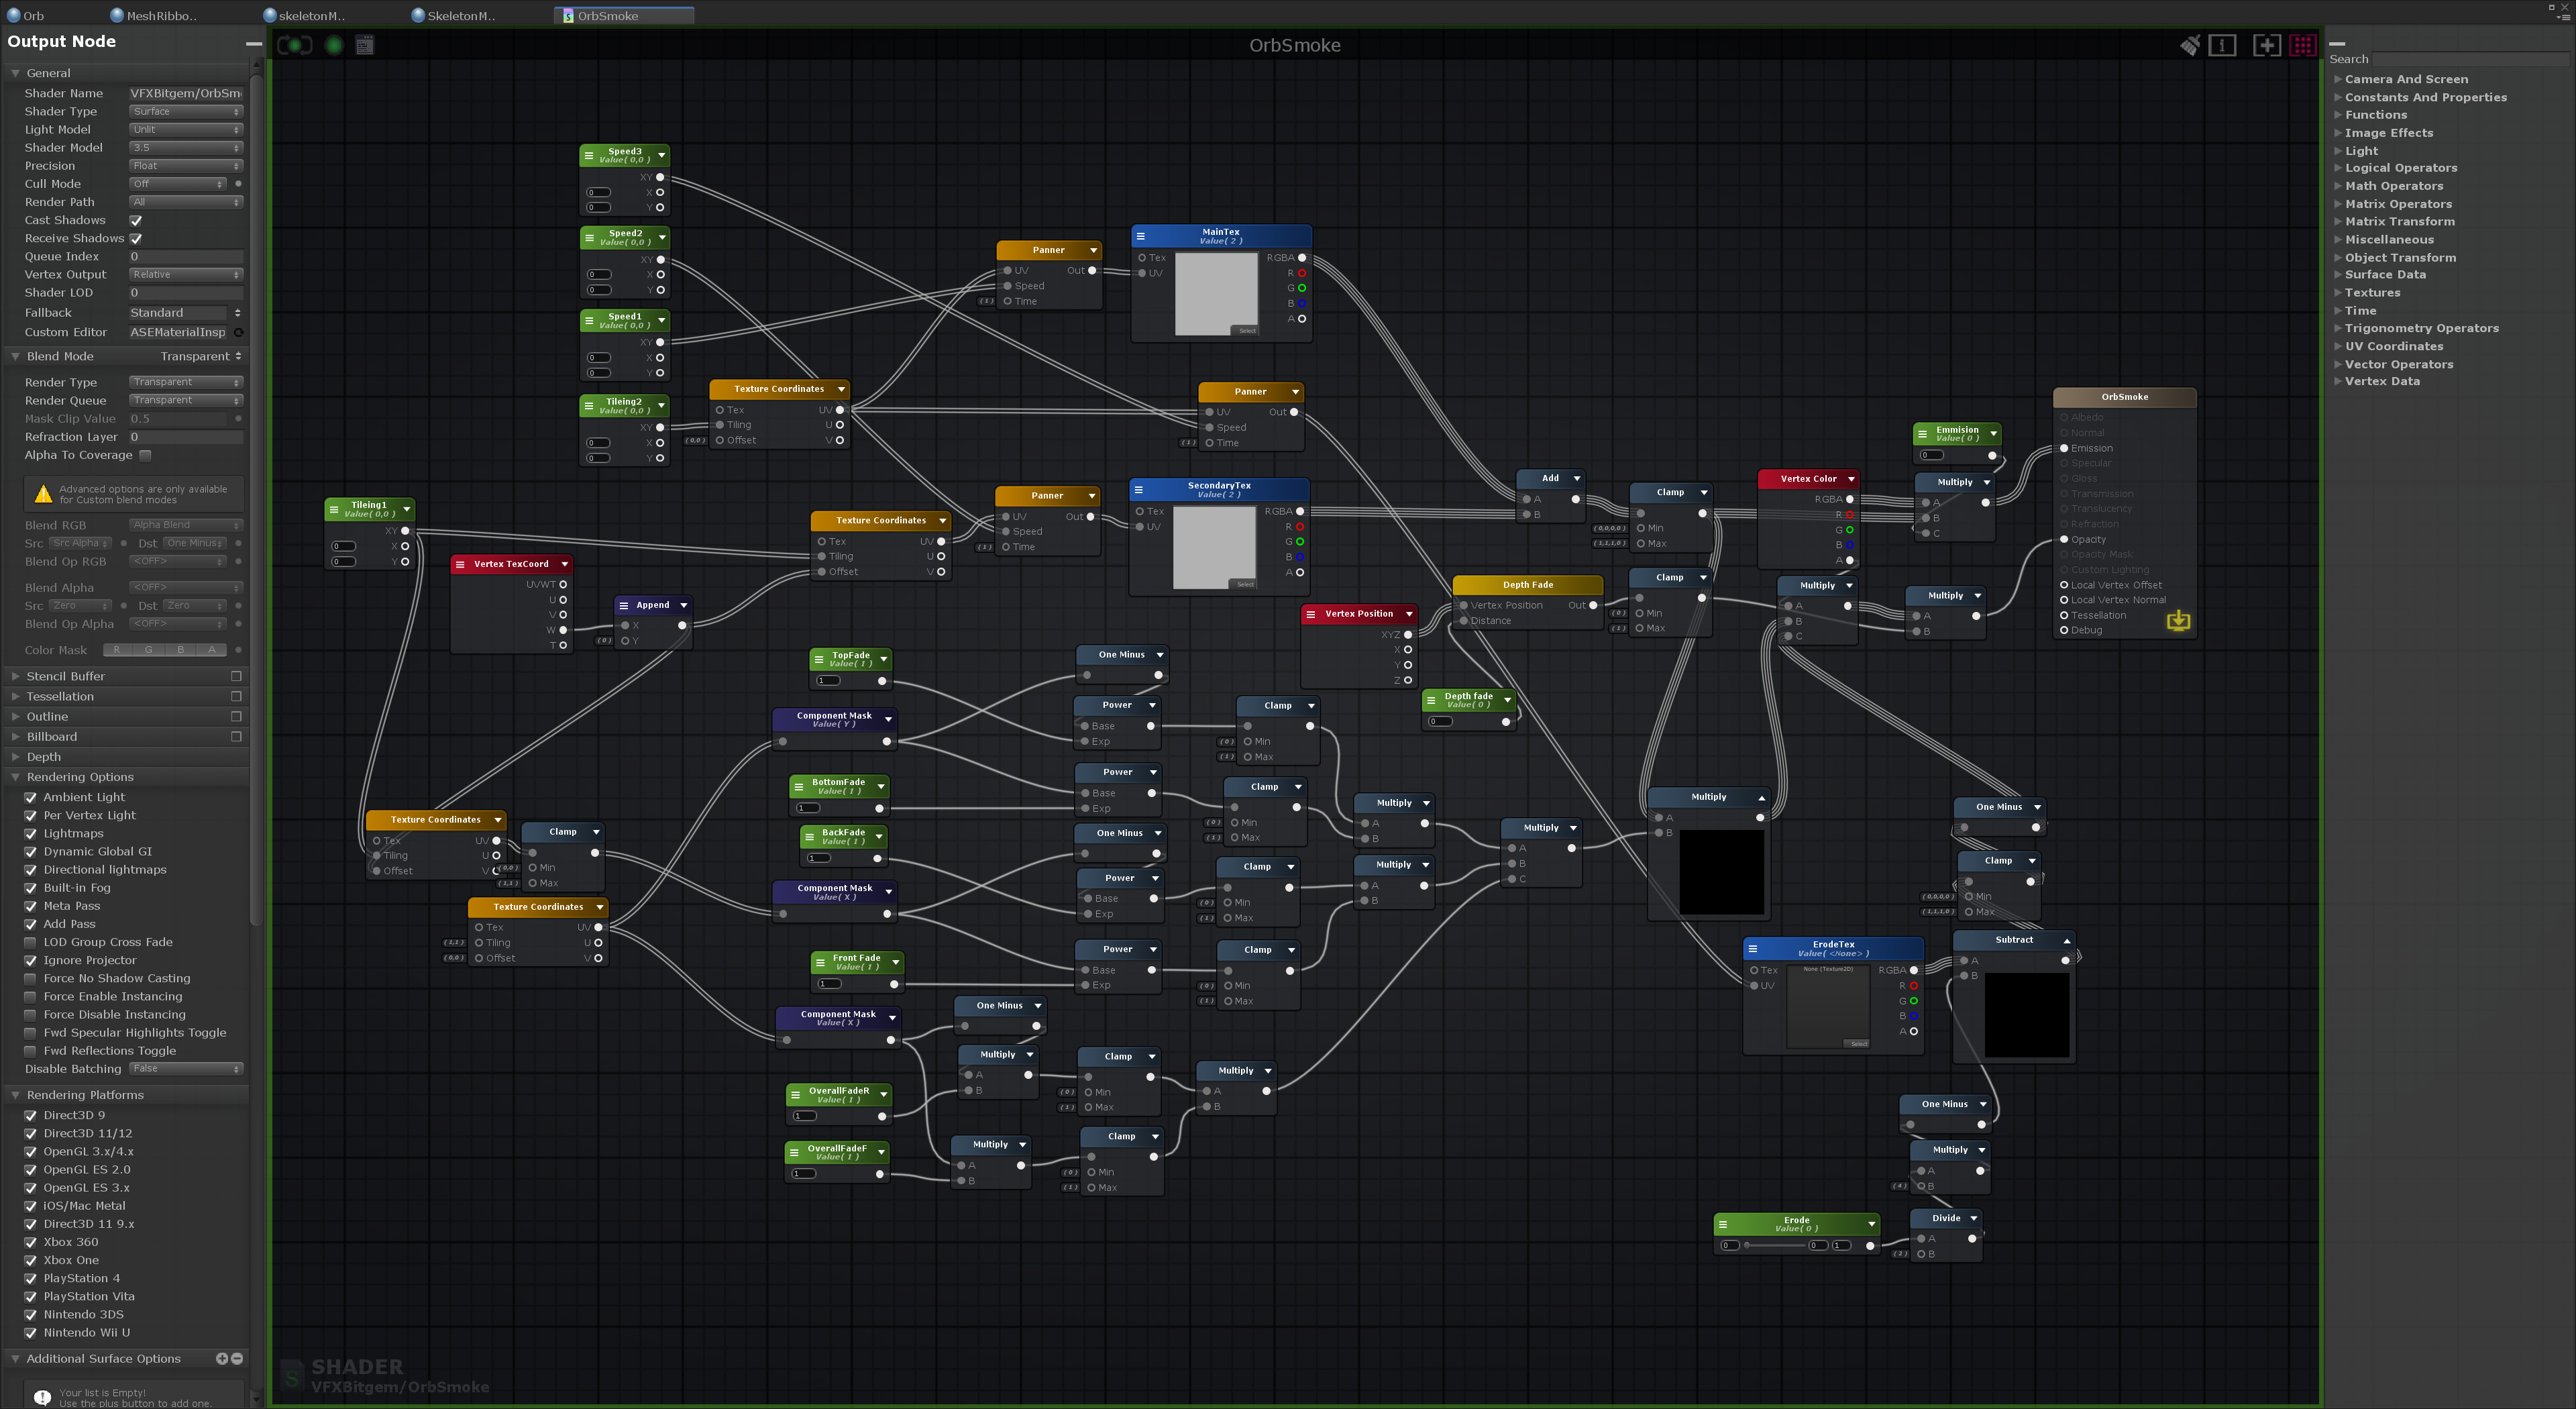
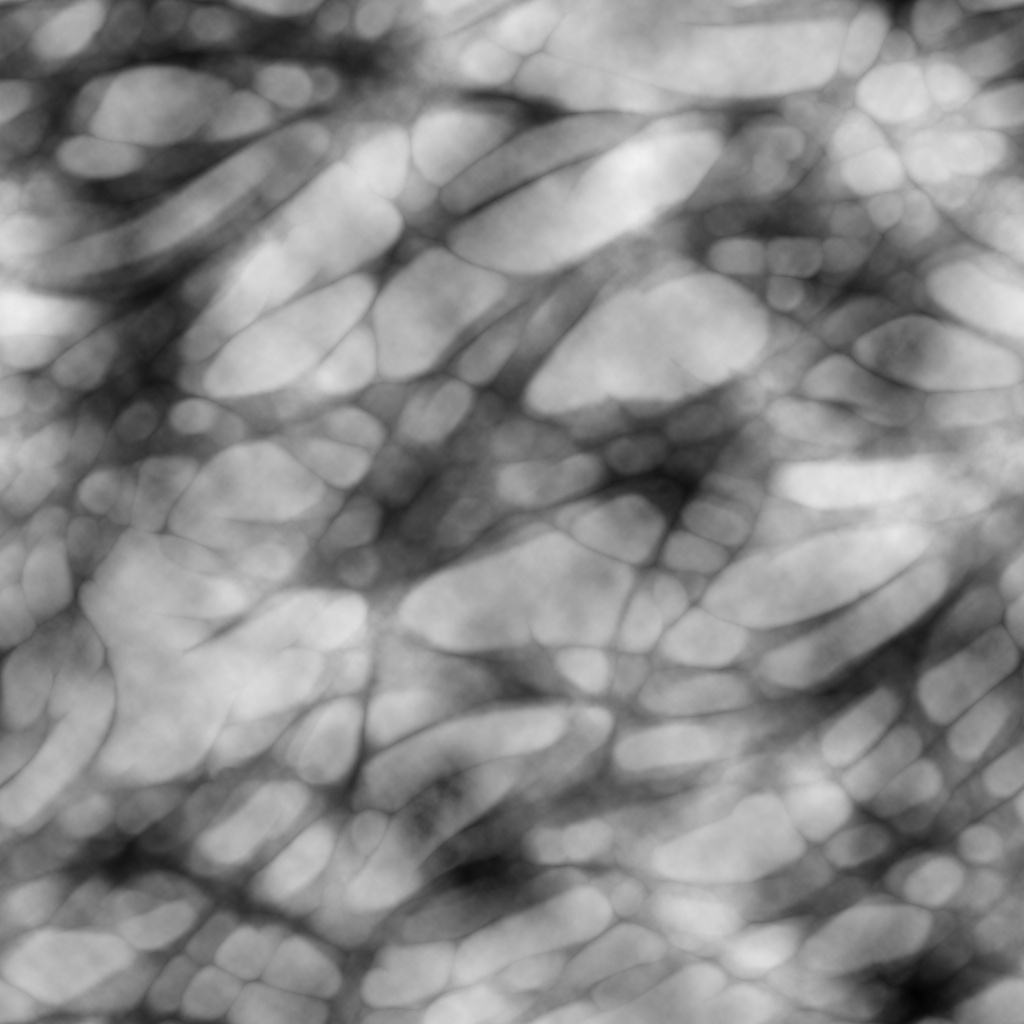
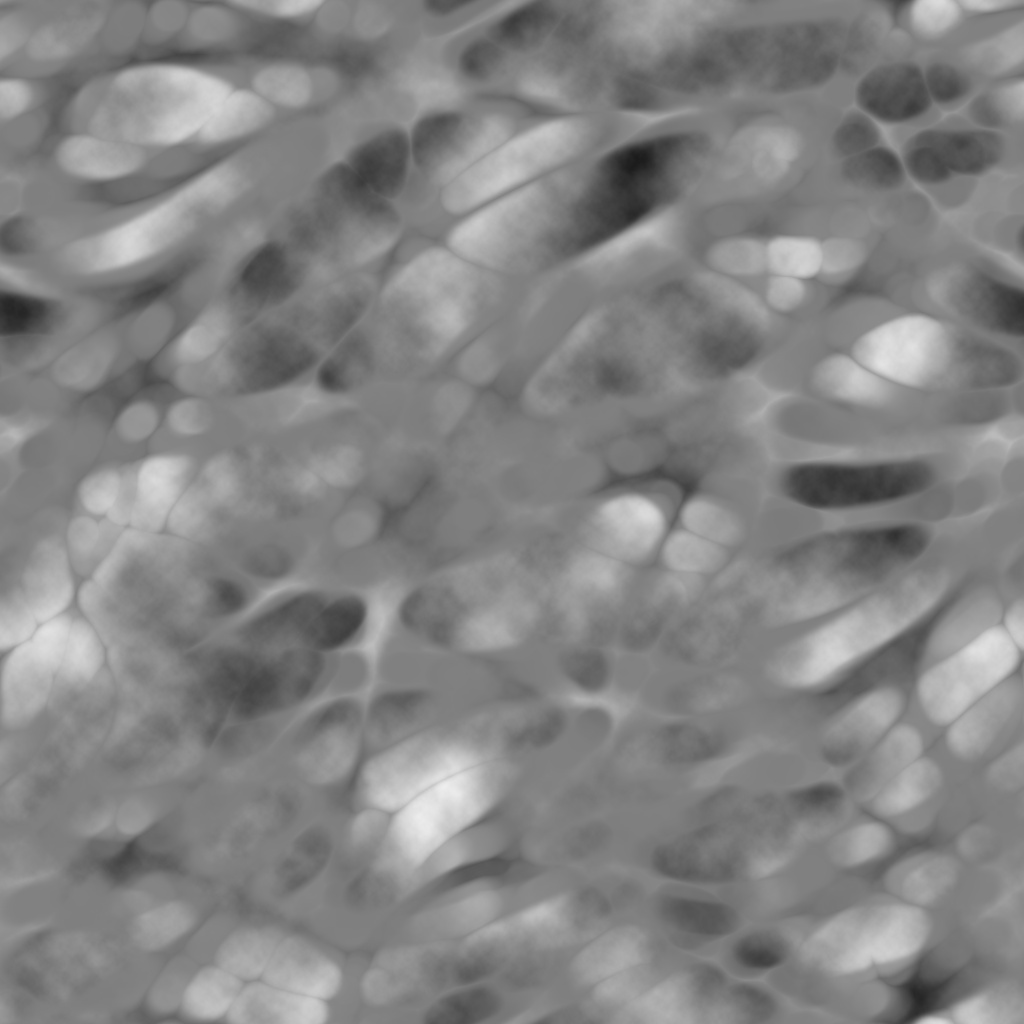
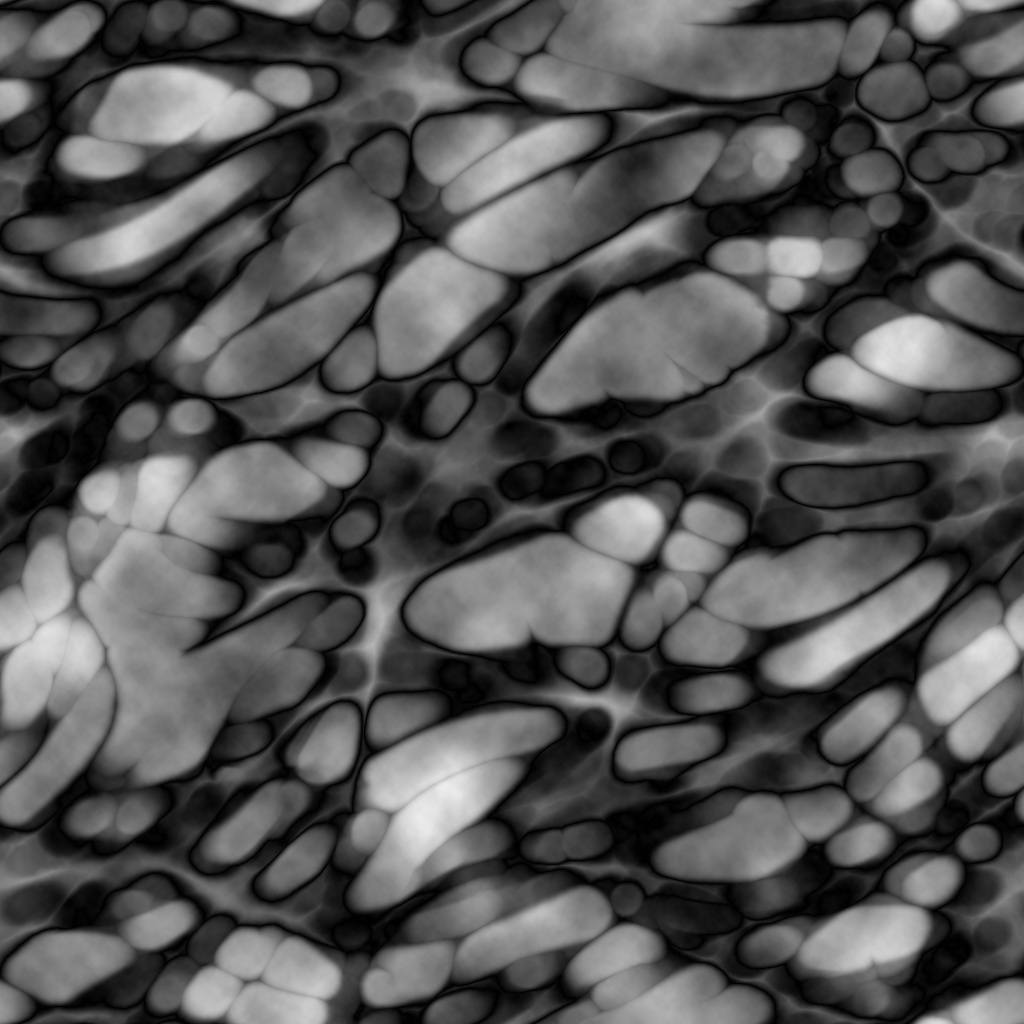
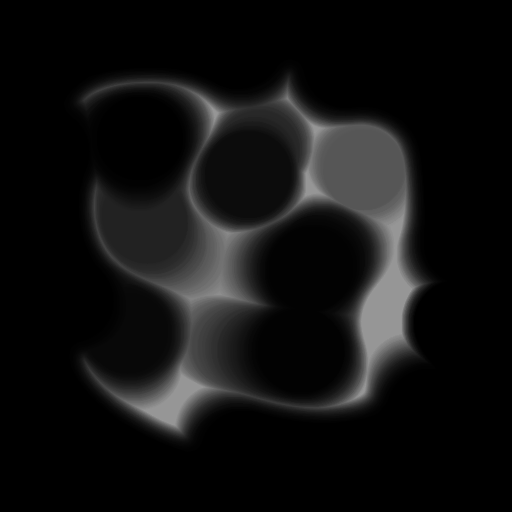
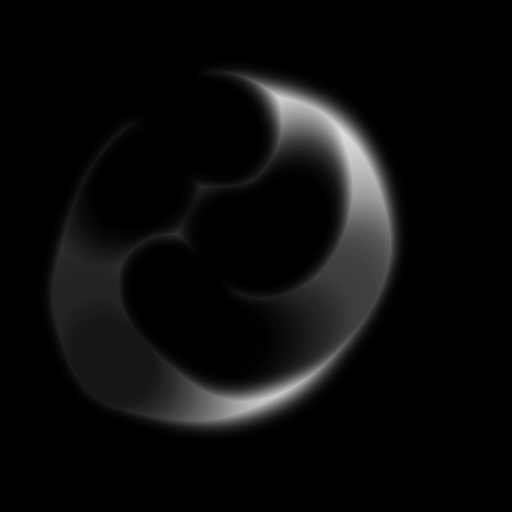
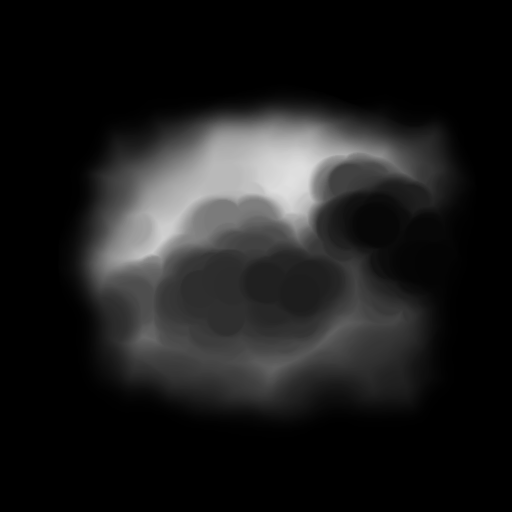
For an easy way to make these textures all you need is the default soft brush and a drawing tablet. Start scribbling some fancy strokes on one white or black canvas (don’t touch the edges) then offset every few strokes, fill the blanks (make sure you overlap strokes). then hit the magic button “Maximum” or “Min” I can’t remember. once that happens, you should have a texture that looks like this:
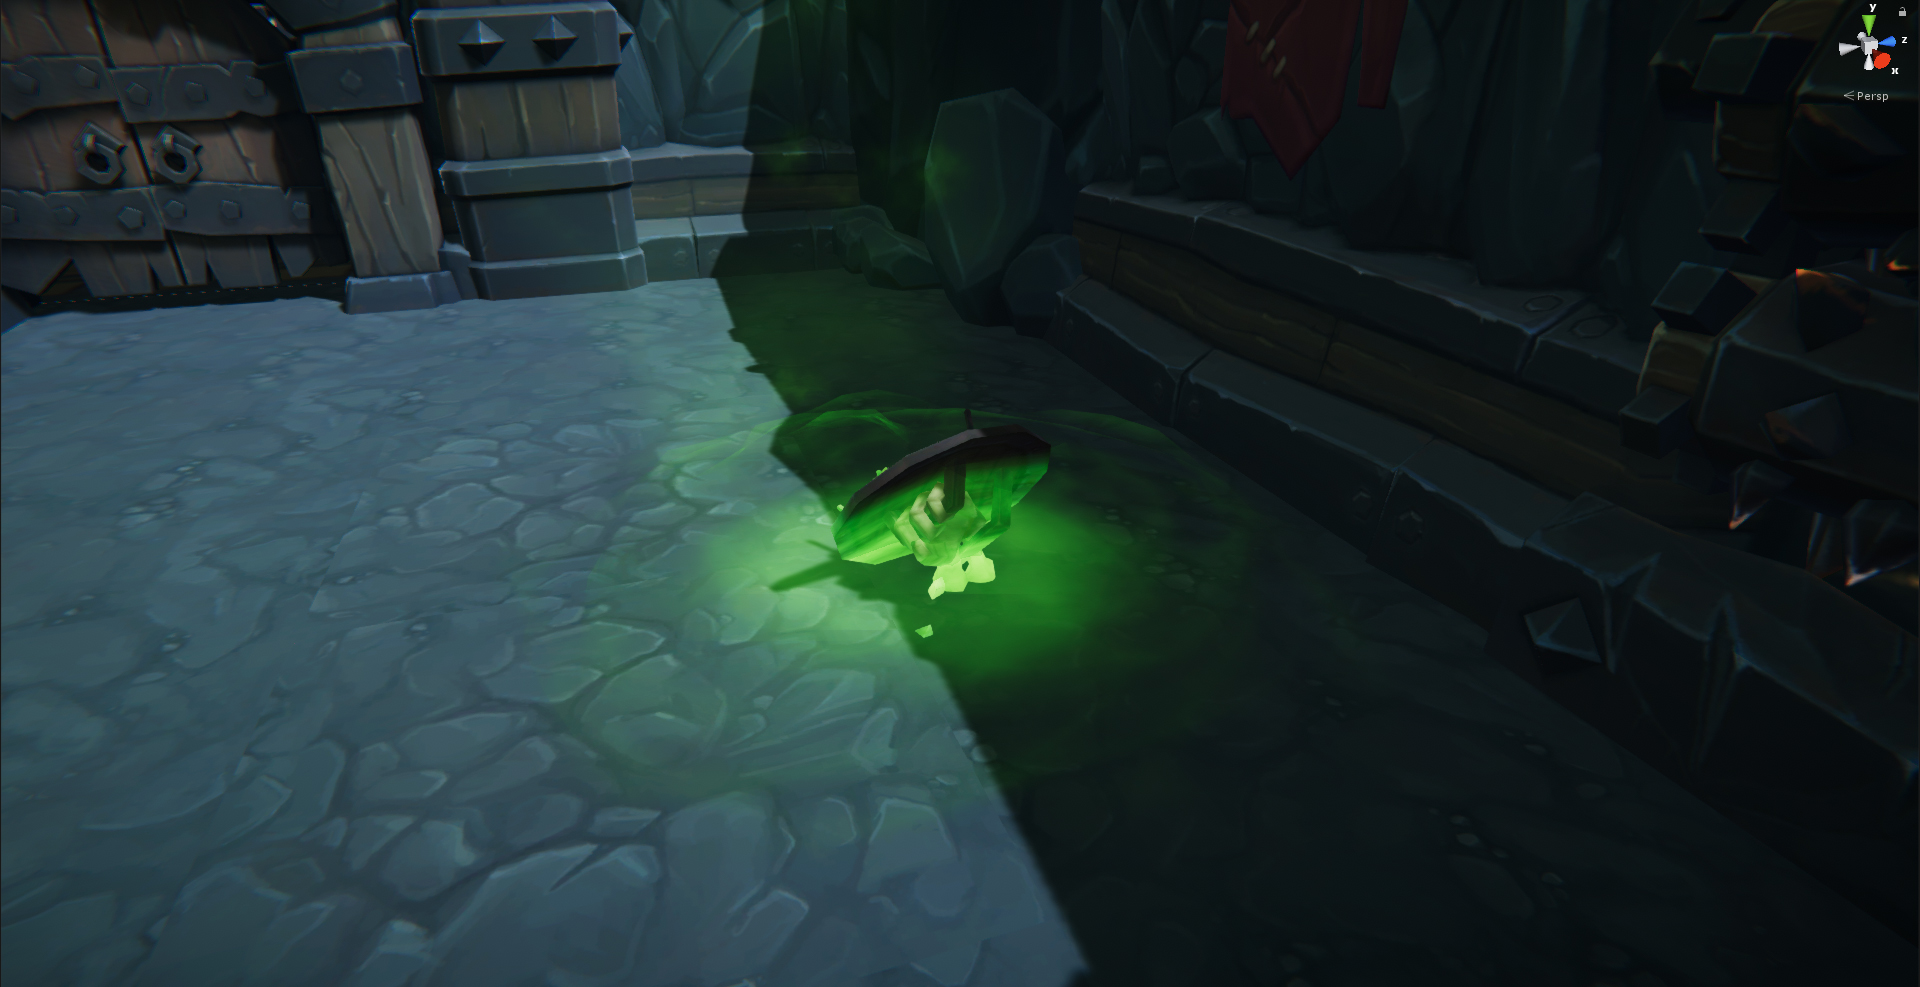
(these are just examples which I also used in the making of previous vfx)
then use the default render clouds and play around with the blending modes for cool effects. then if you want at any stage see what the filter gallery has to offer, the more values you have the better the texture will look
Awww shucks! Thanks!
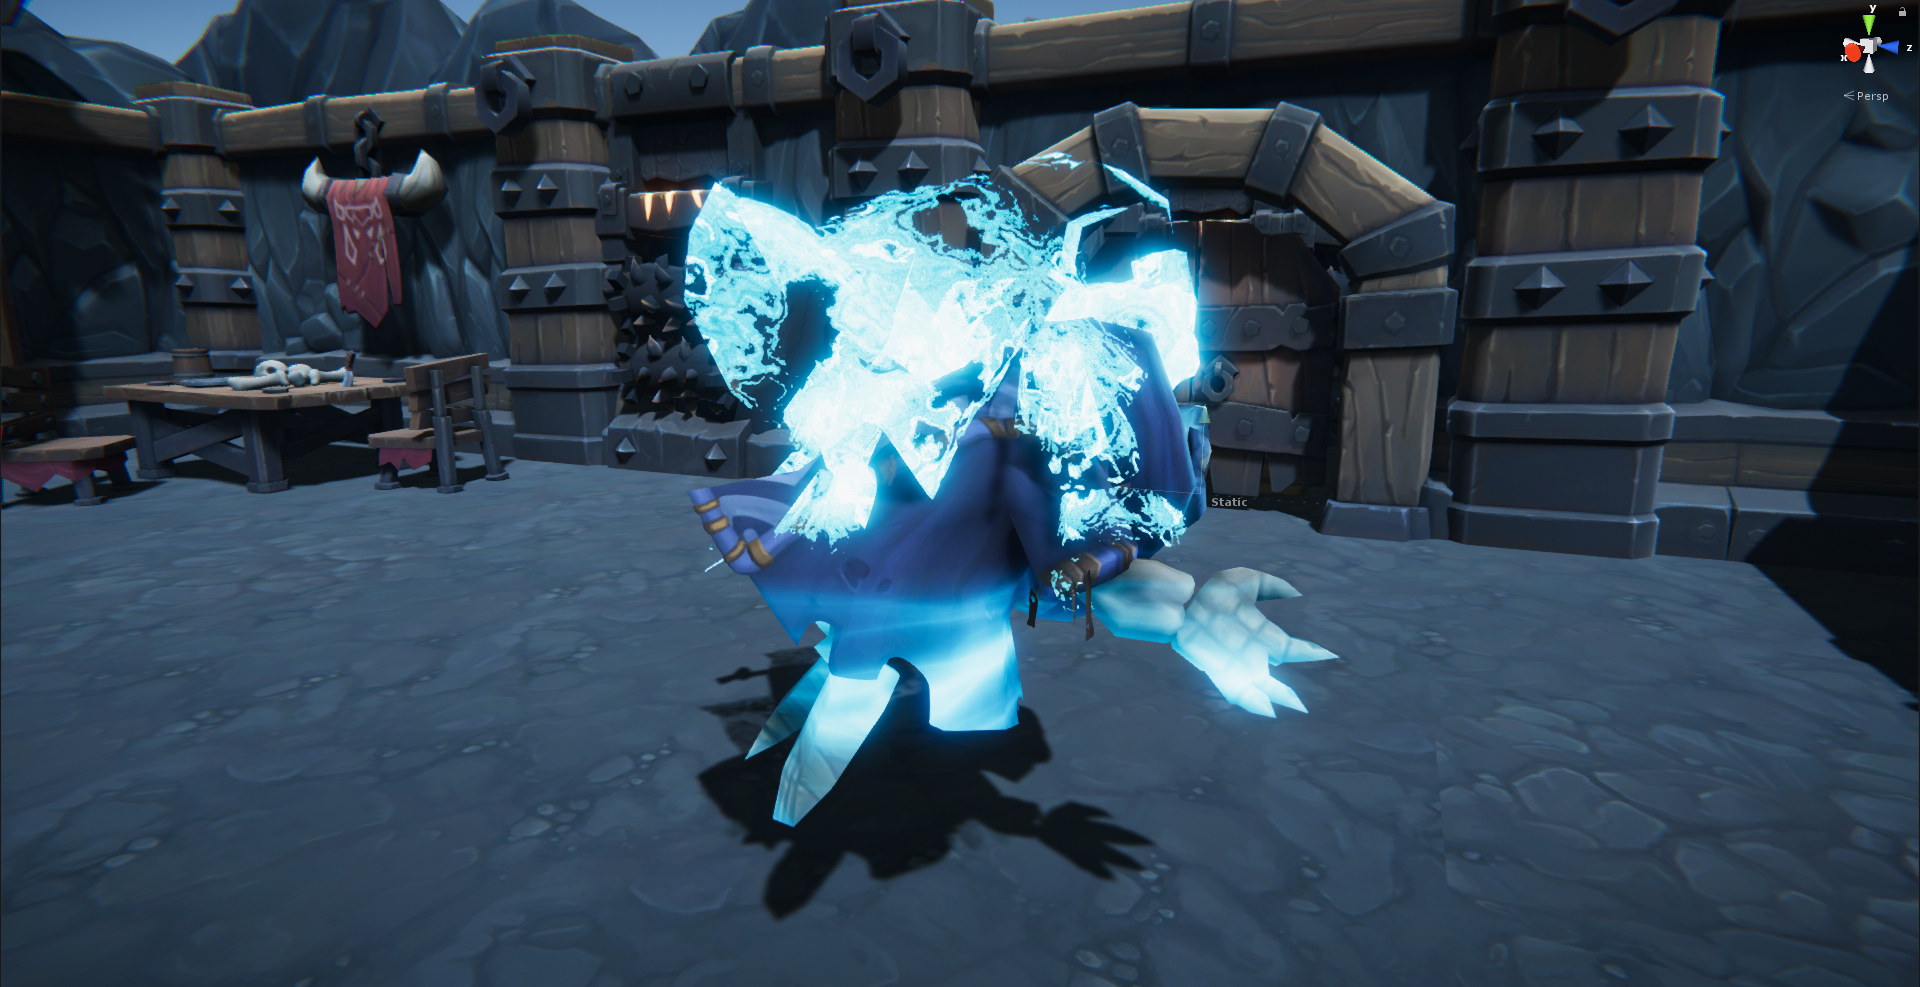
This is definitely been a huge learning experience for me, prior to this I had not made vertex offsets work, but since the vfx Challenge I thought I’d try it out but in my own way since I’m just not a huge fan of the challenge it’self as it doesn’t play too well with Unity.