Rubfish/Rafles VFX stuff

Great reference!Thanks!

1 Like

These are all such an absolute inspiration, amazing stuff.

1 Like

These are gorgeous, man! :heart_eyes:

What are you using for lighting/post effects? What’s your preferred bloom?

1 Like

I still wonder how you created the recent fire effect on twitter @SrRubfish, did you pan the projectiles over meshes or did you use Trails and animated those?

Would be awesome if you can show us how it was made :slight_smile:

This one :smiley:

1 Like

Not a lot, just a 0.2/0.3 of intensity with default settings. I like shiny stuffs but i prefer to control it with custom glows ^^ Only AA and a bit o color correction just to avoid the absolute black, but i could work without them (I work for mobile so…)

Continuing the discussion from Rubfish/Rafles VFX stuff:

Some people asked me for a complete breakdown so here it is c:

The trail is this texture, with a bit of noise to make it looks less static.

just-the-pew

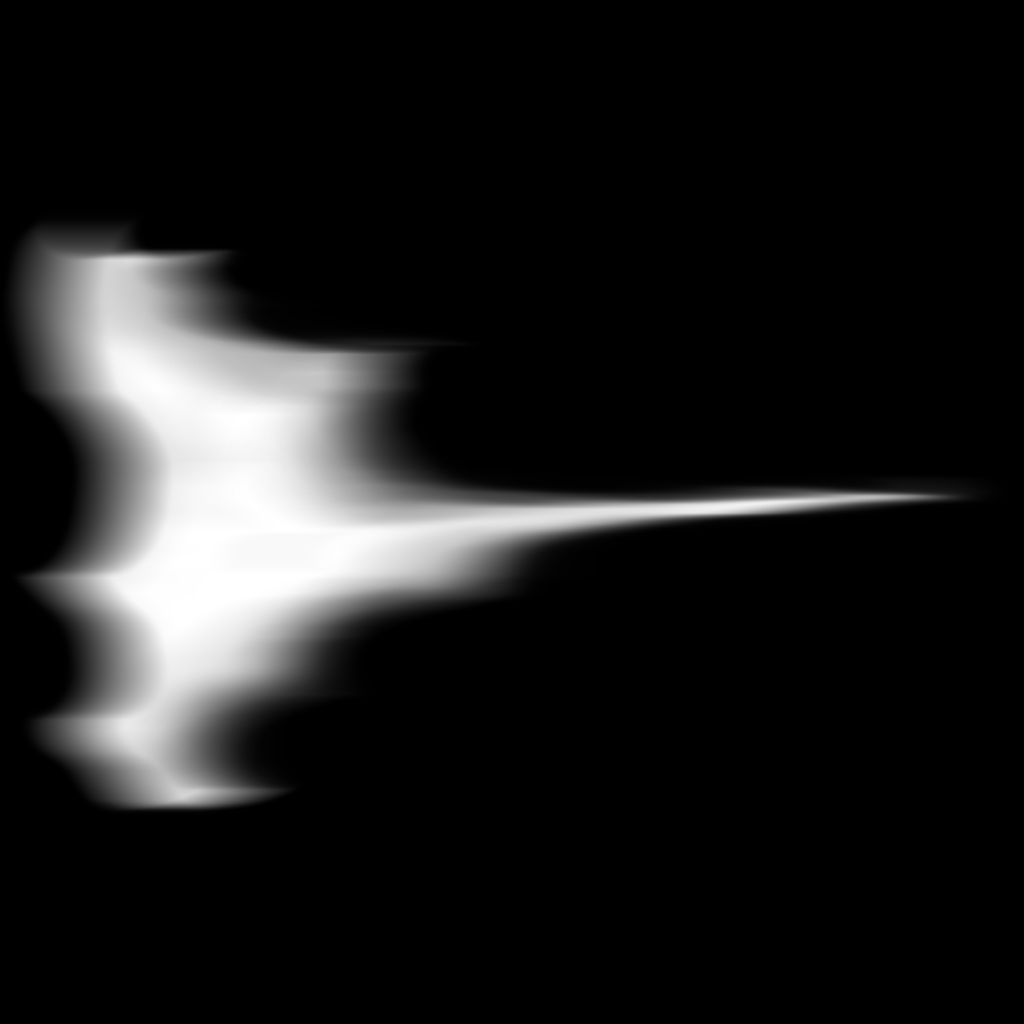
The flames towards the sphere are that, just offset it C:

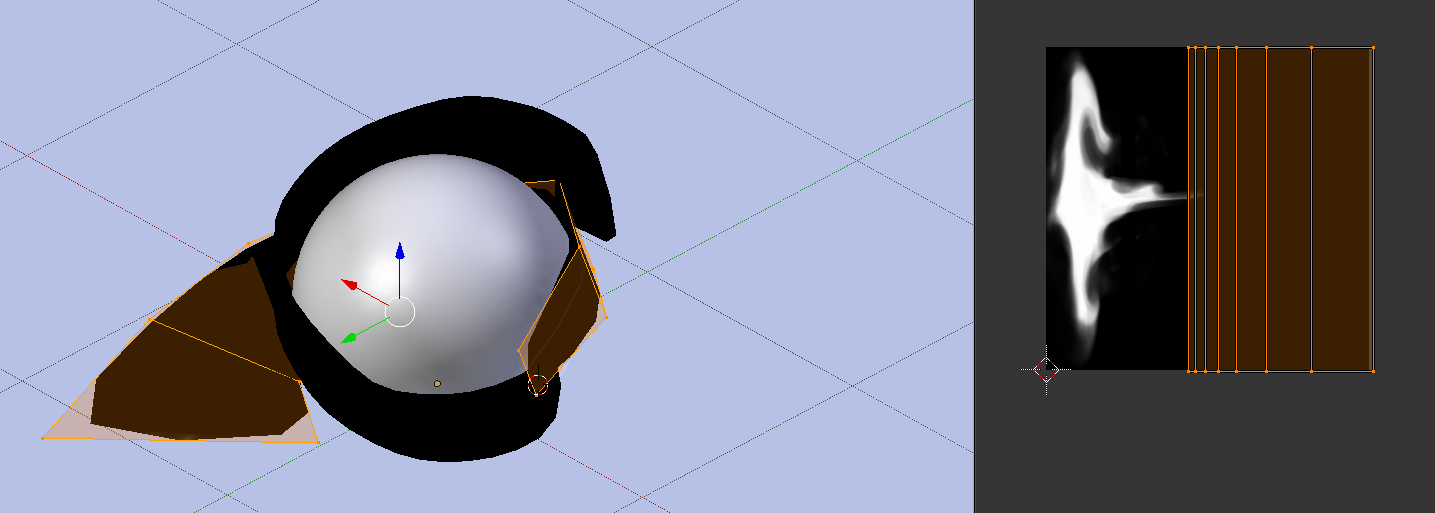
Just adjust the position/rotation of the meshes and the direction of the trails until they match c:

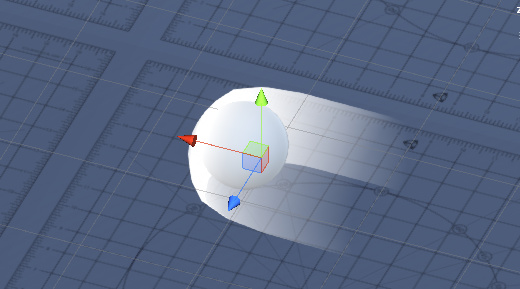
The impact is made with a cilinder with modifications in the UV and a flames texture panning (B channel used to dissolve, controlling the dissolve using a custom data in the particle system and the vertexcolor.alpha). I also animate the scale and the speed to make it feel more… Fluid


image
impact

Some sparks, flames, details and a lot of polishing in the timing.
I made this textures for the flames, a directional shape with a controlled handpainted dissolve in the blue channel.


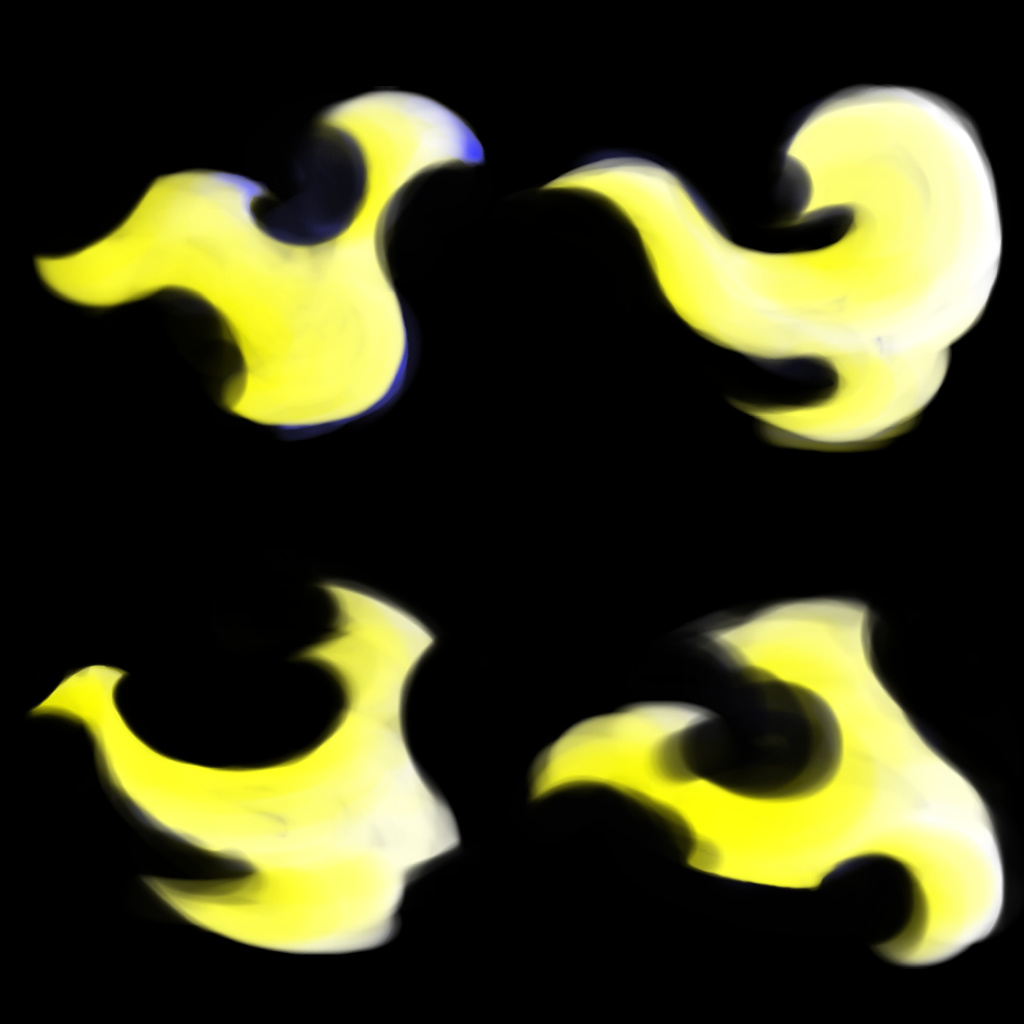
With a control in the dissolve and animating the scale and the color c:
firey

The last part is just a few meshes spawning towards a point with a paning shape and some noise (similar to the original charge) and a glow with a few flames to make it feels less static.

firey-charge

And that’s all c:

35 Likes

awesome break down, thanks alot :D!

2 Likes

Just finished, thanks ^^

1 Like

Thank you so much for the breakdown!

1 Like

Amazinnng ! thank you !!!

1 Like

Thanks for the breakdown! I’ll try to make something along those lines as an exercise! All credits to you haha :smiley:

1 Like

Looks great ! breakdown is really useful.

2 Likes

Thanks alot for this awesome and detailed breakdown :slight_smile:

1 Like

Of course, please show me if you want ^^ I’ll love to see it

Thanks ^^ Hope it helps <3

Wow. Amazing stuff! How you did smoke in Mega Shot?

It’s a handrawing shape with a controlled dissolve and a distortion of the texture and the dissolve modified over lifetime, with some panning and control on the size of the meshes.

1 Like

It’s weird because I dont work with green tones, maybe it’s hard for me and i’m just avoid them. I’ve decided to force me a bit to create a “healing area” with some nature inspiration. (Got the idea with the Neeko’s Q).
I don’t feel like it’s a good job but was interesting and trying to improve my “weak parts”. What do you think? Any feedback?

FlowerHeal

Video for better quality:

THANKS! I got a lot of nice comments and feedback, it’s awesome and you are the best :revolving_hearts:

5 Likes

That heal has a love-able vibe. Love the butterfly’s and the light from above.

1 Like

I’ve just finished this, I put a lot of effort in all the details, feeling and timing :slight_smile:
Hope you like it and, as always, feedback is welcome!

laser%20charge%20magic%20shot

Video for better quality (recomended):

:dolphin:

11 Likes

Cool! I think the last reaction will be more natural if you feel buoyancy after being influenced by the direction of the force. Your work is really beautiful.

1 Like