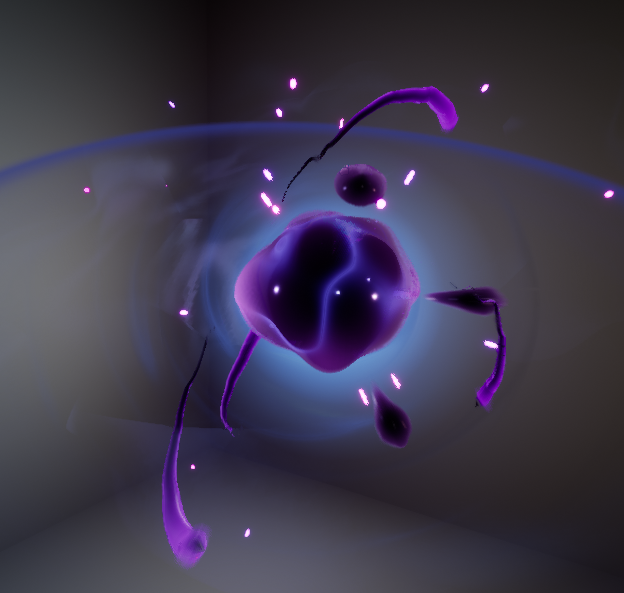
Hi @Archie I don’t know if you are talking about those weird stepped areas. If yes that’s coming from the gif compression. Because the core is surrounded by a “light smoke” I think those kind of tiny details are complicate to interpret… So be sure I’ll make a correct video when I’ll be a bit more advance in my effect.
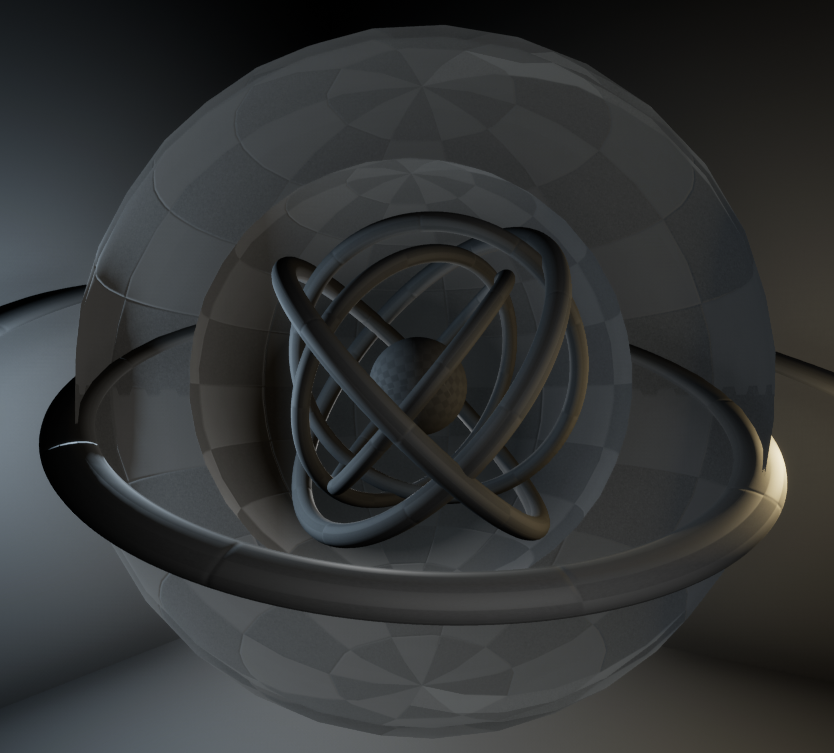
@Un1horn thank you! For sure It’s just deformed mesh and shaders tricks. If some parts are confusing I can provide a breakdown for these.
Hi @FishBall I use unreal engine so the shader editor is native. But that’s realy close ,
So it could probably be reproduced in shader forge exept for some helpfull nodes included in UE4.
So here is probably the final version with a YouTube for a better experience. After fighting against sorting issue I think I’m done with it. If I have some time I’ll add some remaining elements after the collapse and animate a bit the refraction who create a boring circle.
https://youtu.be/0TTaU6aEZT0
Feel free to ask if you have any question. (a bit specific it’s better for a breakdown)
I’ll probably share some shader tricks I found which could be useful.
super cool! i feel that the flash before it collapses is a bit too subtle. maybe 1 frame of full bright white would convey the energy a bit better which is collapsing at this point?
Hey thank you for your feedback I was also thinking about this, I’ll try to make something like an old TV shut down flash. I don’t know if I would have the time to do it before the dead line but I’ll provide it anyway even if it’s a bit to late
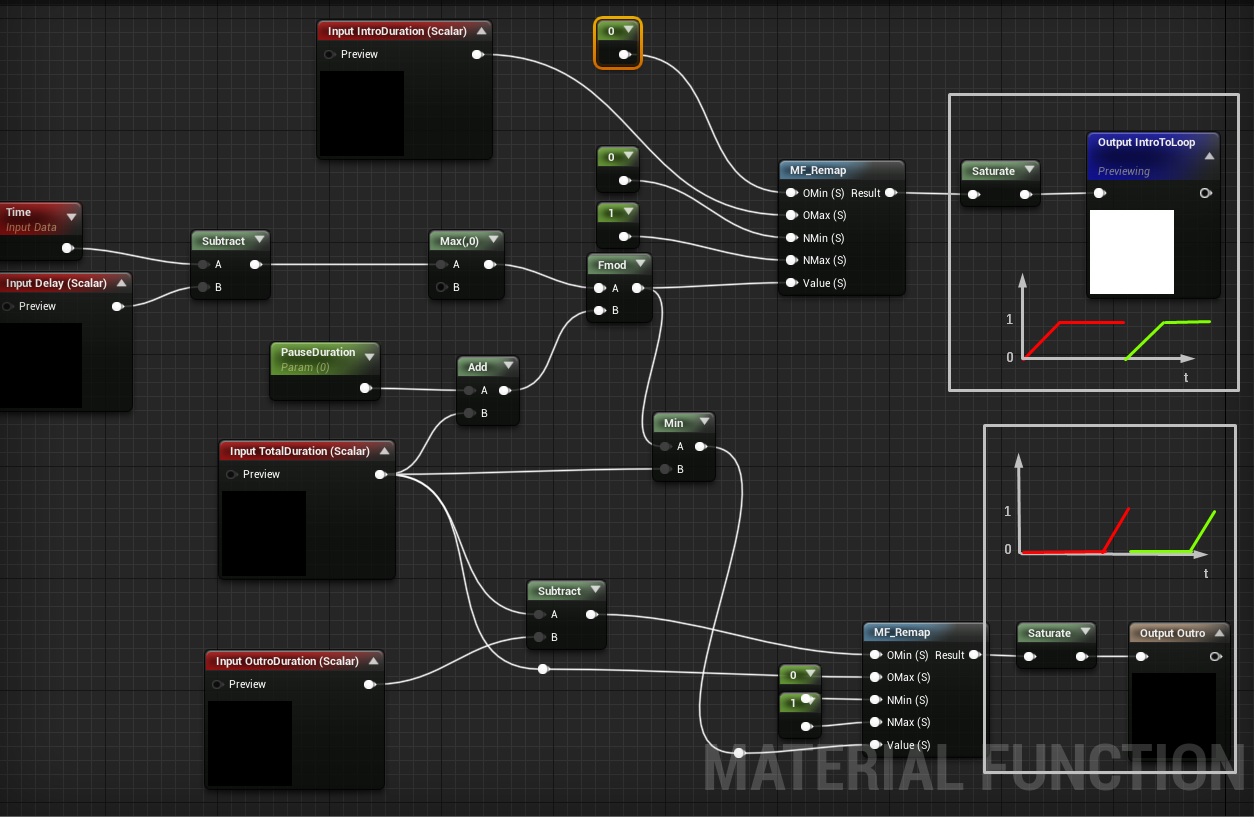
Ok now about the Intro Loop Outro. I set I up like this. Intro value grow to one and stay at one. One will be my loop value . For the outro It’s similar except that the value return to 0 ones it’s done and the loop can restart. So in this function the key is Fmod (modulo) my time will incrase to my total duration and return to 0. Now I can use these result in different lerp to switch between different states and to manage the dynamic of the transition you can use a Pow(er) or a curve atlas if you want to have more control on it .
And now I want to share you a recent discovering. This node call Virtual Plane Coordinates can save you.
The main use case for me is when I want to do a projection in function of the camera.
Basically I used it as a kind of screen position coordinate with the particularity the (0;0) of the UV is not on the top left of the screen but a defined anchor point.
I this case the pivot of my object will be my (0;0) . Here I wanted to have UV scale feeting with my sphere so one and minus one should be on the border of the sphere. To debug it I recommend you to use an Abs (absolute value) followed with a floor (to see the step when the value is higher than one) and a saturate on a min(1) (to don’t burn your eyes in the first time ) , this debug should be applied after the divide. In the effect I used it to create a background facing the camera, so it’s applied on the sphere with the reverted normal .