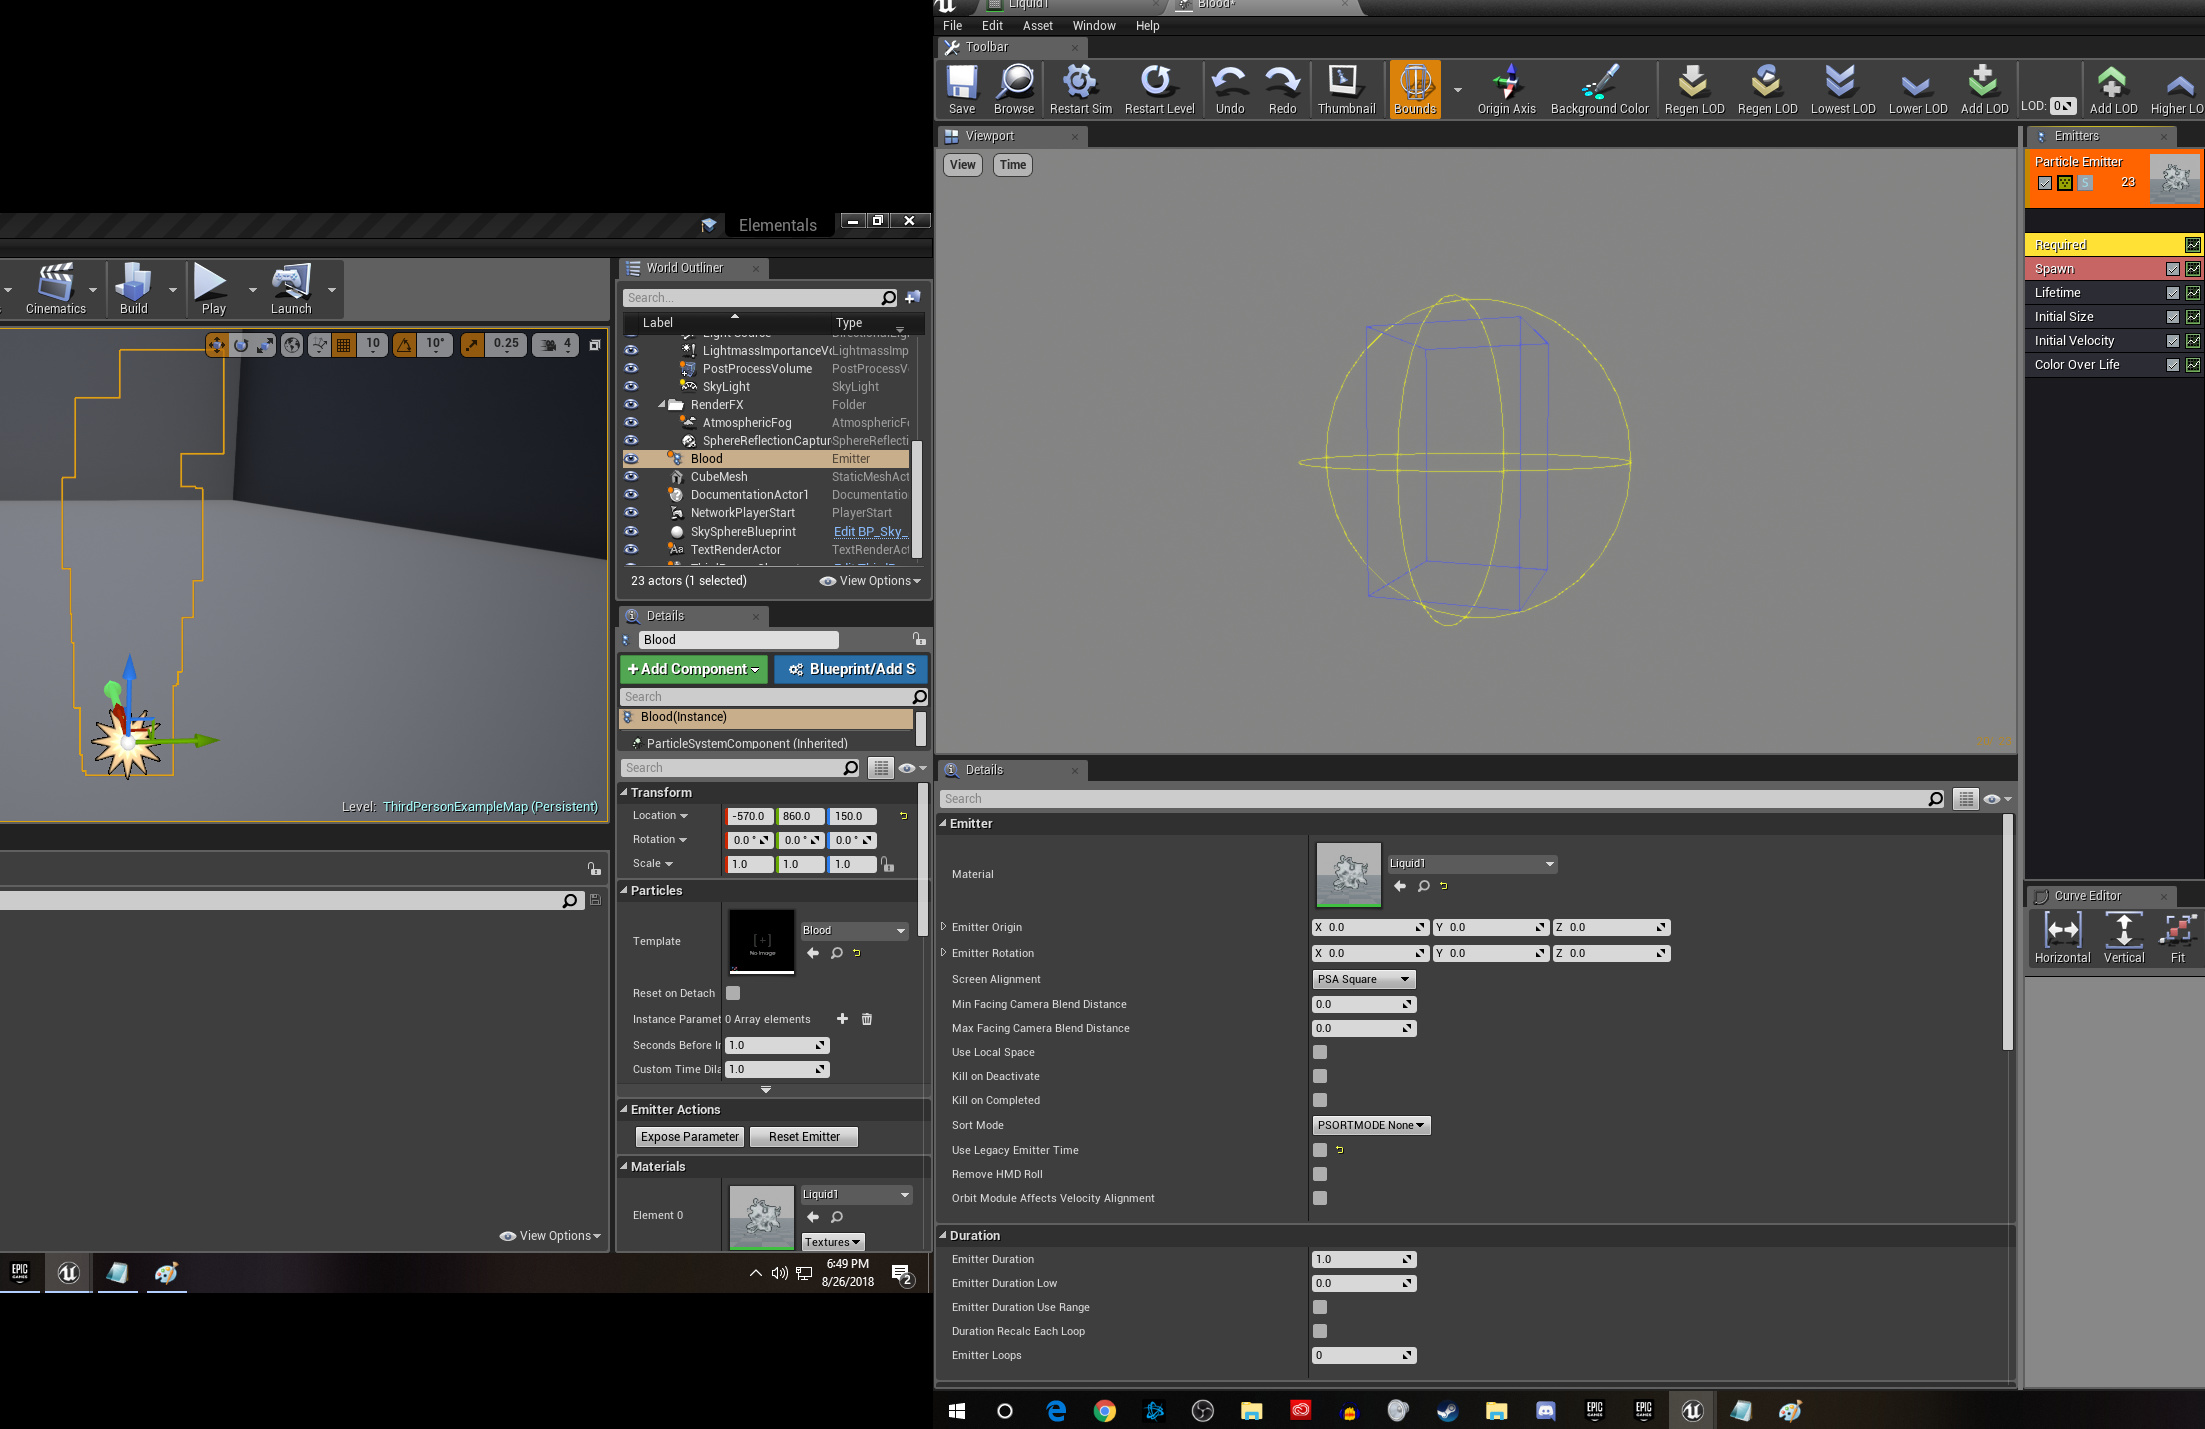
Typically I’m here posting stuff about our software, but I wanted to share a technique I recently perfected to paint blood that can be eroded in your engine of choice.
In this tutorial I go over every step in Photoshop, getting your textures in game, creating the shaders and then making the particle system for your new blood texture.
In this case I made both blood and a green acid style liquid.
Thanks for share!
I add uv distortion and used a spritesheet and its looking really good that technique.
Also is cool because you can pack the textures
quick test:
Happy to hear that! I feel like you achieved a much better result than I have, next time I do a liquid effect I’ll incorporate some of your tricks on it
Beautiful! Thank you for sharing this technique! Very interesting tutorial and really well done. I literally love this community for the great approach of sharing techniques make people learn new stuff and creating a wonderful shared knowledge that can improve and give new ideas
This looks nice! For those looking for a tiling solution or want to see similar ideas in some different programs (in this case Krita and Unity) I have a very similar set of videos lol
For some reason my particle system isn’t showing the new material I made. The only difference I can think of is that I’m using v 4.20. Here is a SS of my material in the editor:
I think its because you are useing the “Dynamic Parameter” Node in your material, but you don’t set the dynamic values in the particle system.
Just add a dynamic parameter stack in your particle system, right click on it and refresh it, so you get the custom parameter from your material. Then change the erosion parameter over time, e.g. from 0 to 1.
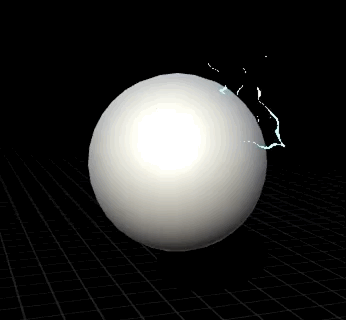
I know this threads a bit old, but I thought I’d go ahead and share how I oopsed and made some pretty nice sparking effects with the texture you showed me how to paint! Always good to find ways to use the same assets for various effects. Gotta save that memory!
Made some various adjustments to the particle system (in Unity in this case) but the big change was to set your clipping threshold real high, making only the brightest parts show up, and using an unlit/emissive shader instead of a standard one. Great tut that had some extra unexpected benefits!
great tutorial! thanks for sharing! ^^ do you have any issues with overdraw with this effect? i’ve been trying make some kind of masked material to get rid of most of the overdraw, but failing… do you think it’s possible to create this effect with a masked material instead of a translucent one?
You could always create a mesh according to the shape of your texture, maybe make it 20 tris at max. It would be more expensive polycount-wise, but it will surely help with overdraw!
For me, having a Ceil node before everything goes into opacity works really well. You may need to dissolve or re-map the texture as it’s going into Base Color as well to get a good look