So, this weekend I had some free time and I thought, “Why not try to recreate Phoenix’s Flash from Valorant?” It’s been a bit of a challenge trying to get the colors just right, but I’m getting there. I’m also working on the flipbook for the flames, which should be ready soon.
already pretty nice, given that this is only your 2nd VFX ever!
the scrolling texture is a good approach, but for the mesh I’d rather skew the UV mapping instead of twisting the model. this way it’s easier to adjust and you might need less vertices.
the center line of your texture is slightly bent, but in the final VFX that’s hardly noticeable (at least for me). so I would rather make it straight, which makes it more likely that you can reuse the texture for other VFX.
the colors you chose already work nicely. you could make the VFX even more interesting, by using color over lifetime: start with a bright, warm yellow or almost white and then transition into the colors you’re already using.
the sparks do a good job in conceiling the outer border of your fire disk. their movement could use some noise, which would be fitting for sparks flying through hot, turbulent air.
the VFX could use some kind of anticipation, like sparks that gather before the fire wave appears.
I like that you used an animated material in the 2nd version (or was it just the GIF compression that made it seem so ). this could also work as an anticipation, if you let it light up a bit earlier.
Really love that UV trick, had no idea i could achieve the same result with a really simpler technique, cheers for that!
Yeah I tried color over lifetime but my unity is kinda cursed and its not aplying correctly for some reason, maybe I f#cked that up the fire shader
Totally agree that it should have an antecipation but I still have to figure it out how to do it, and one other thing that I would like to add that is a ground crack/smoke after the fire is over (still have to learn how to do it too), think it will be a more compelte effect with it.
And maybe was the compression, I re-upload a new gif can you say if it has the same issue?
Hello everyone. It’s been a long time
I had more time to study FX, so I switched engines and now I’m in UE5 trying to find out how Niagara works, and for that I came across this concept from Kyrie MaArcana VFX Concept.
I’m working on the Hit and Skill E, and here’s some of what I’ve done so far.
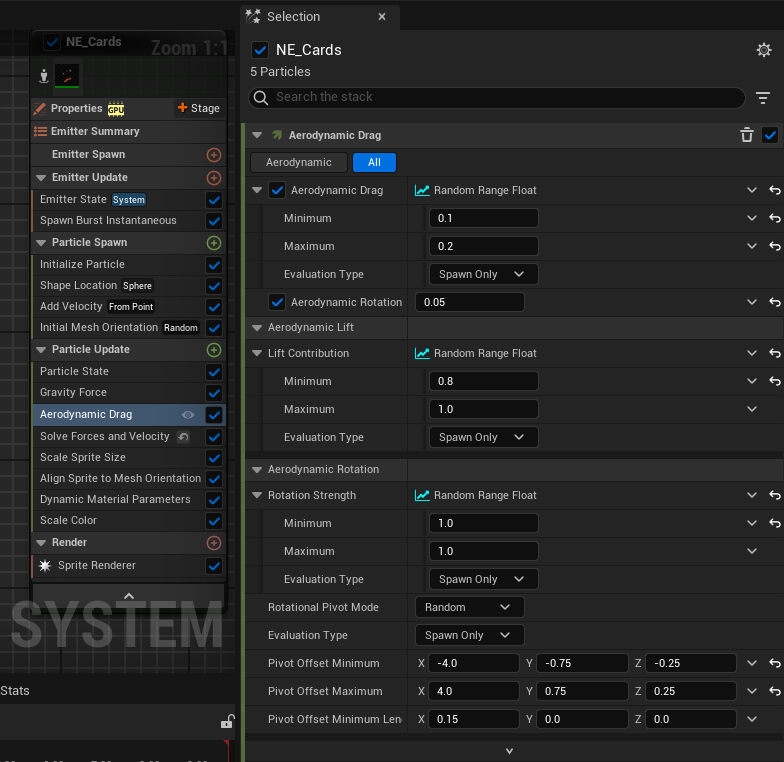
The materials and emitters in are pretty basic, nothing more complicated than creating textures, making it in different colors and scaling it overtime. But in the “Impact Sections” to make the cards explode in a burst and flip the cards when they are falling, dissolve them with different textures was quite a journey.
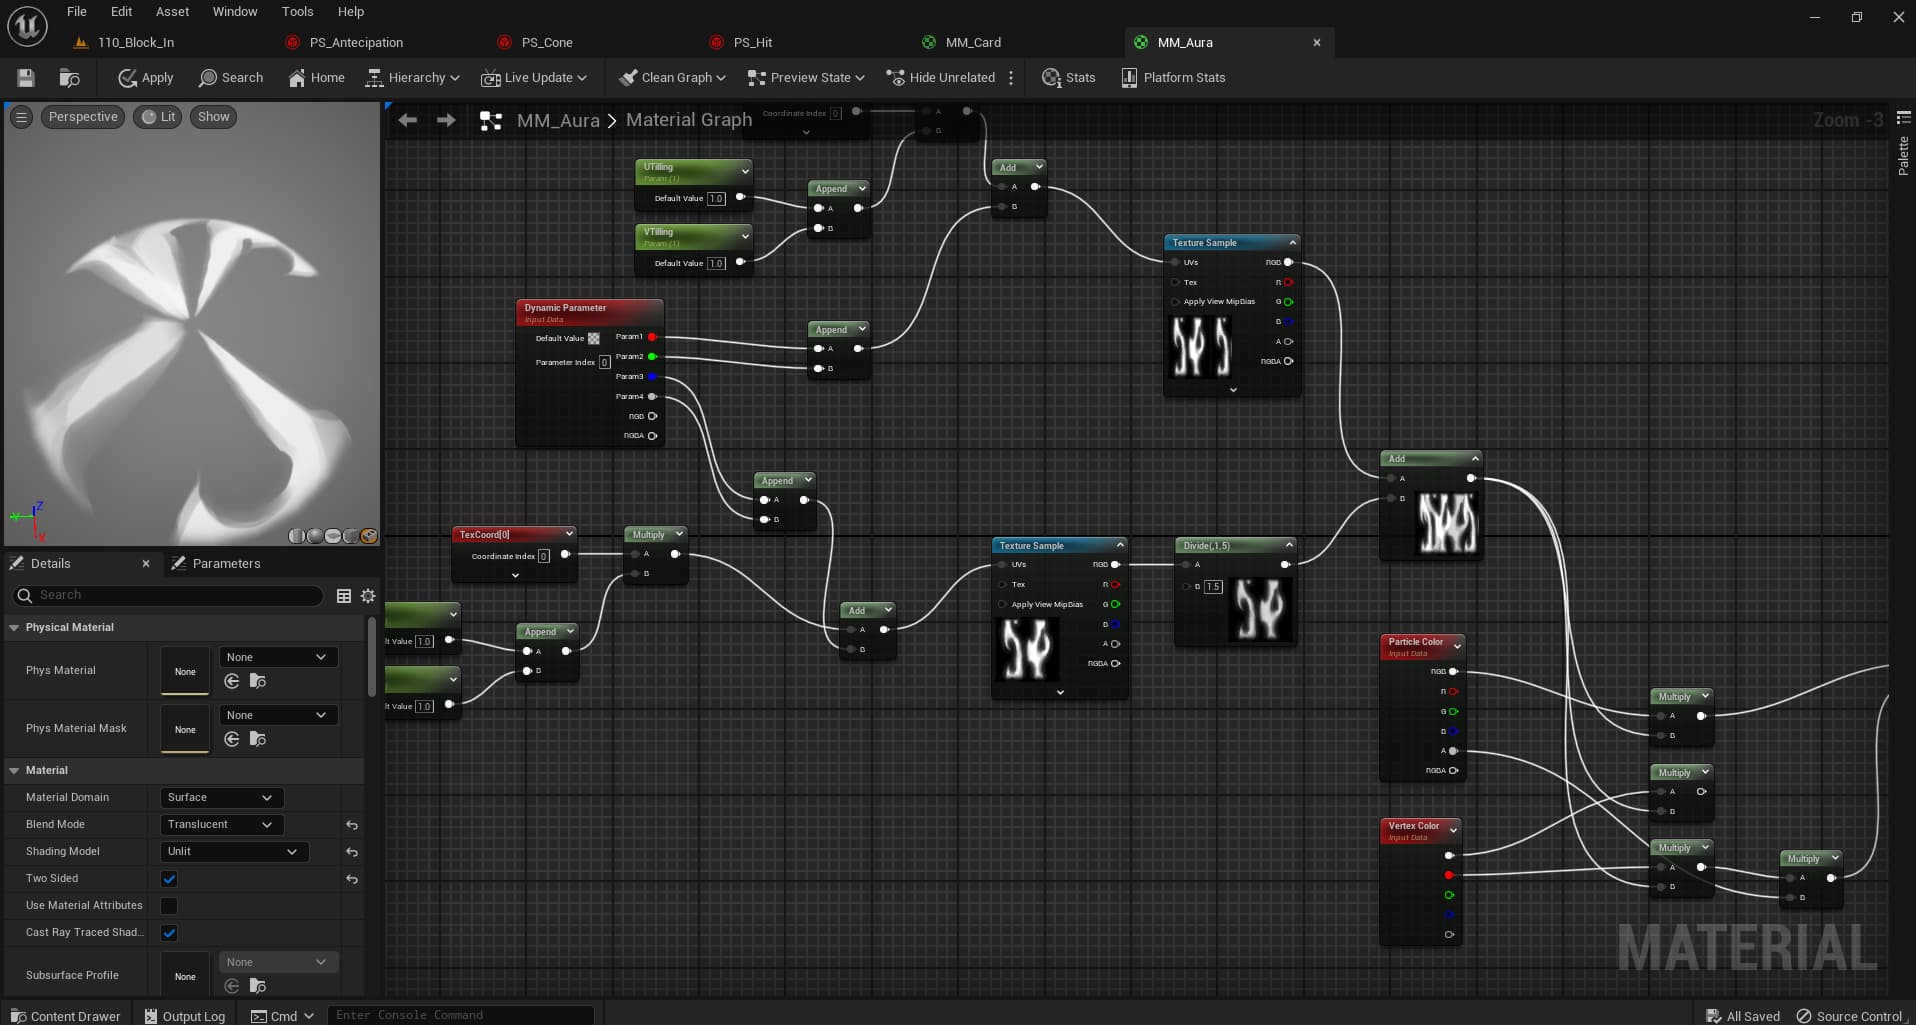
Im just adding the same fire texture with different tillings and those textures are with the Y-axis Tilling Method to Clamp, because I wanted to scroll trought the UV for one time only
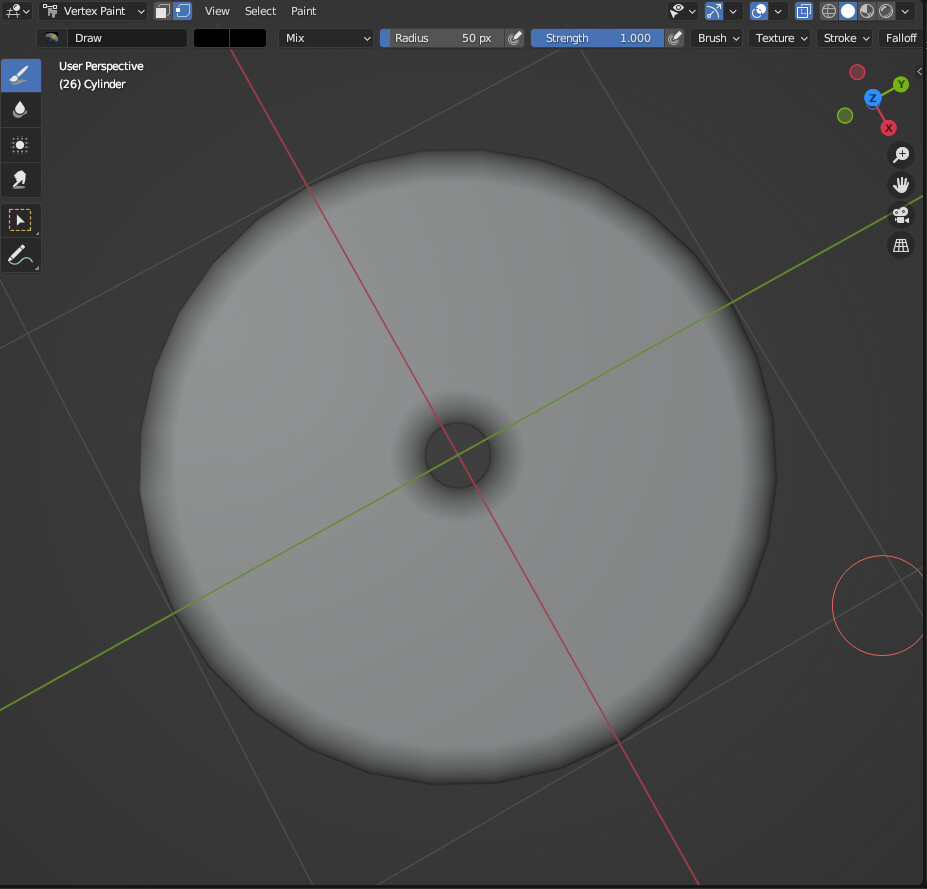
I made a black vertex paint in the outer and inner edges of the mesh to make it look more smooth when the texture scrolls without needing a mask for that
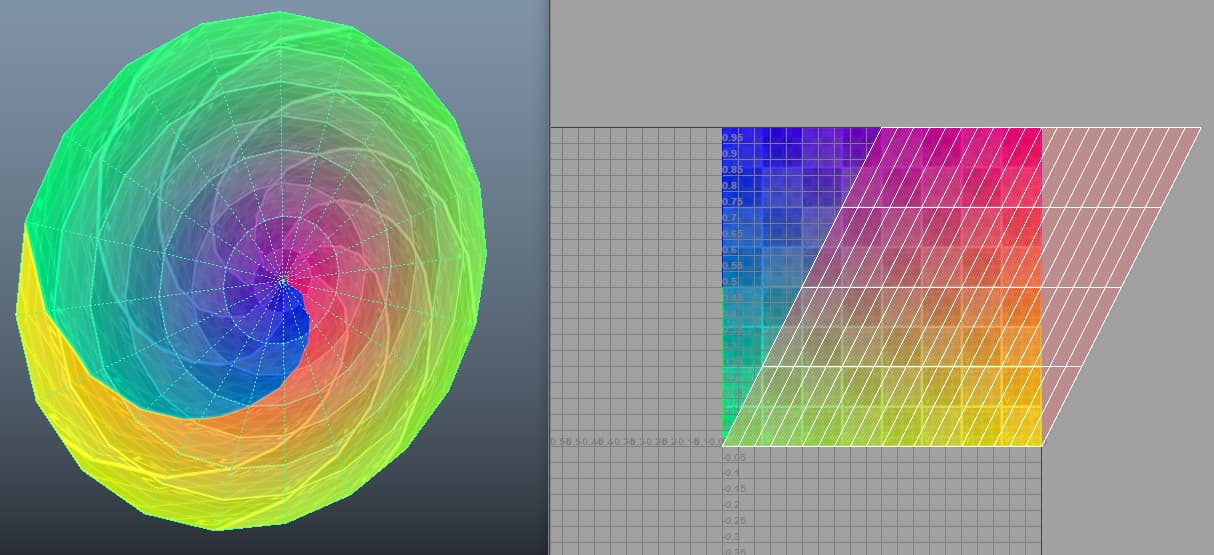
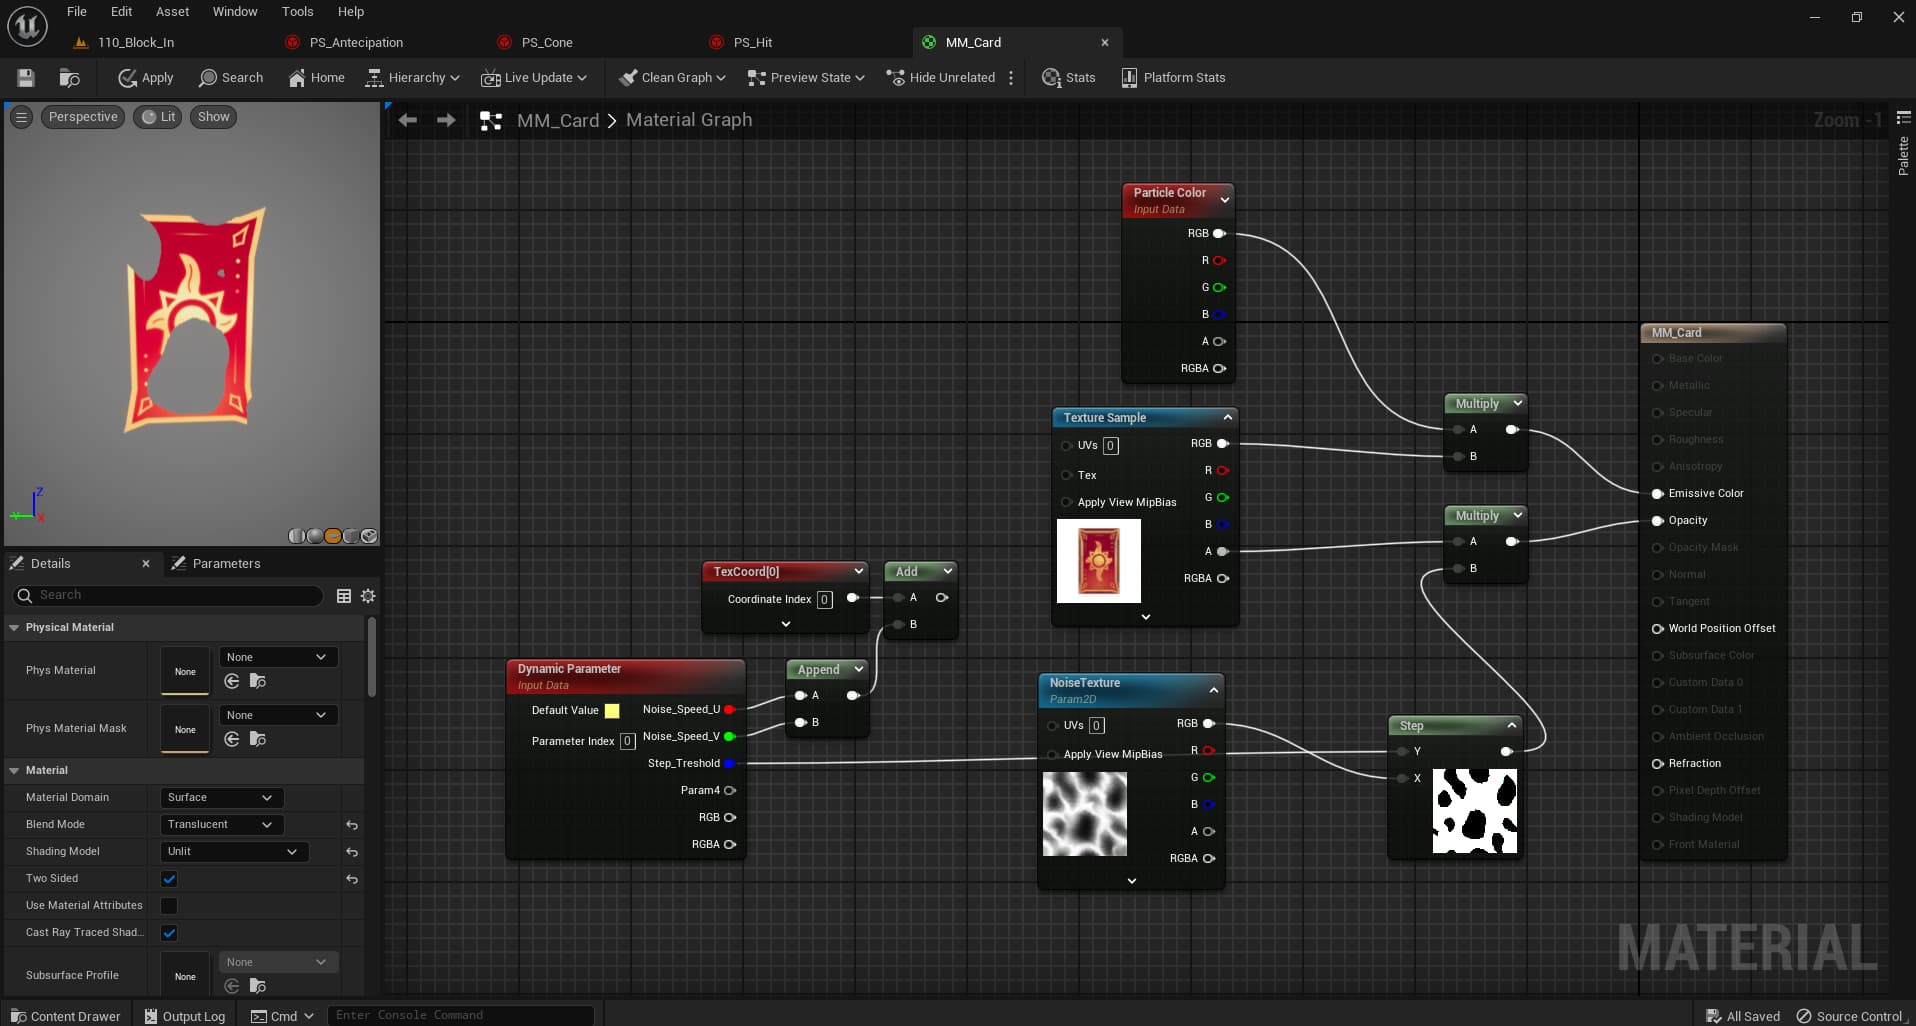
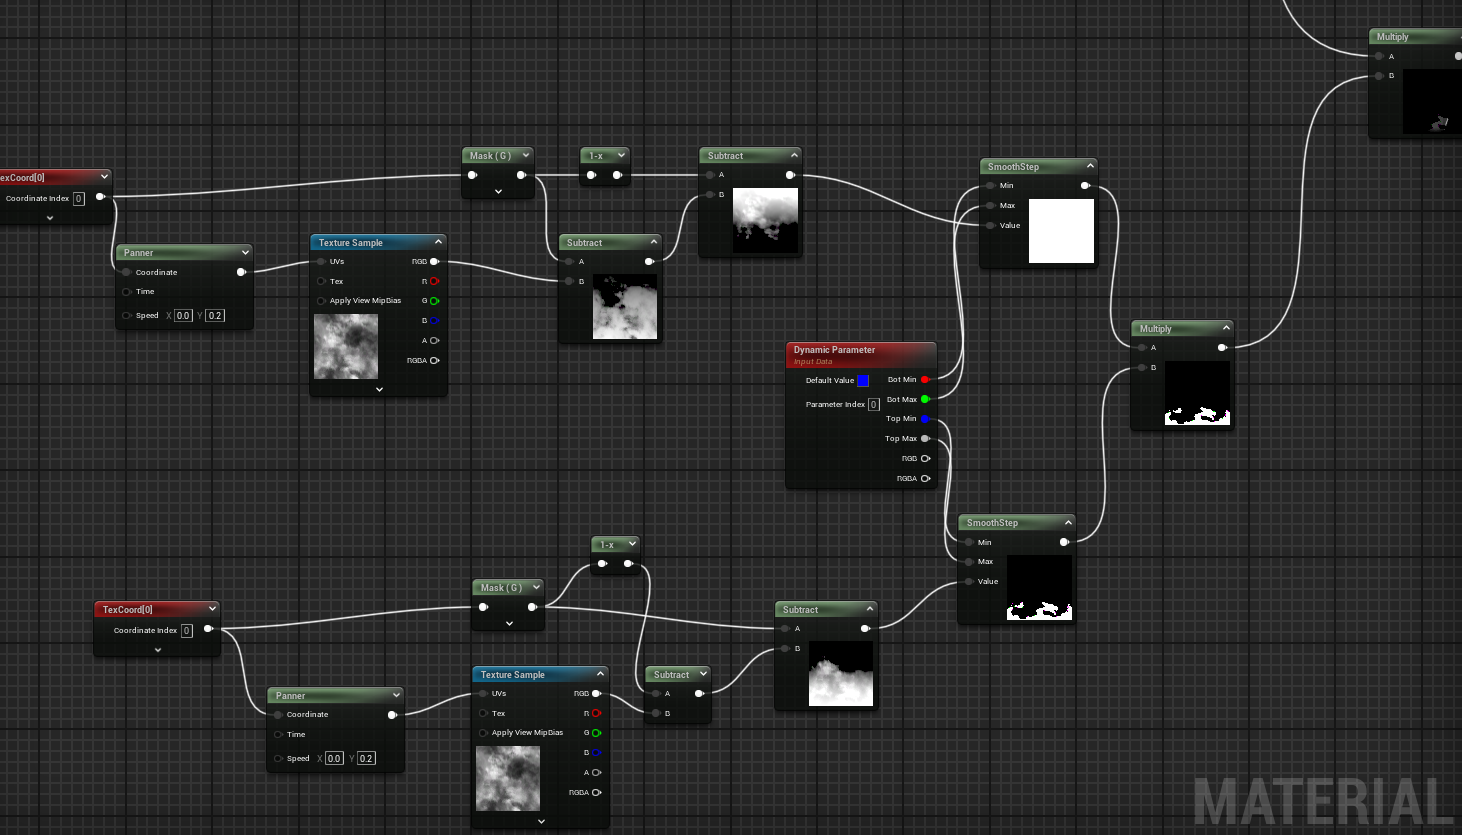
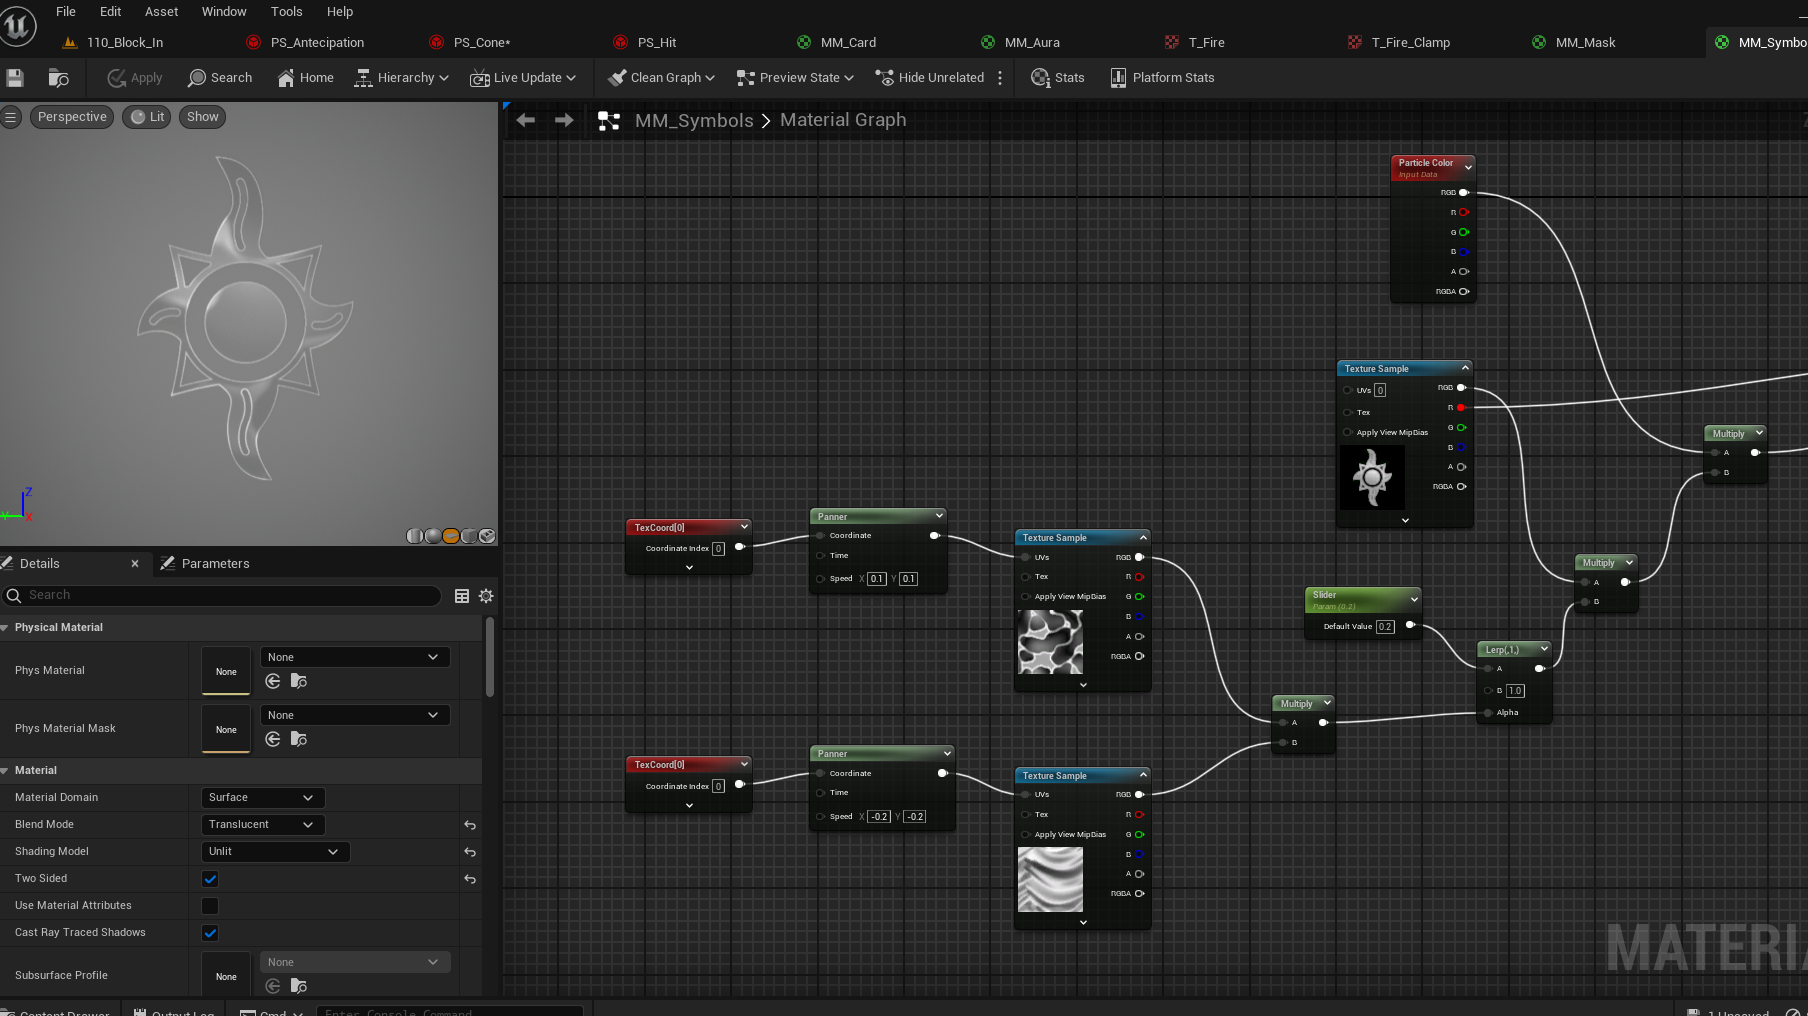
The last thing I’m working is the cone, and this is driving me crazy
There is a lot of improvements I want do here, but I’m stuck with the smoothstep mask, once I figure it out the values in the curve to make it mask perfectly, the fx will be near done.
Btw creating the material kicked my ass really hard, with you someday need to create a smoothstep mask that you can control it top to bottom in unreal, here is how I did it:
So, this weekend I had some free time and I thought, “Why not try to recreate Phoenix’s Flash from Valorant?” It’s been a bit of a challenge trying to get the colors just right, but I’m getting there. I’m also working on the flipbook for the flames, which should be ready soon.
Just wanted to give a quick update on the Phoenix Flash project. I went ahead and fixed the colors and curves of the light rays and particles, and I also borrowed a flipbook from Rafles to add to the mix. Things are really starting to come together!
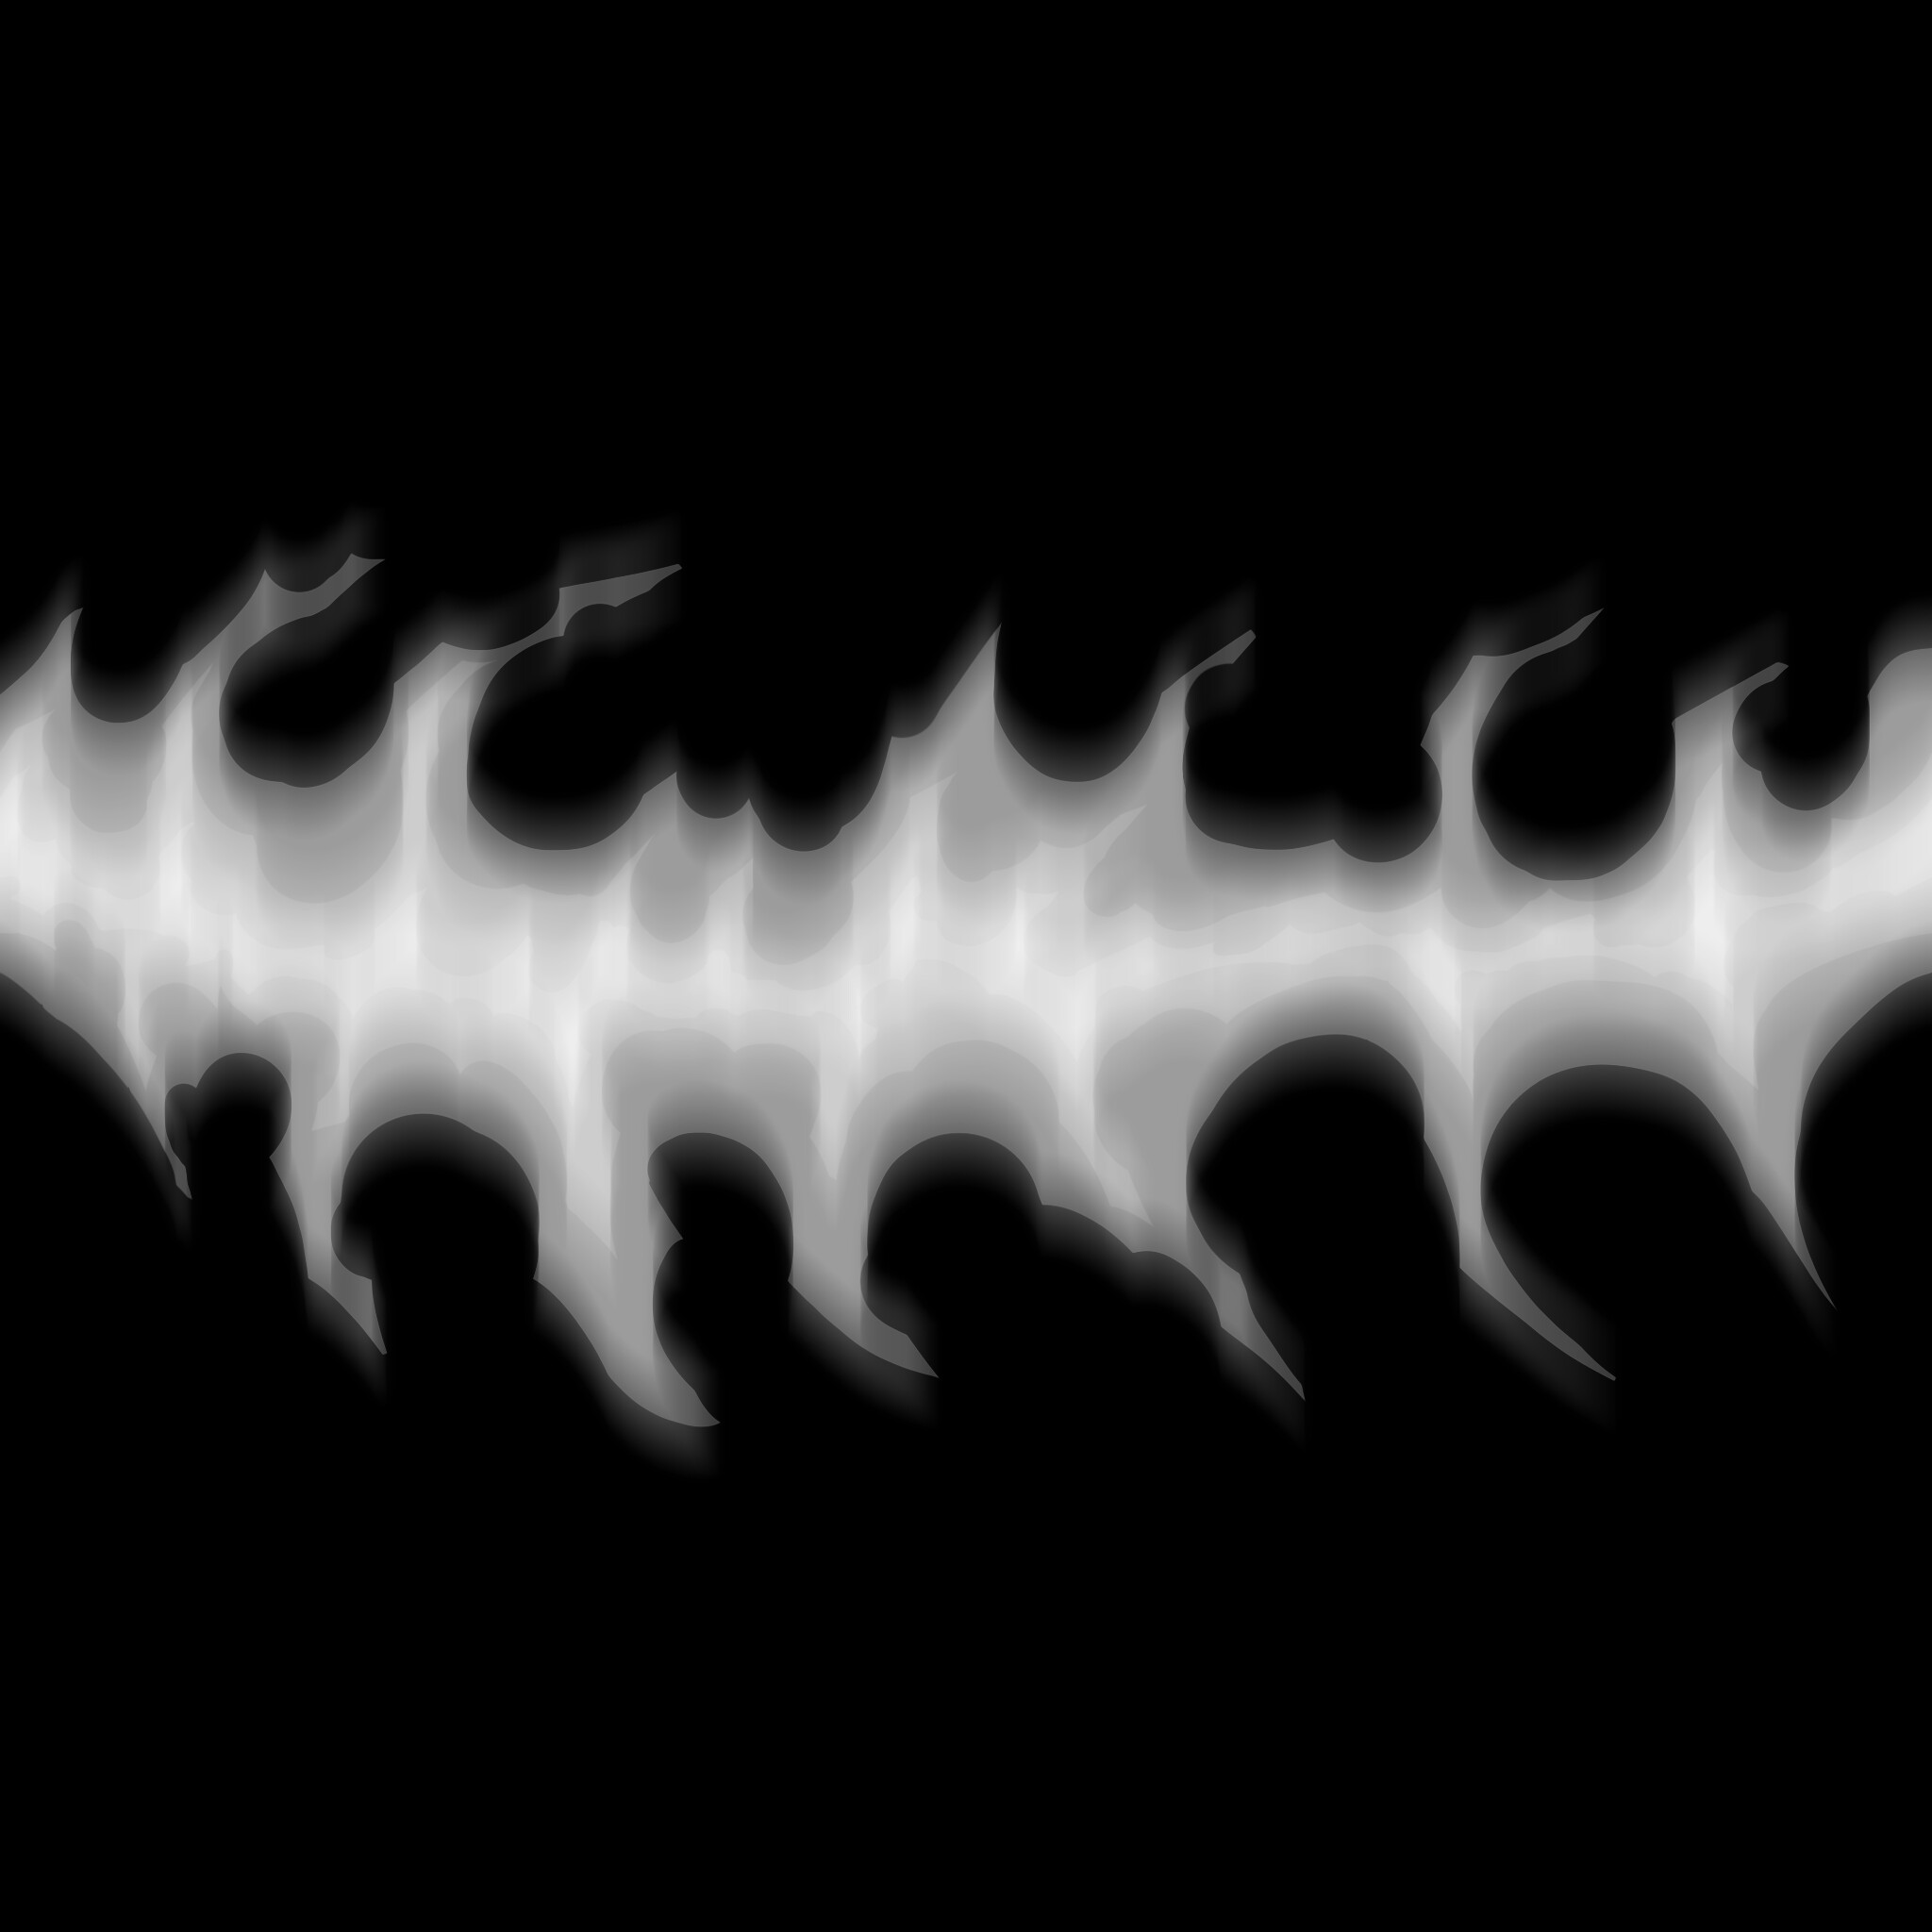
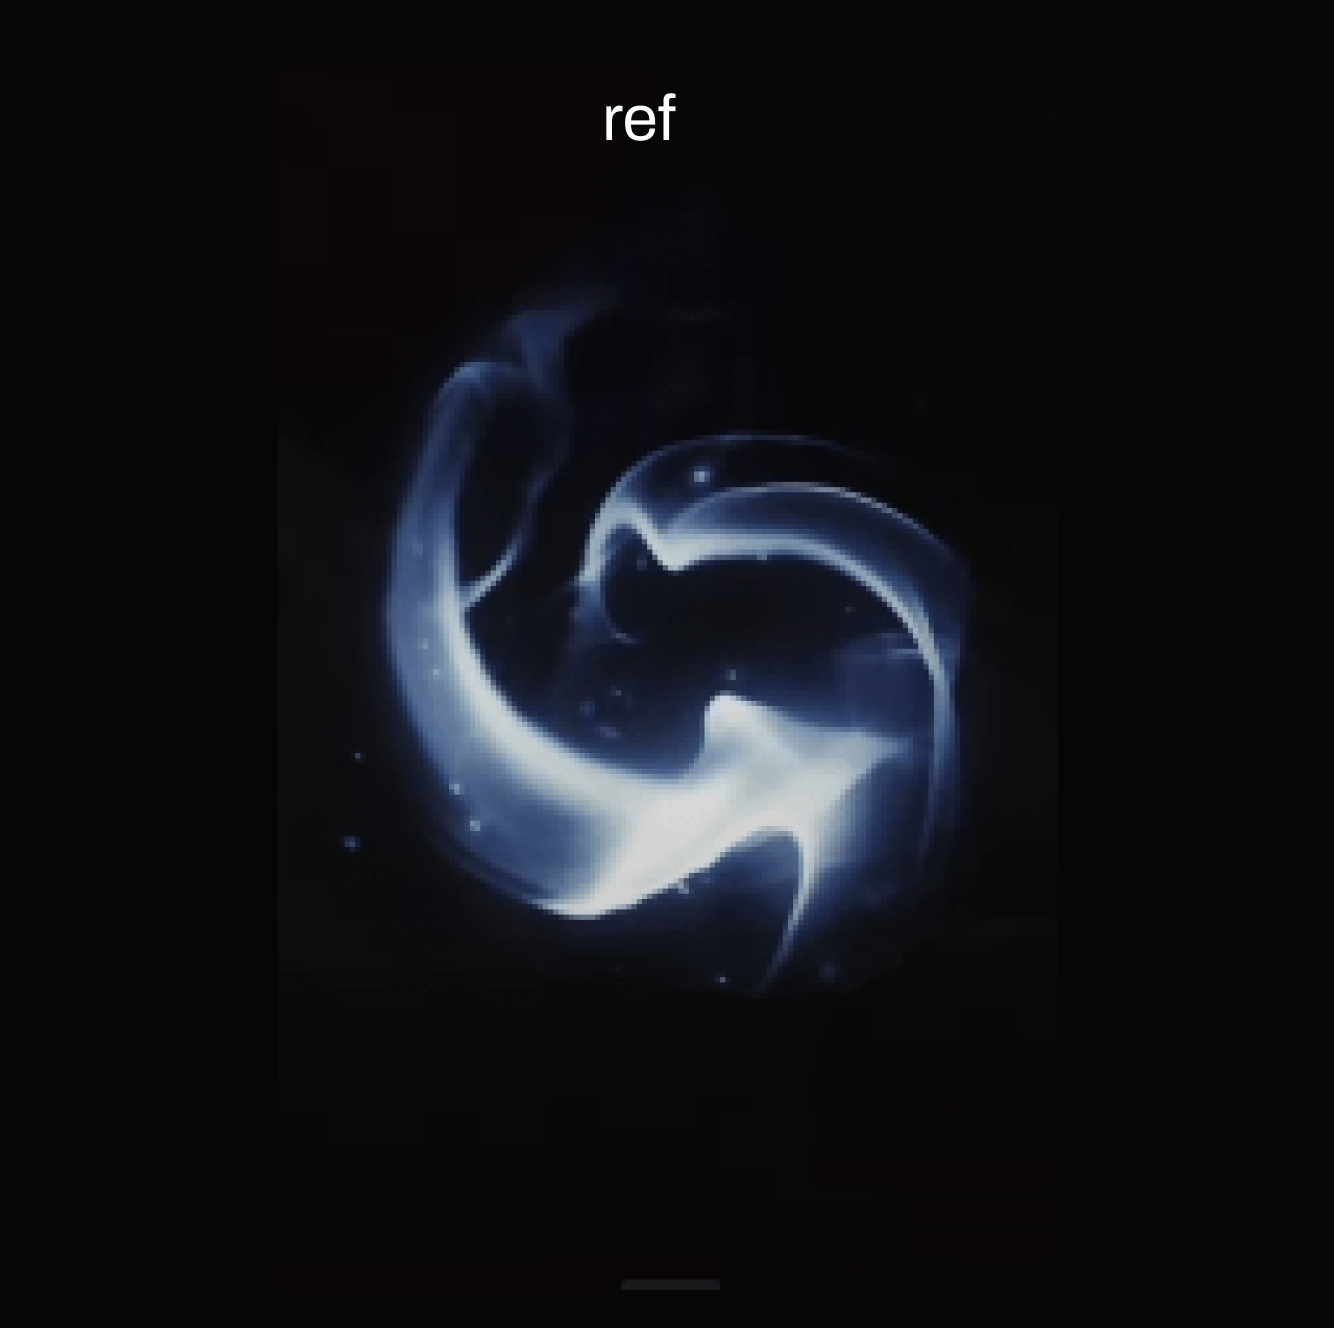
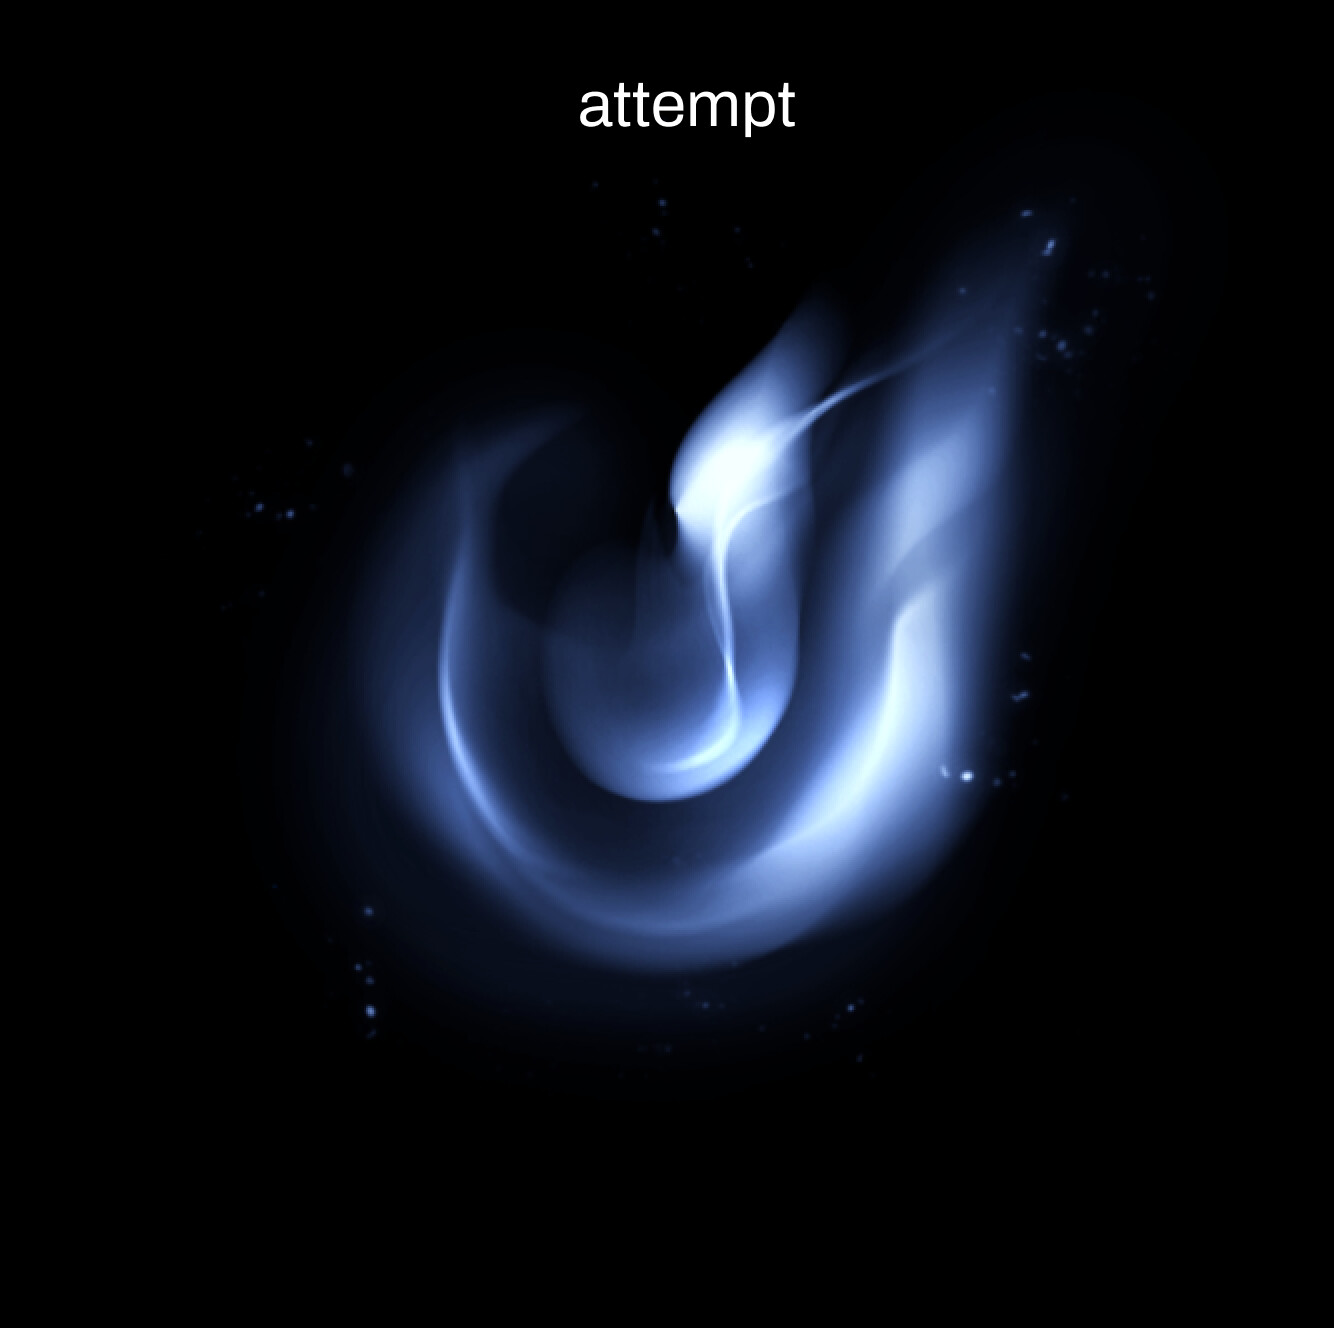
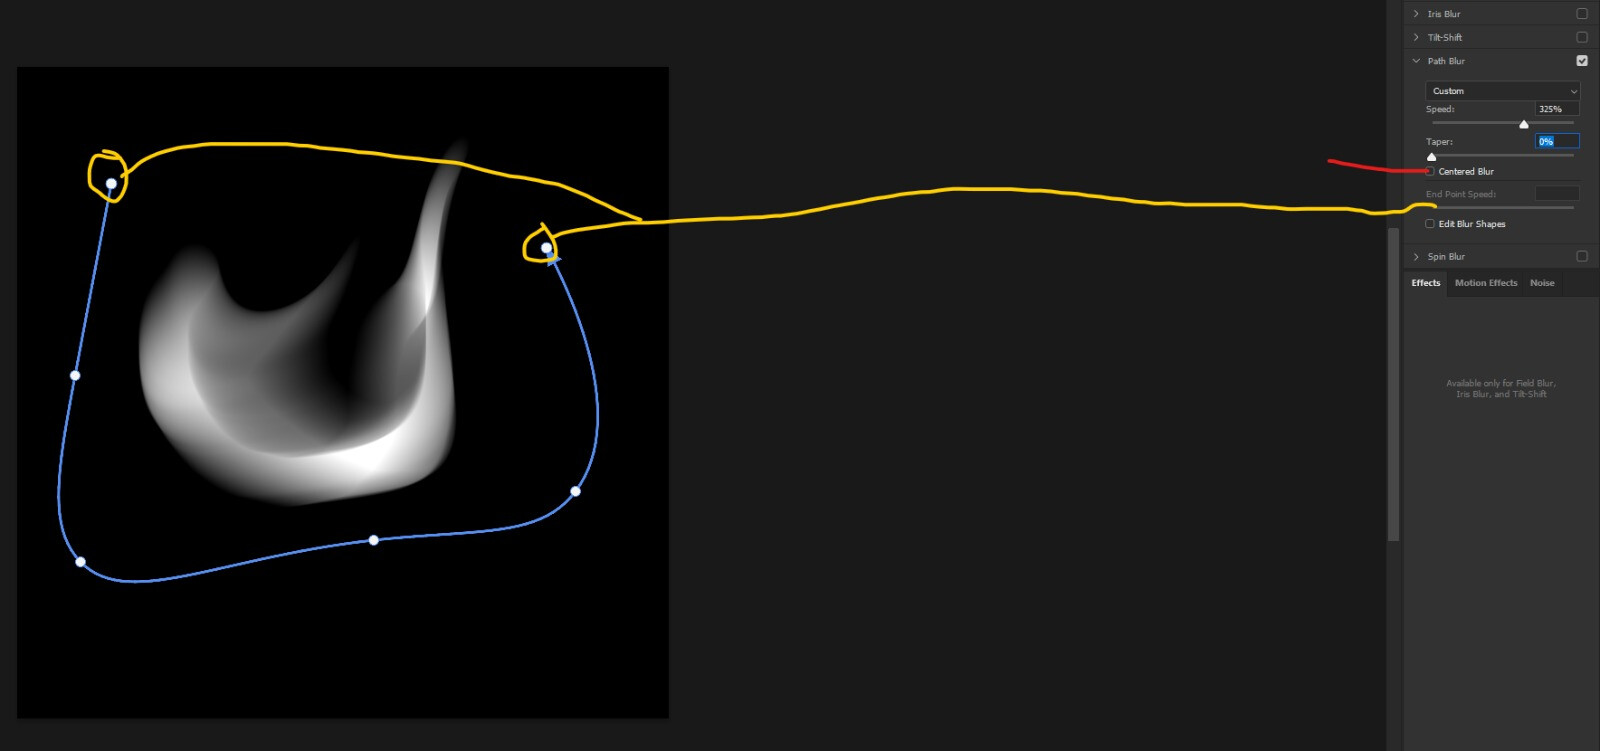
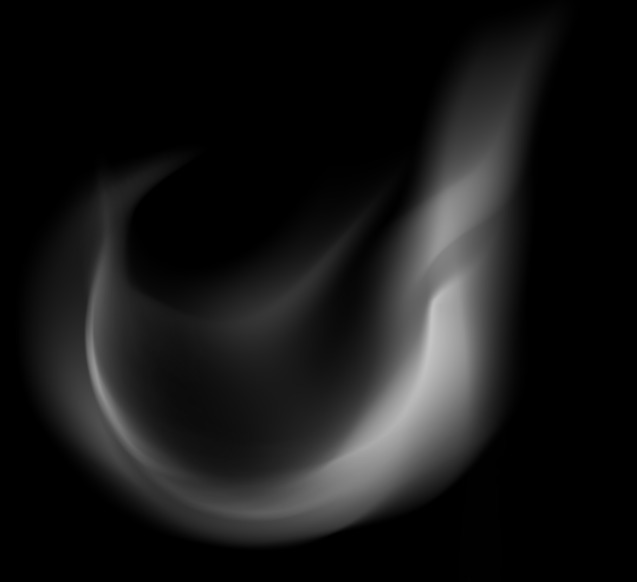
Hey there, folks! Just wanted to share on something I stumbled upon. So, yesterday, I was goofing around in Photoshop, attempting to mimic those cool souls from Demon Souls, and guess what? I actually got pretty darn close just by playing around with the path blur tool.
1 - make a big shape with a hard brush
2 - Path Blur → then mess around with it, I recommend changing the end velocity (yellow) and turn on/off the checkbox (red) to get some crazy results
3 - Do the same with smaller shapes to get those caustics
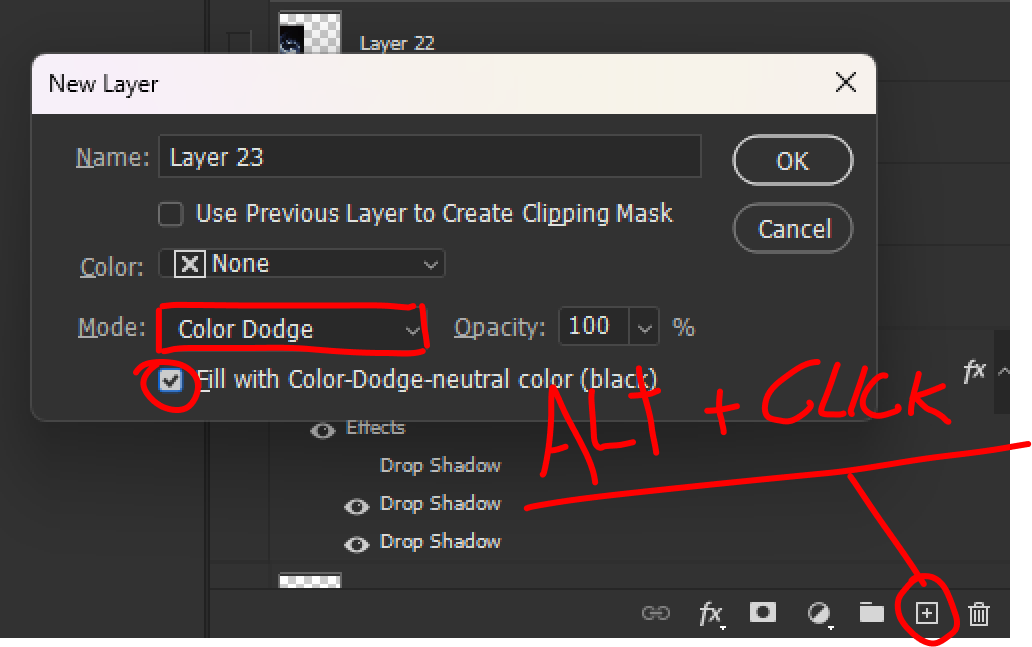
Another tip do make it glow/burn in certain areas, is to make a black filled color dodge layer and with a soft brush with very low opacity, paint the areas you want to make it pop more.